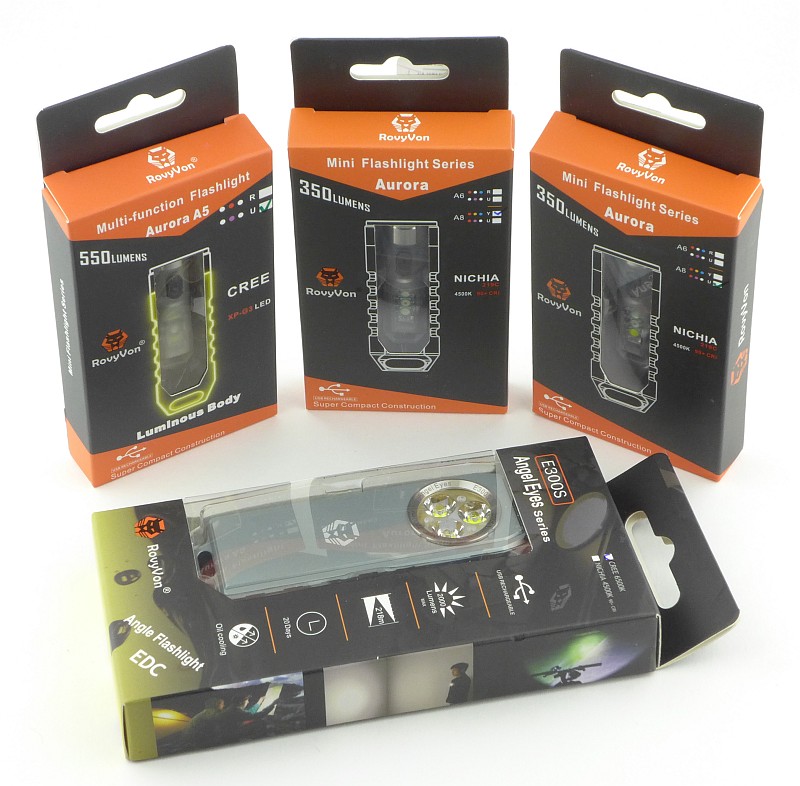
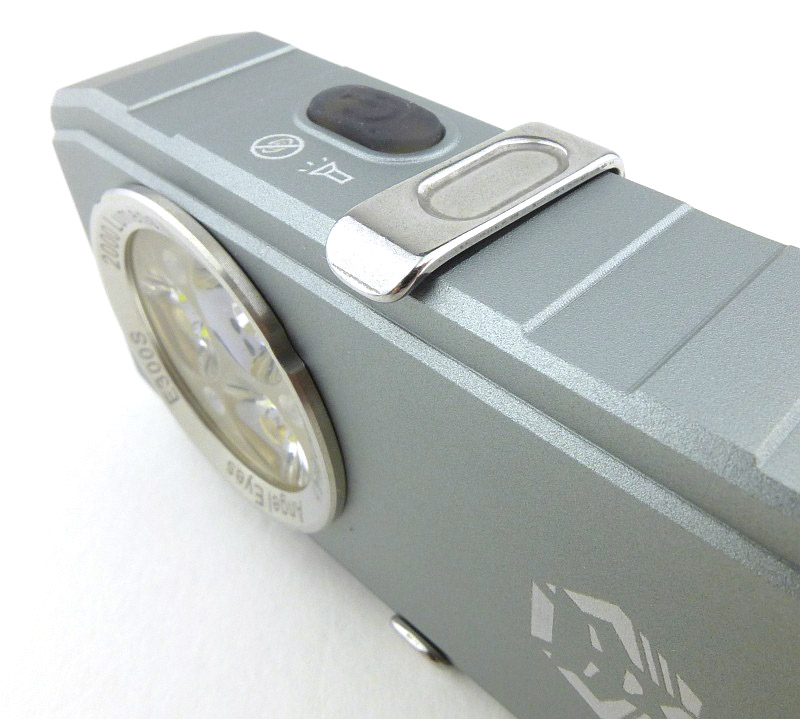
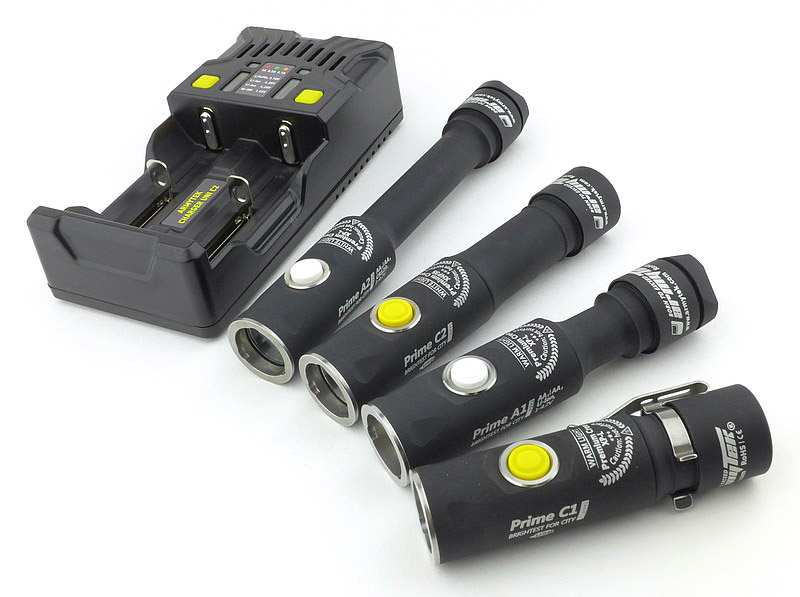
Quite literally a ‘highlight’ from IWA 2019 are these lights from Rovyvon, so I was excited to get these on test and see what they could really do. In this review I’ll be comparing the Rovyvon A5 keychain light with two of the same size A8 variants, plus the E300S ‘Angel Eyes’, a larger but still EDC sized right-angle light. There is lots to see, especially with all the extra functions crammed into the A5 and A8 models!
I got this test group from Heinnie Haynes – if you don’t know this online shop you should do.
Taking a look at the A5 and A8:
The A5, and A8 models are all presented in the same way, so this is a quick look at the first one I unpacked.


More of the details of the A5 and A8 models.


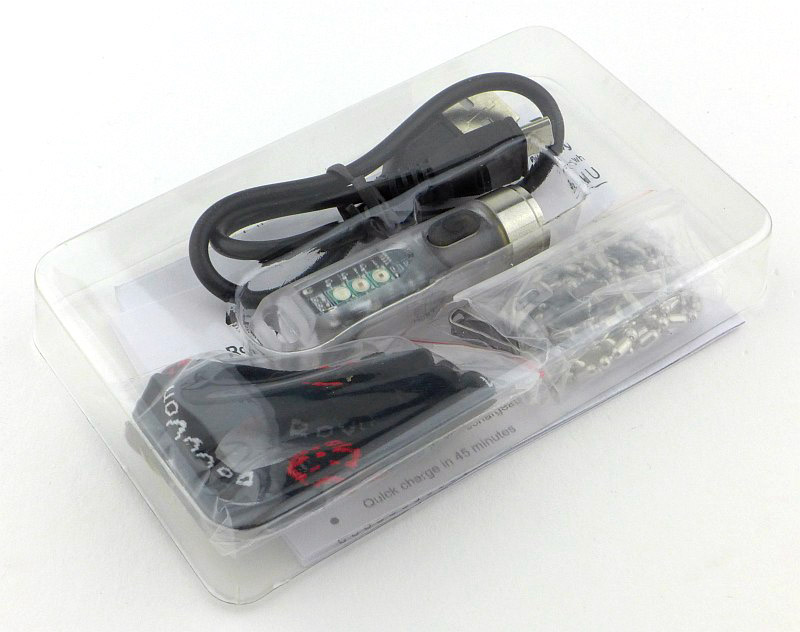
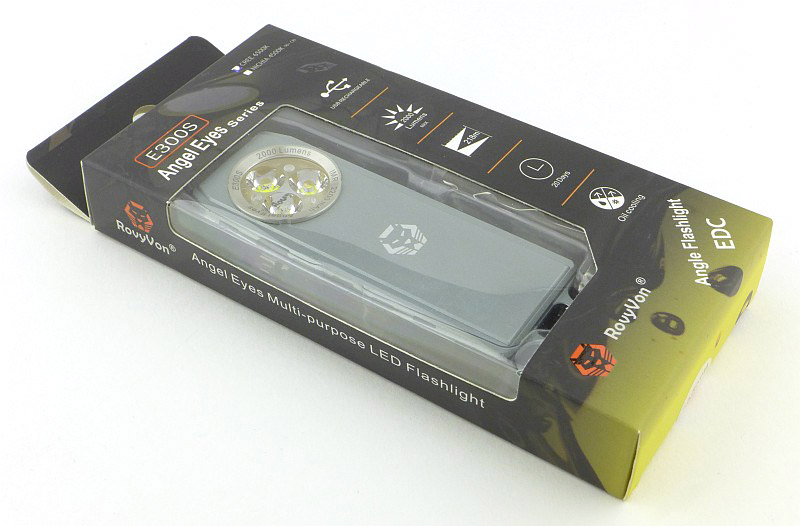
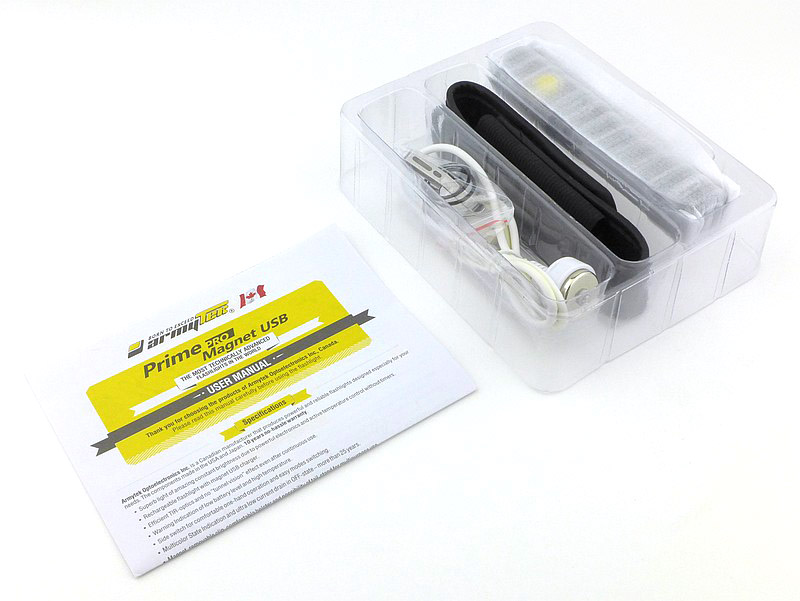
Taking a look at the E300S Angel Eyes:
Unpacking the Rovyvon Angel Eyes.


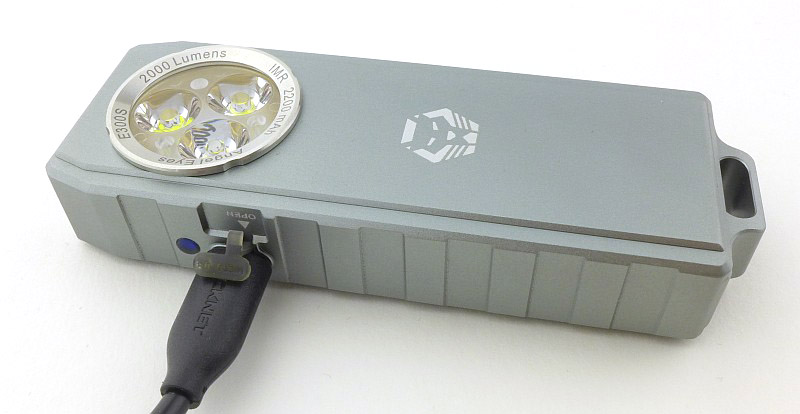
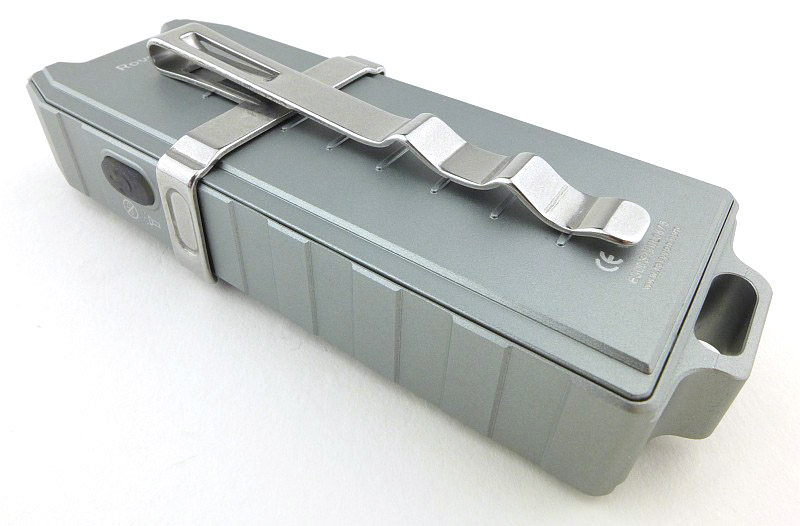
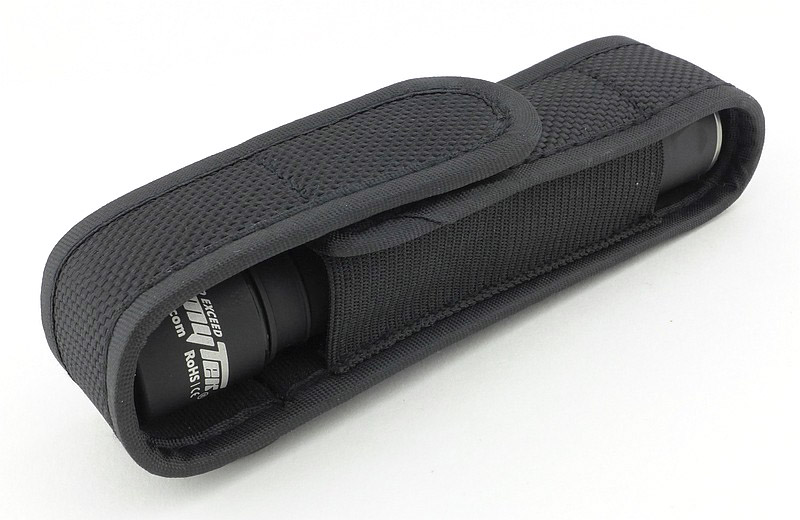
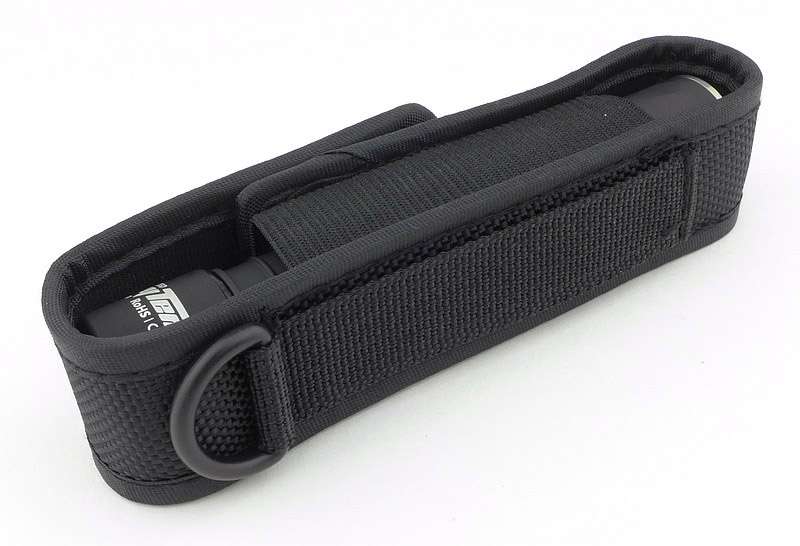
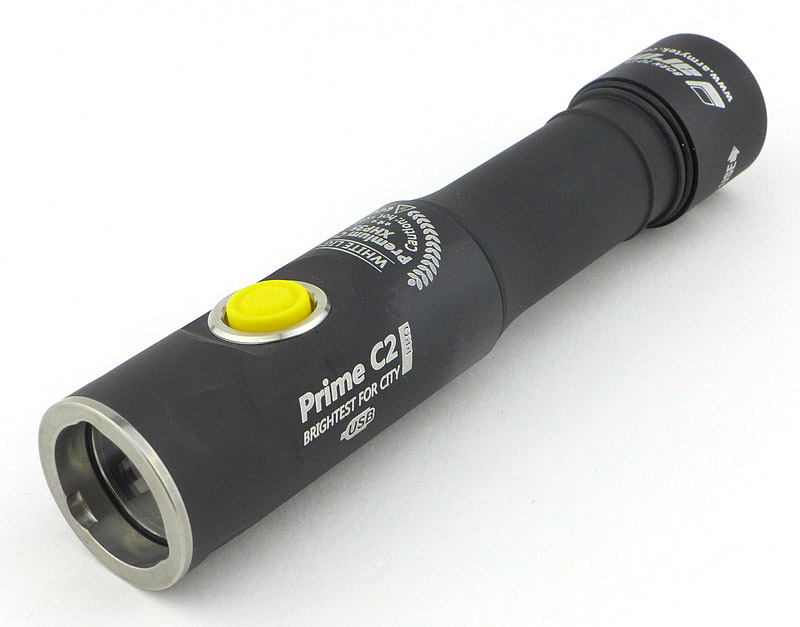
The details of the Rovyvon Angel Eyes.


The beam
Please be careful not to judge tint based on images you see on a computer screen. Unless properly calibrated, the screen itself will change the perceived tint.
The indoor beamshot is intended to give an idea of the beam shape/quality rather than tint. All beamshots are taken using daylight white balance. The woodwork (stairs and skirting) are painted Farrow & Ball “Off-White”, and the walls are a light sandy colour called ‘String’ again by Farrow & Ball. I don’t actually have a ‘white wall’ in the house to use for this, and my wife won’t have one!
Here they all are, the different models, and different modes. Check the image caption for the notes.
")
")

")


")
")
")
")
")
")
")


Batteries and output:
These lights run on built-in cells.
To measure actual output, I built an integrating sphere. See here for more detail. The sensor registers visible light only (so Infra-Red and Ultra-Violet will not be measured).
Please note, all quoted lumen figures are from a DIY integrating sphere, and according to ANSI standards. Although every effort is made to give as accurate a result as possible, they should be taken as an estimate only. The results can be used to compare outputs in this review and others I have published.
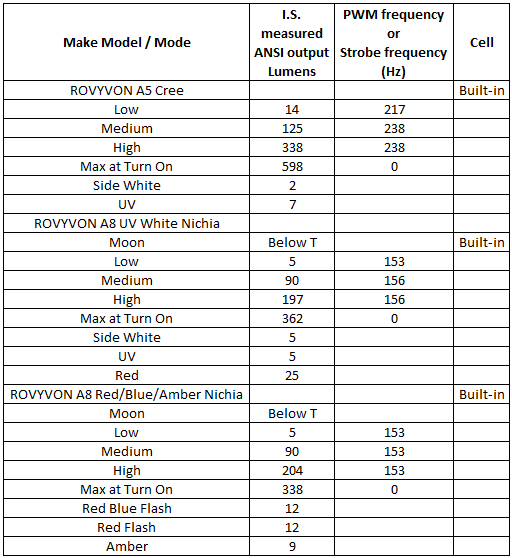
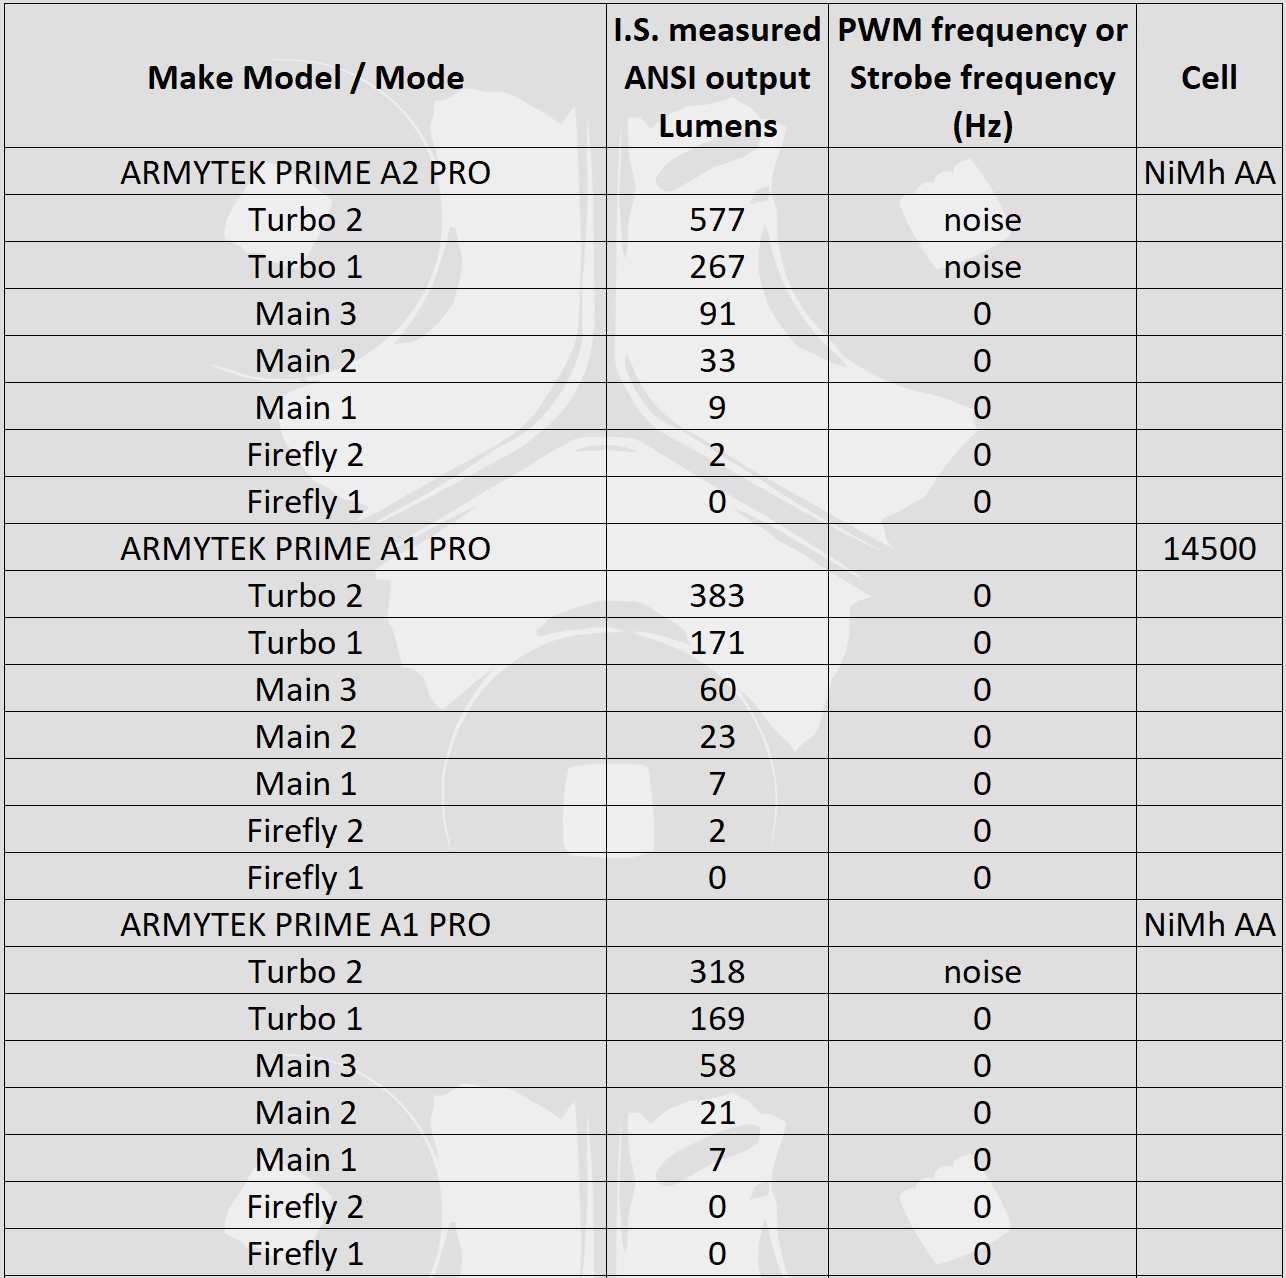
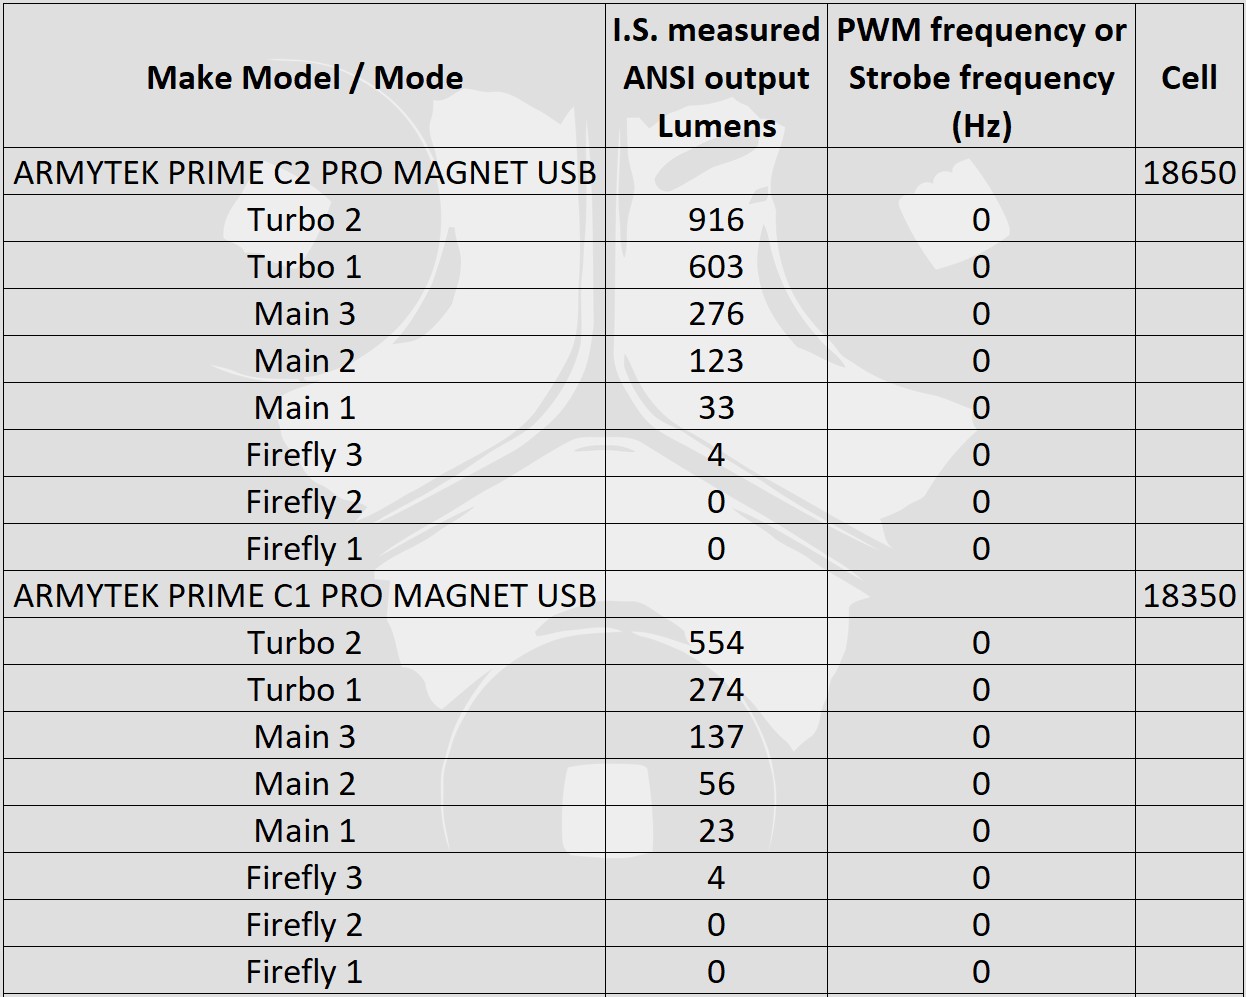
First up here are the A5 and A8 models and each measurable output. The value measured for UV will be a combination of visible blue light that is output or fluorescence of the test instrument and cannot be taken as a true UV measurement. ‘Max at Turn On’ is NOT an ANSI measurement, but a maximum value when switching on. (‘Below T’ means the output was below the threshold that could be measured.)
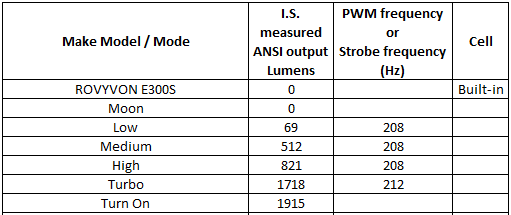
Then the E300S Angel Eyes. ‘Turn On’ is NOT an ANSI measurement, but a maximum value when switching on. Moon mode is not really 0lm, it is just below the threshold that could be measured.
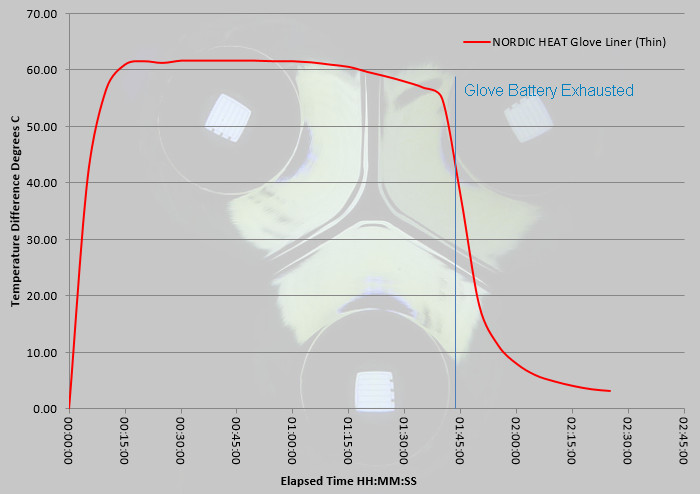
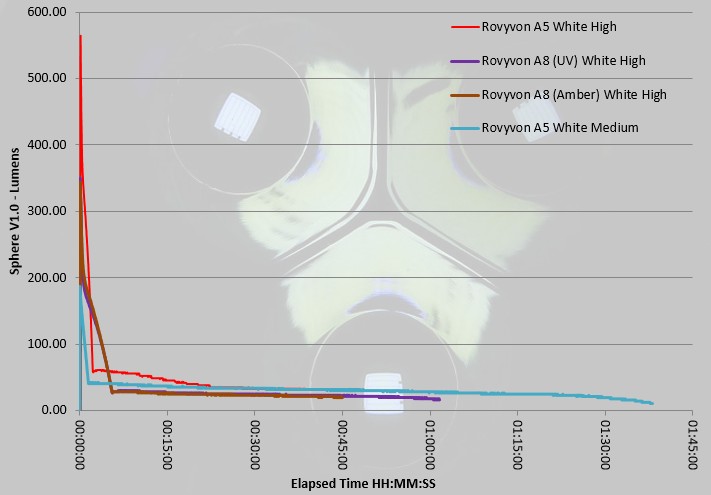
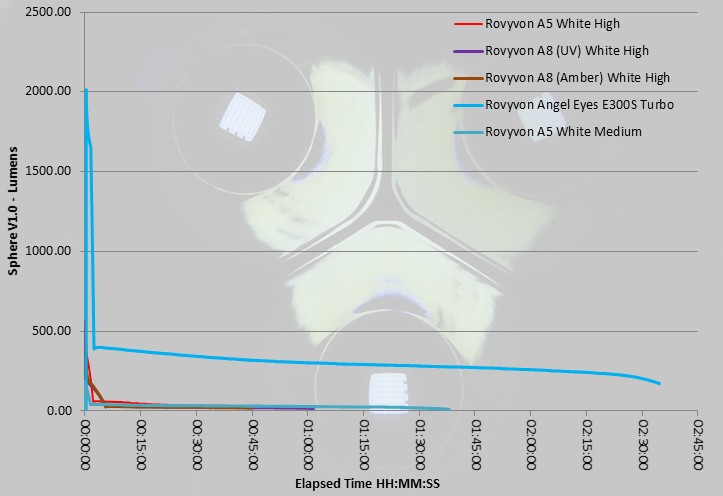
Runtime and Charging Time:
In this gallery are charging traces recorded from a USB power monitor, plus the recorded output traces from an Integrating Sphere. Take your time here there is a lot of information.


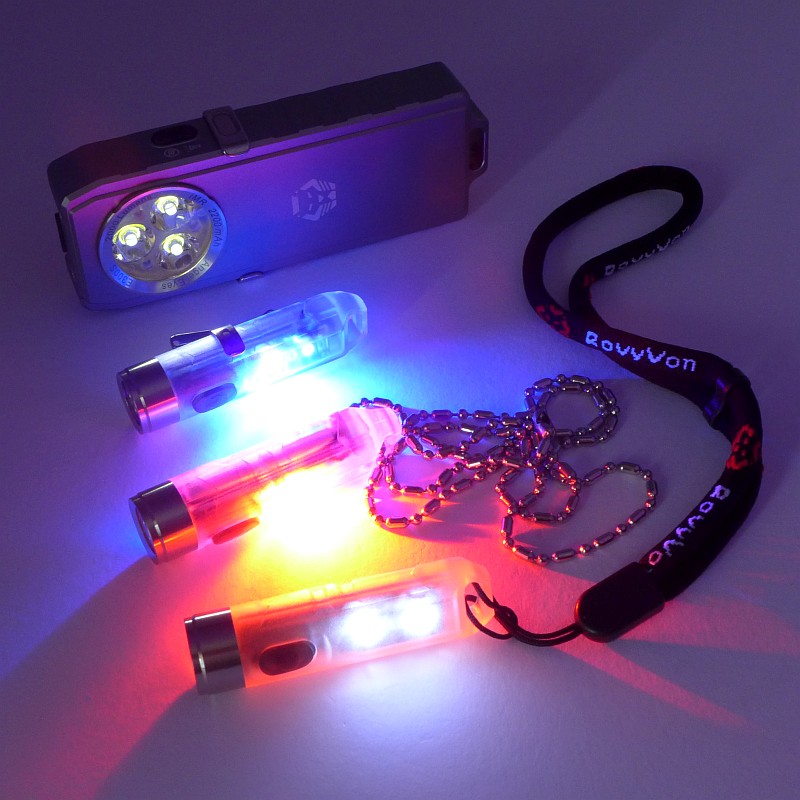
The Rovyvon lights in use:
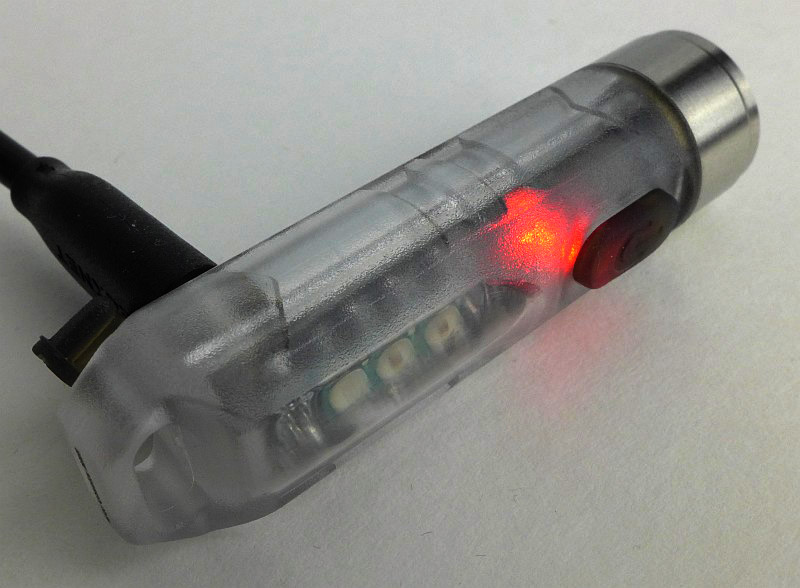
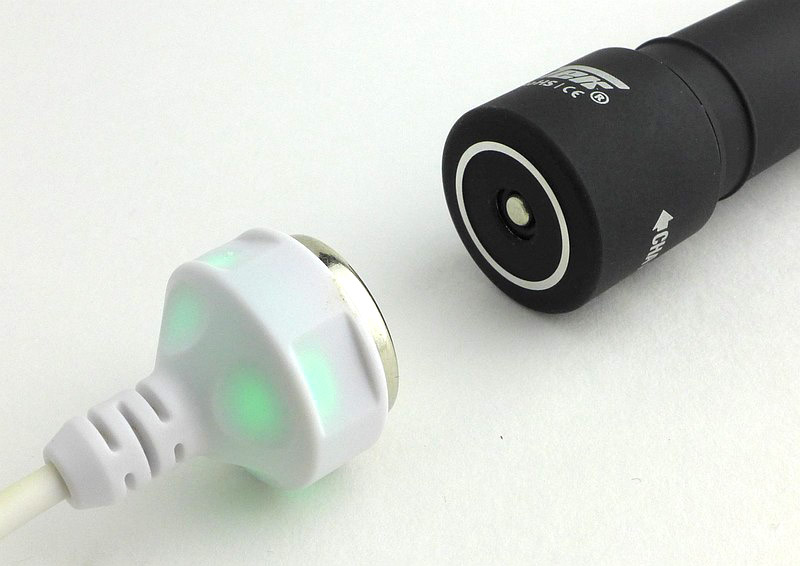
I’d had a good play with these lights at IWA, but there is still that frustration waiting for the first charge to complete – all blue – all good to go!

Before I go on, this photo summarises why these lights are so good, and that is their versatility. The A5 and A8 models are all multi colour, multi-function and super compact, and the E300S is very functional and powerful.

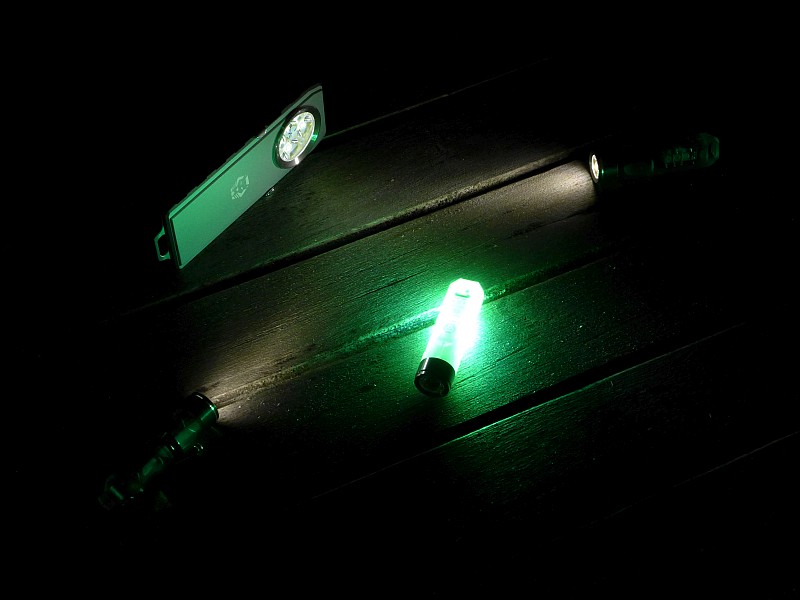
Staying on that line of thought, two of the models in this review have UV, and one is GITD. A small gallery to show these features in action.


The timing of this review means I have actually been carrying these daily for several months now. Electronic switches means there is always a chance that parasitic drain (standby circuit power) will deplete the battery, but there has been absolutely no sign of that.
One tiny light which has several functions, definitely makes itself very useful. UV is one of my favourite secondary functions for which I normally have to carry another light. Checking bank notes and looking for elusive little lost objects can be transformed with UV light. The extra colours of light available on the A5 and A8’s secondary side outputs all fit well with other needs; you being seen, marker lights, warnings, gentle night lighting or reading, the list goes on. What do you find most useful?
It is always challenging to design easy to use controls for multiple functions, especially with only a single button (or two with the E300S), and the Rovyvon lights use a variety of press-and-hold or multi-clicks. Depending on your current dexterity (which tends to vary when cold/tired/etc), you can easily get this wrong. The worst case result is getting maximum output when you didn’t want it. This is not a criticism of the Rovyvon lights, but only a consequence of the multi-function / single button interface.
However, with the A5/A8 and E300S there is a conflict in the user interface. To get the lowest level on the A5/A8 you double click, but the E300S requires a press-and-hold. So use the E300S, and when you pick up an A8, and press-and-hold expecting to moon mode, instead you get full blast. As these are both Rovyvon lights I would have hoped for some consistency in the UI across models to prevent this accidental blinding.
PWM (pulse width modulation – strobing the output to achieve lower levels) is a bugbear of mine. Any movement becomes flickery or stuttering. Unfortunately all the Rovyvon lights use this. The E300S uses a sufficiently high frequency that it does not present as a problem, but the A5 and A8, on all lower level outputs, have very obvious flickering whenever moving. If everything is static, then this isn’t visible, but if you are walking along or scanning a space you will see flickering. There are sometimes design limitations that force the use of PWM, as the circuitry needed for constant output tends to be larger, so the small size of these light might be the reason for this compromise. I hope Rovyvon find a way to get rid of the PWM (or at least increase the frequency) as these lights would be outstanding if they didn’t flicker.
Level spacing on the A5/A8 is good, but on the E300S there is much too large a step up from the lowest level to the next one, going from ~1lm to 70lm. It really needs a 5-10lm step.
With such high outputs available from a very small light, the overall runtime at these high levels is pretty low (A5/A8), so if you like using them on full blast, you’ll be recharging quite often, but if you mainly use the lower levels or side light functions, EDC use will be covered for a very reasonable time. USB recharging makes them very easy to top up.
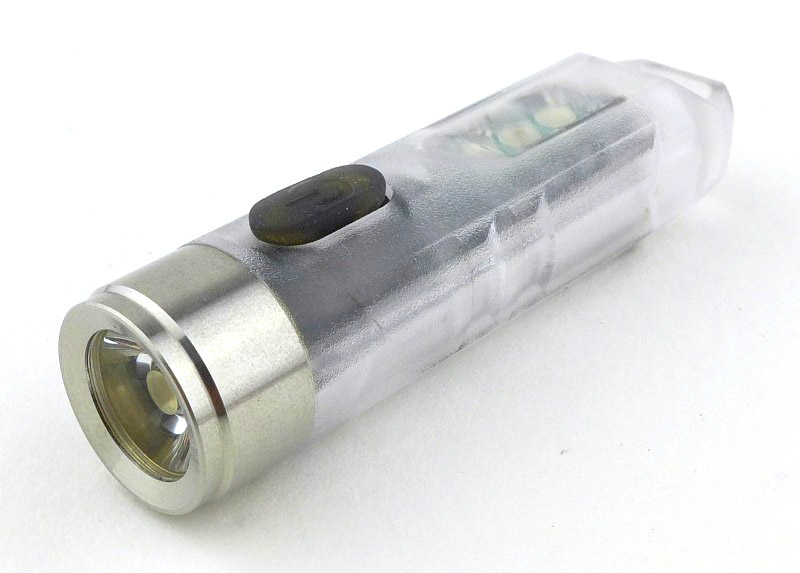
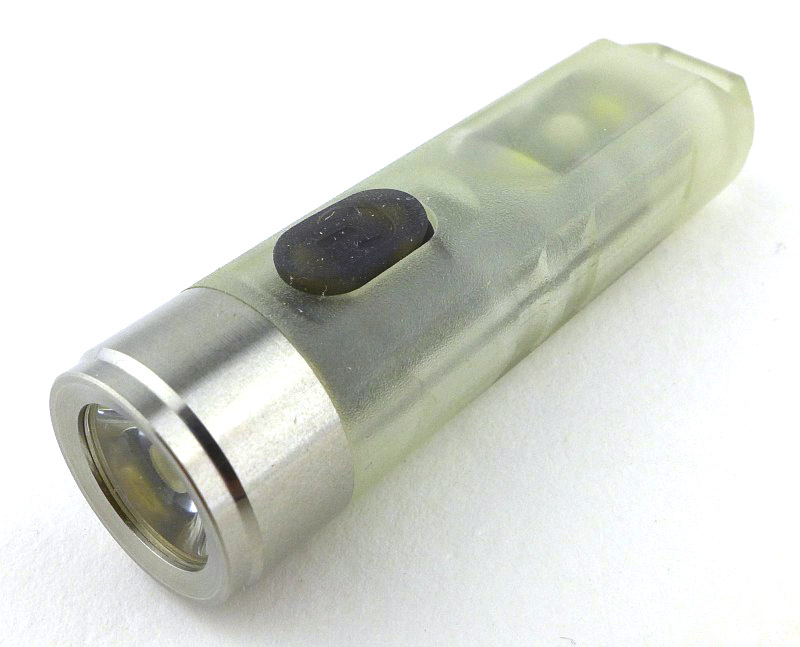
The clear plastic bodies are light and strong with the added benefit of showing the neat internals. They have stood up to every day keychain use along with inevitable drops, bumps and rubbing against keys.
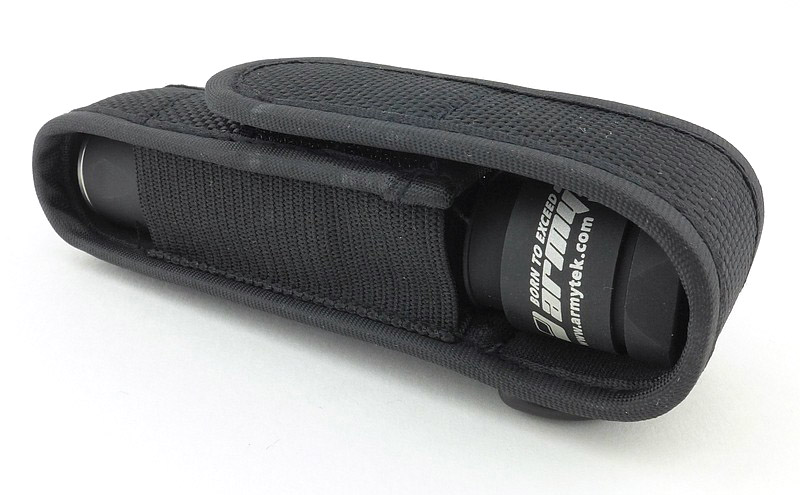
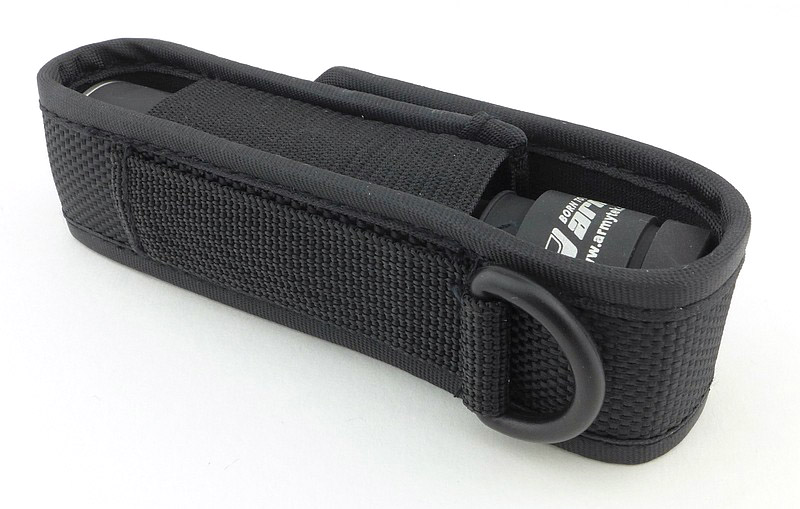
All the details are refined and functional with great clips, carry options and spares.
Review Summary
_______________________________________________
Things I like
_______________________________________________
Multiple LEDs and output options.
Compact and lightweight.
Robust construction.
USB charging.
Excellent fit and finish.
Fully fitted out with accessories.
_______________________________________________
What doesn’t work so well for me
_______________________________________________
PWM – flickering is always a problem.
IP65 rated, so not actually waterproof.
Level spacing on E300S has too large a jump between the lowest levels.
Discussing the Review:
The ideal place to discuss this reviews is on a forum. If you started reading the shorter forum version of the review, but followed the link this full exclusive review, please return to that forum to discuss the review there.
If you read the review entirely on Tactical Reviews, please consider one of the following to join in, or start, a discussion.
CandlePowerForums – Flashlight Reviews Section (Largest and Friendliest Flashlight Community Forum)


.")


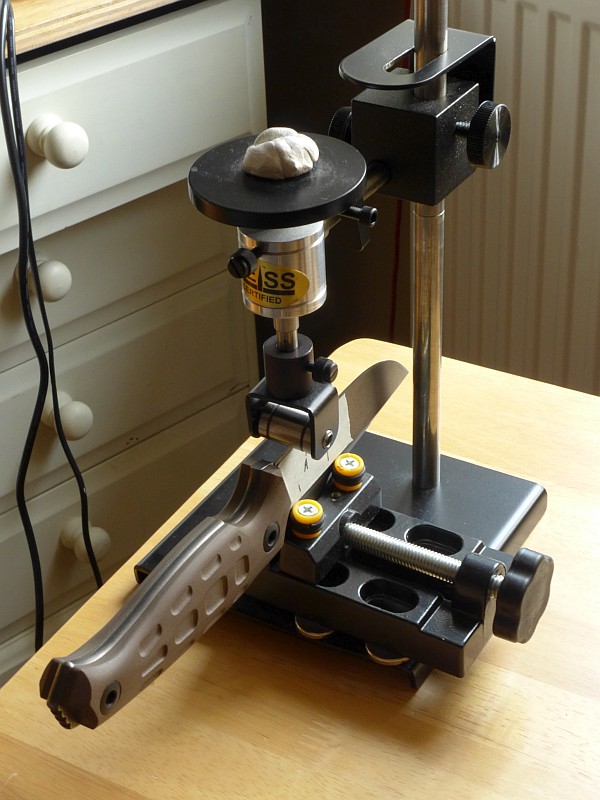
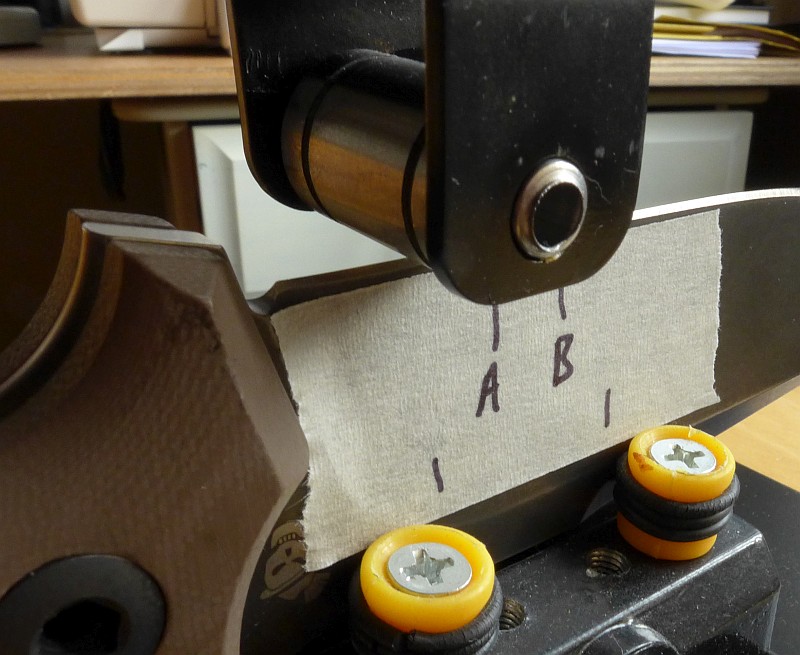
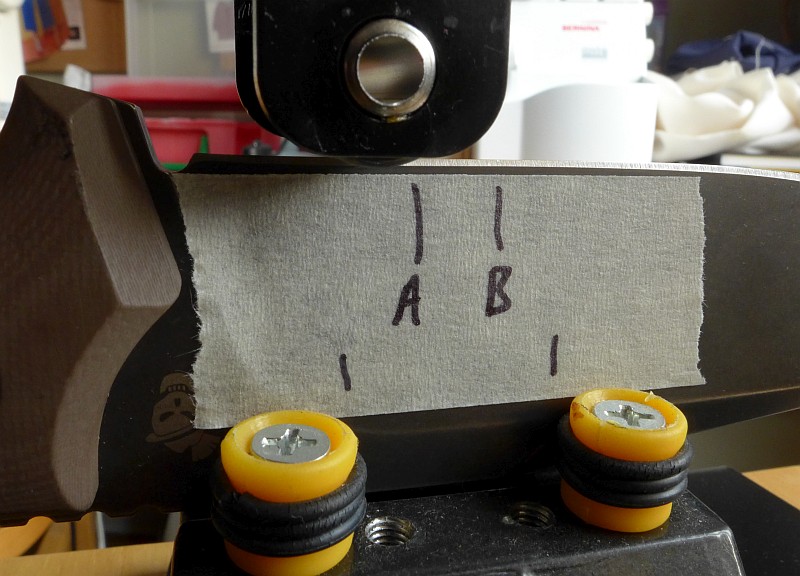
. A precise load (the white tac on the platform is used to adjust the load) applies pressure to an 'impactor'.")


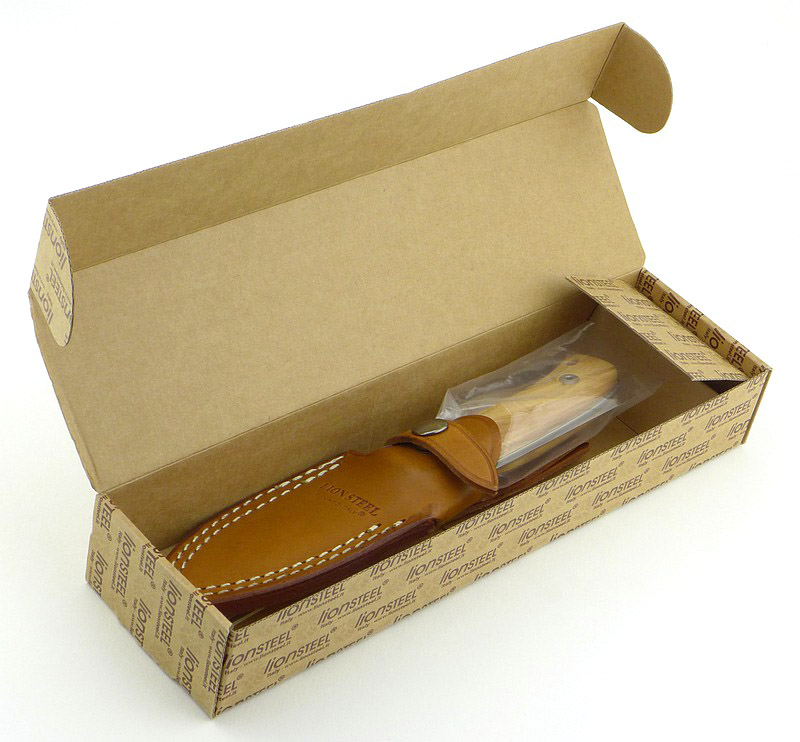


 are all a single piece of leather with a couple of folds.")


")