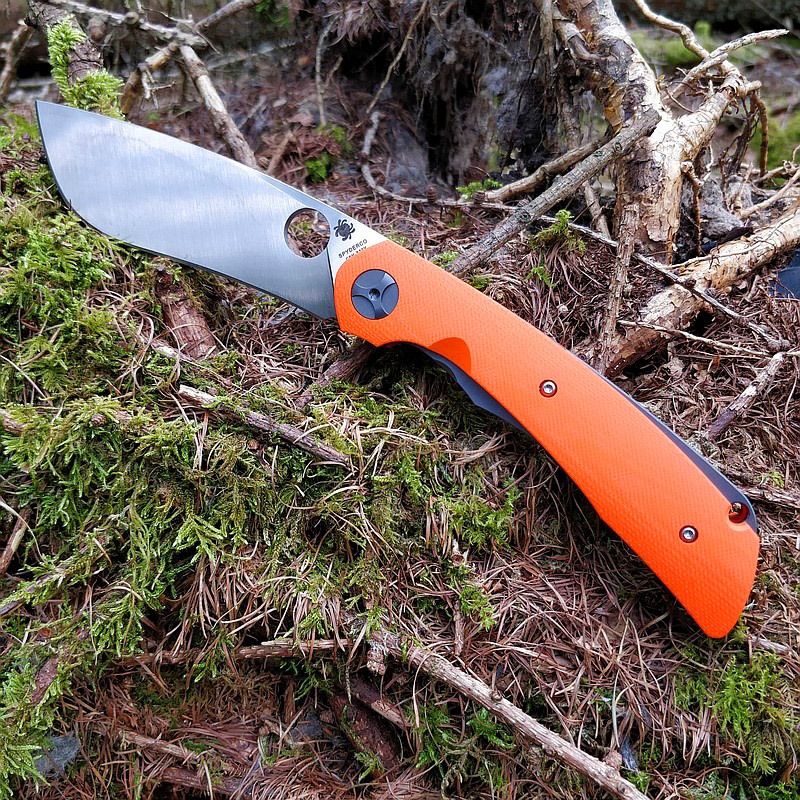
Light Review: Cyansky H3 and H5 (built-in Red/Green Filter)

Cyansky have come up with a novel way to solve the problem of having multiple colours of light in a single device without many of the compromises multi-LED or LED swapping lights might have. Most people will have come across, or used, colour filters to change the output of a white beam, but these are easily forgotten or lost. In the Cyansky H3 and H5 hunting models, glass filters are completely contained within the head of the light and the patented mechanism lets you drop a red or green filter in front of the XHP35 HI LED with a simple twist of the control ring – nothing else needed. The H3 and H5 use the increasingly popular 21700 cell to provide more power and runtime, but can run on an 18650 or 2 CR123s for added versatility.
Join me in the detailed examination of these two hunting lights and see how they perform.

Video Overview

Starting with a look over these light in a short video.

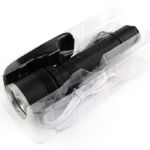
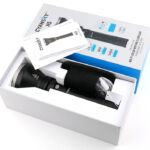
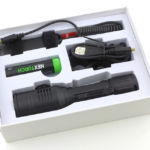
This is what arrived from Cyansky –
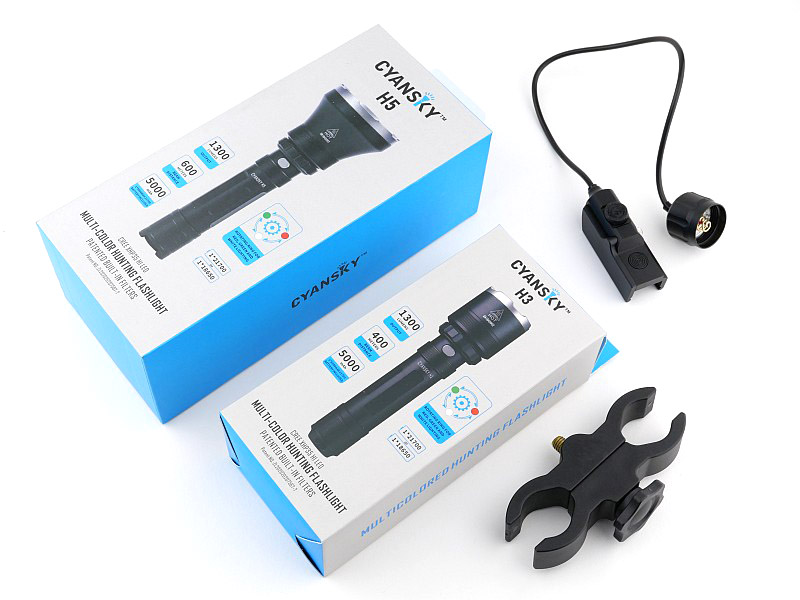
A good look round the H3 – Things to look out for here are:
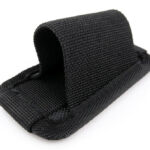
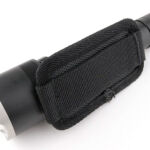
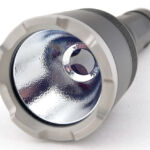
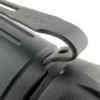
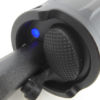
As you may have already seen in the video, first up are the contents of the box. The H3 has a belt hanger (rather than full holster) providing a head-up belt carry option. Moving round the H3 and we get onto the mode switch and filter control ring at the base of the head. The tail-switch is semi-recessed, so allowing for tail standing, but with cutouts to ease access to the switch. The stainless bezel ring is wide and well finished. And then a first look at one of the filters.
The H3 comes with a 21700 with built-in USB-C charging. As it arrives there is a plastic insulator to prevent accidental discharge in the light.


A good look round the H5 – Things to look out for here are:
With the H5, the details are the same as for the H3, so I won’t repeat them, the difference is in the much larger head and reflector to give extra beam range.
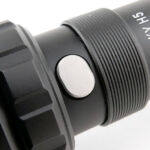
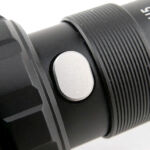
One small observation which doesn’t affect function at all is that the mode switch has room to move about and twist, so might look a little ‘off’. This doesn’t affect function at all, and is only mentioned in case you see the button looking slightly twisted (this is the same for both models).


The Remote Switch and scope mount:
The supplied remote switch replaces the tail-cap of either the H3 or H5. The remote switches are in a rail-mount unit, and you have a momentary only switch, plus a forward clicky latching switch much like the original tail switch.
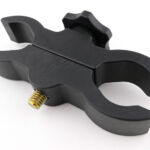
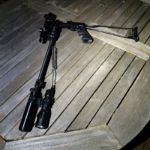
The scope mount is basic and easy to use, but I would not use it for heavy duty setups. For smaller calibers and for quick tool-less mounting it works well, and has enough stand off for the H3 or H5.


The Cyansky special feature – built-in colour filters:
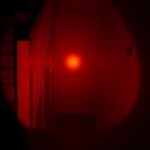
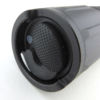
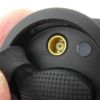
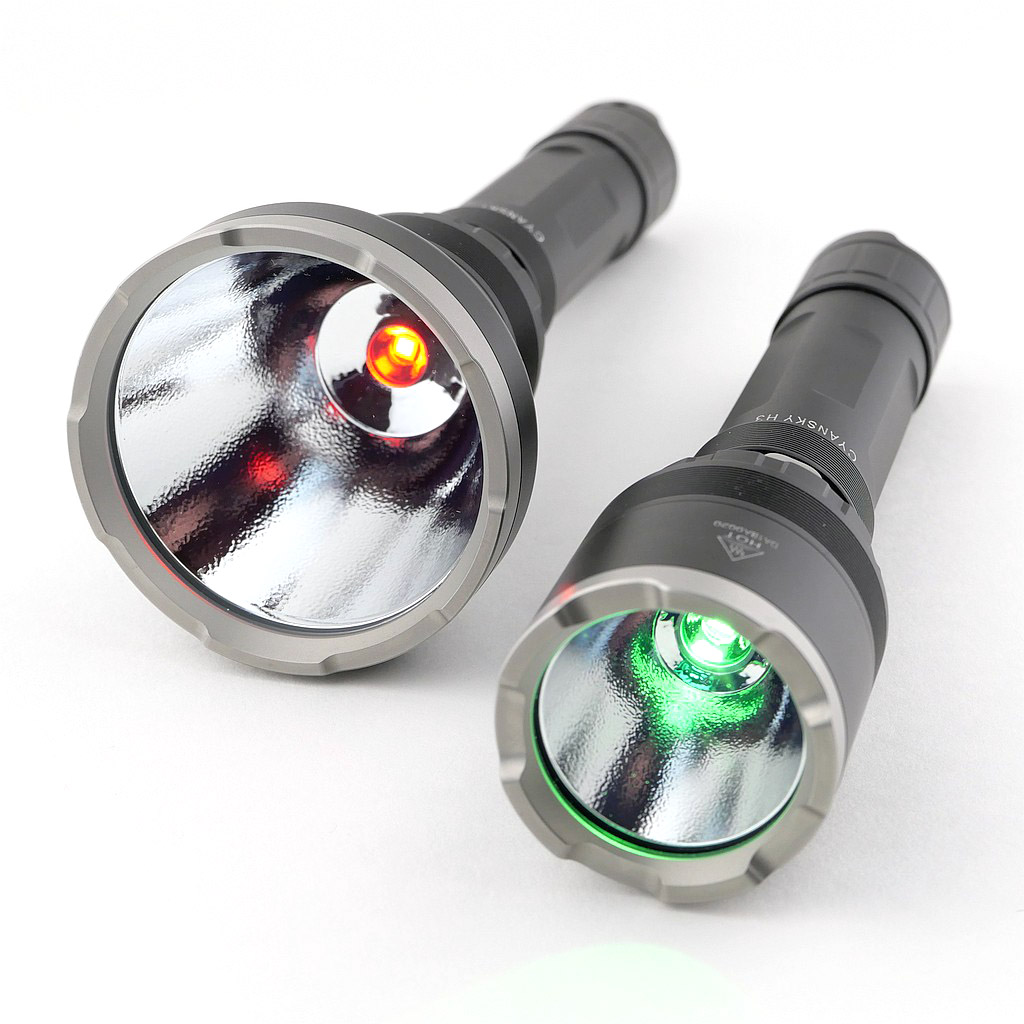
Now for a set of images to just show the built-in filter change. I’ve used the H3 here as with the smaller head it is easier to see the filter better than with the H5. First no filter – with the filter holder just having a little bit of extra reflector round the base of the LED. Then part of the way to dropping a filter in place (this is NOT how you use it, just showing the filter holder disk rotating). Finally with the red and green glass filters shown in place over the LED.


The beam

Please be careful not to judge tint based on images you see on a computer screen. Unless properly calibrated, the screen itself will change the perceived tint.

The indoor beamshot is intended to give an idea of the beam shape/quality rather than tint. All beamshots are taken using daylight white balance. The woodwork (stairs and skirting) are painted Farrow & Ball “Off-White”, and the walls are a light sandy colour called ‘String’ again by Farrow & Ball. I don’t actually have a ‘white wall’ in the house to use for this, and my wife won’t have one!

Stepping through these beamshots we have the H3 white beam, then H5 white beam, and as you go through the gallery it is H3 then H5 to show a direct comparison on each colour indoors and out.


Batteries and output:

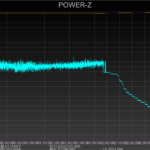
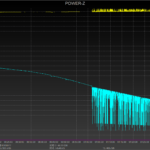
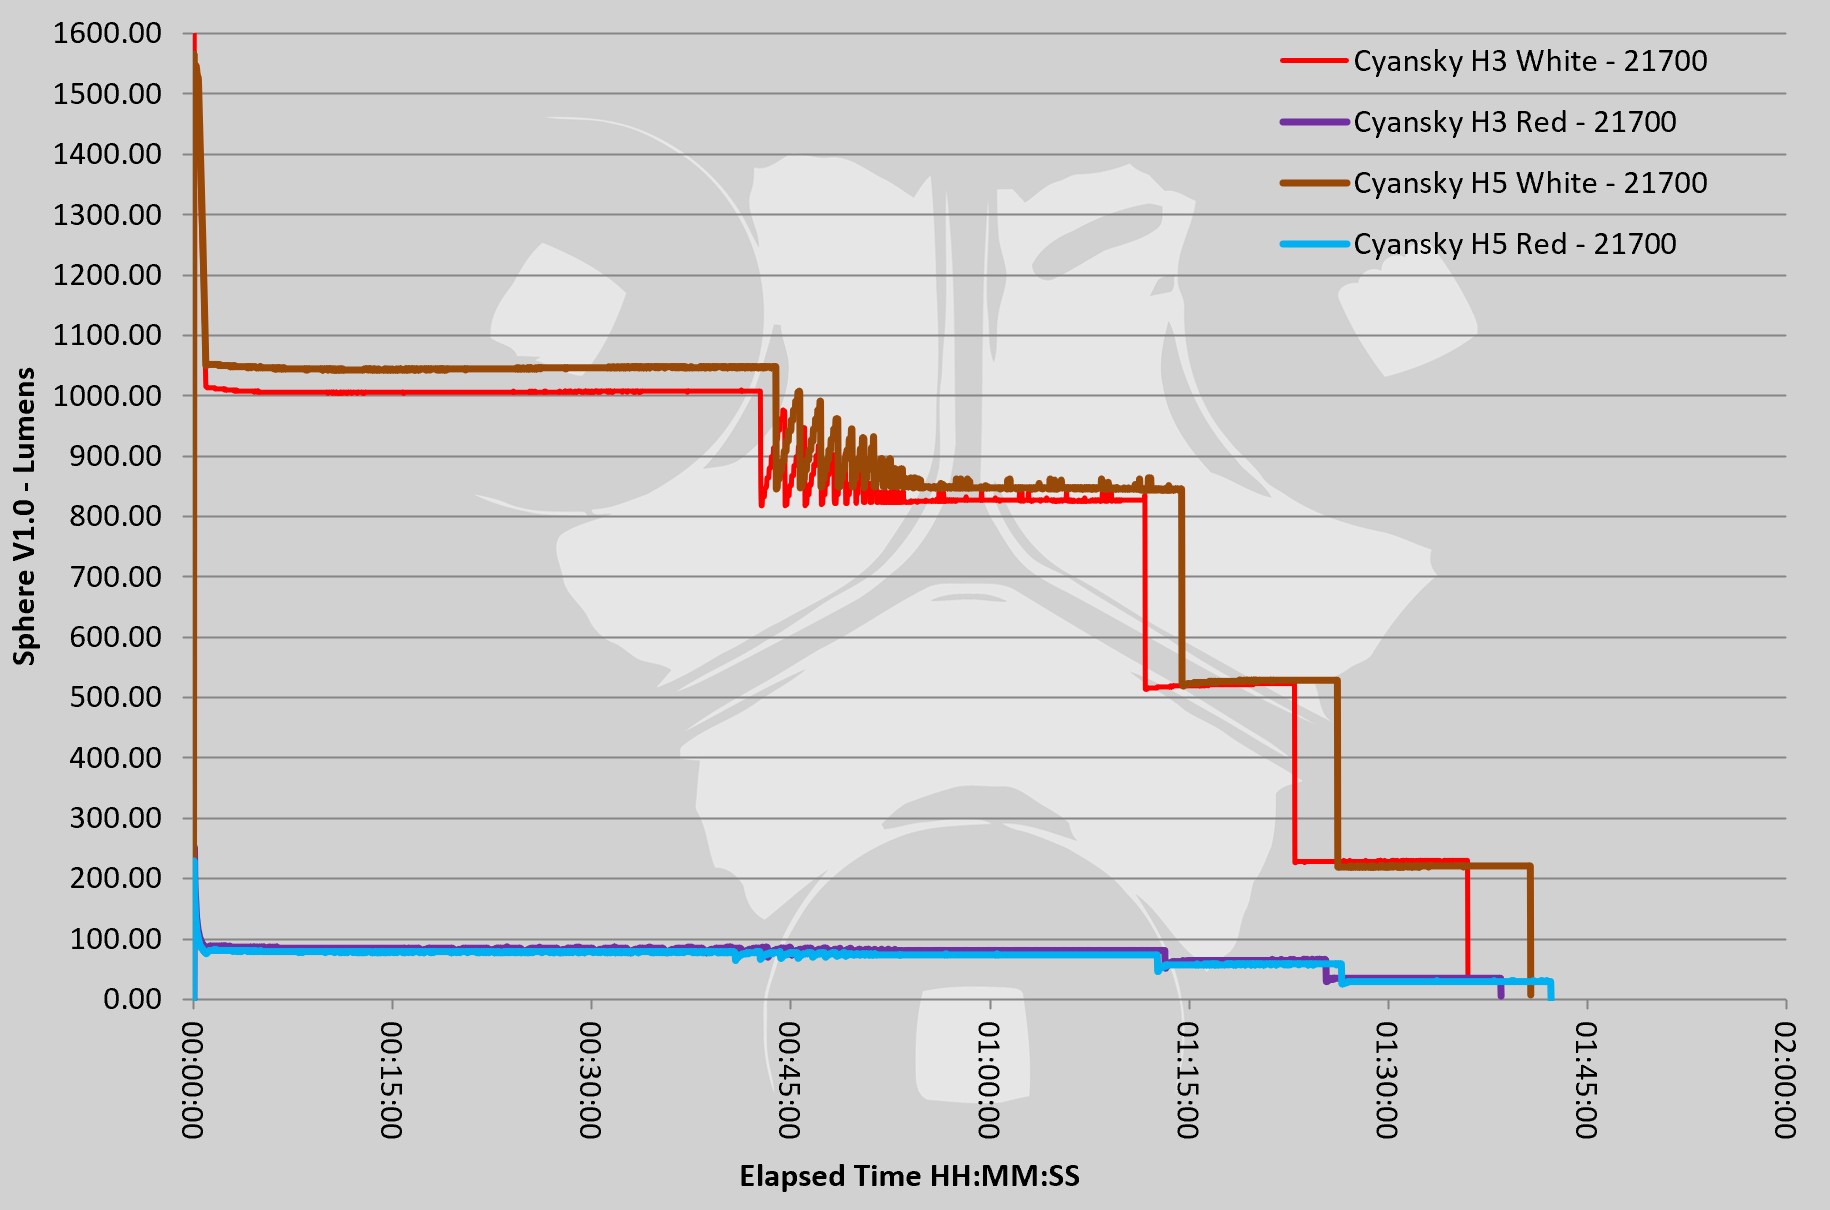
The two models runs on 21700 cells. Logging the built-in USB-C charging gives these traces for the cell provided with each light.

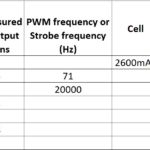
Please note, all quoted lumen figures are from a DIY integrating sphere, and according to ANSI standards. Although every effort is made to give as accurate a result as possible, they should be taken as an estimate only. The results can be used to compare outputs in this review and others I have published.

The Output table also includes the manufacturer specified lumens for comparison.
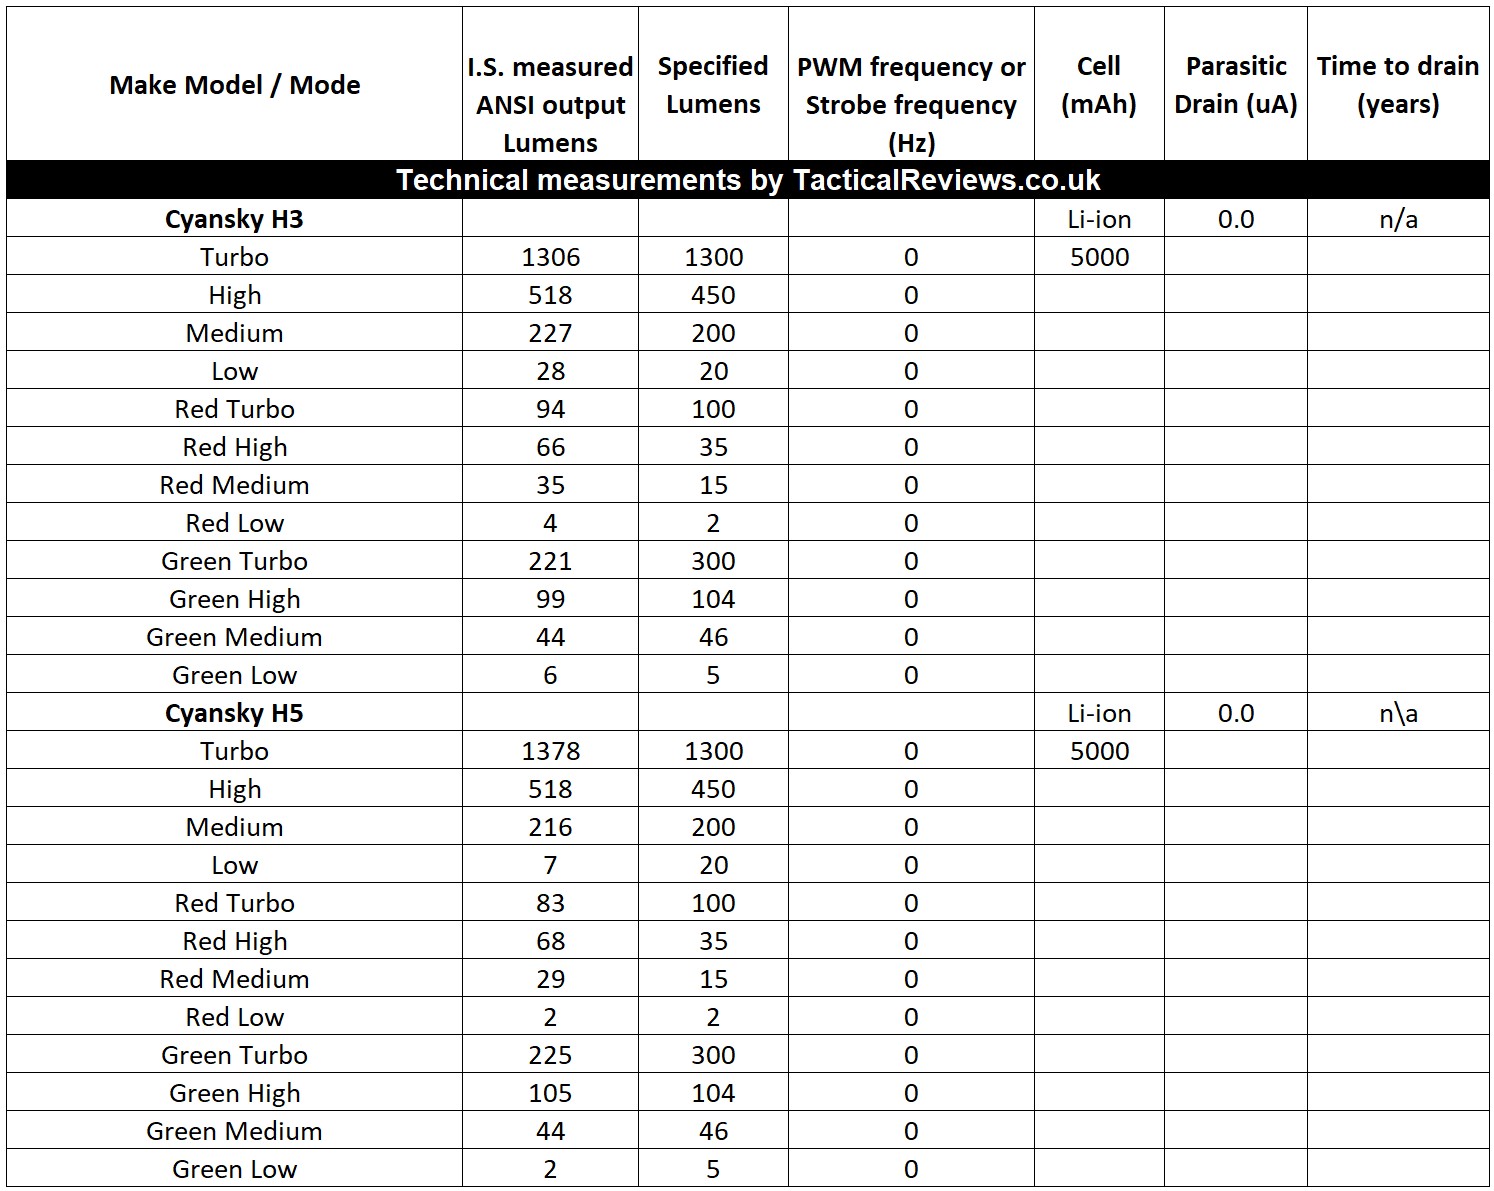
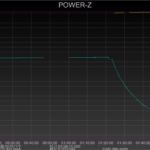
For the runtime trace, only the highest and lowest output colours were used (white and red) and all traces were run on maximum power.

The H3 and H5 in use

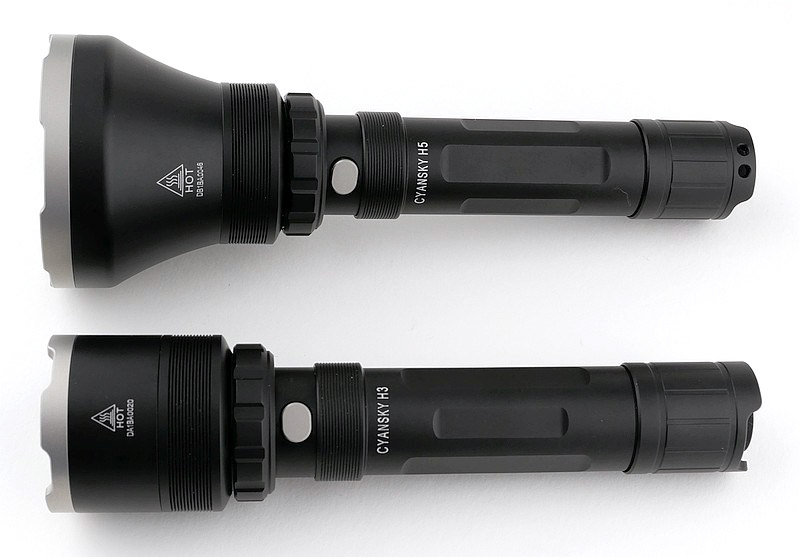
The first aspect to mention is how the H3 and H5 themselves compare. Actually this photo doesn’t show it accurately, but from the control ring to tail-cap, the H3 and H5 are identical. Not a surprise as they run on the same cell, have the some output specifications (apart from beam range), and have the same controls. So when holding them, they are the same for grip and controls.
With the larger head, and larger reflector, the H5 does have the edge in overall output, and it focuses the beam more for a longer reach. This gallery shows some longer distant photos on a golf course driving range. The H3 and H5 beams compared directly. The focus of the H5 is clearly visible at these longer ranges.


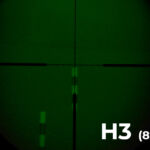
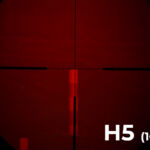
Using a zoom rifle scope this gallery has a set of images at the same exposure to show the gain in distance the H5 has over the H3. The magnification is set to 8x in this first gallery.
Important to note is that the distance markers the scope is aimed at are 250 yards, and that the H3 is still usable on white output, but struggles a bit at this range on the coloured output.
Also bear in mind that I am using a .22lr on this course, so 250 yards it beyond the limit I would take a shot.


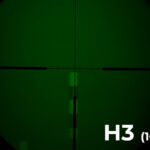
Now taking the scope to 16x magnification. Although all the images here are the same exposure, I have had to use a longer exposure than for the 8x magnification. At this range and magnification the H3 was pushed too far. the H5 was still working well.
This was to test the limits for range and scope magnification. (At 32x magnification I could not get any photos to come out.)


All of the above proves the H3 and H5 work well on or off a rifle, and the coloured output filters, being built-in, are so convenient, allowing for changes of output colour with nothing but a turn of the control ring.
Although I normally use dedicated coloured lights (so the LED is red or green) due to being most efficient and having the best quality of beam, it means I need to carry entire replacement lights to change colour. There are also LED swapping lights on the market but these compromise the thermal path as the heat sink has to move. With the H3 and H5, the single LED has an optimal thermal path for heat sinking.
Using filters on any light does reduce efficiency as you are ‘wasting’ up to 93% of the actual output (in the case of the red 1306lm down to 94lm). This is the cost of the convenience of instant access to red green or white light.

As long as you have a suitable rail to mount the remote switch on, this switch works really well. By including both a dedicated momentary switch, and a latching forward-clicky switch that gives you momentary and permanent on options, you have all you might want. If you don’t have a rail in the right place, this switch won’t really work for you, so consider this before choosing.

If you normally use a dedicated coloured light, then do you switch to the H3 and H5? – if you ever have a need to change between red, white, and green, then the all-in-one solution these Cyansky lights give you allows you to stop carrying additional separate lights.
If you use, or would consider using colour filters, then the H3 and H5 are no-brainers. Why would you want external filters you can lose, that are often a plastic filter material, when you can have self-contained selectable glass filters?

Review Summary
The views expressed in this summary table are from the point of view of the reviewer’s personal use. I am not a member of the armed forces and cannot comment on its use beyond that covered in the review.

Something that might be a ‘pro’ for one user can be a ‘con’ for another, so the comments are categorised based on my requirements. You should consider all points and if they could be beneficial to you.

_______________________________________________
What doesn’t work so well for me
_______________________________________________

Using filters is not efficient compared to dedicated coloured lights.
The mode button can look a little twisted as it has a little too much room to move.
Basic belt hanger provided.

_______________________________________________
Things I like
_______________________________________________

Glass filters are used.
Simple turn of the control ring to change filter colour.
21700 power (plus can use 18650 or CR123 if needed).
Supplied 21700 is USB-C chargeable.
Good choice of beam pattern between the H3 and longer reaching H5.

You can find the Official Cyansky Store Here, if you would like to get hold of these lights. (I have no affiliation and get no reward for you buying from this link).

Knife Review: Extrema Ratio T4000 C

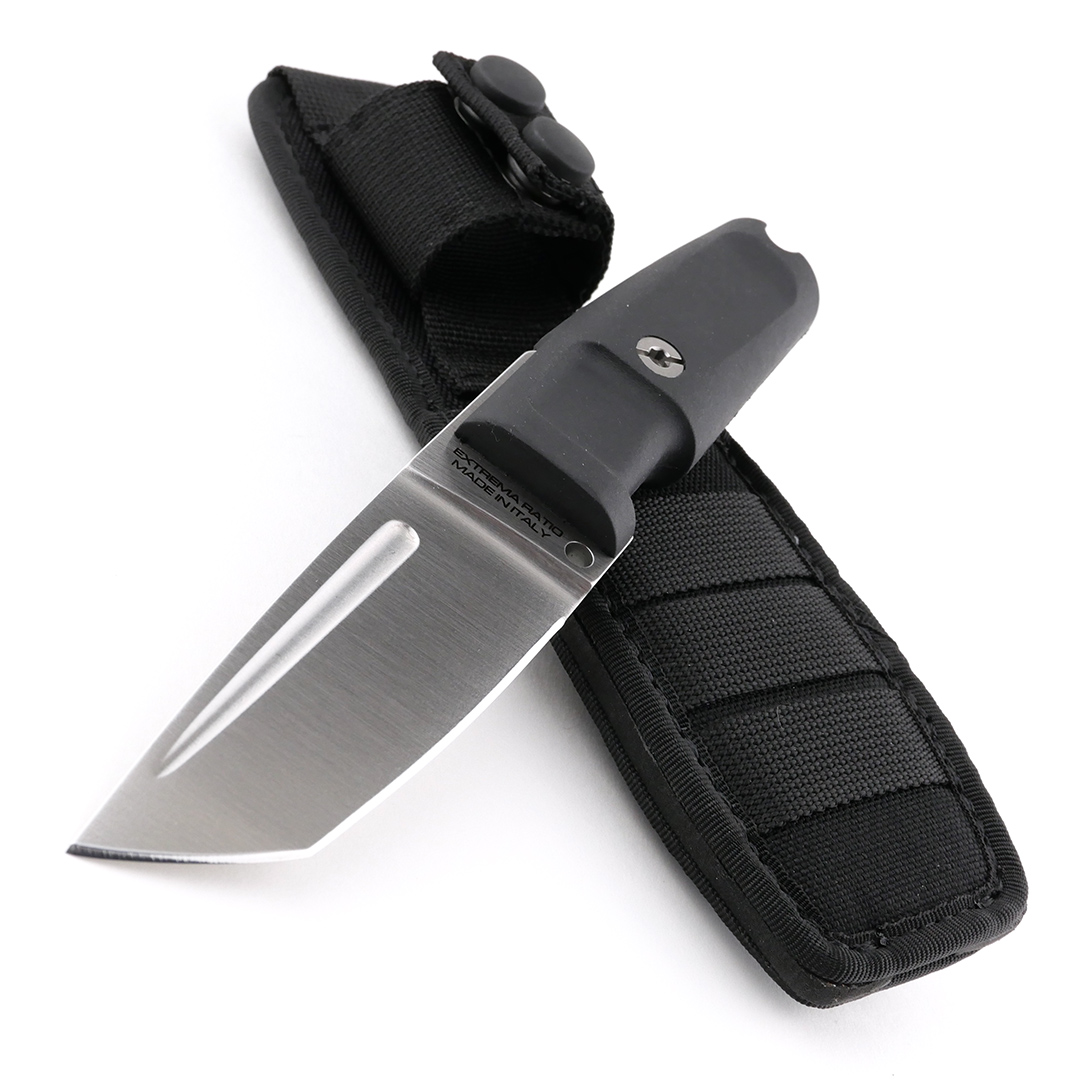
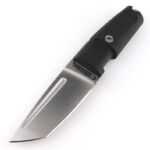
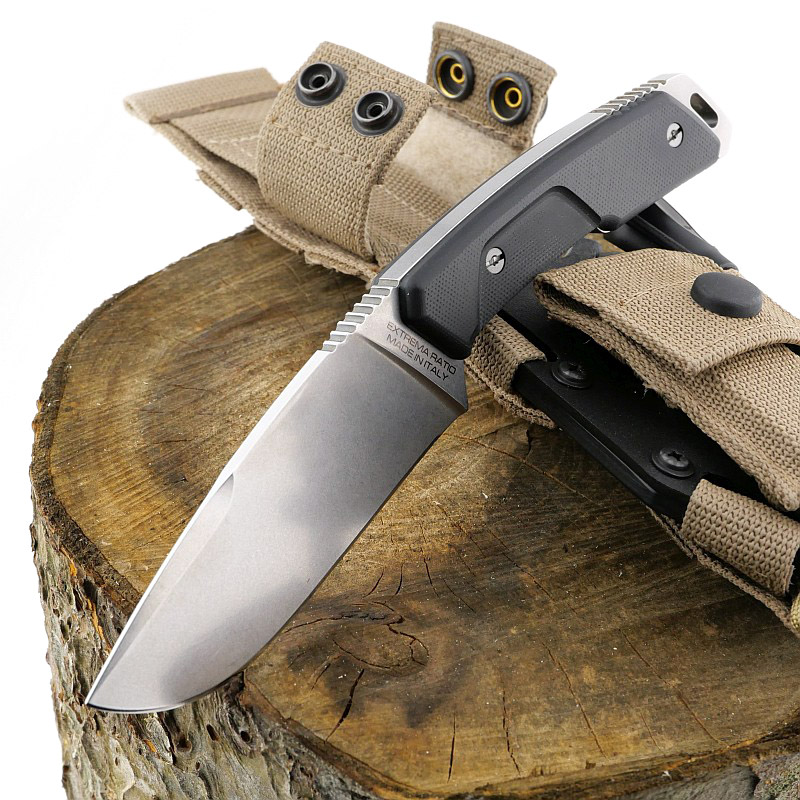
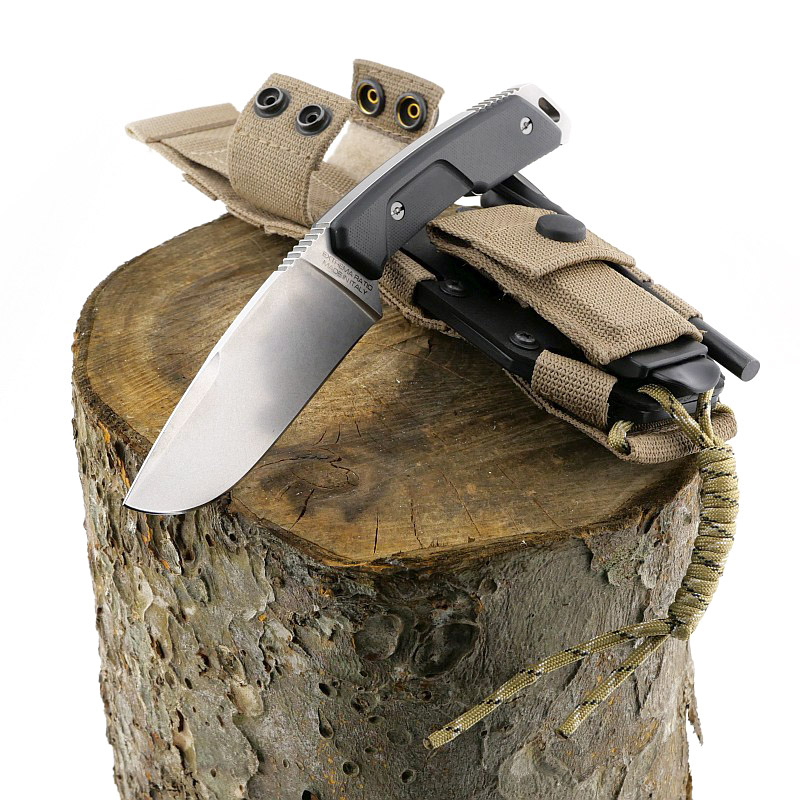
Included in this review of the Extrema Ratio T4000 C, a compact classic Tanto with Extrema Ratio’s tactical sheath and handle, are a video with an overview and detailed measurements, galleries of the packaging, sheath, and knife, plus insights into how it is to use.

Let’s take a closer look.

The video tour of the T4000 C:
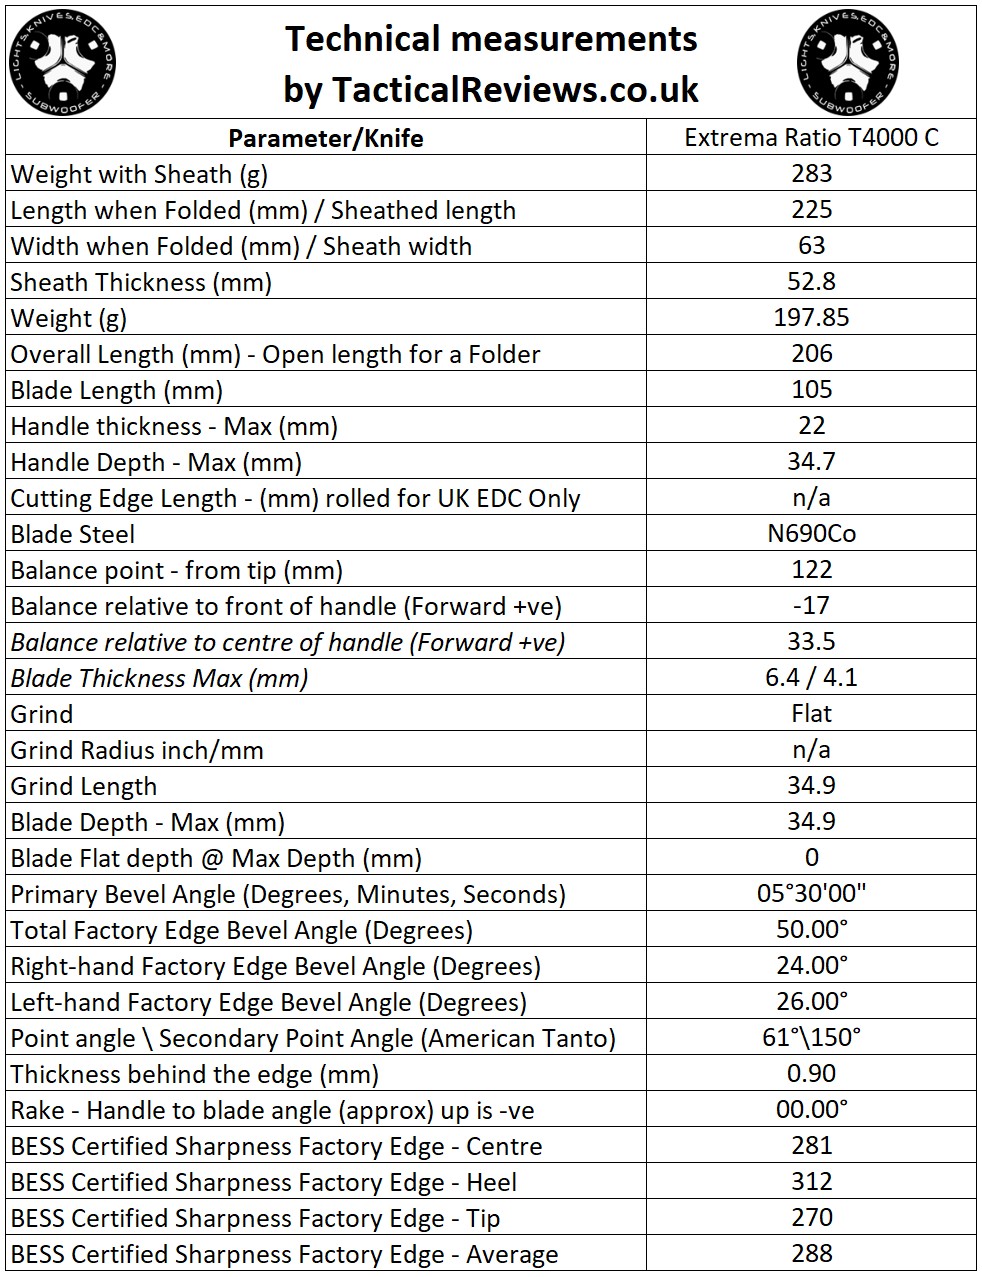
In case you haven’t seen the video overview and vital statistics of the T4000 C on Tactical Review’s youtube channel, here it is. This video covers a quick tour of the knife and sheath and a detailed technical measurements section.

A few more details:

What’s in the box?:
For the T4000 C, it ‘just fits’ into the box. The usual Extrema Ratio high quality two-part box is used.


A good look round the T4000 C’s Sheath – Things to look out for here are:
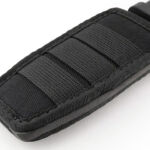
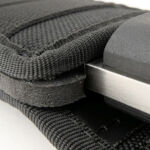
Even though ‘Compact’ the sheath manages to fit in a lot of features and details. Solidly constructed and made to fit the compact knife perfectly. On the back is a set of PALS/MOLLE webbing and strap, with the front also having webbing for mounting a small pouch or other item. A gap in the welt at the base of the sheath allows for free flowing drainage. To comfortably accommodate the thick blade stock the welt is similarly sized.
A strong double press-stud retaining strap wraps the handle and keeps the knife securely in place. you can adjust the position of the retaining strap as it is held in place with a Velcro adjusting system. There is an anti-catch smooth plastic insert backing the sheath to prevent wear and damage to the back of the sheath when sheathing the knife.
With there not being a specific belt loop, using the MOLLE strap, you can make your own belt loop to fit the size of the belt.


The T4000 C knife itself:
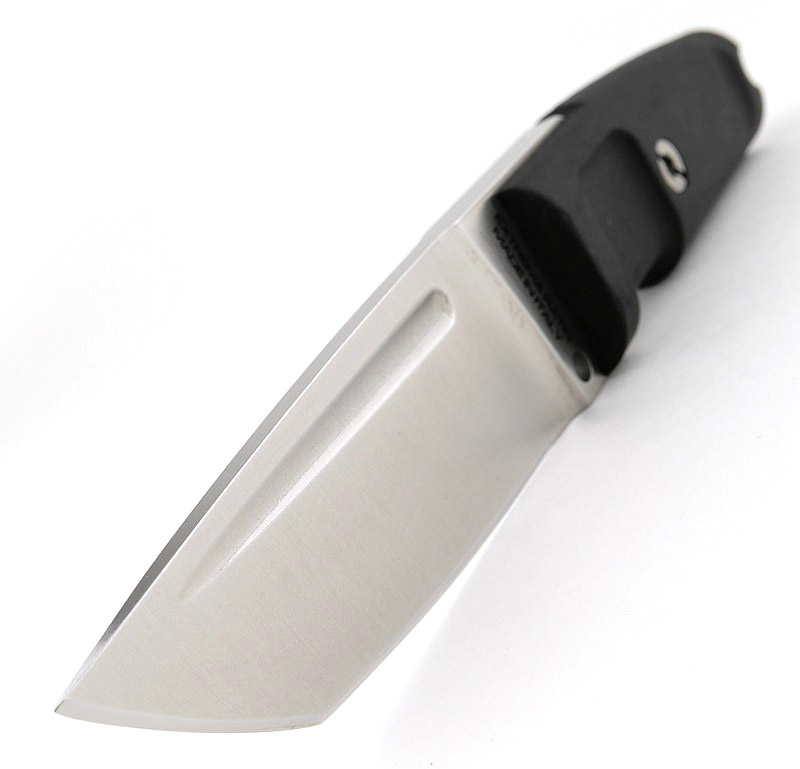
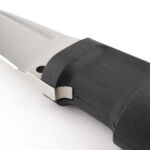
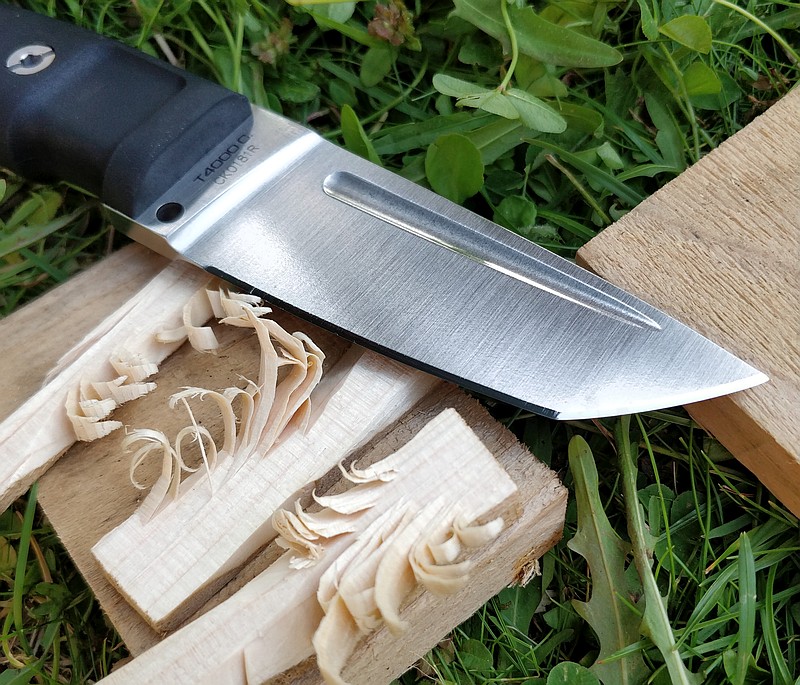
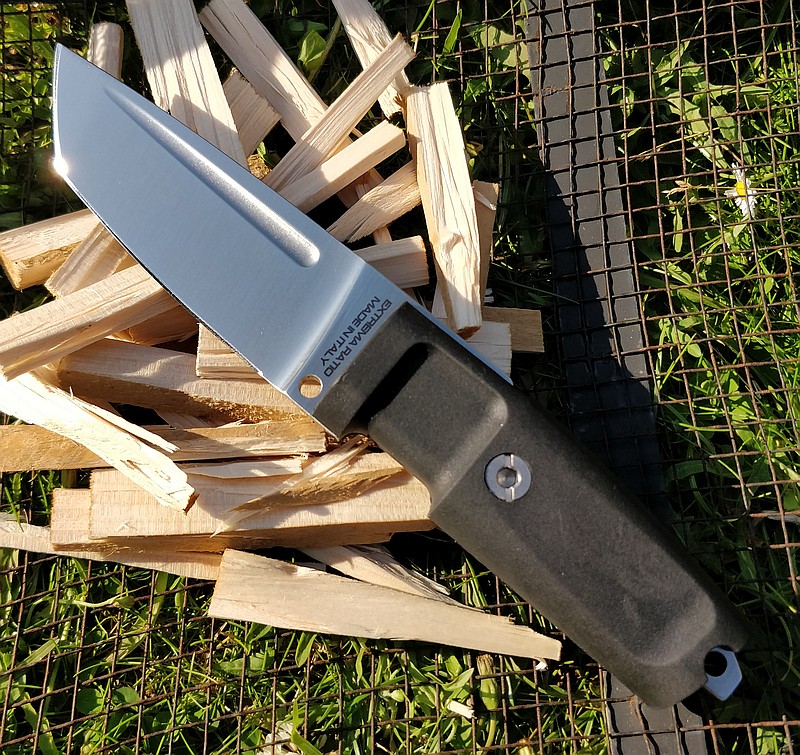
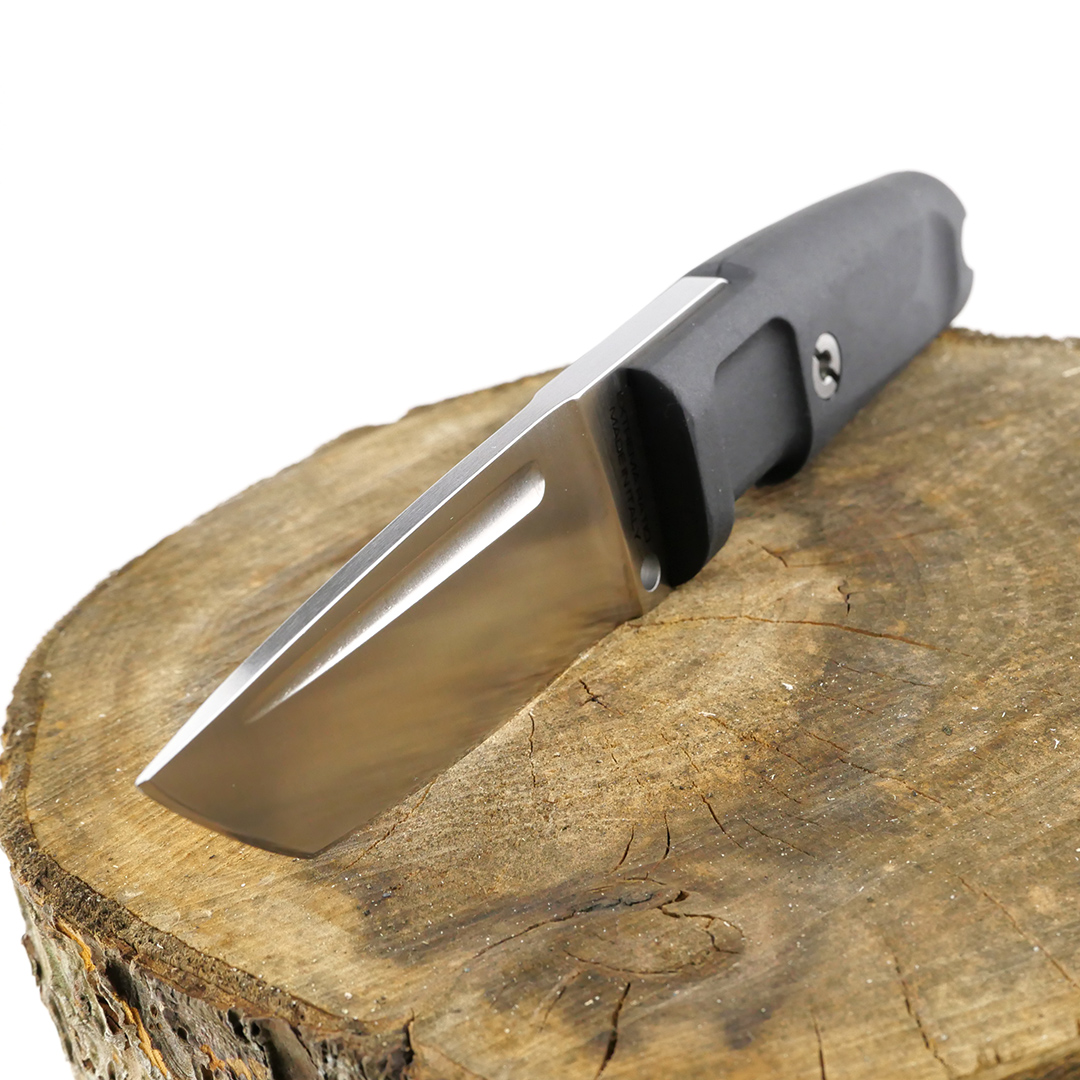
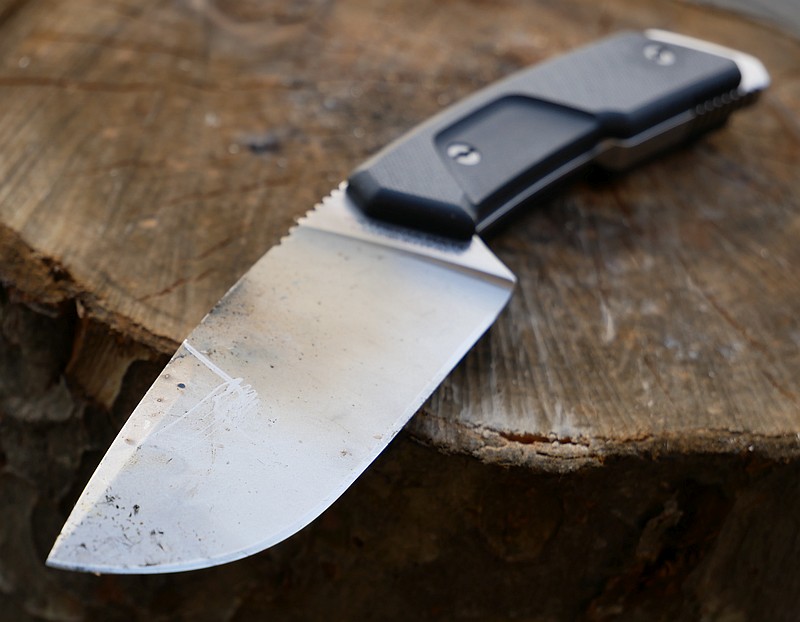
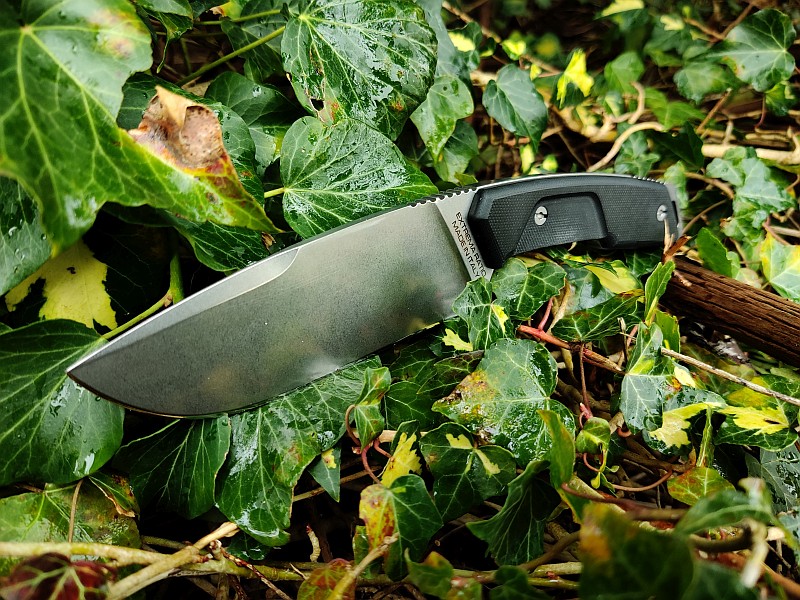
From the first view of the satin blade emerging you get drawn into admiring the knife. The beautifully executed fuller on each side of the blade enhances the lines. Extrema Ratio’s distinctive grip design provides an index finger groove to give a strong grip. A single bolt holds the rubber grip in place on the full tang, that extends through to a striker and lanyard hole. Sharpening choils – what is your take? – well the T4000 C does not have one, so the sharp edge stops just short of the plunge line. Also note a front lanyard hole, allowing you to fit a cord to both the front or rear of the handle.
Being the compact model, the handle length sits just within the hand (I take XL size gloves).

The Blade and Handle – Detailed Measurements:
For full details of the tests and measurements carried out and an explanation of the results, see the page – Knife Technical Testing – How It’s Done.

There is a lot to take in here. These measurements are shown in the video.


What is it like to use?

It’s a tanto – nice – I always like a tanto. There is a practicality of having an almost chisel-like tip and what I refer to as the secondary point (where the tip and main edge meet) for various cuts instead of using the actual tip of the knife.
The elegant lines are simply a pleasure to look at as well as to use, and being the compact knife class from Extrema Ratio this is a really useful day to day blade. Something you are more likely to pick up and use, as it is very practical.

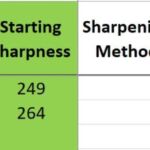
I knew after measuring the factor edge I would want to re-profile the edge bevel, 25DPS is too wide/heavy for a small knife, even 20DPS would be more than I want. But before doing this, with the sharpness measuring a respectable 281 BESS average I wanted to see how it fared. It would not shave arm hair with this edge, however…

Factory edge put to some minor fire prep tasks. The wood here is fully seasoned so much harder than any green wood. Kindling and feather sticks, perfectly good with these little pieces of wood, using the edge out of the box.

After a bit of use, it was time to change the edge bevel to 17DPS and bring that cutting edge a bit closer to the plunge line. As always, putting your own edge on a knife makes all the difference, and now it sings along shaving and slicing ferociously.

Extrema Ratio are good at Tantos, and this is one of their best. The thinned down blade thickness with full flat grind give it great slicing power, yet the blade still starts at 4.1mm at the spine, so is plenty strong for heavy use. Go back and look at the blade in the video as the light plays off it and you really appreciate the qualities of the T4000 C.


Review Summary

The views expressed in this summary table are from the point of view of the reviewer’s personal use. I am not a member of the armed forces and cannot comment on its use beyond a cutting tool or field/hunting knife.

Something that might be a ‘pro’ for one user can be a ‘con’ for another, so the comments are categorised based on my requirements. You should consider all points and if they could be beneficial to you.

I’m trying something slightly different and starting with what doesn’t work so well, so I can finish on a more positive note

_______________________________________________
What doesn’t work so well for me
_______________________________________________

No sharpening choil – personal preference.
Retaining strap is a bit bulky for a compact knife.
Factory edge usable but a bit ‘heavy’.

_______________________________________________
Things I like
_______________________________________________

Build quality and finish.
Practical well designed sheath.
‘Handy’ size being a ‘C’ Compact model.
Very comfortable grip.
Front and rear lanyard points.
Elegant blade profile with fullers.
Reliable steel choice.

 
Discussing the Review:
The ideal place to discuss this review is on the Tactical Reviews Facebook Page
Please visit there and start/join the conversation.

As well as the Tactical Reviews Facebook Page, please consider visiting one of the following to start/join in any discussion.

BladeForums – Knife Reviews (US based Forum for Knife Discussion)

CandlePowerForums – Knife Reviews Section (Largest and Friendliest Flashlight Community Forum)

Knife Review: Extrema Ratio Sethlans

Back when it was launched, I took a ‘first look’ at the Extrema Ratio Sethlans knife. Now, after being able to use the Sethlans for several months I can bring you this much more detailed look at the knife and its comprehensive equipped sheath.
The Sethlans is designed to be used for bushcraft, survival, and as a backup blade, so is also ideally suited for prepping, but I can tell you know, you are definitely going to want to use this knife.

The ‘First Look’ Video:
Taking you back to the initial impressions and overview of the Sethlans.


What’s in the box?:
Extrema Ratio knives always come in a nice robust presentation box.


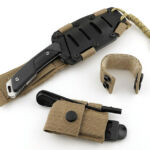
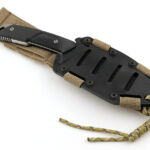
A good look round the Sethlans Sheath – Things to look out for here are:

A good sheath can make or break a knife, as access to, and ease of carry, affect your experience of using the knife. The Sethlans has one of the most comprehensively equipped and well thought out sheaths of any knife I have used, and there are so many details to show, it is a major part of this review. The following gallery takes you through the construction, assembly methods and components of the sheath, including the sharpening stone pouch and fire-steel that come with the Sethlans.
This sheath can be fully disassembled and reassembled either as a left-handed setup (It comes as a right-handed setup), or stripped down to the very basics. You can run this sheath as just the Kydex sheath with no hanger, or the Kydex sheath with belt hanger/Molle mount. Super flexible design.


The Knife:
This gallery seems rather small after the sheath rundown. The Sethlans is a simple and elegant design that manages to incorporate the distinctive Extrema Ratio finger grip styling and take this feature yet further into the shaping of the actual tang within the grips where the metal is thinned down in the finger grip section of tang to mirror the grip shaping. Very nice touch.


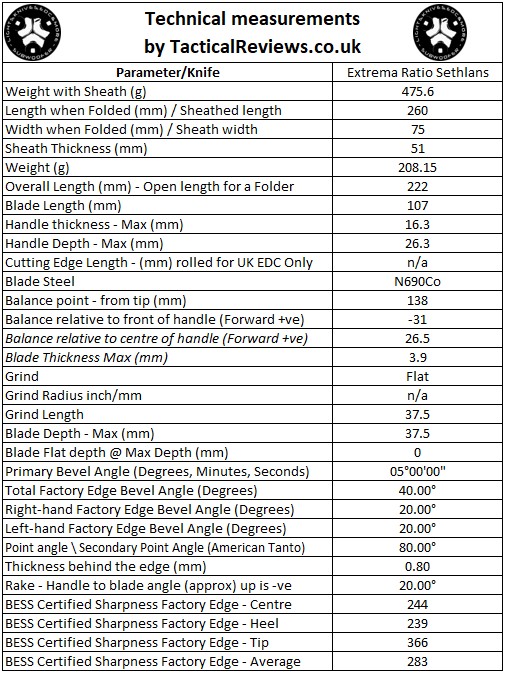
The Blade and Handle – Detailed Measurements:
For full details of the tests and measurements carried out and an explanation of the results, see the page – Knife Technical Testing – How It’s Done.


What is it like to use?
Being an Extrema Ratio knife, the Sethlans seems to be both typically characteristic of the brand, yet at the same time completely different and surprising. It also has me in a dilemma about how to set it up thanks to the super flexible sheath design.
If I were packing in a ‘prepping’ style, I would leave the full Sethlans sheath setup with the sharpening stone and fire-steel, as like this you have all the bases covered. However as I am enjoying using this knife, and with the sheath pared down to the minimum, for me it is a much nicer every day carry. In this setup, I remove the pouch with sharpening stone, the fire-steel, and the handle retaining strap. This leaves the knife securely in the Kydex holder on a belt loop hanger.
The knife immediately feels at ease in the hand, comfortable, well balanced and agile. The grip is relatively slim for an Extrema Ratio knife, and this adds to the mobility and control for fine work.
Thanks to the thick full tang, the weight feels like it is in your hand, and the knife will just sit balanced on your first two fingers without trying to fall forwards.


The way the edge sweeps up towards the tip, gives you something similar to a chisel that you can use for nice controlled cuts by pushing down into whatever you are cutting. This same shape also works well as a skinner.
Areas of deep, wide and grippy jimping make for a very stable hold, and there is also the Extrema Ratio distinctive finger groove I have always loved.

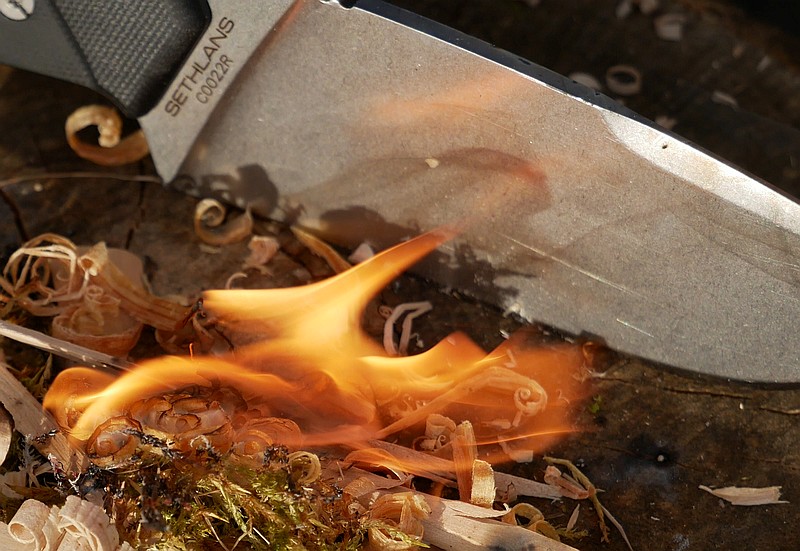
Between the thumb jimping and swedge is a section of the blade spine that has been given a nice crisp edge, just right for scraping sparks off the big fire-steel. It does this very nicely indeed…


Fire-steels always make a mess that looks much worse than it is. The Sethlans cleans up perfectly after a fire lighting session, and the photo below, after a clean, left a knife looking as good a new. Use it!

Despite the significantly thick blade tang, the blade itself has a thickness of 3.9mm combined with a depth of 37.5mm, and this makes for a 5 degree primary bevel angle. The figures might be a bit of a yawn, but what it means is a blade that slices really well thanks to the small bevel angle – yet at a maximum thickness at the spine of nearly 4mm, is still a good strong blade without feeling heavy.

Extrema Ratio have put a lot of effort into the complex shaping of the blade, tang and handle fittings, and it shows. These design details make the Sethlans one of those knives you pick up and virtually forget about while using it, as the tool becomes an extension of your hand. You focus on the job, not the tool.

Review Summary

The views expressed in this summary table are from the point of view of the reviewer’s personal use. I am not a member of the armed forces and cannot comment on its use beyond a cutting tool or field/hunting knife.

Something that might be a ‘pro’ for one user can be a ‘con’ for another, so the comments are categorised based on my requirements. You should consider all points and if they could be beneficial to you.

_______________________________________________
What doesn’t work so well for me
_______________________________________________

The Kydex sheath has a bit of side to side play due to the strap layout.
Reconfiguring for left-handed use requires full disassembly of straps and sheath bolts.

_______________________________________________
Things I like
_______________________________________________

Excellent balance of the knife.
Comprehensively equipped sheath.
Sheath can be reconfigured for left-handed use.
Modular sheath allows user to choose favourite setup.
Very good handling and grip.
Strong but slicey blade profile.
Easily strikes showers of sparks from a fire-steel.
Compact package.
Secure blade retention, yet easy to remove using thumb pressure.

 
Discussing the Review:
The ideal place to discuss this review is on the Tactical Reviews Facebook Page
Please visit there and start/join the conversation.

As well as the Tactical Reviews Facebook Page, please consider visiting one of the following to start/join in any discussion.

BladeForums – Knife Reviews (US based Forum for Knife Discussion)

CandlePowerForums – Knife Reviews Section (Largest and Friendliest Flashlight Community Forum)

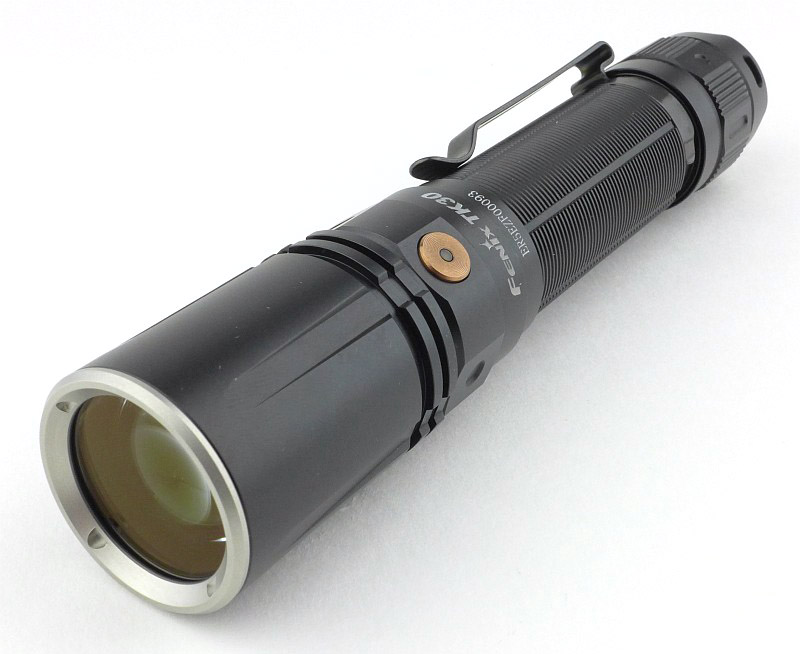
Light Review: Fenix TK30 White Laser LEP

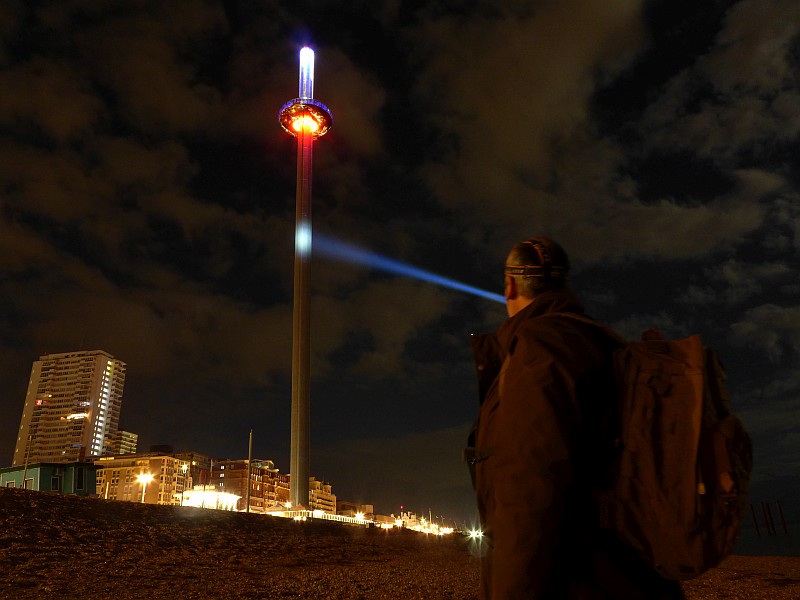
LEP, what is LEP? Laser Excited Phosphor, the new super thrower with a highly focused beam; and I was certainly excited to try out the Fenix (see MyFenix in the UK) TK30 White LEP light. I first came across the concept of LEP to be used as a long range tactical scope illuminator for snipers, and there is no doubt this is a highly specialised type of light. For long range scope illumination it is outstanding, and for the general lighting enthusiast it is a lightsaber, with near laser beam like projection.

First up is a video which covers the basics of a look round the TK30 and some outdoor video to show the incredible beam. This page has a lot more detail including the measured output figures, runtime graph and photos of the beam.

What is in the box?:


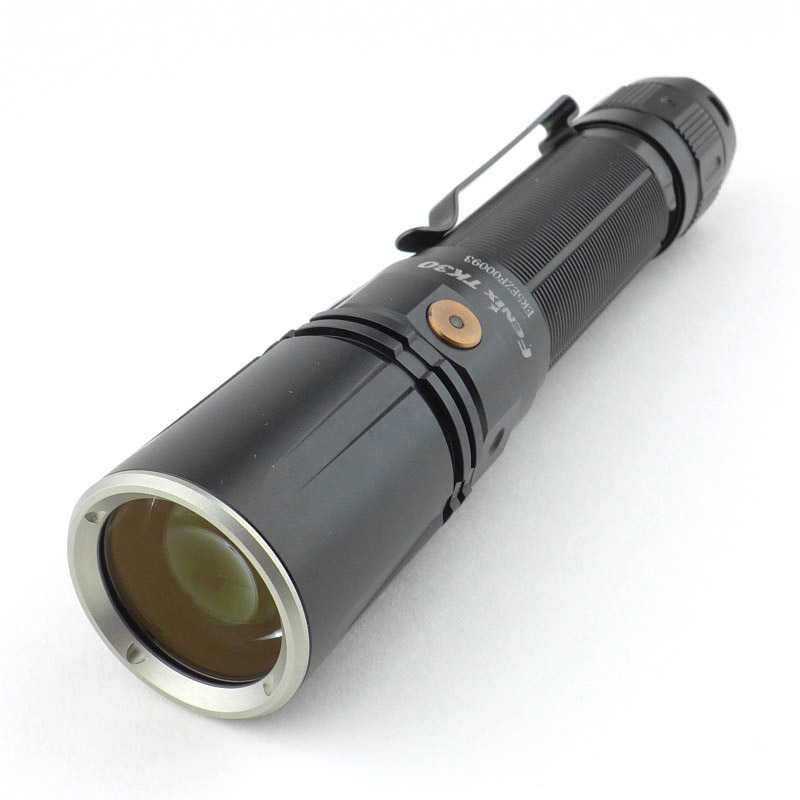
A good look round the TK30 – Things to look out for here are:
The TK30 comes with an excellent belt holster, and a 21700 cell that has a built-in USB-C charging port (in the cell, not the TK30).


The beam

Please be careful not to judge tint based on images you see on a computer screen. Unless properly calibrated, the screen itself will change the perceived tint.

The indoor beamshot is intended to give an idea of the beam shape/quality rather than tint. All beamshots are taken using daylight white balance. The woodwork (stairs and skirting) are painted Farrow & Ball “Off-White”, and the walls are a light sandy colour called ‘String’ again by Farrow & Ball. I don’t actually have a ‘white wall’ in the house to use for this, and my wife won’t have one!

Yes, this really is the beam, not a mistake. There is a small bright spot with all 500lm (422lm measured) in it.


Batteries and output:

The runs on the included 5000mAh 21700 cell.

Please note, all quoted lumen figures are from a DIY integrating sphere, and according to ANSI standards. Although every effort is made to give as accurate a result as possible, they should be taken as an estimate only. The results can be used to compare outputs in this review and others I have published.

Peak Beam intensity measured 469000lx @1m giving a beam range of 1370m!!!

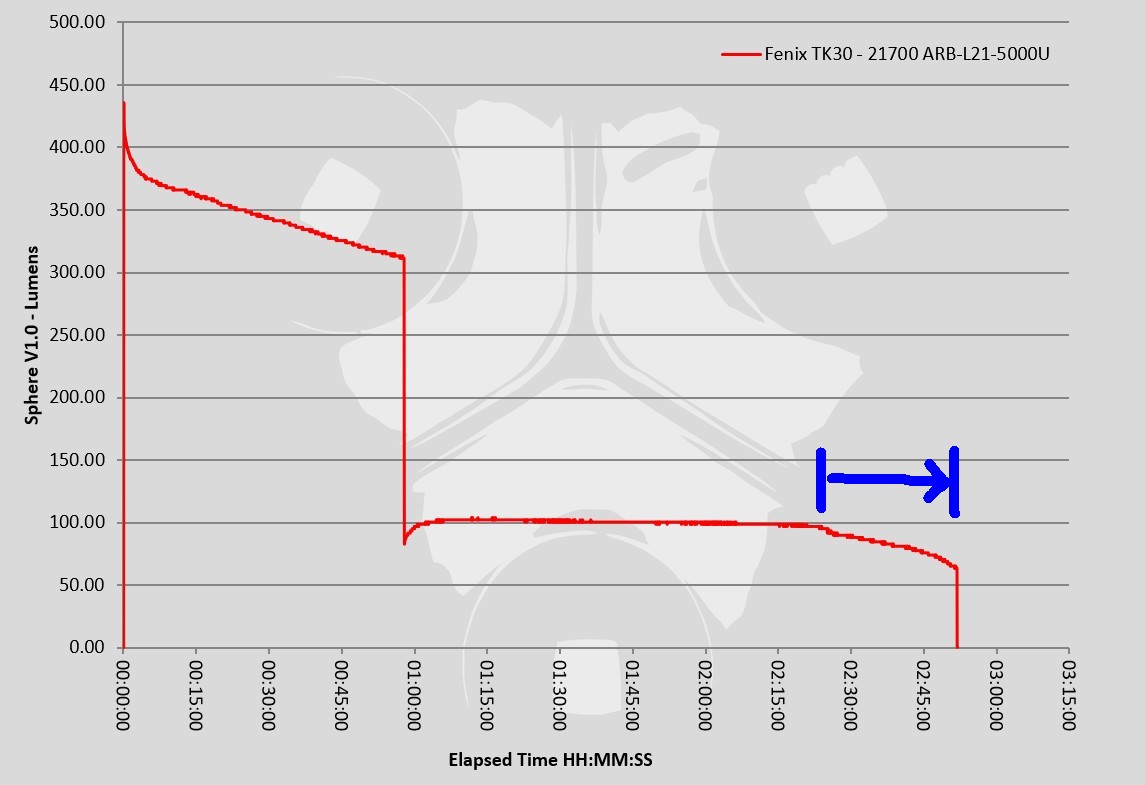
In this gallery are measurements of the built-in USB-C charging for the 5000mAh cell, and the runtime graph (with active cooling).


Troubleshooting

This section is included to mention any minor niggles I come across during testing, in case the information helps anyone else.

It was noted that when the low battery warning is shown with the flashing indicator in the side switch, this makes the main beam output flicker. More on this is included in the ‘in use’ section below.

As per the description of this section, this information is provided in case anyone else finds a similar ‘issue’ that might be fixed in the same way.

The TK30 in use
Let’s first just get the minor quibble out of the way with the output that starts to flicker when the low battery warning comes on. It is shown in the marked copy of the runtime graph and only affects the very last part of the run. I personally take this as a point of the output being so near the end and not able to maintain the full output, that I would want to recharge the battery anyway at this point.

In some ways, the visible beam flickering is only further indication the battery is too low, so is not a problem so much as a ‘feature’. Moving on…

So the operation of the TK30 is just fine, a tail-switch, and a side switch for the mode. Easy and straightforward to use.

Although the high beam output is only in the region of 500lm, I would say that the heat generated and felt at the head of the TK30 is more than I would expect for a 500lm light. But this is no ordinary 500lm light. Inside the head is a UV Laser module that is then illuminating a phosphor surface to produce the beam, so overall it is not as efficient as a typical LED emitter and so generates more heat.

Swapping from the included 21700 cell to an 18650 (with adapter), the runtime is much less, and the lower efficiency of LEP to LED becomes even more obvious. A trade off in efficiency in exchange for a beam unlike any other.

Just take a look through this gallery. (I have used the Moon to cheat with a couple of these, it’s not quite that amazing.)


Review Summary
The views expressed in this summary table are from the point of view of the reviewer’s personal use. I am not a member of the armed forces and cannot comment on its use beyond that covered in the review.

Something that might be a ‘pro’ for one user can be a ‘con’ for another, so the comments are categorised based on my requirements. You should consider all points and if they could be beneficial to you.

_______________________________________________
What doesn’t work so well for me
_______________________________________________

Not really a ‘con’, but a warning – this is a specialist light and is not suitable for general use due to the tiny hotspot and no spill.
Shorter runtime compared to an LED light.

_______________________________________________
Things I like
_______________________________________________

Super focused beam with 1370m throw!
LEP – Laser Excited Phosphor.
USB-C rechargeable 21700 cell and cable included.
Very good belt holster.
It’s just superb fun to have a lightsaber / white laser.

 
Discussing the Review:
The ideal place to discuss this review is on the Tactical Reviews Facebook Page
Please visit there and start/join the conversation.

As well as the Tactical Reviews Facebook Page, please consider visiting one of the following to start/join in any discussion.

CandlePowerForums – Flashlight Reviews Section (Largest and Friendliest Flashlight Community Forum)

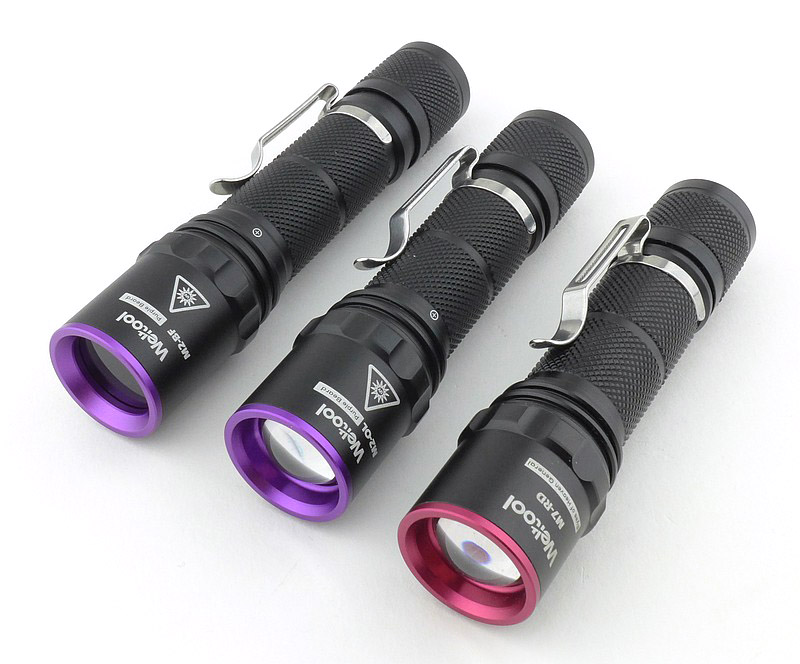
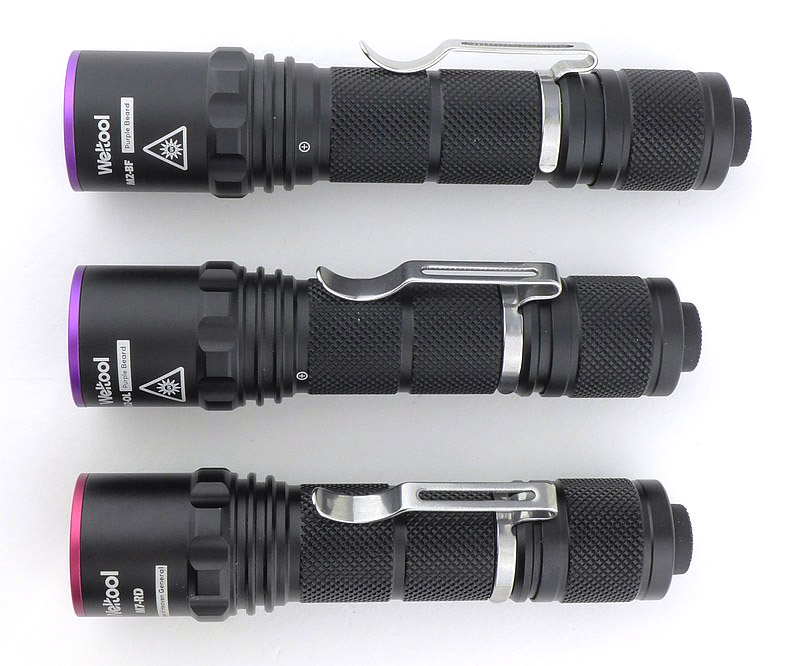
Light Review: Weltool 365nm UV/Red lights – M2-OL, M2-BF and M7-RD

For my first Weltool review I’m taking a look at some specialist lighting options; no white light here, instead it’s two lights with 365nm UV output, and one pure Red 625nm output. The models on test are the M2-OL (flood beam 365nm UV light kit with charger and cell), M2-BF (pure 365nm UV output, light only), and the M7-RD (625nm Red output with USB chargeable cell).

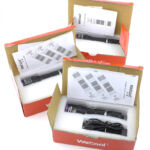
What is in the box?:
A quick overview of the three models and how they arrived. The M2-OL also includes a single-bay USB charger in the box.


A good look round all three of the models – Things to look out for here are:
The first one to be unpacked was the M2-OL. All three use a very similar chassis, with minor differences. For the two that included 18650 cells, each had an insulator disk to prevent accidental switch-on during transit. The lens/bezel arrangement is different in each of the three.


Taking a more detailed look at the charger and cells:
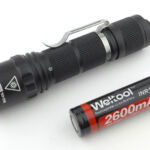
The M2-OL included a flat top 18650 with USB charger, and the M7-RD came with a USB rechargeable 18650 (no cell was included with the M2-BF). After looking over the set of contacts and the image of the flat top cell, you can also see a side shot of the cell in the charger where the negative contact end is raised slightly. This was required for the positive contact to touch the positive terminal in the charger.


The beam

Please be careful not to judge tint based on images you see on a computer screen. Unless properly calibrated, the screen itself will change the perceived tint.

The indoor beamshot is intended to give an idea of the beam shape/quality rather than tint. All beamshots are taken using daylight white balance. The woodwork (stairs and skirting) are painted Farrow & Ball “Off-White”, and the walls are a light sandy colour called ‘String’ again by Farrow & Ball. I don’t actually have a ‘white wall’ in the house to use for this, and my wife won’t have one!

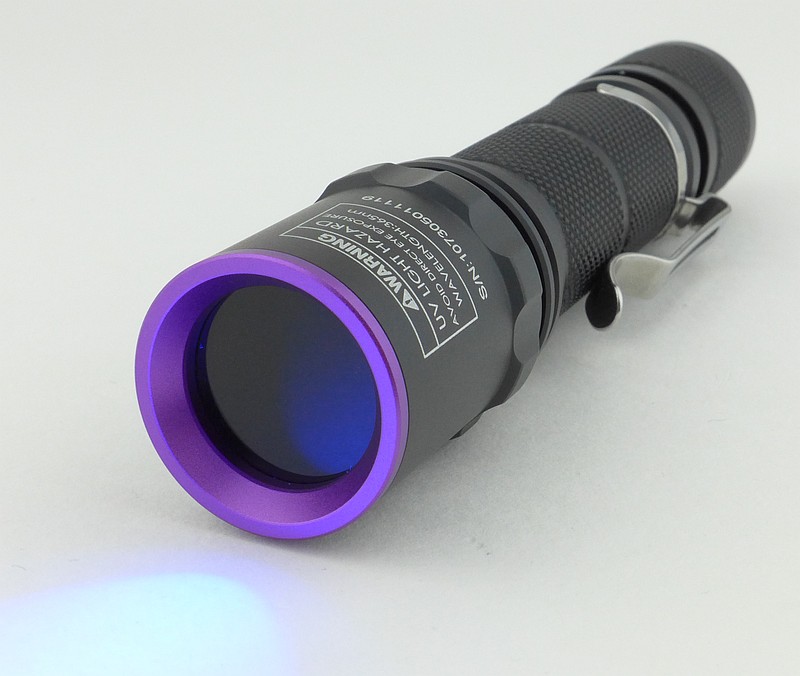
In this set of beamshots, the only outdoor beamshot is of the M7-RD red beam, as the UV lights do not show up anything significant for this type of image. However, where it gets interesting is indoors. For this gallery, the first image is for the M2-OL, which is not pure UV, having some blue light. The next image is at the exact same exposure with the M2-BF that has a filtered output so it is pure 365nm UV light, and the only visible features are those fluorescing in the UV. The last two are of the red beam of the M7-RD.


Special beam galleries:
To properly appreciate the output of these dedicated UV lights the next two galleries are needed. In the first gallery are two sets of images, each set of the same scene, starting with a control image using a warm white light, then the M2-OL, and finally the M2-BF. The results are very clear.


In this second special gallery are two views from a pebble beach, where the confusion of the stones easily hides details that UV can reveal. In this gallery, a control warm white light is used, and the M2-BF. The last image shows bank note security features and the glow around the spots on a banana skin.


Batteries and output:

Please note, all quoted lumen figures are from a DIY integrating sphere, and according to ANSI standards. Although every effort is made to give as accurate a result as possible, they should be taken as an estimate only. The results can be used to compare outputs in this review and others I have published.

Included here are two charging traces, first for the USB charger and 18650 cell that came with the M2-OL, and second for the USB chargeable 18650 that came with the M7-RD. Lastly is a runtime graph for the M7-RD (which should be showing the actual lumen output), and the M2-BF showing a simulated output. The integrating sphere sensor does NOT measure UV, so in this run for the M2-BF I included fluorescent material inside the sphere to convert some of the UV to visible light. Doing this allows for a ‘relative’ output trace over the full runtime, but is not a measurement of actual lumens.


Troubleshooting

This section is included to mention any minor niggles I come across during testing, in case the information helps anyone else.

As mentioned in the previous section “Taking a more detailed look at the charger and cells:” The flat-top cell supplied with the M2-OL would not charge in the supplied USB charger. This was because the plastic wrap on the cell left the positive terminal slightly recessed. To allow charging the negative end of the cell just needed to be raised slightly.

Not a big issue and easily rectified. I mention it here in case you find the same and need to use this simple fix.

As per the description of this section, this information is provided in case anyone else finds a similar ‘issue’ that might be fixed in the same way.

The M2-OL, M2-BF and M7-RD in use:

These are specialist lights, so really shine (pun intended) in specific situations. If you are an enthusiast in portable lighting, then you might not really ‘need’ these lights, but they will be great fun to add to your line up.
If you are in need of them for their special purposes, then you have some really strong performers to choose from. Before getting to the model-specific comments, a quick look at their sizes; I am slightly surprised there is so much variation when based on the same body and switch, but each of these three is a different length, and has been fine tuned to the LED and lens configuration. All three lights have two output levels selectable with a quick on-off-on via the forward-clicky tailcap switch; all three start on low if left off for 2s or more.

M7-RD RED: Weltool describe the M7-RD as a choice that won’t affect dark adapted eyes. For this I partly disagree; yes, red light does have less of an effect on your night vision, but the M7-RD is very bright, and will still affect your night vision. Use this at a star party (if that is your bag) and you will be shouted at. However, I find it particularly useful for hunting. The quarry I often target does not appear to react to pure red light, and this means I can use a good brightness red light to help me, instead of a super dim light where I’d struggle to see (especially when using a gun light that is much brighter).

M2-OL UV: After looking at the special beamshot galleries, the M2-OL, might seem a lesser choice for a UV light, but the mix of UV with some blue light has a place. It means that you have some ‘supporting’ light to see other features in the scene even if they don’t react to UV. This mix of light is helpful and gives a different view of the area.

M2-BF: This is the most specialist of the three, as there is a filter lens to remove all but the pure 365nm UV light. If there is nothing to fluoresce, you won’t see anything. In the photo below, the M2-BF is on, but apart from the glow of the paper surface in front of the lens, you might not know it was on at all.
With this super pure UV you can reveal hidden details, and often show things you might rather you hadn’t seen! The M2-BF is the ultimate in true ‘black light’ as long as you don’t need any visible light mixed in.


Review Summary
The views expressed in this summary table are from the point of view of the reviewer’s personal use. I am not a member of the armed forces and cannot comment on its use beyond that covered in the review.

Something that might be a ‘pro’ for one user can be a ‘con’ for another, so the comments are categorised based on my requirements. You should consider all points and if they could be beneficial to you.

_______________________________________________
What doesn’t work so well for me
_______________________________________________

Minor issue with the USB charger and flat-top cell.
M7-RD’s Red output is too bright for saving night vision.
They are 18650 powered only, so no option for primary cells.

_______________________________________________
Things I like
_______________________________________________

Great fit and finish for all models.
Choice of different beam profiles to suit your needs.
M7-RD has a USB chargeable cell that does not need a separate charger.
M2-OL includes a full kit including a cell and charger.
M2-BF outputs pure filtered 365nm ‘black light’.

Light Review: Nextorch T53 Hunting Kit

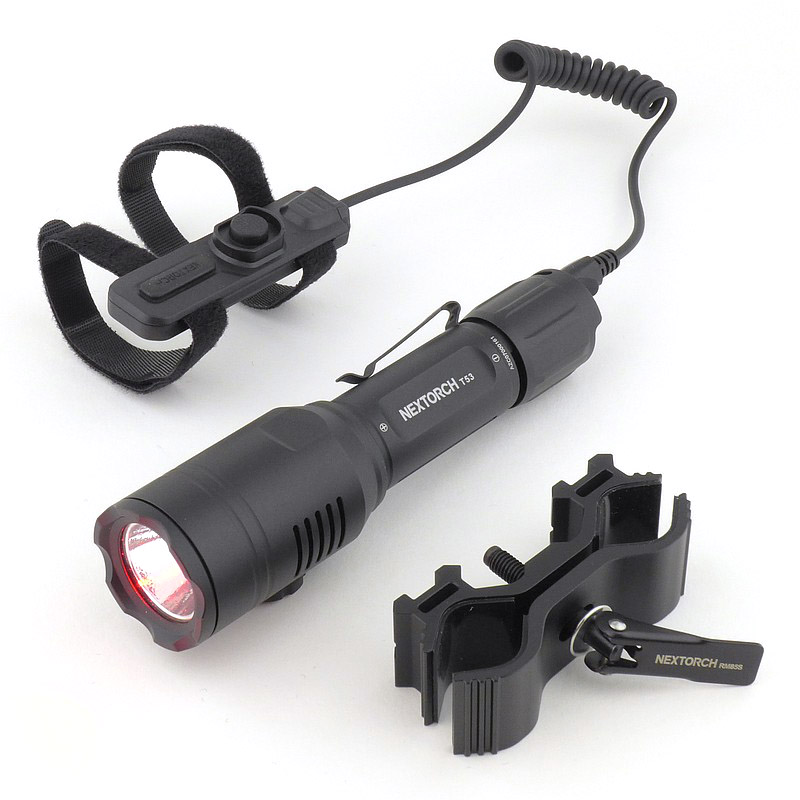
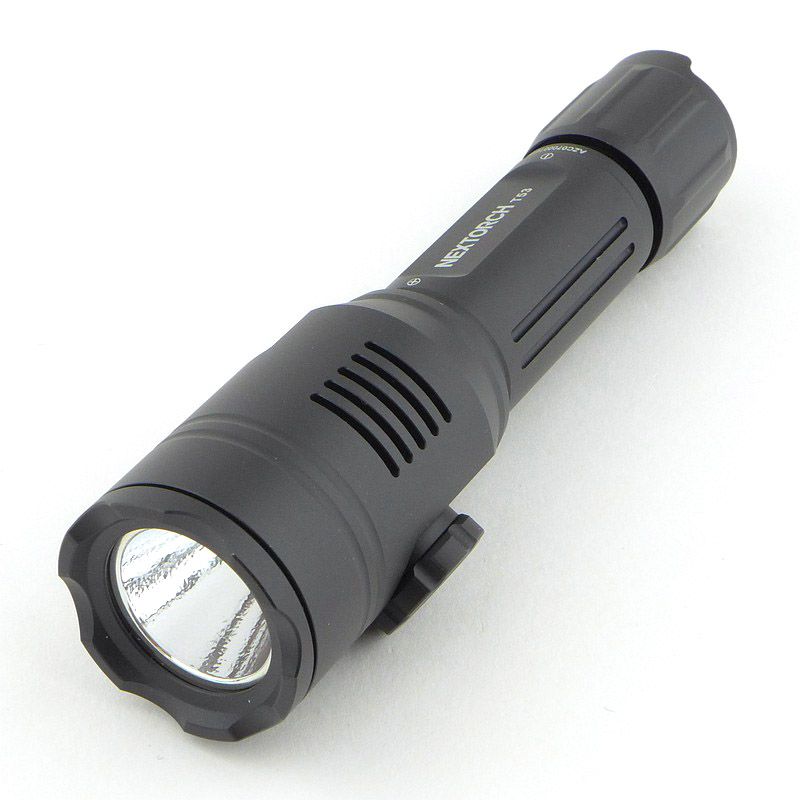
NEXTORCH have been working on LED swapping lights for some time, lights that maintain full beam quality; the Dual-Light models were the first of these that I used (like the P5G, P5R etc.). This Light Review is for the T53 hunting light set, that not only has a LED swapping triple colour output mechanism, but also a mount and remote switch.
The crucial difference with NEXTORCH’s lights and their LED swapping mechanism being there is no compromise of the reflector or beam. Typically, multiple LED light have the LEDs set into fixed, off-centre, positions in the reflector, compromising the beam. Instead the T53’s chosen LED sits at the reflector’s focal point, and is completely swapped for another LED positioned exactly at the reflector’s focal point… keep reading for all the details.

What is in the box?:

A first look at what the T53 set includes, which is all well presented in the box. Everything you need to use it is included.


A good look round the T53 Set – Things to look out for here are:

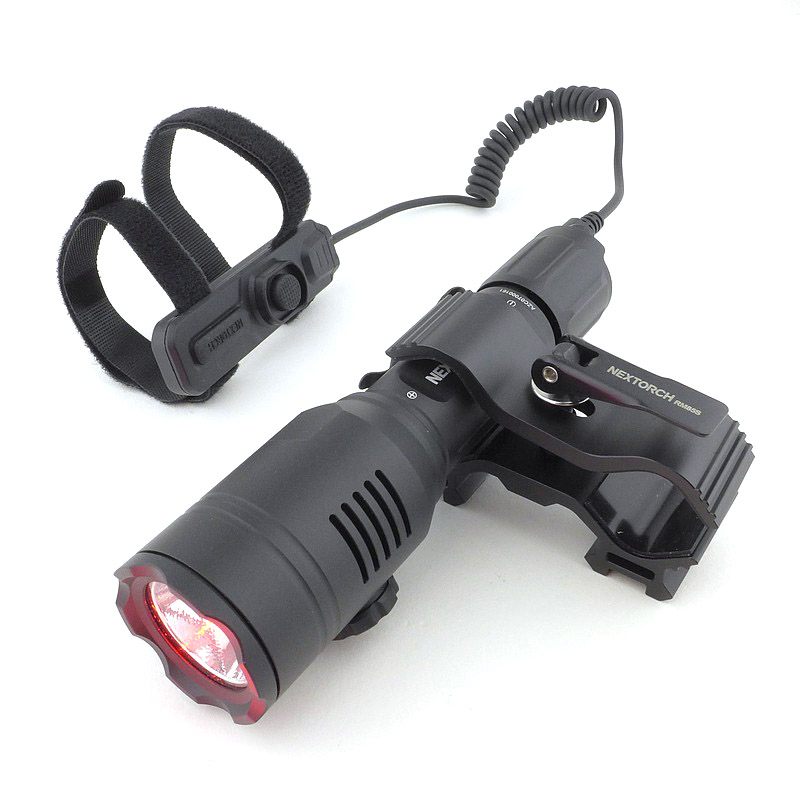
The images take you through the major components and the details of each of these. Starting with the clamp-mount to hold the T53 in various positions on the gun of your choice. It uses a cam-lever to lock into place. The mount also has a couple of small rail mount section so you can add extra accessories. A nice remote switch has both latching and momentary buttons on it, plus hook/loop straps for fitting to the gun.
There is a small socket in the tail of the T53 which takes either the charging cable or remote switch. With the appropriate plug in place, it can be rotated to lock it in the socket.


Taking a more detailed look at the LED switching:

This is the magic of the T53 (and other NEXTORCH LED swapping lights). The LED at the focal point of the reflector can be completely swapped for another by rotating the dial on the side of the light’s head.


The beam

Please be careful not to judge tint based on images you see on a computer screen. Unless properly calibrated, the screen itself will change the perceived tint.

The indoor beamshot is intended to give an idea of the beam shape/quality rather than tint. All beamshots are taken using daylight white balance. The woodwork (stairs and skirting) are painted Farrow & Ball “Off-White”, and the walls are a light sandy colour called ‘String’ again by Farrow & Ball. I don’t actually have a ‘white wall’ in the house to use for this, and my wife won’t have one!

In this gallery all exposure settings for the set of indoor or outdoor shots are the same.


Batteries and output:

The T53 runs on a supplied 2600mAh 18650 cell.

To measure actual output, I built an integrating sphere. See here for more detail. The sensor registers visible light only (so Infra-Red and Ultra-Violet will not be measured).

Please note, all quoted lumen figures are from a DIY integrating sphere, and according to ANSI standards. Although every effort is made to give as accurate a result as possible, they should be taken as an estimate only. The results can be used to compare outputs in this review and others I have published.

There is parasitic drain – this is included in the table of measurements.

Included in the gallery are the USB charging trace, a table of measured results, and the runtime trace for maximum white output (plus zoomed-in graph for the start).


The T53 Set in use

Let’s start with the T53 on its own. NEXTORCH lights always have a nice solid feel, and the T53 is built a little bigger to accommodate the LED swapping mechanism. Just as a single 18650 powered light, it is a little chunky and heavier than if it were only a single LED light. The tail-switch is not what I would term ‘tactical’ as it does not stand proud, making it a struggle to press far enough in to latch on if wearing gloves. This is not an issue at all in normal use, and certainly not a factor when moving to the remote switch.

Charging can be carried out internally using the supplied cable, and when doing so, in this example charged to a healthy 4.18V. Although not quite to 100% capacity, I much prefer this slight lower than 4.20V level as it is better for the life of the cell.

Before moving onto the gun mounting, a quick note on the tail-switch. This functions the same whether the remote switch is connected or not, in fact the two switches overlay their functions.
The tail-switch, if half-pressed, first turns on on high. If double-tapped you get strobe. However if you fully press to click it on, a subsequent half-press changes to low output.
The remote-switch, has a latching switch and a momentary switch. Either switch only gives access to high however many times you tap, you only get high.
Now, for example, if you had the tail-switch strobing, and then use the remote switch it changes to high, and once you turn the remote switch off it goes back to strobe. This is how they overlap each other.

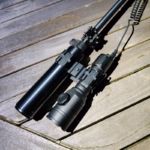
In the next gallery the T53 is mounted onto a Chiappa Little Badger. More often than not, lights like the T53 are described as scope mounted. This is a personal bugbear as I dislike the way the spill light illuminates the gun and this creates a gap in the beam. So I will always, if possible, mount the light to the front of the gun to ensure none of the beam hits the gun. Here I’ve been able to fit the mount to the SAK sound moderator – it fitted, but was getting near the limit.

When fitting the mount, the design makes it very quick and simple to secure. The main adjustment is with the central screw and once snug, locking down the cam latch clamps it nice and tight.

Thanks to the hook/loop straps the remote switch fitted on easily, but larger stocks might prove too large for the straps.

The galley includes actual through-scope views.


For hunting use, I never looked back once I started using coloured lights, the difference is literally like night and day. There is also a massive difference between filters fitted to white lights, and pure colour LEDs, both in quality and brightness. I have no need to change colours on one outing as the gun is chosen for the quarry, and the colour to match the quarry. In theory I then don’t need the ability to change colour in one light. That said, it means the one light is suitable for all setups, and you won’t bring the wrong one.

Target illumination is very good with all colours, and something I found very useful was the ability to set the low output with the tail-switch and ramp it up to high as needed with the remote switch, then back to low again.

This is a very accomplished package from NEXTORCH.

Review Summary

The views expressed in this summary table are from the point of view of the reviewer’s personal use. I am not a member of the armed forces and cannot comment on its use beyond that covered in the review.

Something that might be a ‘pro’ for one user can be a ‘con’ for another, so the comments are categorised based on my requirements. You should consider all points and if they could be beneficial to you.

I’m trying something slightly different and starting with what doesn’t work so well, so I can finish on a more positive note

_______________________________________________
What doesn’t work so well for me
_______________________________________________

Tail-switch a little too recessed.
Remote switch straps may be too short for some guns.

_______________________________________________
Things I like
_______________________________________________

LED ‘swapping’ mechanism.
Three colour output, Red, Green and White.
Perfect beam for all colours.
Bright ‘through-scope’ view.
Built in USB charging (needing supplied cable).
Remote switch has momentary and latching switches.
Mount clamp is very secure.
Full kit provided, nothing else required (apart from a gun).


Discussing the Review:

The ideal place to discuss this review is on the Tactical Reviews Facebook Page
Please visit there and start/join the conversation.

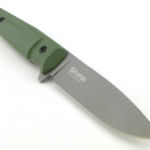
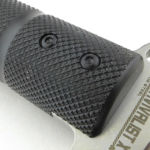
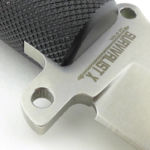
Knife Review: Kizlyar Supreme – Sturm and Survivalist X

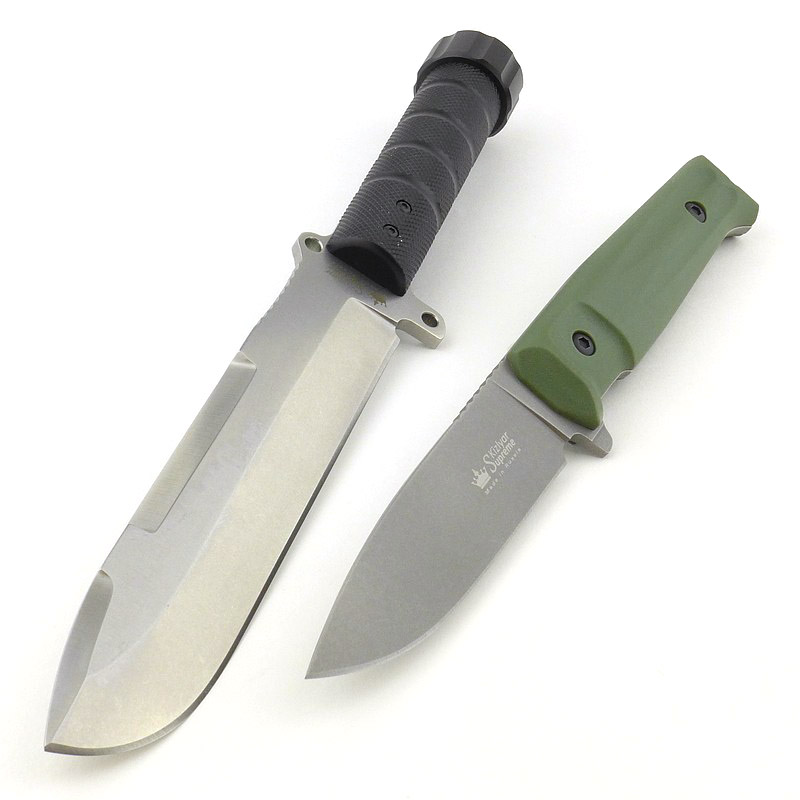
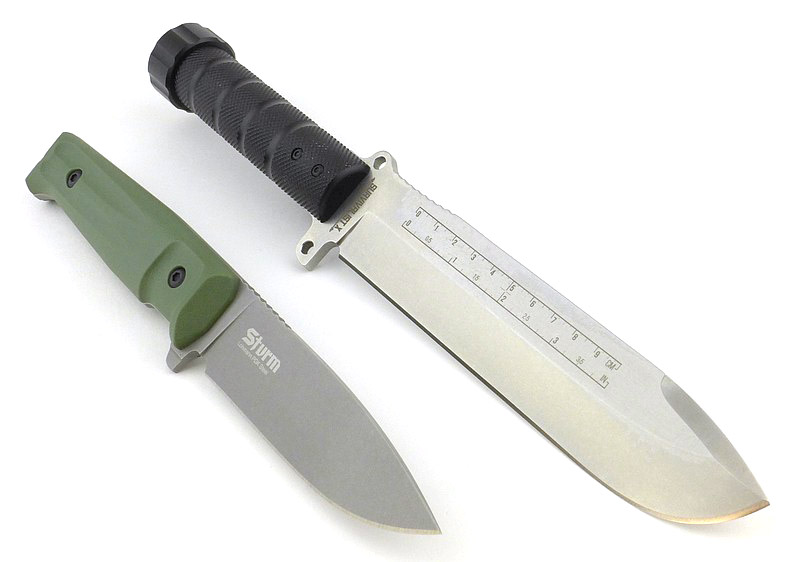
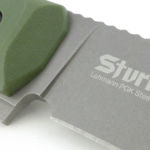
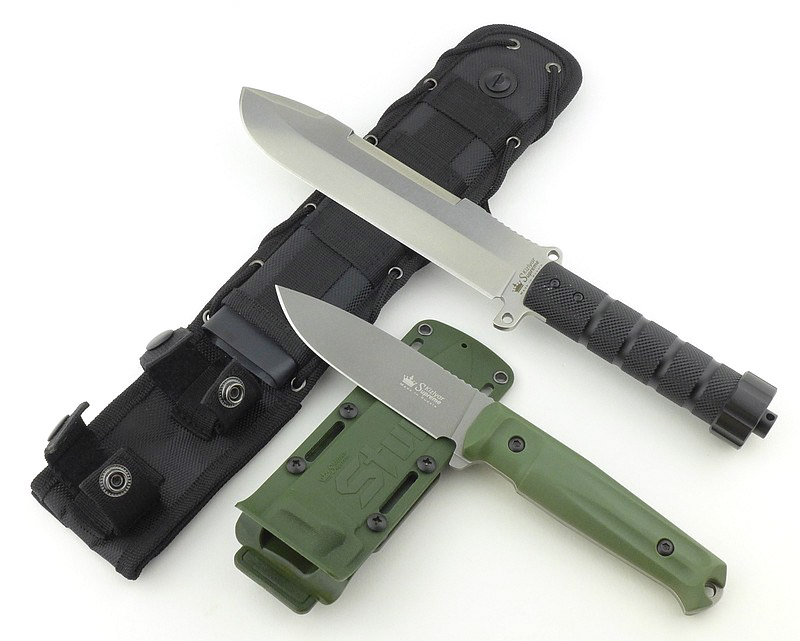
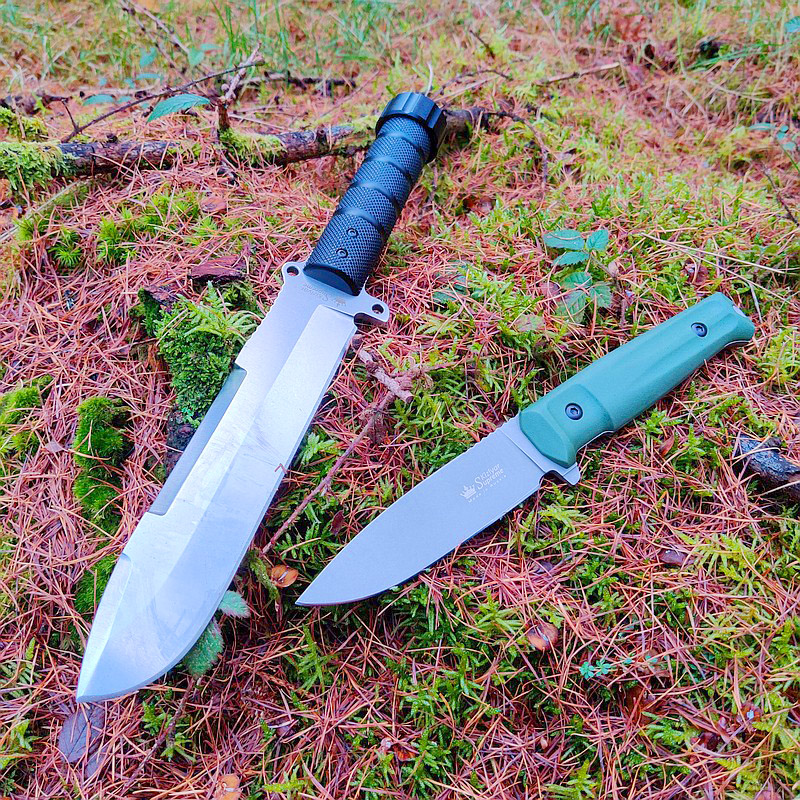
This review features two knives from Kizlyar Supreme, the Sturm and Survivalist X. I have a soft spot for hollow handle knives, and am always on the lookout for a properly made one that can be used without worrying it will come apart; this is what drew me to the Survivalist X hollow handle knife. To partner this we have the Sturm, a smaller general purpose blade, and for this review in a high hardness steel, PGK from German steel makers Lohmann.

As soon as I came across knife makers Kizlyar Supreme I was impressed with the range of great designs and was very keen to try out some of their knives. Kizlyar Supreme launched as a company in 2011 thanks to the enthusiasm and dedication of its founders, with the intention to provide great designs using high grade materials yet remain affordable.

A few more details:

What’s in the box?:

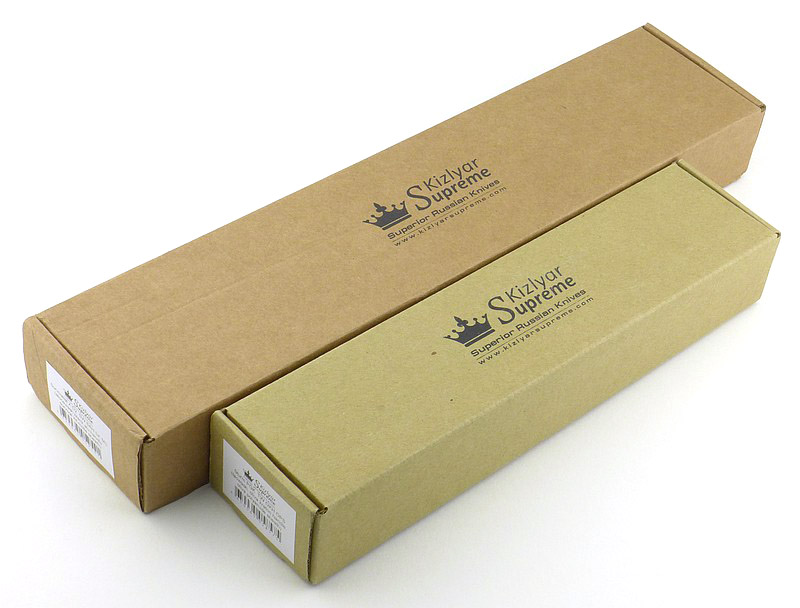
The boxed Sturm and Survivalist X.


A good look round the Sturm’s sheath – Things to look out for here are:

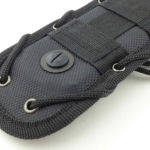
I’d go so far as to call the Sturm’s sheath a ‘technical mounting platform’ due to its mass of design features and practicality. As you will see in the photos, the sheath is indexed so the blade will only fit into it one way. Though not initially appearing ambidextrous, if the four bolts holding the sheath to the mount are removed, you can flip the sheath over to make it left-handed. While doing this you can also swap from vertical to horizontal carry by turning the mount 90 degrees.


A good look round the Sturm – Things to look out for here are:

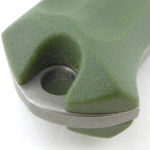
The Sturm uses a handle Kizlyar Supreme use for several other models. The blade is a convenient size for most tasks and keeps thing simple with a full flat grind.


A good look round the Survivalist X’s sheath – Things to look out for here are:

Well, in terms of preparedness, even the Survivalist X’s sheath is ready for anything. Packed with features and utility it is certainly comprehensively equipped.


A good look round the Survivalist X – Things to look out for here are:

The survivalist X is a substantial knife, there is no missing its presence, and the hollow handle gives it a particular look and feel.


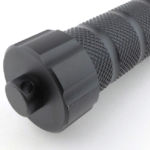
The Survivalist X’s hollow handle and capsule:

I’m sure we have all had those cheap and cheerful versions and found them not to live up to expectation, but be prepared for something entirely different.
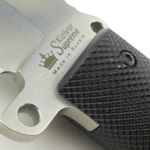
Kizlyar Supreme have ensured there is the maximum amount of metal in the handle tube and blade tang to keep the strength very high. The view into the end of the handle shows the blade tang which comes right up to the base of the capsule, absolutely as far as possible.
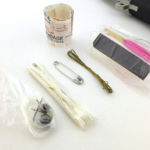
Also shown are the capsule contents; fishing kit, wire, sewing kit with safety pin, matches and striker and plasters.


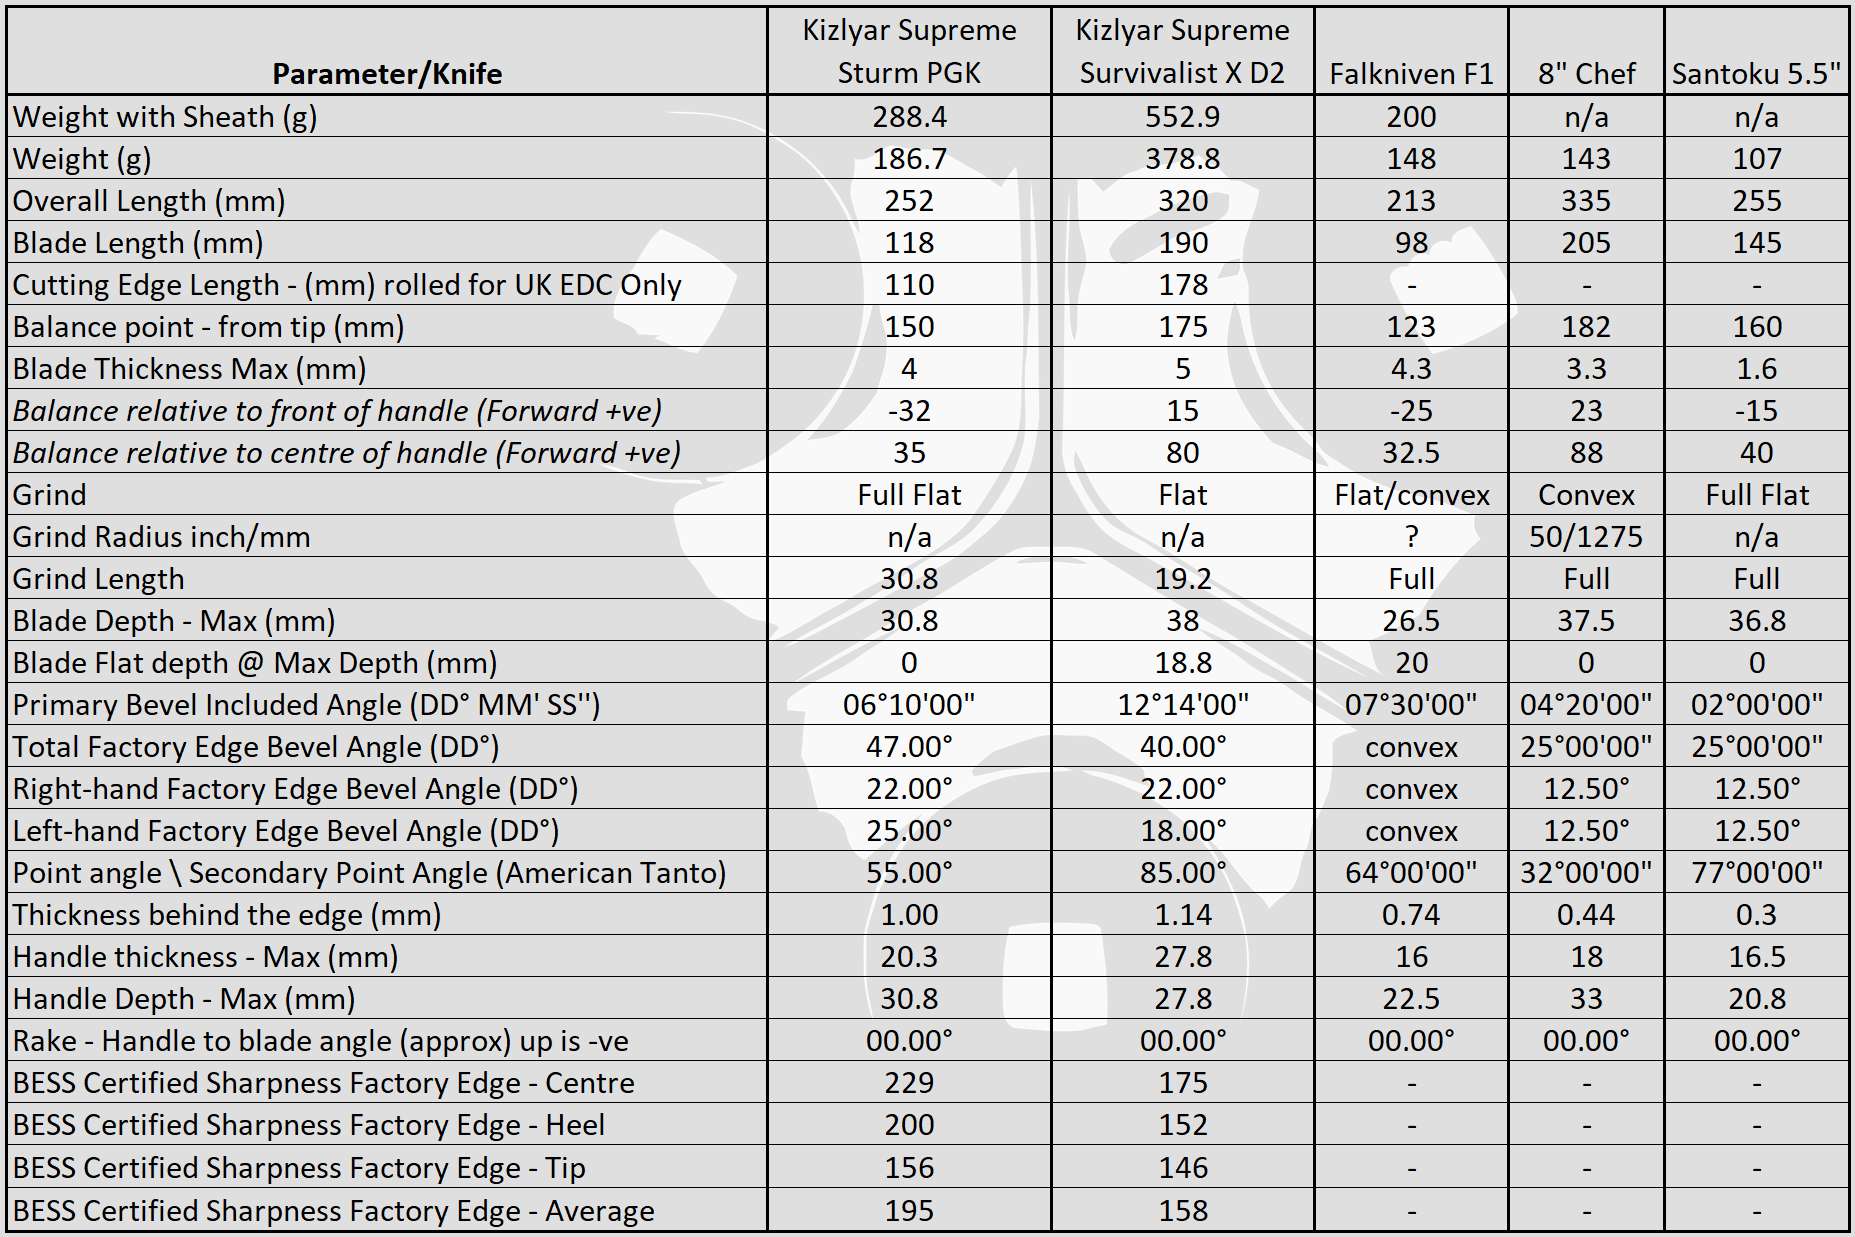
The Blade and Handle – Detailed Measurements:

For full details of the tests and measurements carried out and an explanation of the results, see the page – Knife Technical Testing – How It’s Done.

The Sturm’s blade is made from Lohmann PGK steel, and the Survivalist X’s from D2.


On the day it was measured, the Sturm in PGK steel had the best SET test result I had yet measured. The lower the Series 2 degradation (S2) figure is, the more resistant the edge is to being rolled. The recovery strop process shows if the edge was permanently damaged or chipped, or can be fully recovered.
Here you can see the PGK outperforming the D2 steel by a good margin. This is not saying the D2 is bad, in fact the D2 is good, just that the PGK performs better in this test.

Being a new steel to me, I checked the composition which is listed as:
Name – Lohmann PGK
Base – Fe
C – 1.2
Cr – 8.5
Mo – 1.5
V – 2
W – 1.5
Si – 1


What is it like to use?

Picking up the Sturm was like finding an old pair of shoes that fit perfectly. No adjusting or finding my way with this knife, instead just getting on with whatever task. The size of the Sturm is ideal for most of the general cutting tasks you might want a fixed blade for.

The lips of the sheath had arrived with some rough edges from the moulding and these were becoming annoying. Once trimmed off, the feel was transformed as when unsheathing the knife you push onto the lips with your thumb. The retention is a bit strong to just pull the Sturm out without the thumb lever, but is possible when you really have to.

Hollow handles – are they a love or hate thing? If the knife is not well made and the blade comes off, then clearly hate, but if the handle and blade are well fixed and don’t come loose, what then? The Survivalist X has had a hard time from me, heavy chopping and into hard woods; I wanted to see if I could get the blade to shift in the handle – so far not a hint of movement.

So, the Survivalist X’s blade/handle construction is solid and doesn’t look like a weak point at all, then we have the fact it is a round handle. True, a round handle is not the best as it lacks indexing for the grip. You do have to keep an eye on the blade orientation, and in heavy chopping it can spin and twist a little. Nothing unexpected there. The knurling gives good grip without being too abrasive. It is actually not a bad thing that you have to pay attention to the knife and your grip, and I’ve not found this to be a problem.

The Survivalist X is a heavy hitter, and is heavy to carry, so take it when you want a big camp knife, or don’t want to carry a hatchet as well as a knife.


One questionable feature for me is the bone cracker wedge on the Survivalist X’s spine; it is like nothing I’ve seen before. A big knife like this is also good for batoning larger logs, but this wedge damages the baton more than a straight spine. How often do you need to crack bones instead of cutting at the joints? Not sure about that.

I must also mention that the factory edges on both knifes were superb, with good angles, and in hard steels – though not essential, it is very nice to have super sharp blades out of the box.

The Sturm has several different steel choices and the PGK steel has been a really interesting one. I thought I had an issue when cutting packing straps as the edge seemed to dull straight away when cutting some of these, yet as you have seen before, it’s structural edge testing results very very good. I decided to change the edge angle, and it was very slow to sharpen on a belt, showing how hard and wear resistant the PGK steel is. After this reprofile I haven’t had anything similar happen, so it appears to have been an anomaly.

I also can’t quite work it out as a steel, as when I examine the edge for defects, I see reflections that would normally indicate edge damage, yet the Sturm remains sharp and cuts well, defying the normal observations. The bottom line here is that despite what I think I see, the Sturm keeps cutting.

Review Summary

The views expressed in this summary table are from the point of view of the reviewer’s personal use. I am not a member of the armed forces and cannot comment on its use beyond a cutting tool or field/hunting knife.

Something that might be a ‘pro’ for one user can be a ‘con’ for another, so the comments are categorised based on my requirements. You should consider all points and if they could be beneficial to you.

I’m trying something slightly different and starting with what doesn’t work so well, so I can finish on a more positive note

_______________________________________________
What doesn’t work so well for me
_______________________________________________

Sturm – The sheath lips needed mould flashings to be trimmed.
Survivalist X – For a ‘Survival’ Knife I’d prefer a more stainless steel than D2.
Survivalist X – The exposed press-studs scratch the handle.

_______________________________________________
Things I like
_______________________________________________

Sturm – Excellent handle comfort and indexing.
Sturm – Blade geometry works well.
Sturm – Range of steels to choose from.
Sturm – Hugely versatile sheath and mounting options.
Sturm – Secure, strap-free knife retention.
Sturm – Great general purpose size.
Sturm – The PGK steel just seems to keep on cutting.
Survivalist X – Very strong construction.
Survivalist X – Big hollow-handled knife – what is not to like?
Survivalist X – Fantastic chopping performance.
Survivalist X – Feature-packed sheath with lots of options.
Both – Very good factory edges.


Discussing the Review:

The ideal place to discuss this review is on the Tactical Reviews Facebook Page
Please visit there and start/join the conversation.

As well as the Tactical Reviews Facebook Page, please consider visiting one of the following to start/join in any discussion.

BladeForums – Knife Reviews (US based Forum for Knife Discussion)

CandlePowerForums – Knife Reviews Section (Largest and Friendliest Flashlight Community Forum)

The BESS Exchange – A forum discussing technical aspects of sharpness and truly understanding your sharpening process.

Knife Review: Oberland Arms Wuiderer Sepp

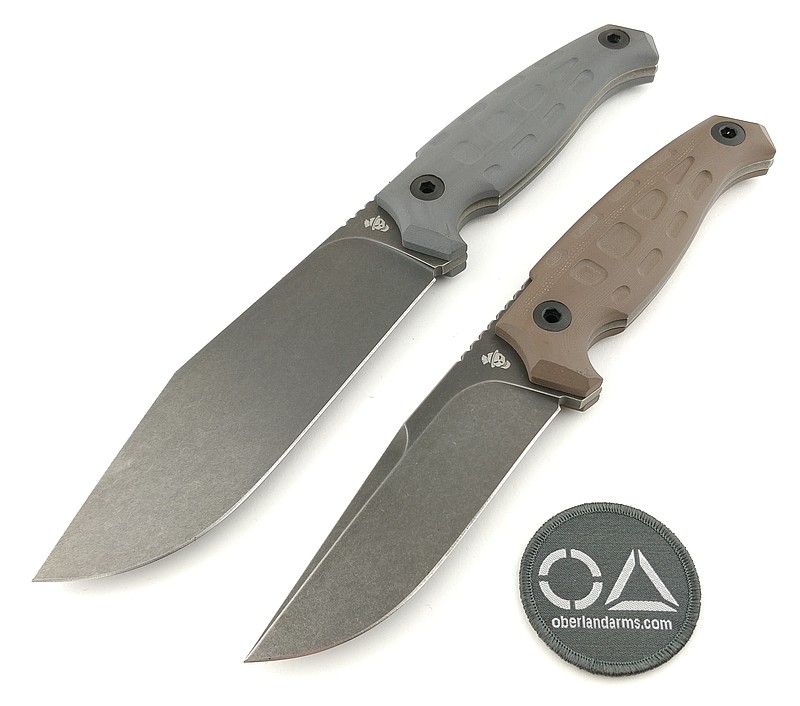
This review of the Oberland Arms Wuiderer Sepp knife is a natural follow-on from the previously published review of the Oberland Arms Jager Sepp knife, with both being designed by Tommaso Rumici to specifically meet requirements Matthias Hainich (Executive Director of OA) had for the knives. Though initially the Wuiderer Sepp was not the one I would have picked up first, its capabilities and versatility has made it my favourite little-big-knife.

A few more details:

What’s in the box?:

Actually this section is incorrectly named for the Oberland Arms knives, as they don’t have a box, but come in a zip-lock plastic bag; more like bulk supply standard issue kit than a retail product.


A good look round the Wuiderer Sepp’s Sheath – Things to look out for here are:

An interesting Kydex liner/fabric outer combination allowing for secure knife retention without additional straps, and the user can choose right or left handed configuration. The MOLLE strap fixture is unlike any other I have seen, only using a fabric tab to secure the strap.


A good look round the Wuiderer Sepp – Things to look out for here are:

This knife has inspired me to class it as a little-big-knife – the power and presence of a Big knife, but actually it is not that big. Come back to this gallery after reading the design insights in the ‘Explained by the Maker’ section.


Explained by the Maker:

The reasons for certain design choices may not be clear when simply looking at an object, so this section is intended to give an insight into the thinking behind a design by speaking to the designer themselves.

Tommaso Rumici has been kind enough to talk to me about this knife and the design process. This is part two of an interview first published in the review of the Oberland Arms Jager Sepp knife:

Still on the steel, are there any other factors or special processing/heat treatments to support the choice of D2 over other steels?

“In the past years, Viper has acquired a big know how about D2 heat treating. They usually do vacuum treatment, double tempering, and a final cryogenic phase. I can’t go more in details, but the final result is really interesting, on the field.
After 14 years in the knife industry, I’m convinced that a correct heat treatment is far more important than the alloy itself (obviously if we choose among good ones).
During my continuous studies and tests, several times I compared the same steel, treated by different manufacturers, with opposite results: one worked well, another seemed not even the same steel.”

Were the 3D milled handle scales something you had included in a design before? How was it working with this type of production? Did you do the 3D modelling?

“I wanted these knives to have a family feeling with the Oberland rifles, so I inspired to the texture applied to their AR15 handguards and magazines. In the past, David and Golia had milled scales, but this texture was developed for this project only.
The 3D was made directly by Viper. I usually prefer to do so, because every manufacturer uses different software and knows his machines, so the final result is far better.”

Can you talk me through the factors affecting the length and thickness of the blade, the choice of grind, the positioning of jimping, the sharpening choil and any other details you are particularly pleased with or think are absolutely essential?

“When I started working with Matthias, he was really clear about one point: his knives, like his rifles, are made for real operators, non for the tacticool audience, so he asked for performances above all. So we choose grind and thickness to achieve toughness and cutting ability.
The length of the blade, on the short one, follows German regulations. If I remember correctly blades under 12 cm are easier to carry, and they are enough for the fighter-utility role. The other one in an heavy camp knife, so the blade had to be bigger and longer.
The blade design was quite easy compared to the handle. Mr. Hainich asked for something extremely comfortable, with enough grip to work in every environment, and big enough to be used with every kind of military glove. that’s why this handle is so big, compared to civilian knives.”

How did the prototyping go (how many versions)?

“I always try to reach final design before the prototyping phase, and so we did during this project. After Viper made the first prototypes, Oberland checked and tested them, and needed only minimal modifications before the production.”

Thanks go to Tommaso for taking the time to share this.

The Blade and Handle – Detailed Measurements:

For full details of the tests and measurements carried out and an explanation of the results, see the page – Knife Technical Testing – How It’s Done.

The blade is made from D2 steel.


What is it like to use?

Again and again, due to its capabilities, the Wuiderer Sepp gives me the sense it is a much larger knife than it actually is. It is not a small knife, but neither is it a big camp blade, yet it has plenty of chopping/cutting power.
Viewed next to the Jager Sepp, which is a typical size for general purpose utility fixed blade, the Wuiderer Sepp is not that much larger, but has a wider blade and a more weight-forward configuration. By having the full-flat-grind blade, you gain significant slicing ability, helping it to slice as well as a much smaller blade would.

While writing this review my wife passed me a box of frutta di marzapane that needed opening. With the laptop on my lap, the knife I had to hand was the Wuiderer Sepp, so I popped it out of the sheath and my wife exclaimed, “What is that?! Where did that axe come from?!” as she hadn’t noticed the sheathed blade sitting next to me.

The reason for sharing this is that the Wuiderer Sepp is relatively unobtrusive, especially in the sheath. The wide blade definitely gives it more presence, as proven by my wife’s reaction to its appearance, but overall it is nothing like the size of many ‘camp’ style blades.

On the subject of the sheath, this is the only area I’m not so sure about, and only really due to the MOLLE straps. With only the fabric tabs posted through a slot in the strap to retain/hold the end, this does not provide much strength. Fully woven into the full set of PALS webbing, the loading is spread over several strips of webbing, so it should not pull on the strap fixing too much. But used as I showed in the sheath section, where the straps are used as a belt loop, this strap fixing is not very stable – ideally it should be properly fitted to webbing, or a separate belt MOLLE adapter.

Tommaso Rumici, the designer, has been impressed with the performance of Viper’s D2, achieved through their own heat treat recipe. I can only agree. The Structural Edge Testing results in the technical testing section are very impressive and equal performances from other manufacturers using M390 and PSF27, and the result is quite a bit better than Viper’s own N690 (confirming the choice of this D2/heat treat). The recovery result is also important as it shows that the edge stability has not been achieved at the cost of creating brittleness – the edge is rolling rather than chipping and can be stropped back. I have used the Wuiderer Sepp for very heavy chopping, carving and other tasks and the edge just keeps holding. When resharpening, I took the original 46 degree factory edge down to 40 degrees, and further heavy use has not caused any damage.

Using a full flat grind turns what could have been a less useful brute of a blade, into an excellent all-rounder. I’ve used this to chop through good sized branches, all the way to the other extreme of cutting soft sponge foam rubber to size, and it worked well for all jobs.

With its purposeful geometry the Wuiderer Sepp cuts above its weight with a big-knife feel for those heavier jobs. I’ve used the term earlier in the review, which comes from the fact it can cut like a BIG knife, without being big, so somehow ‘little-big-knife’ just seems appropriate; it makes me question the need for anything larger (or smaller).


Review Summary

The views expressed in this summary table are from the point of view of the reviewer’s personal use. I am not a member of the armed forces and cannot comment on its use beyond a cutting tool or field/hunting knife.

Something that might be a ‘pro’ for one user can be a ‘con’ for another, so the comments are categorised based on my requirements. You should consider all points and if they could be beneficial to you.

I’m trying something slightly different and starting with what doesn’t work so well, so I can finish on a more positive note

_______________________________________________
What doesn’t work so well for me
_______________________________________________

Concerned that the sheath MOLLE strap fixing (fabric tab) is not stable enough.
No specific belt carry option provided.
D2 is only a semi-stainless steel.

_______________________________________________
Things I like
_______________________________________________

Cuts well above its weight – a real ‘little-big-knife’.
Very comfortable hand-filling handle.
Very good blade indexing due to handle design.
Excellent edge retention and edge stability.
Sheath can easily be switched between right and left-handed.
Good at finer cutting tasks as well as chopping.
Stable sheath retention that will hold in tip-up carry.
Fantastic all-rounder.


Discussing the Review:

The ideal place to discuss this review is on the Tactical Reviews Facebook Page
Please visit there and start/join the conversation.

As well as the Tactical Reviews Facebook Page, please consider visiting one of the following to start/join in any discussion.

BladeForums – Knife Reviews (US based Forum for Knife Discussion)

CandlePowerForums – Knife Reviews Section (Largest and Friendliest Flashlight Community Forum)

The BESS Exchange – A forum discussing technical aspects of sharpness and truly understanding your sharpening process.

Knife Review: Lionsteel B40 and M1

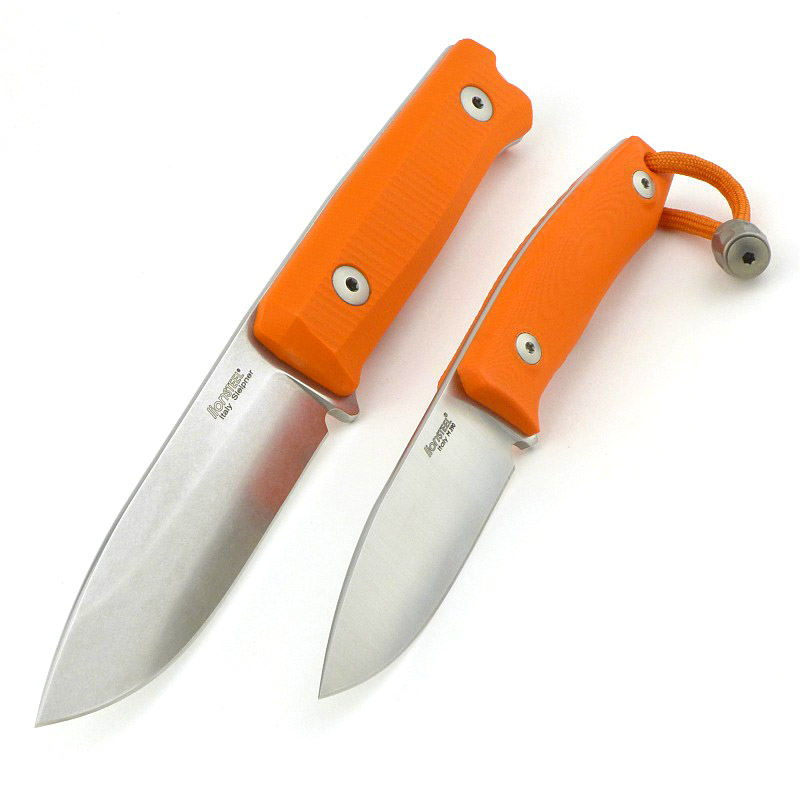
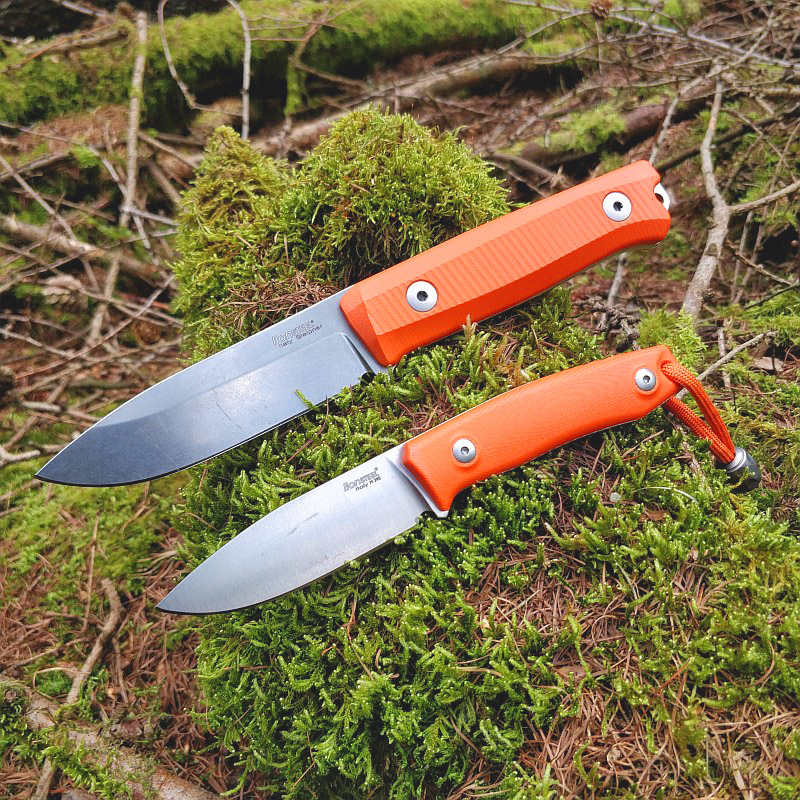
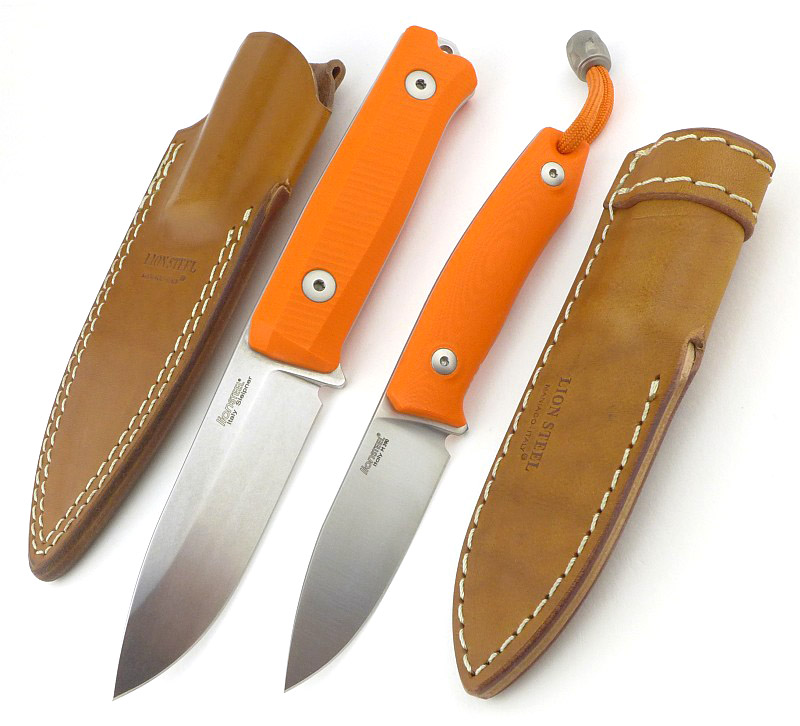
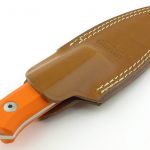
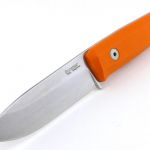
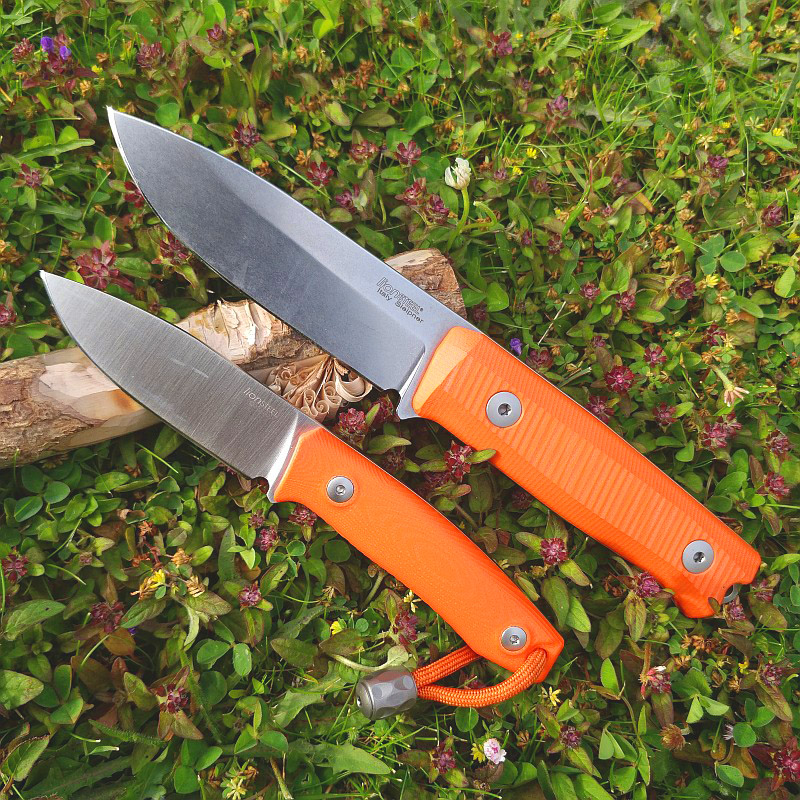
It was at IWA 2019 I first got to handle the new Lionsteel B40, but the show knives were pre-production samples as there were still a few manufacturing tweaks left to finalise; it took a little longer to get hold of this final production model. Another strong design by Mik Molletta, the B40 is intended as a bushcraft knife. For this review of the Lionsteel B40, I have also partnered it with the smaller M1 which makes for an ideal secondary/backup blade, and is small enough to be a (non-folding) pocket knife.

Onto the details:

What’s in the box?:

A quick look at the presentation. In this case, the B40 was a new production model, but the M1 was a ‘show knife’ straight from IWA, so might not have the full packaging.


Starting with the sheaths:

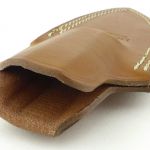
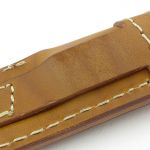
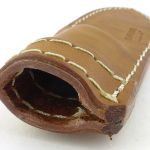
Both knives have leather sheaths, a material I prefer over any other for the sheath.


A good look round the B40 – Things to look out for here are:

The B40’s proportions and geometry make it look like many other bushcraft knives. This is as the design has to primarily fulfil the requirements of wood processing and portability.


A good look round the M1 – Things to look out for here are:

At the size it is, I can’t help but think of the M1 as a pocket knife that doesn’t fold. A pocket knife without the compromises a folding knife’s handle has, and without the concerns of a lock, slip-joint, or friction mechanism. A properly formed handle and no compromise in the strength of the blade.


The Blade and Handle – Detailed Measurements:

For full details of the tests and measurements carried out and an explanation of the results, see the page – Knife Technical Testing – How It’s Done.

The B40’s blade is made from Sleipner steel and the M1 from M390.


What it is like to use?

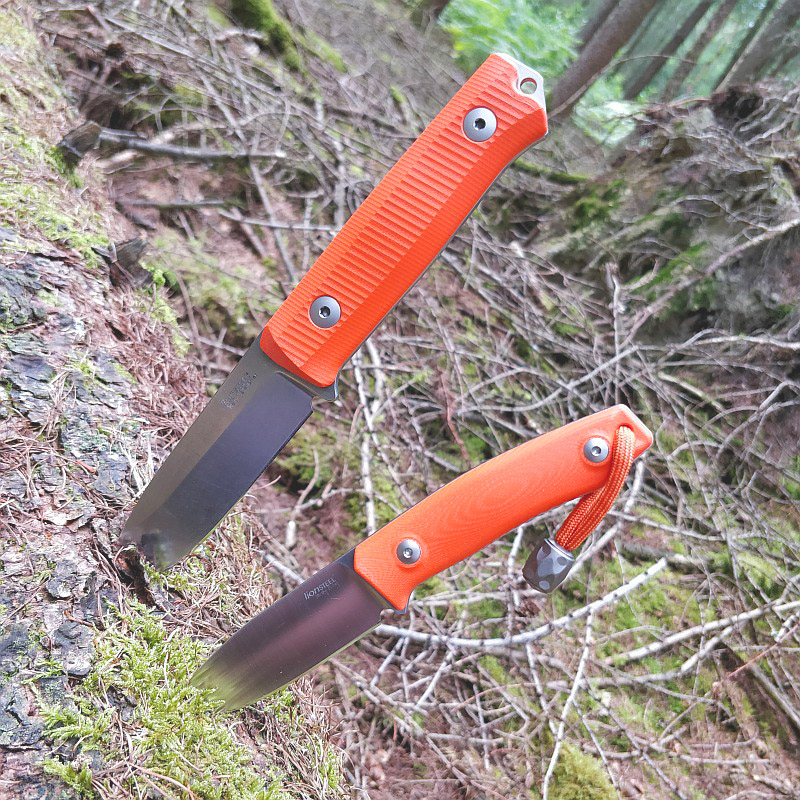
You might have noticed the orange; neither of these knives need to be orange, but for me the priority is not losing a tool in the outdoors. This makes the high visibility handles a great choice.

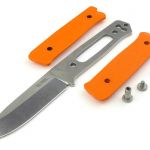
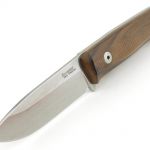
Before moving onto using these knives, I also had the opportunity to convert the B40 from orange G10 to more traditional wooden handles. Removing and swapping the handles is easy, but the tubular bolt is a tight fit in either handle material so you need to ‘unscrew’ it while applying some pressure to get them out. There is a major difference in the appearance, and feel, with the wooden handles. It is transformed into a traditional looking knife, and the wood feels lighter and possibly as if it has a little more grip. It also becomes a lot more camouflaged in the woods, so the choice is yours. I’ve popped the orange G10 back on.


I’m not a fan of pull-lanyards (the smaller piece of cord giving some extra grip with smaller knives), as I find them mostly getting in the way or flapping about annoyingly, so the M1 with its Titanium beaded pull-lanyard immediately had me considering removing it. STOP! I was wrong. For the M1, this pull-lanyard with bead works perfectly.
I’ve said it before, and I’ll say it again, the M1 is a non-folding pocket knife. The sheath might have a belt loop on it, but the overall size when sheathed is still easy enough to pop into a pocket. Now instead of having to choose a folder you can have a fixed blade.
To start with, the pull-lanyard gives you something to easily grab to take the M1 out of your pocket. Then when unsheathing it, although you can get enough grip by just holding the handle, by using the lanyard and its bead, you bring it into your hand so much more easily.
My hands take XL gloves and I find the M1’s handle to be a three-finger grip. The lanyard and bead, gives the fourth finger something to hold and add a little more stability.
I’m perfectly happy to admit when I’m wrong, and the M1 with its Titanium beaded lanyard has shown me I was wrong to consider removing it.

While on the subject of lanyards, without going into the safety arguments for and against, there is a design issue I’ve come upon with the B40 and its lanyard hole. This issue is thanks to the interestingly placed firesteel scraper. As shown in the next gallery, this scraper works very well without a lanyard cord, but should you wish to use a lanyard on the B40, you’ll be covering it in sparks every time you use the scraper. You might then find your lanyard unintentionally becomes tinder and gets burned away. I will be grinding a flat on the blade spine to use instead of the scraper provided.


The B40 hits that sweet spot in size where the handle is full size, allowing a strong grip, and the blade is small enough for power and control, and large enough to use for batoning without being cumbersome. This is why many bushcraft knives look quite similar, and are similar in size.

Use of Sleipner steel falls outside my preferences for a bushcraft knife. Being only a semi-stainless steel, it theoretically needs more care than a steel with higher stain resistance. On its own, this is only part of choosing the right steel, as frequently the reduction in stain resistance is combined with a steel that is easier to sharpen in the field. Sleipner is both hard (so harder to resharpen) and less stain resistance, so would normally have me looking elsewhere. But this is not my first Sleipner blade, and so far I’ve found the stain resistance to be much higher than indicated by its composition. None of the Sleipner blades have given me any issue with corrosion, and none have yet stained despite intentionally not caring for them. When sharpening, it is obvious the Sleipner steel has a high wear resistance, so does require some effort. Diamond stones definitely make this easier. After stropping off a burr formed during sharpening, the Sleipner steel has been giving a very good sharpness, so considering its wear resistance, it actually seems relatively easy to sharpen.

There is an interesting look to the B40’s handle with the flat grip faces having ‘corners’. At first glance these seem like they might become problematic hotspots in hard use. However the rest of the handle, where most of the grip pressure is applied, is rounded and comfortable. These ‘corners’ can be felt, but also provide positive resistance to the knife twisting in your hand.

A knife with a ‘scandi’ blade has become a very popular type of knife for bushcraft, and for good reason; the scandi blade is very good for working wood. But personally I find that to be its limiting factor as the blade’s specialist ability impacts on everything else you might ask of it.

With the B40’s blade, the design has been kept with a leaning a little more towards a utility blade, but with plenty of ability for hard work with wood. As you have seen in the previous gallery, the B40 handles wood very well.

For this review I included the M1 as a companion blade to the B40. Something to use for finer tasks, and as a backup blade. It is too small to choose to use for heavy tasks, but the blade stock used means that if you were caught out with only the M1 it would still be a very capable blade.

Using a full flat grind on the M1 makes its blade a much better slicer than its 3.2mm stock might otherwise dictate.

Lionsteel’s M1 is a knife you should not overlook. It is an excellent general purpose knife that is small enough to carry to pocket-carry. If only the UK knife carry laws permitted this as an EDC, but they do not, so it will unfortunately be limited to duties at home and will certainly be a backup blade for those times I can carry a fixed blade.

The partnership of the B40 and M1 has indeed worked very well.

Review Summary

The views expressed in this summary table are from the point of view of the reviewer’s personal use. I am not a member of the armed forces and cannot comment on its use beyond a cutting tool or field/hunting knife.

Something that might be a ‘pro’ for one user can be a ‘con’ for another, so the comments are categorised based on my requirements. You should consider all points and if they could be beneficial to you.

_______________________________________________
Things I like
_______________________________________________

B40 – Ideal size for its intended use – bushcraft.
B40 – Sleipner steel has taken and held a great edge.
B40 – Sleipner steel – so far no signs of corrosion.
B40 – Blade geometry allows greater flexibility than many bushcraft knives.
B40 – Quality leather sheath.
M1 – M390 steel takes and holds a great edge.
M1 – Full flat grind, makes it a great slicer.
M1 – Quality ‘pocket-sized’ leather sheath.
M1 – Highly functional pull-lanyard with Titanium bead.
M1 – Super useful fixed blade pocket-knife.

_______________________________________________
What doesn’t work so well for me
_______________________________________________

B40 – Firesteel scraper sparks onto lanyard (if fitted).
B40 – Sleipner steel – not so easy for in-the-field maintenance.
M1 – Belt loop is so tight as to be almost unusable.
M1 – Blade stock almost too thick at 3.2mm.


Discussing the Review:

The ideal place to discuss this review is on the Tactical Reviews Facebook Page
Please visit there and start/join the conversation.

If you read the review entirely on Tactical Reviews, please consider visiting one of the following to start/join in any discussion.

BladeForums – Knife Reviews (US based Forum for Knife Discussion)

CandlePowerForums – Knife Reviews Section (Largest and Friendliest Flashlight Community Forum)

The BESS Exchange – A forum discussing technical aspects of sharpness and truly understanding your sharpening process.

Knife Review: Spyderco Subvert

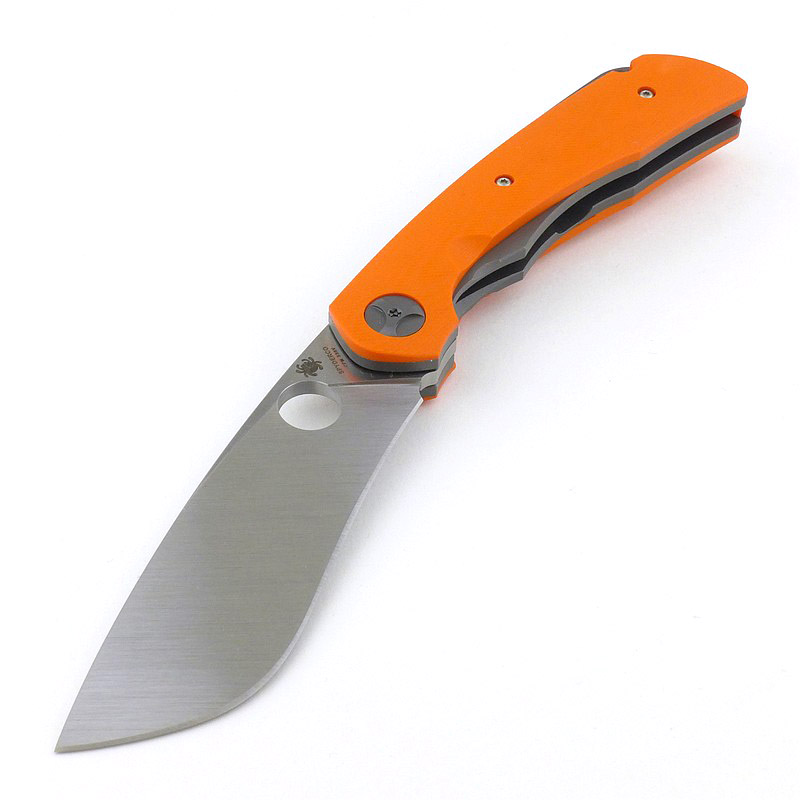
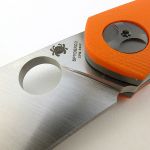
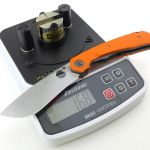
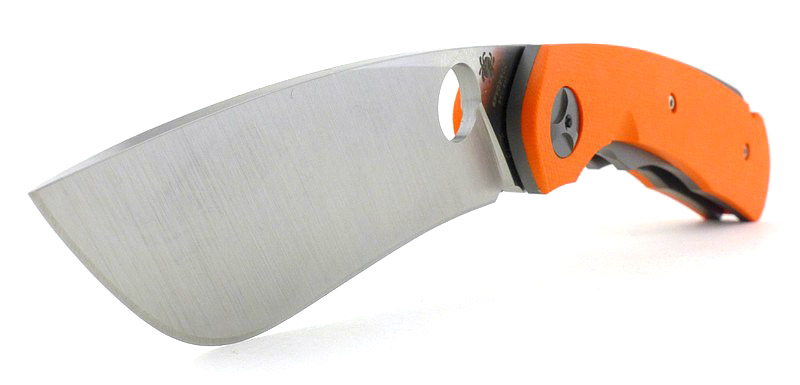
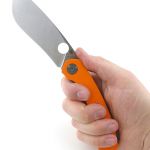
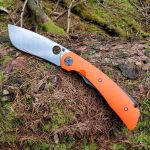
Spyderco’s Subvert is a knife I was drawn to straight away, but I did not expect it to make such an impression on me. Ok, it’s bright orange, so is going to get my attention; orange being one of my favoured colours for keeping track of things. But there is so much more – the flowing lines somehow disguise the presence of such a large blade, leading many to wonder how they managed to fit it into that handle. In this review of the Spyderco Subvert, I’ll give you a close-up of all the details and tell you why I’m not letting this one go any time soon.

A few more details:

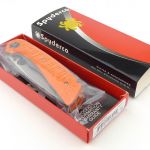
What’s in the box?:


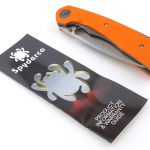
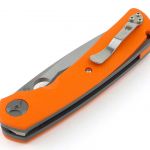
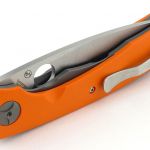
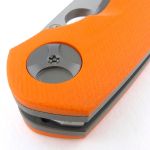
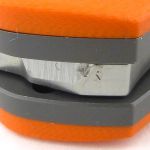
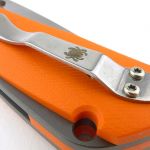
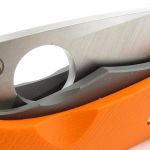
A good look round the Subvert – Things to look out for here are:

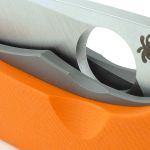
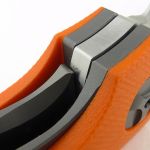
The choice of materials and how they come together has resulted in a lot of transitions, all of which are dealt with sympathetically and with great attention to detail. A very impressive build, that continues to impress.


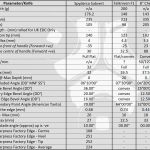
The Blade and Handle – Detailed Measurements:

For full details of the tests and measurements carried out and an explanation of the results, see the page – Knife Technical Testing – How It’s Done.

The blade is made from CPM S30V steel.


What it is like to use?

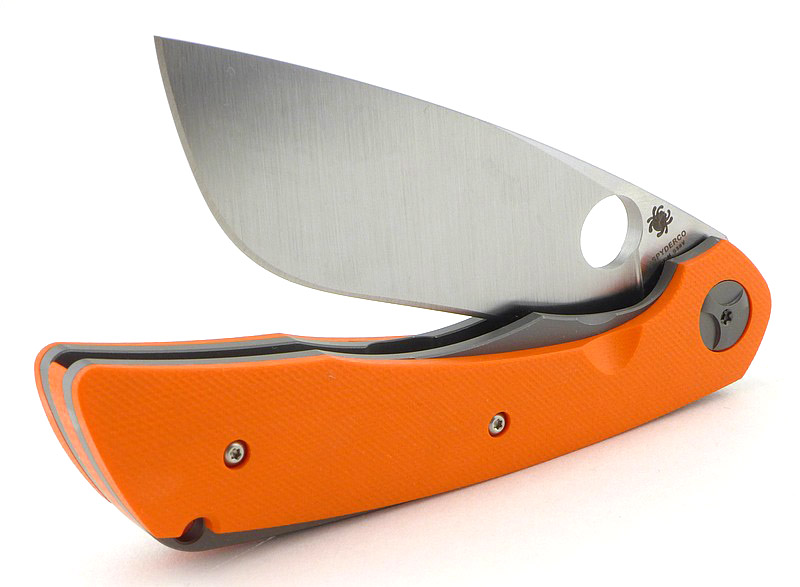
That photo says something loud and clear, ‘drama’, and that is where I’ll start with the Subvert. Swinging open that lovely large blade is full of drama and feels like deploying something serious. Thanks to the super smooth bearings, once free of the detent, that blade swings completely free. Rolling it round to the solid clunk of the lock kicking in just feels so good. A generous size of opening hole ensures no trouble getting it moving and taking it to fully open without thinking.

I’ve heard a few comments questioning if that blade is actually practical to use. It is certainly a bit different than you might be used to, and can require you to adapt your approach to a cut, but it is always rewarding to use.

The blade stock is thick, and the tip has a wide angle, both of which make it less suited to piercing. However, this tip still works well enough, and adds a level of control, as it is often easy to go too deep with piercing cuts. At the widest part, the blade has been brought down to a nice slim angle making this the best place for deeper cuts; at this point on the blade it is an especially fierce cutter.

Though it is a big folder with a thick blade, that blade has a full flat grind, making the cutting efficiency very good. The overall size does make it a positive choice to carry, but why wouldn’t you?

There is a definite feeling that every part of the knife has been positively designed. What am I saying? When you design anything, some parts of it can end up ‘just being’, passively designing themselves or simply filling in a gap between two other parts. This is no bad thing, just an observation, and in the case of the Subvert, as you look closely at every part, there is a level of positive design and intended choices that fills it with purpose.

I have found myself questioning some of those choices, like a single position pocket clip. More and more frequently, folding knives are offered with multi-position pocket clips, and if you are left-handed or prefer tip up carry then you can change it around. That choice however does make a design messy with milled areas and holes cluttering the handle. Sticking to a single position keeps the rest of the design simpler and more elegant.

Have a flip through this gallery…


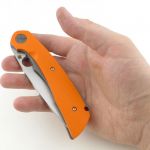
I take an XL glove, so you can see it is a good size. It doesn’t feel too large and the size of the blade always brings on a grin.

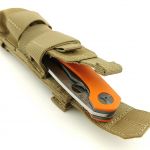
It is getting to a size that pocket carry might be pushing it, so I wanted to use a pouch. A happy coincidence meant I gave it a try in the Nitecore NCP30, and this almost felt made for it and meant I could go with horizontal or vertical belt carry. I also frequently had this on the strap of a shoulder bag (see gallery).

Is the Subvert the most practical knife you could carry? Not in my opinion. Is the Subvert great fun to use and carry, and does it make you grin when you swing open that blade? Yes, in spades.

Review Summary

The views expressed in this summary table are from the point of view of the reviewer’s personal use. I am not a member of the armed forces and cannot comment on its use beyond a cutting tool or field/hunting knife.

Something that might be a ‘pro’ for one user can be a ‘con’ for another, so the comments are categorised based on my requirements. You should consider all points and if they could be beneficial to you.

_______________________________________________
Things I like
_______________________________________________

Large dramatic blade.
Every detail carefully thought out.
Superb fit and finish.
Single position pocket clip. (yes it is in both lists)
Orange handles and contrast spacer.
Silky smooth bearing.
Strong thick blade.
Full Flat Grind (making that thick blade a good slicer).
Excellent factory edge.

_______________________________________________
What doesn’t work so well for me
_______________________________________________

Not the most practical blade shape.
Single position pocket clip. (yes it is in both lists)
Curvy edge will be a bit more challenging to maintain.


Discussing the Review:

The ideal place to discuss this review is on the Tactical Reviews Facebook Page
Please visit there and start/join the conversation.

If you read the review entirely on Tactical Reviews, please consider visiting one of the following to start/join in any discussion.

BladeForums – Knife Reviews (US based Forum for Knife Discussion)

CandlePowerForums – Knife Reviews Section (Largest and Friendliest Flashlight Community Forum)

The BESS Exchange – A forum discussing technical aspects of sharpness and truly understanding your sharpening process.