Although Fällkniven have a winning formula with their F1 Survival knife, (the official survival knife of Swedish Air Force pilots since 1995), Fällkniven’s desire for continual improvement led them to start work on the Pro Series, including the F1 Pro, in 2010.
The Pro Series consists of the F1 Pro (featured here) as well as the S1 and A1 Pro models.
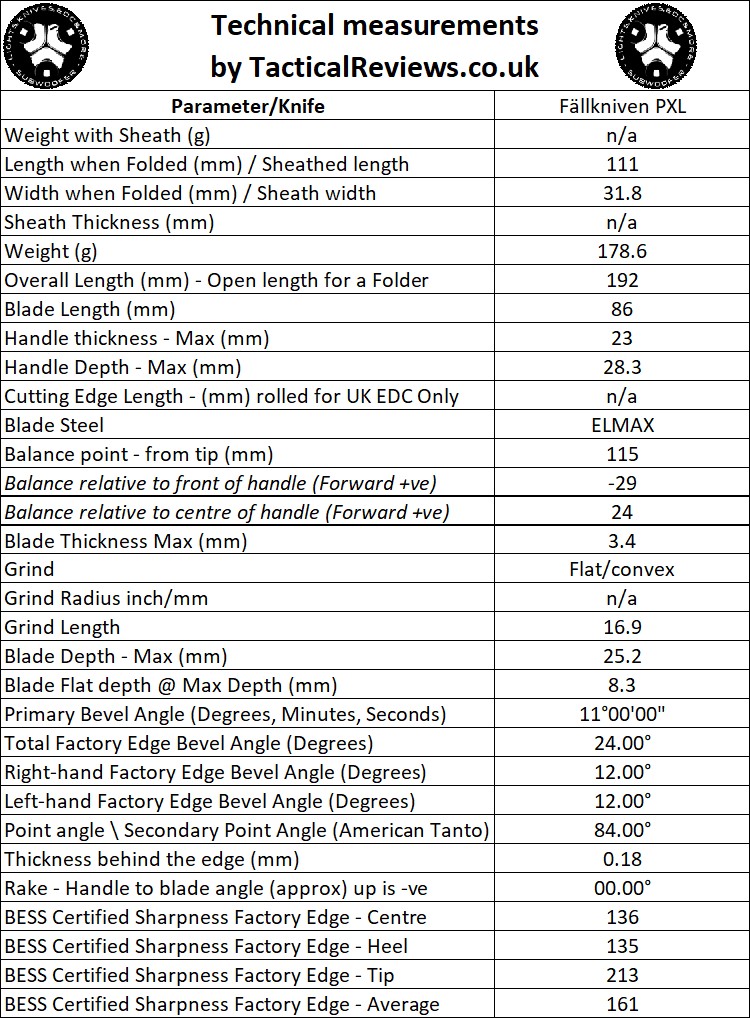
The Blade and Handle Geometry:
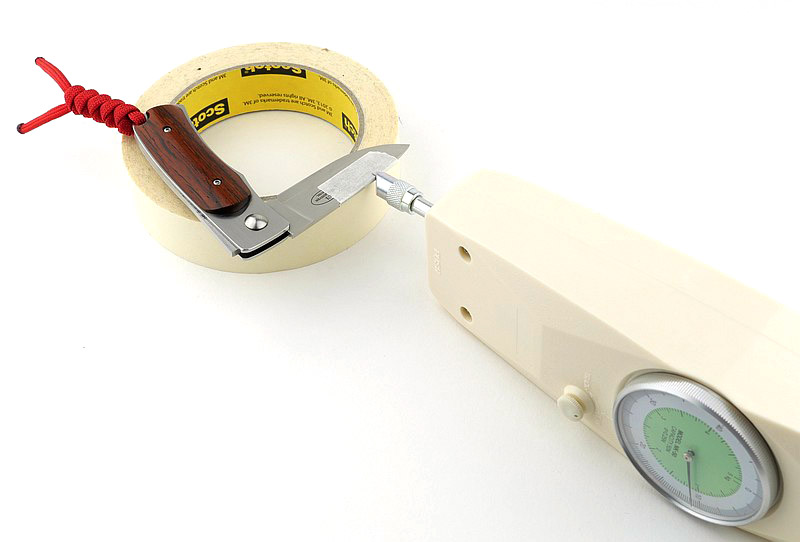
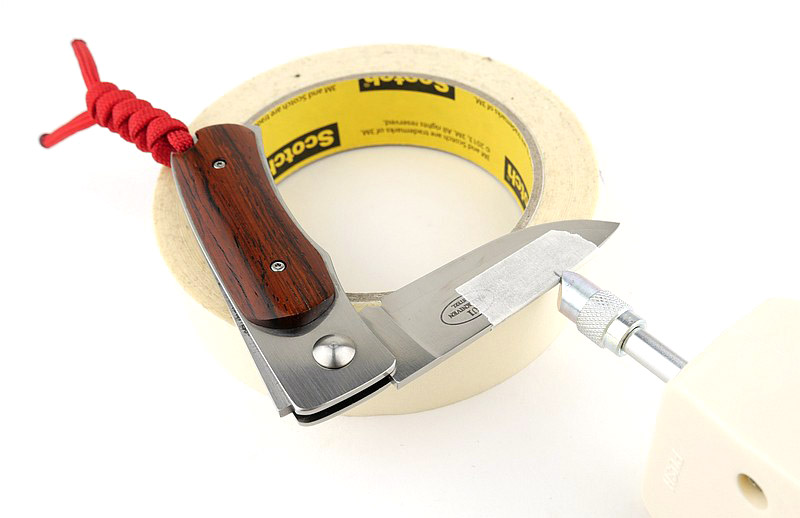
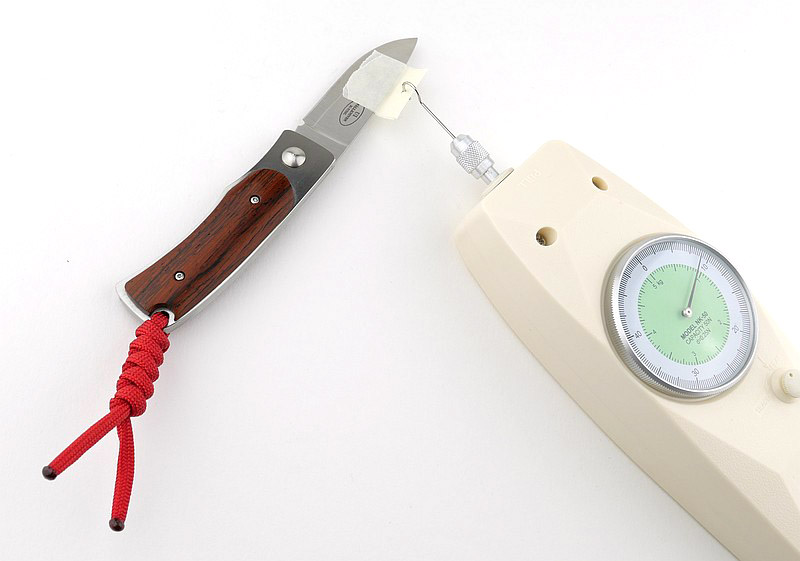
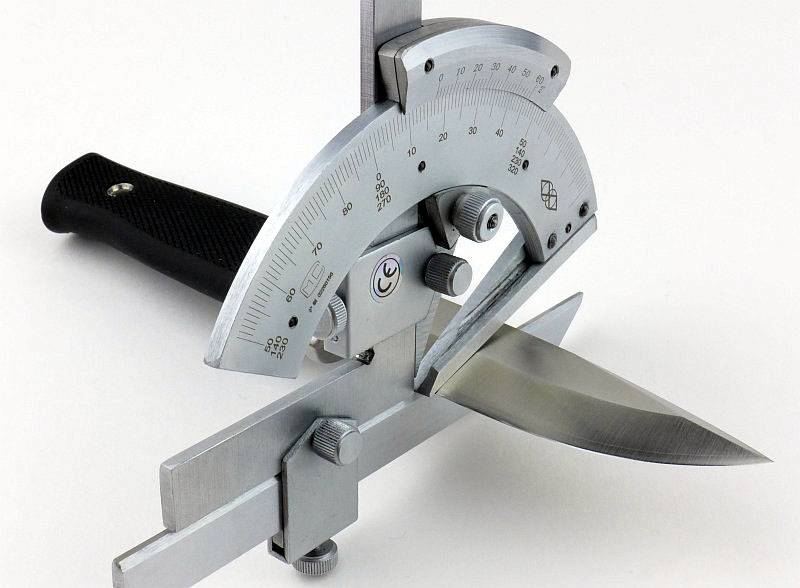
Most knife specifications have a basic description of the blade geometry, but in this section I will be taking a more detailed look at geometry and balance.
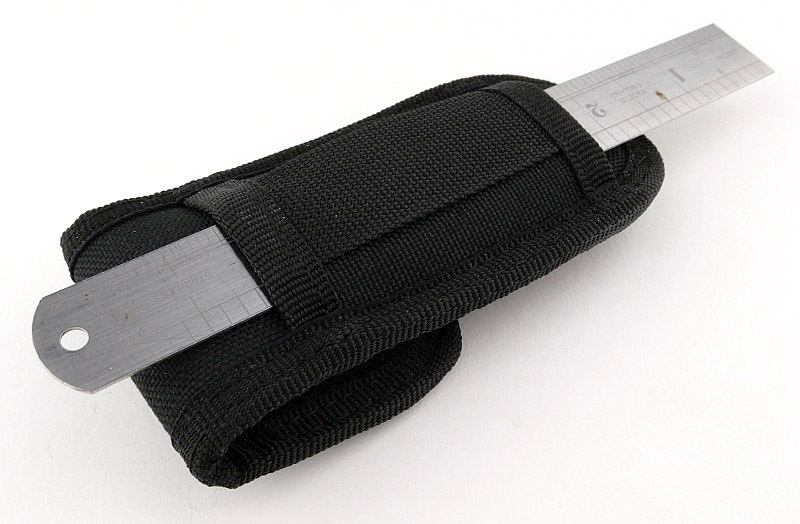
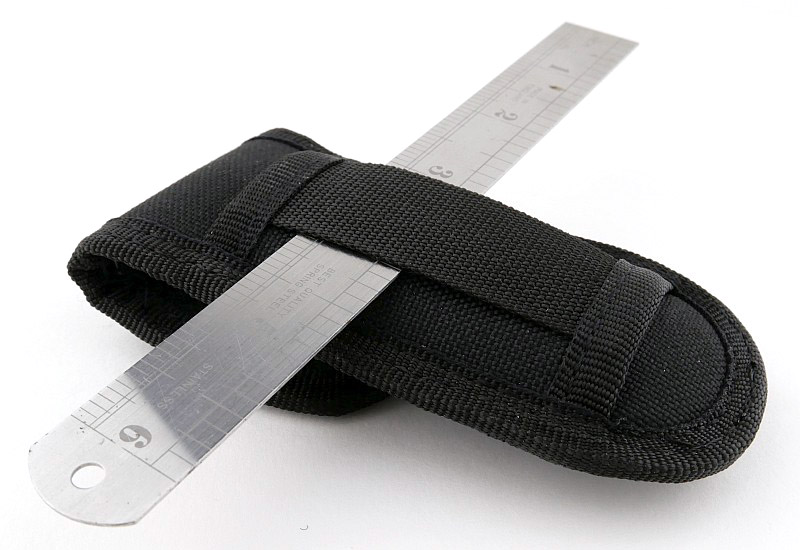
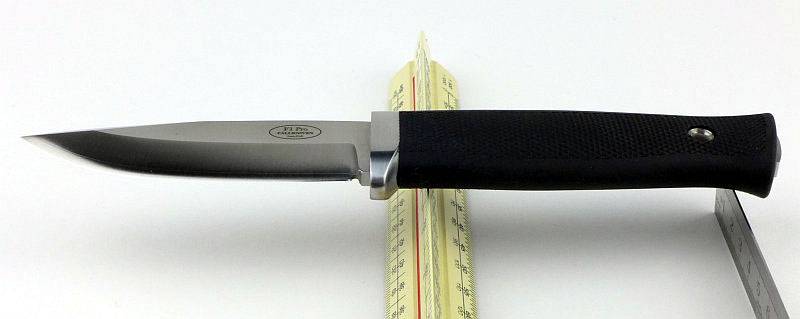
Using a set of gauges and precision measuring equipment including a Vernier protractor, callipers, fixed radius gauges and the unique Arc Master adjustable radius gauge (the one that looks like a crossbow).
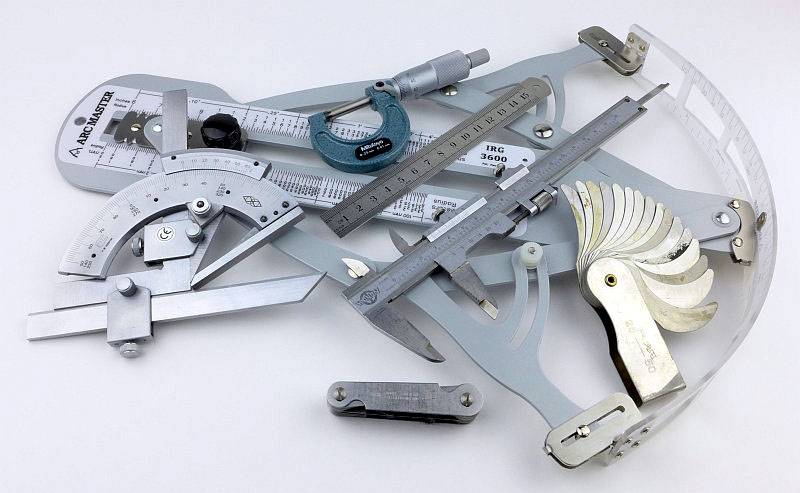
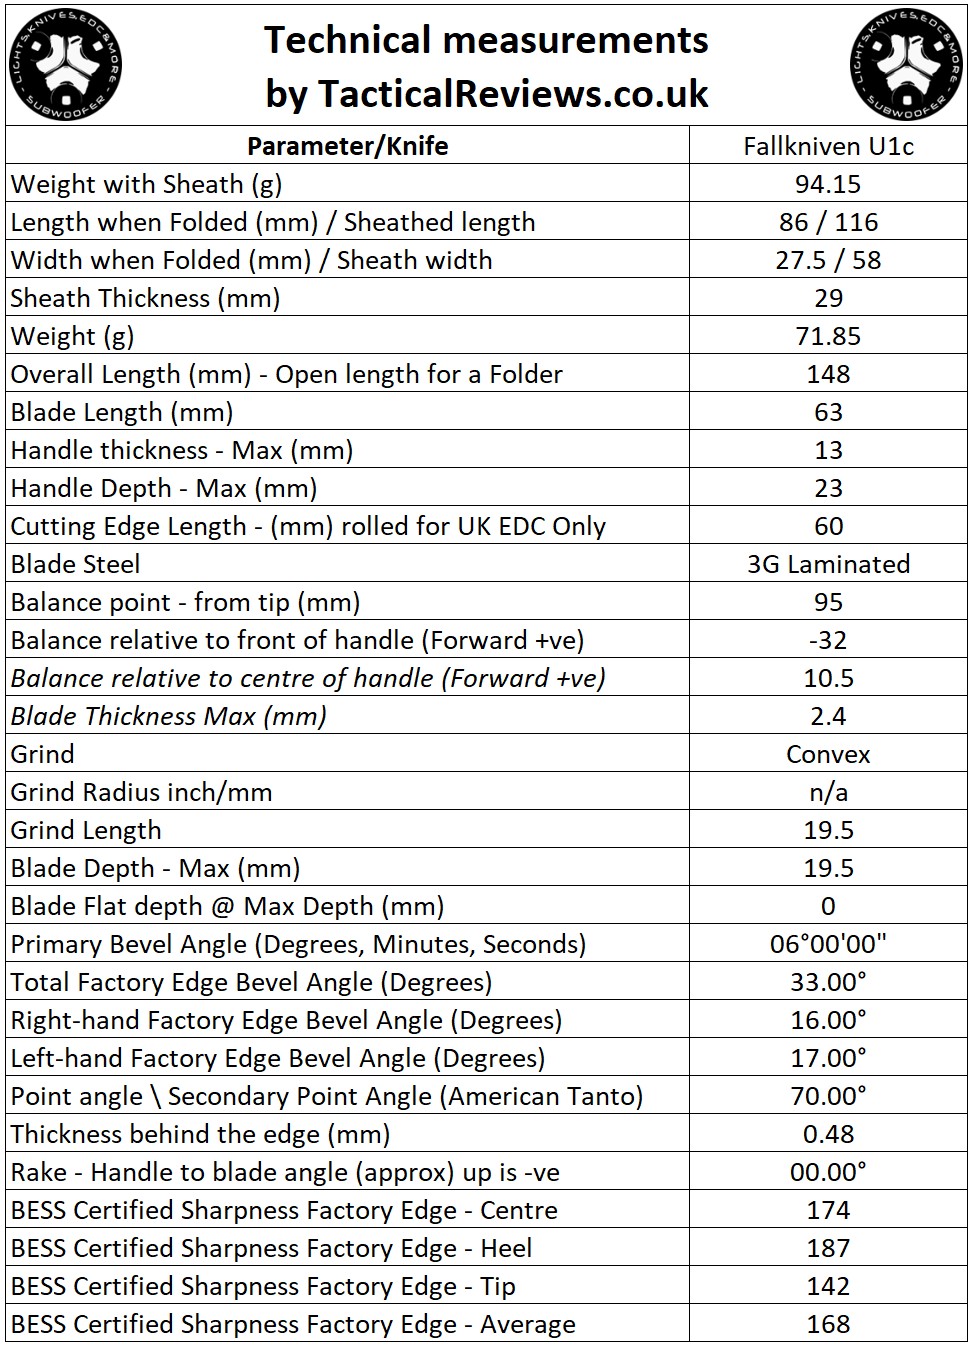
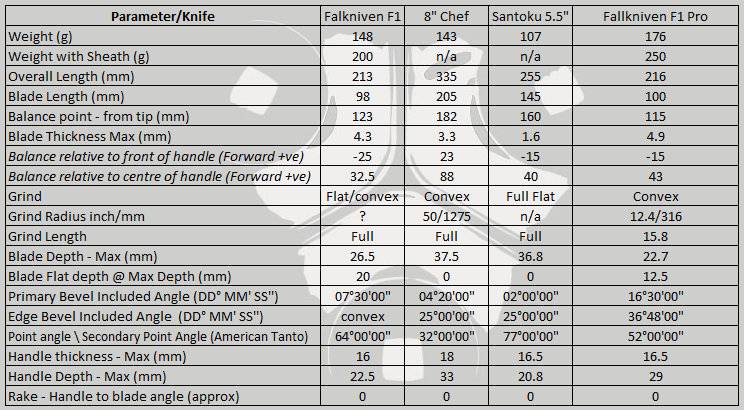
These measurements have been tabulated and are presented along with a few reference blades (8″ Chef’s Knife, 5.5″ Santoku and the popular Fällkniven F1).
Key aspects such as the primary bevel angle, grind type, blade depth, blade thickness, length, weight are detailed, along with balance information.
The ‘Balance relative to the front of the handle’ tells you if the knife will feel front heavy, or if the weight is in your hand (a positive value means the weight is forward of the front of the handle). The ‘Balance relative to the centre of the handle’ indicates how close to a ‘neutral balance’ the knife has in the hand.
In the case of full convex grinds the approximate centre of the grind is used for the primary bevel angle estimate.
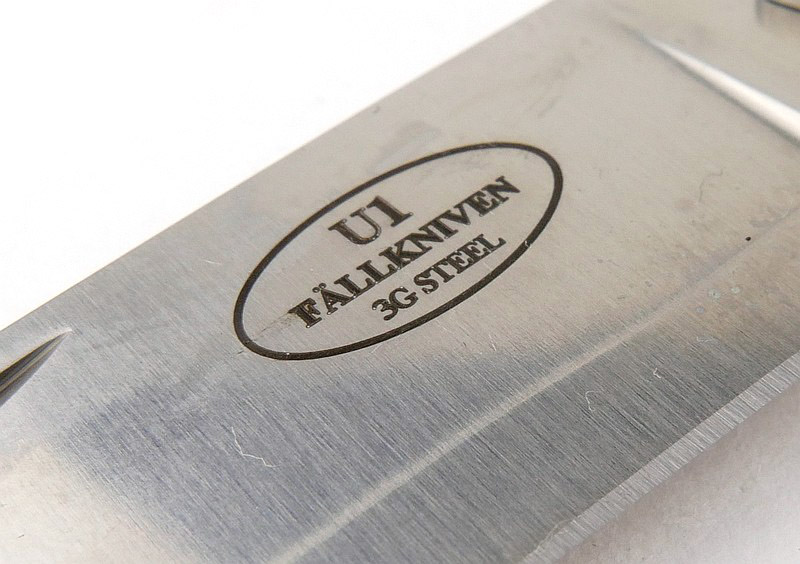
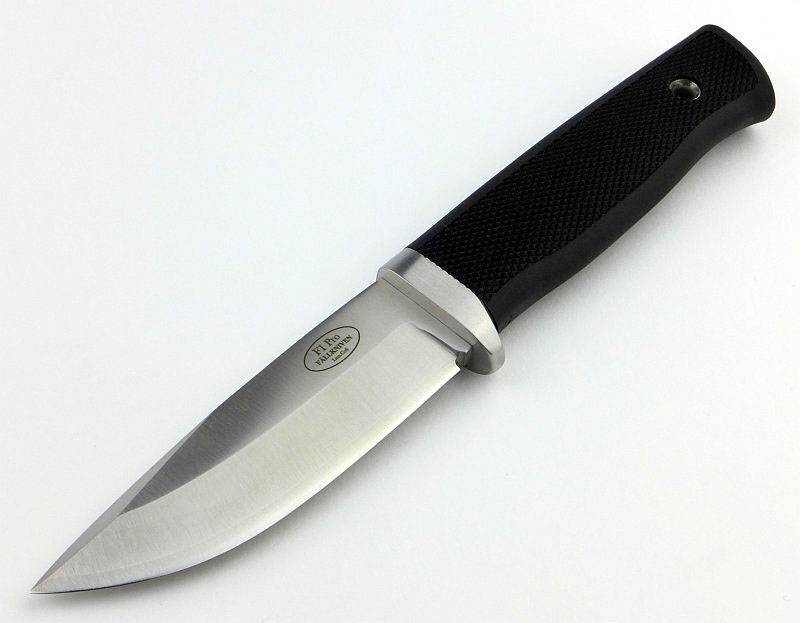
The blade is made from laminated (Outer)420J2/(Centre)CoS (Cobalt-Special) steel.
Explained by the Maker:
The reasons for certain design choices may not be clear when simply looking at an object, so this section is intended to give an insight into the thinking behind a design by speaking to the designer themselves.
Unfortunately I can’t always get time with the designer so will use this section to include relevant information about the knife and its designer.
Peter Hjortberger (Founder of FÄLLKNIVEN AB) told me a little of the origin of the F1 – The F1 story started with an inquiry from two pilots in the Swedish Air Force (Swedish ”Flygvapnet”). They had a very, very simple sheath knife in their survival dress (leg pocket), a knife that cost less than one GBP. Considering that they were flying an air-fighter costing a huge amount of money, the pilots thought that they should carry a knife which was the same quality level as their aircraft.
Though there is quite a long story behind the F1 Pilot Survival knife, the ”F” comes from ”Flygvapnet”, but you can also consider it to be like the ‘F1’ of Formula One racing, or why not ‘F’ like in Fällkniven.
The F1 knife became such a worldwide success that Peter decided to stop selling products from other brands and concentrate the company on developing their own knives. From 1995 this has been the focus of the company and the reason behind Fällkniven’s good reputation all around the world.
Before getting into the detailed look at the F1 Pro, there is a list of upgraded features that Fällkniven have published so you can keep an eye out for them in the photos (especially the F1/F1 Pro comparison section). I’m going to quote the statement from Fällkniven and add some more detail as we go.
“1. The laminated VG10 steel is replaced with a laminate cobalt steel (lam. CoS) which, amongst other things, ensures a durable edge and improved edge retention.” – Uprating the steel has allowed the hardness to be increased from 59HRC to 60HRC without compromising durability. Cobalt is very beneficial in steel alloys and is used in drill bits suitable for drilling hardened steels. The composition of the CoS used by Fällkniven is shown below compared to the VG10.
Steel analysis
VG10
Composition
(59 HRC) |
CoS
Composition
(60 HRC) |
| Cr – 15.00 |
Cr – 16 |
| Co – 1.40 |
Co – 2.5 |
| Mo – 1.05 |
Mo – 1.5 |
| C – 1.00 |
C – 1.1 |
| Si – 0.60 |
V – 0.3 |
| Mn – 0.50 |
W – 0.3 |
| V – 0.20 |
Si – trace |
| P – 0.030 |
P – trace |
“2. The blades are consistently thicker causing an increased torsional rigidity – they will withstand even greater external forces than before.” – Currently unpublished, but Fällkniven have assured me that the breaking test result of the F1 Pro has provided a very positive result compared to the standard VG10 F1.
“3. The tapered tang is wider and thicker and thus significantly stronger.” – Though I’m not going to cut off the Thermorun handles to expose the tangs, when looking at the comparison photos of the pommel you can clearly see the thicker tang.
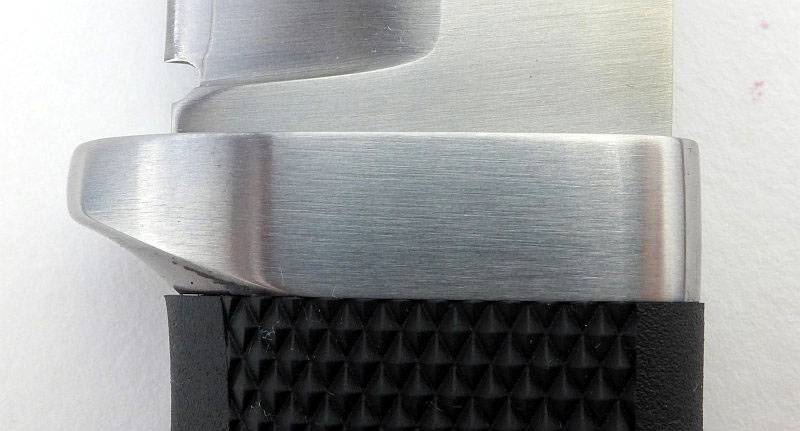
“4. The crossguard is made of stainless steel and permanently mounted to the tang.” – Though in real use, the F1’s finger guard has not let me down, the fact it is rubber has always concerned me slightly. The F1 Pro however now has a steel finger guard allowing you to much more confidently apply pressure to it.
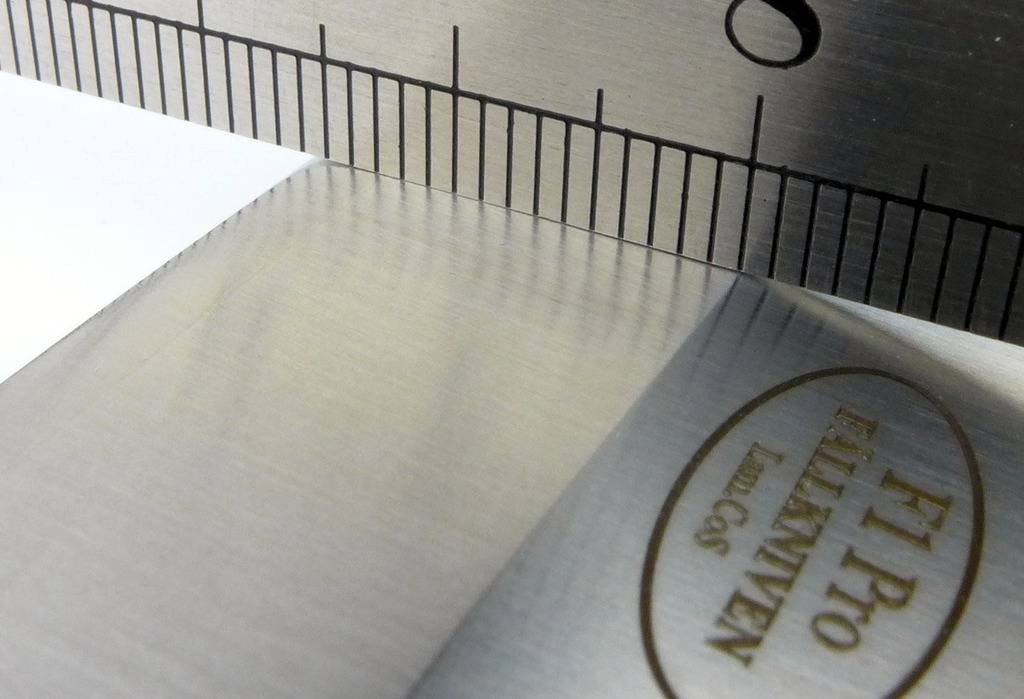
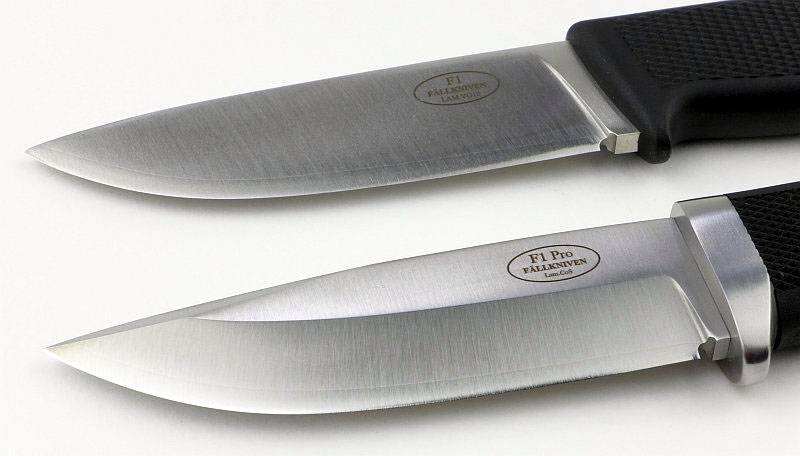
“5. The convex edge has been refined to improve the cutting properties.” – The F1 I have actually appears to have a mostly flat grind with only the last 4-5mm convexed to the cutting edge. With the F1 Pro I can clearly see the edge is convexed through the entire primary grind to the edge.
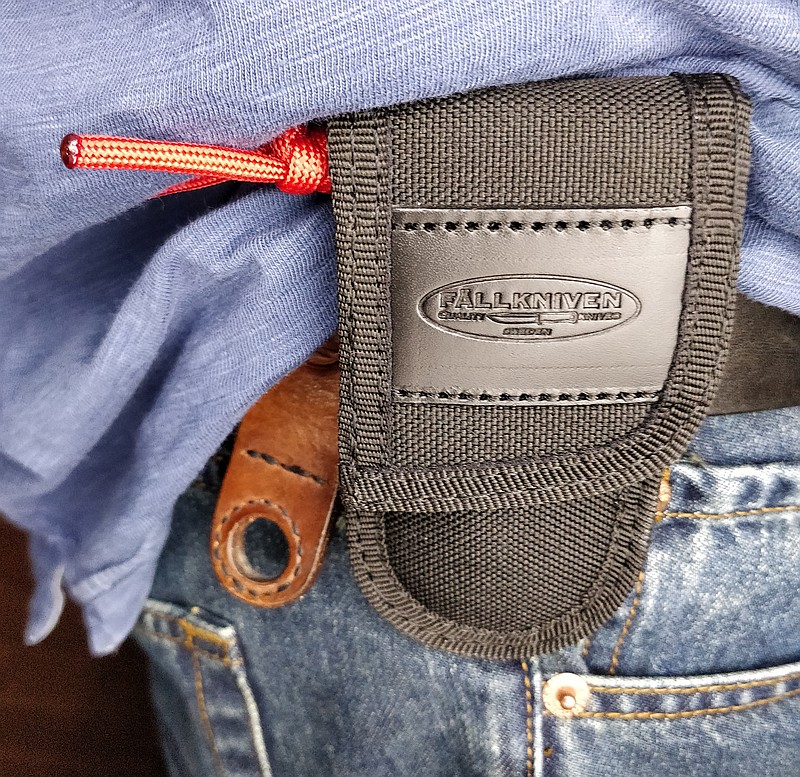
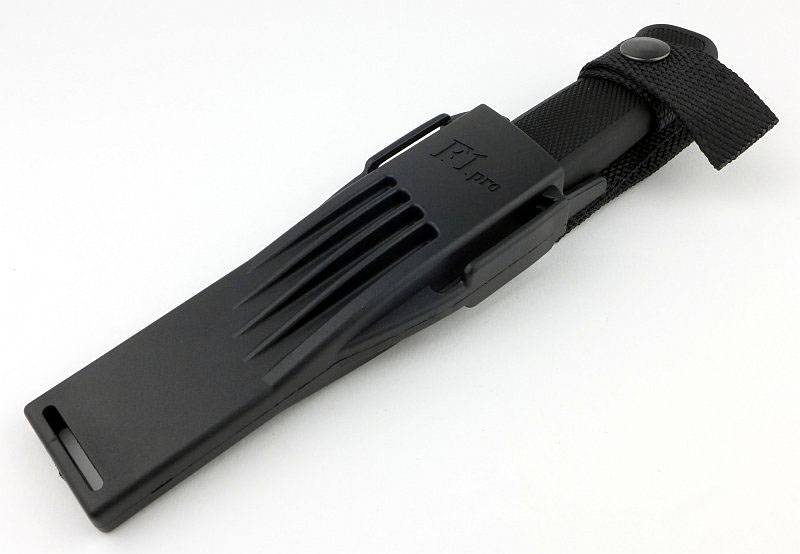
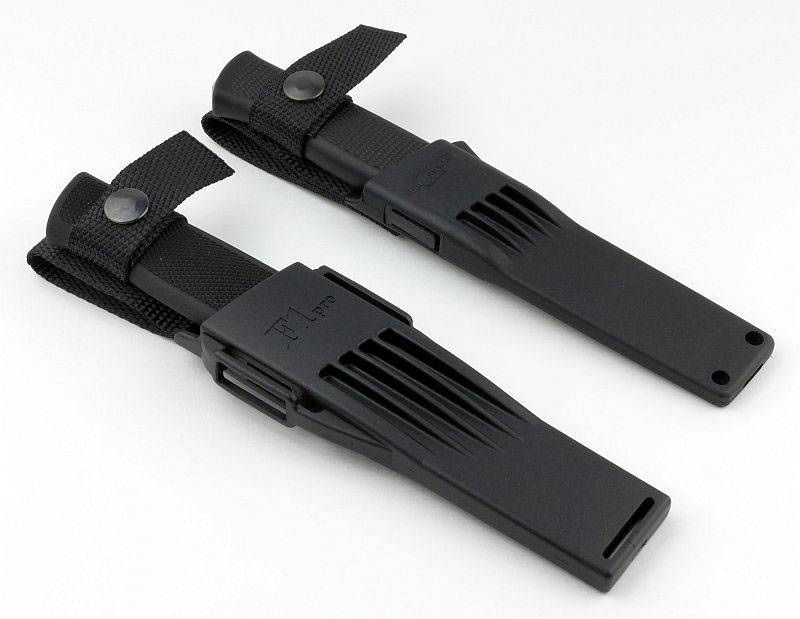
“6. The zytel sheaths are redesigned meaning they are more durable and are better suited to the Molle attachment system.” – Without becoming too large, the F1 Pro sheath is far more robust and includes slots that can accommodate MOLLE straps.
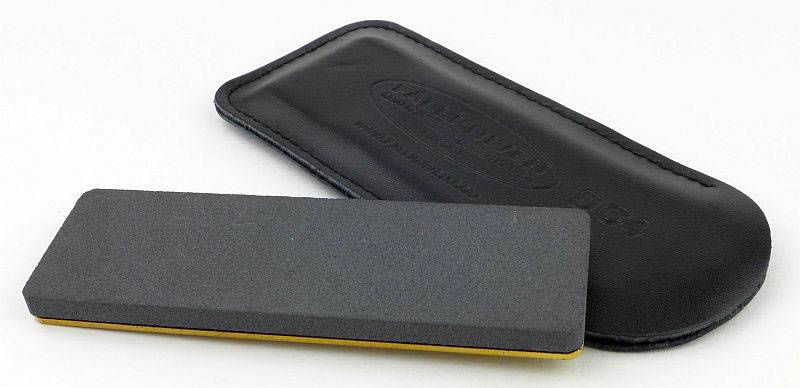
“7. The knives are supplied with our most valued combination whetstone, the DC4. It offers both a diamond whetstone and a ceramic stone for field sharpening.” – Really this just makes the F1 Pro package complete, as you might already have a sharpening system. The DC4 however provides a combination diamond/ceramic stone in a pocket size package making it easy to carry into the field. Well worth having.
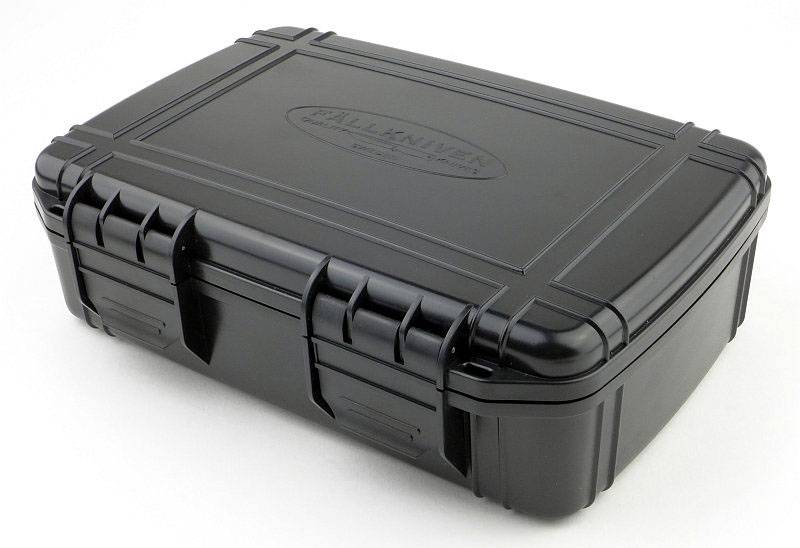
“8. The knives are packed in shock-resistant, waterproof boxes that can be used for storage of smart phones, GPS, documents, survival gear and much more.” – Packaging and presentation of the F1 Pro is excellent, and the case can be used for other purposes once you have stripped out the foam liner (easier said than donewith the one I had) giving you a tough case that is small enough to be packable and large enough to be useful.
Keep an eye out for these features in the following sections.
A few more details:
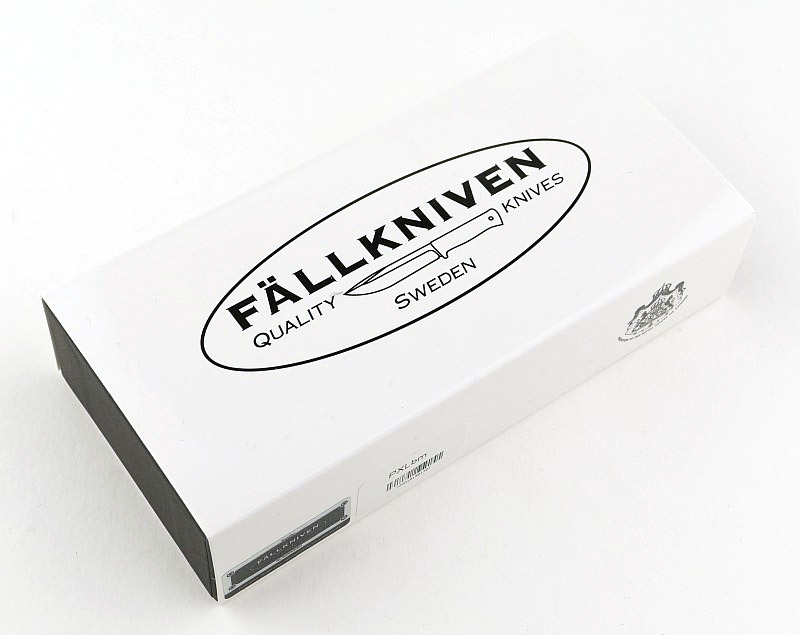
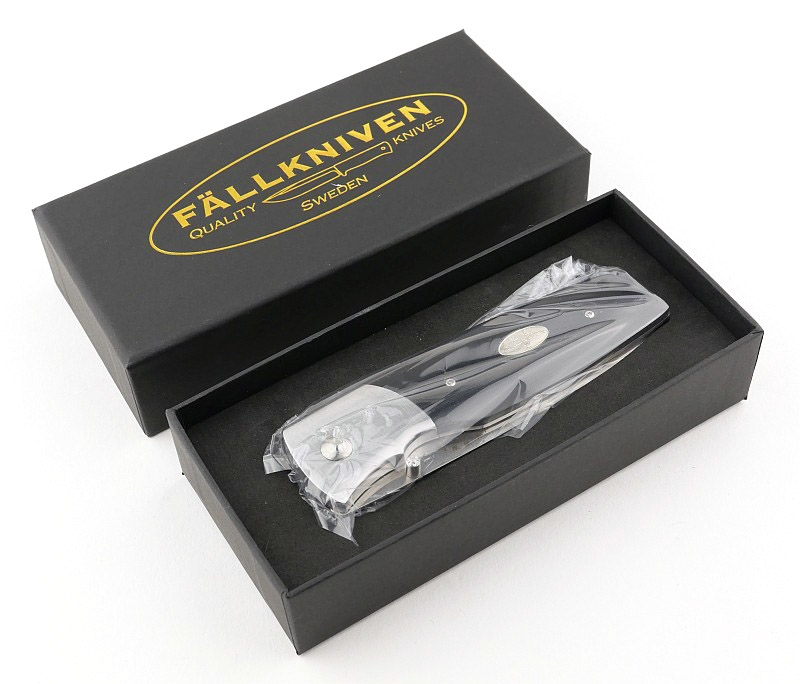
In keeping with Fällkniven’s normal product packaging the F1 Pro arrives in a white cardboard box.
I like the Swedish sense of humour as this is the first knife I have received which came with a supply of Fällkniven branded sticking plasters.

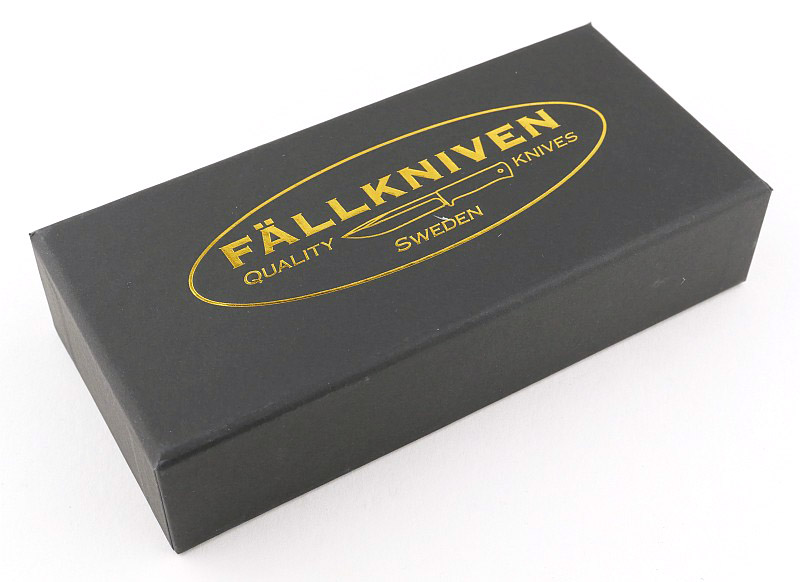
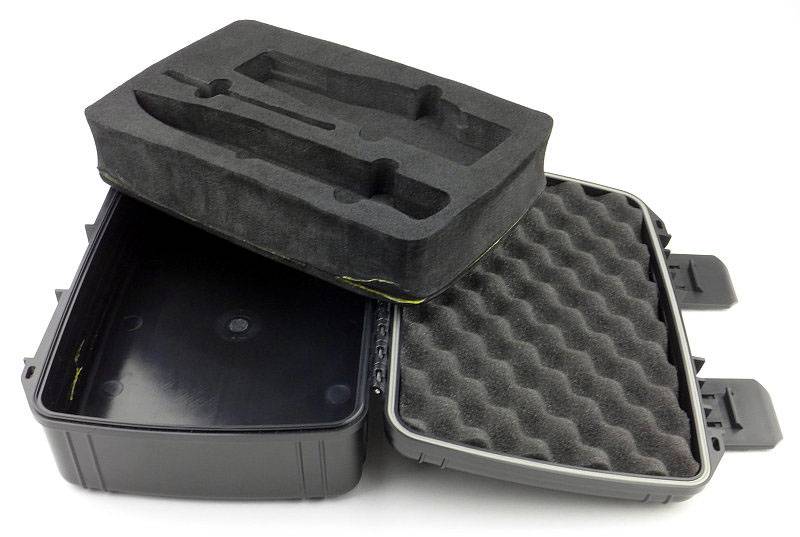
Inside the cardboard box is the tough, waterproof, plastic case.
Opening the case you find the contents nicely organised.
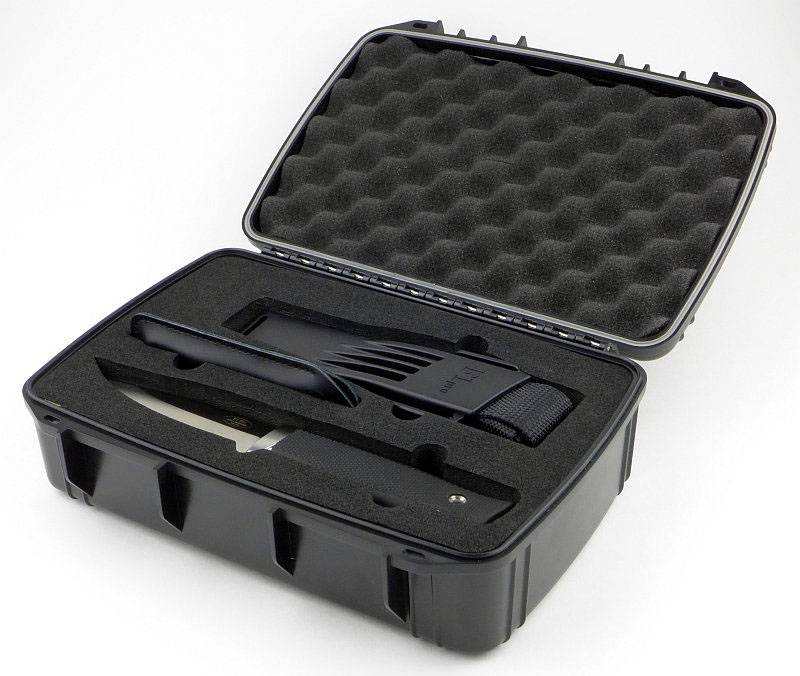
The liner is a substantial closed-cell foam with finger cut-outs to make it easy to remove the items.
You have the F1 Pro knife, its sheath, the DC4 stone and a case for the DC4.
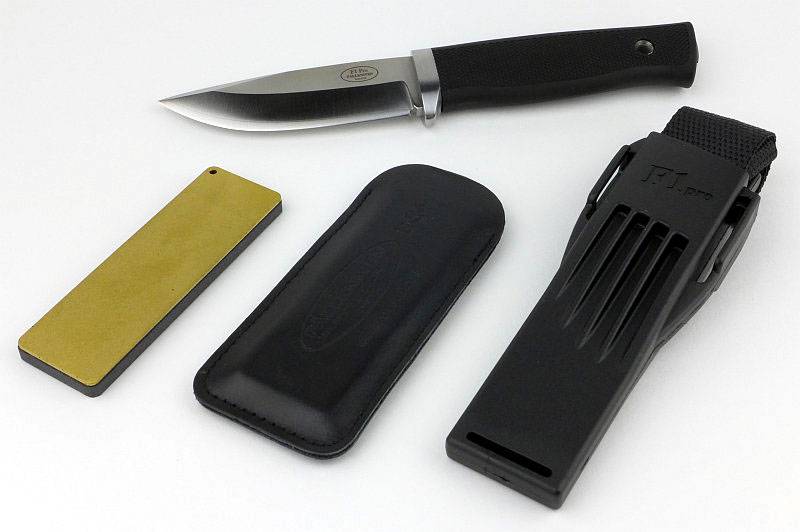
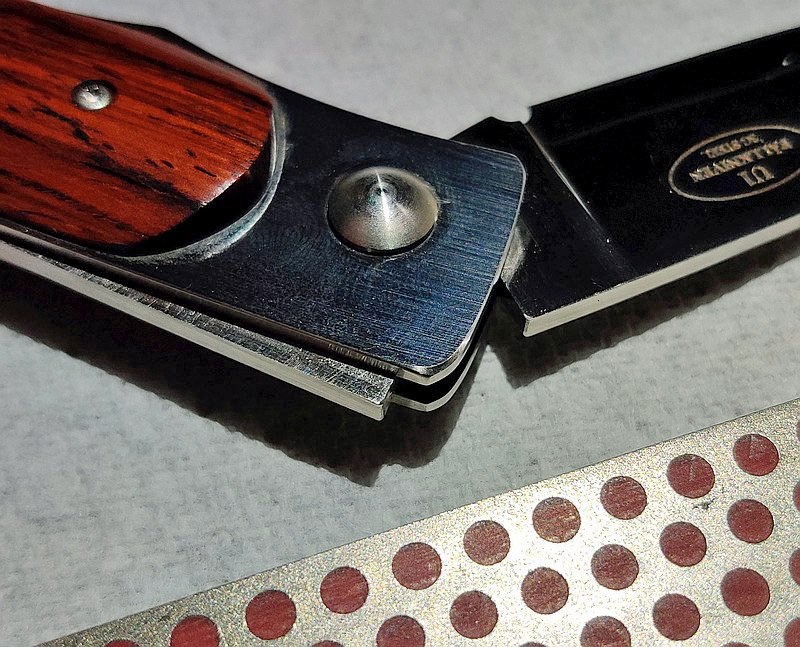
You can buy the DC4 separately, but in keeping with the uprated features of the F1 Pro you get this great stone with the F1 Pro. The gold side is the one with a diamond coating. With harder blade steels, the diamond makes it much easier to achieve a good result while not taking too long.
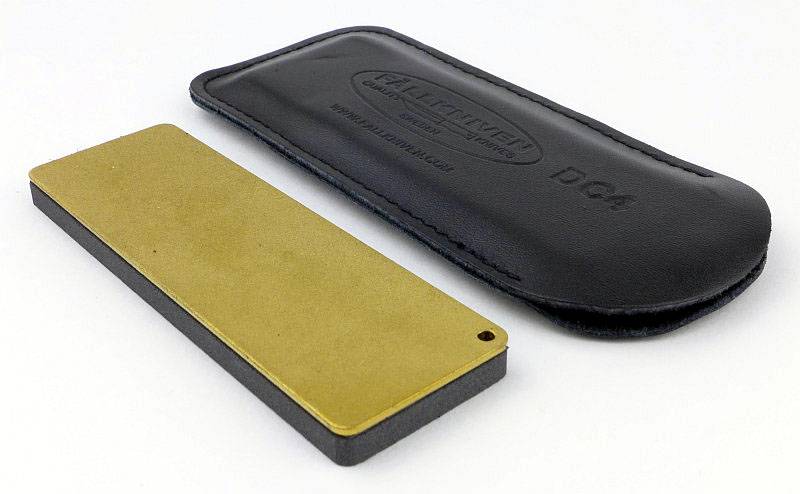
Flipping the DC4 over, it has a ceramic side which allows for a finer finish once the diamond side has done most of the work.
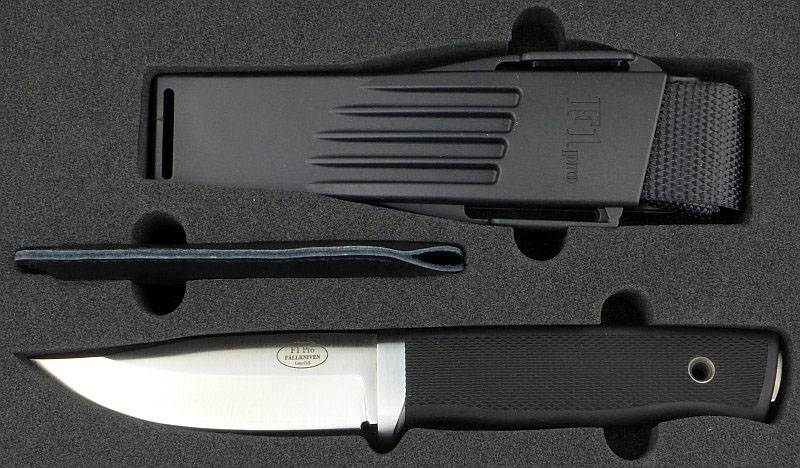
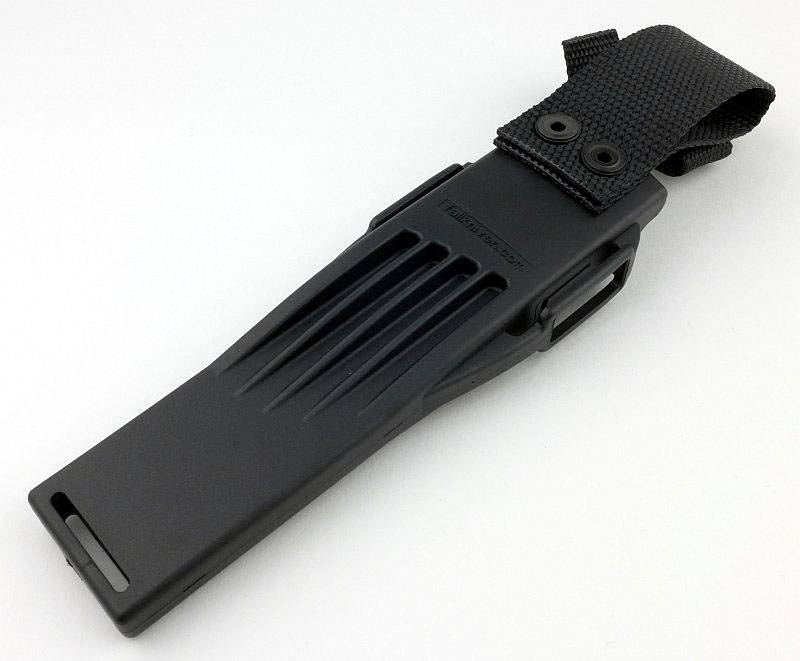
As it comes out of the box, the sheath has the belt loop tucked into the top.
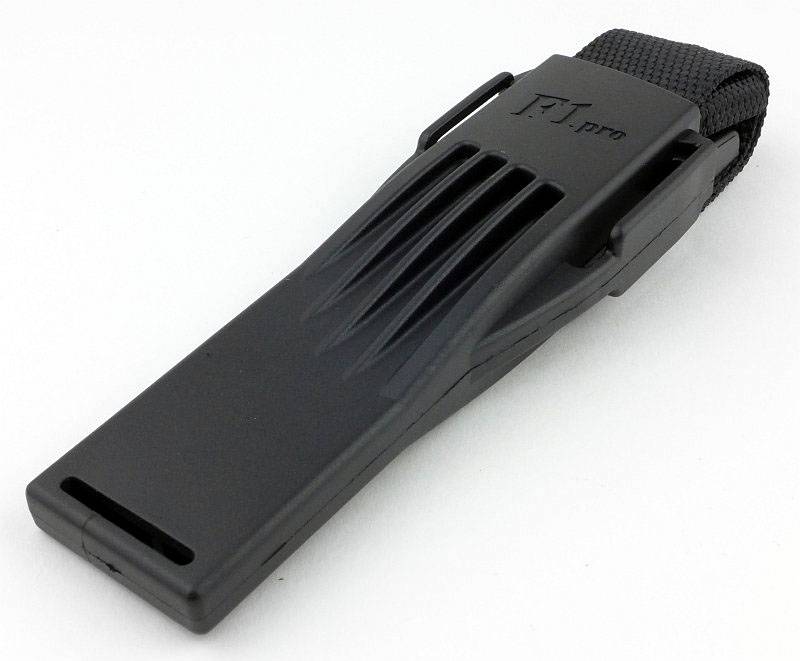
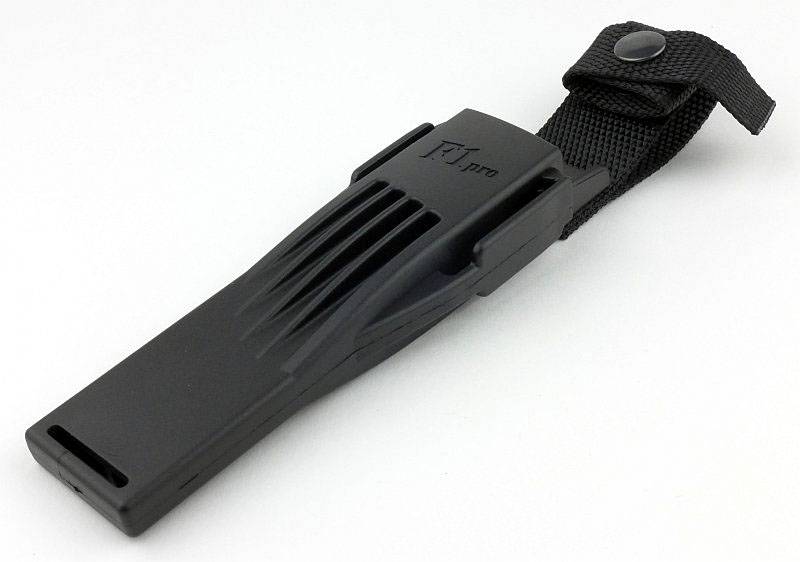
Pulling out the belt loop and you can see the retaining strap as well.
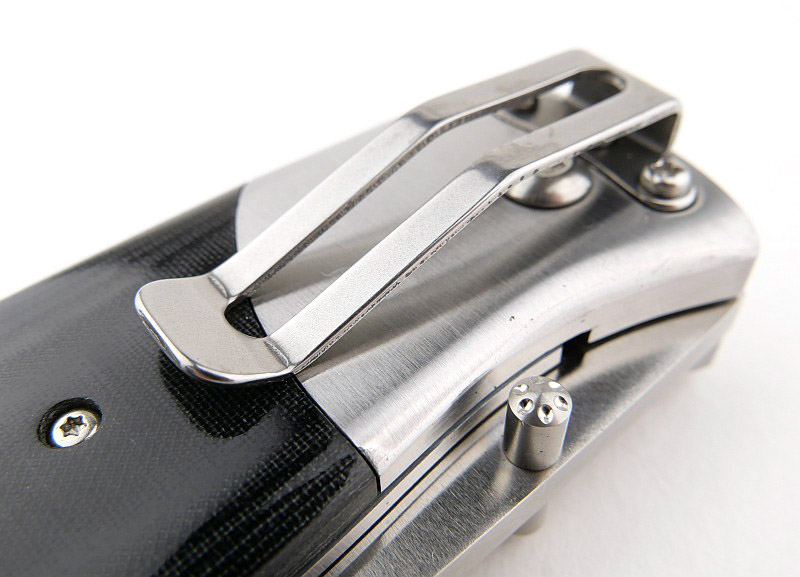
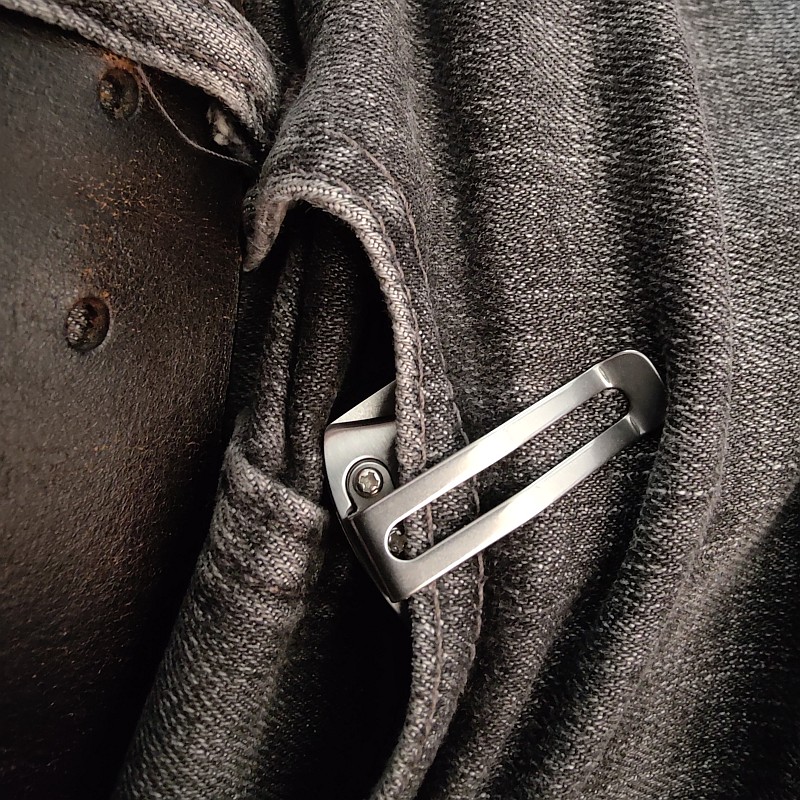
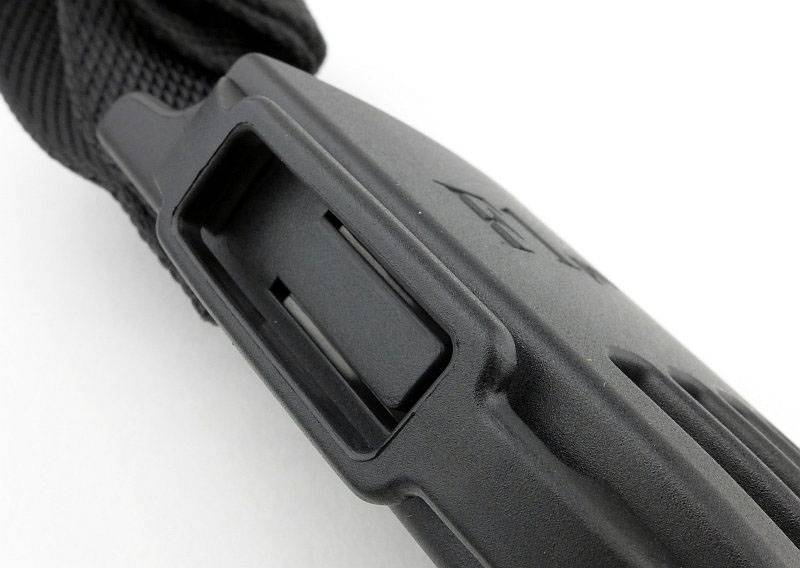
While looking at the sheath, let’s have a closer look as the new strapping points on side. This is the first one.
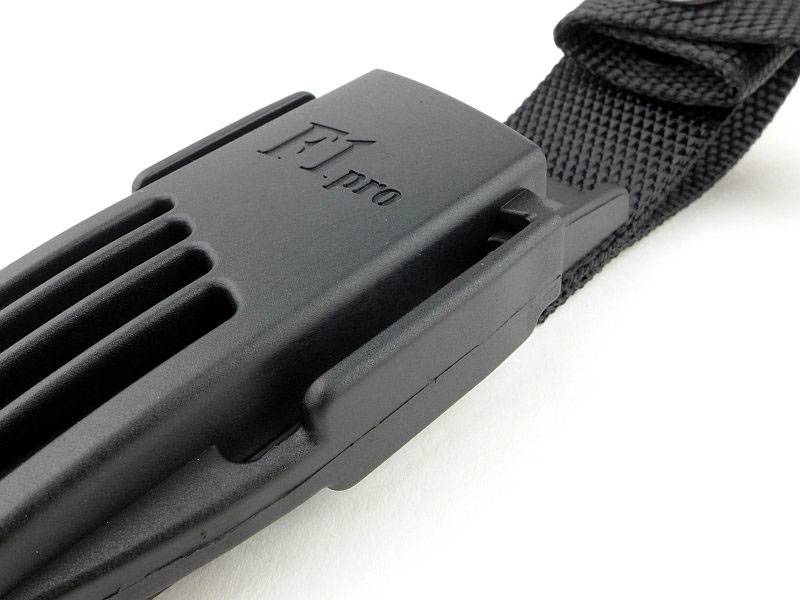
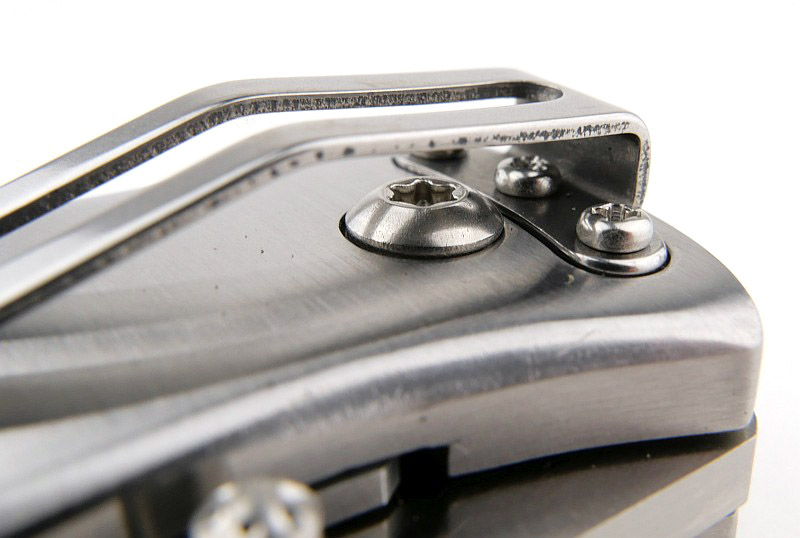
On the other side, there is a cut-out in the middle of the strap loop which allows for the movement of the plastic sprung tab which holds onto the F1’s guard. When removing or inserting the F1 Pro, this tab moves far enough out that it would touch the strap loop if it did not have this cut-out.
The webbing belt loop is riveted onto the back of the sheath.
When sheathed, you can hold the sheath upside-down and even without the retaining strap done up, the knife doesn’t fall out, but for complete security the retaining strap is closed round the end of the handle.
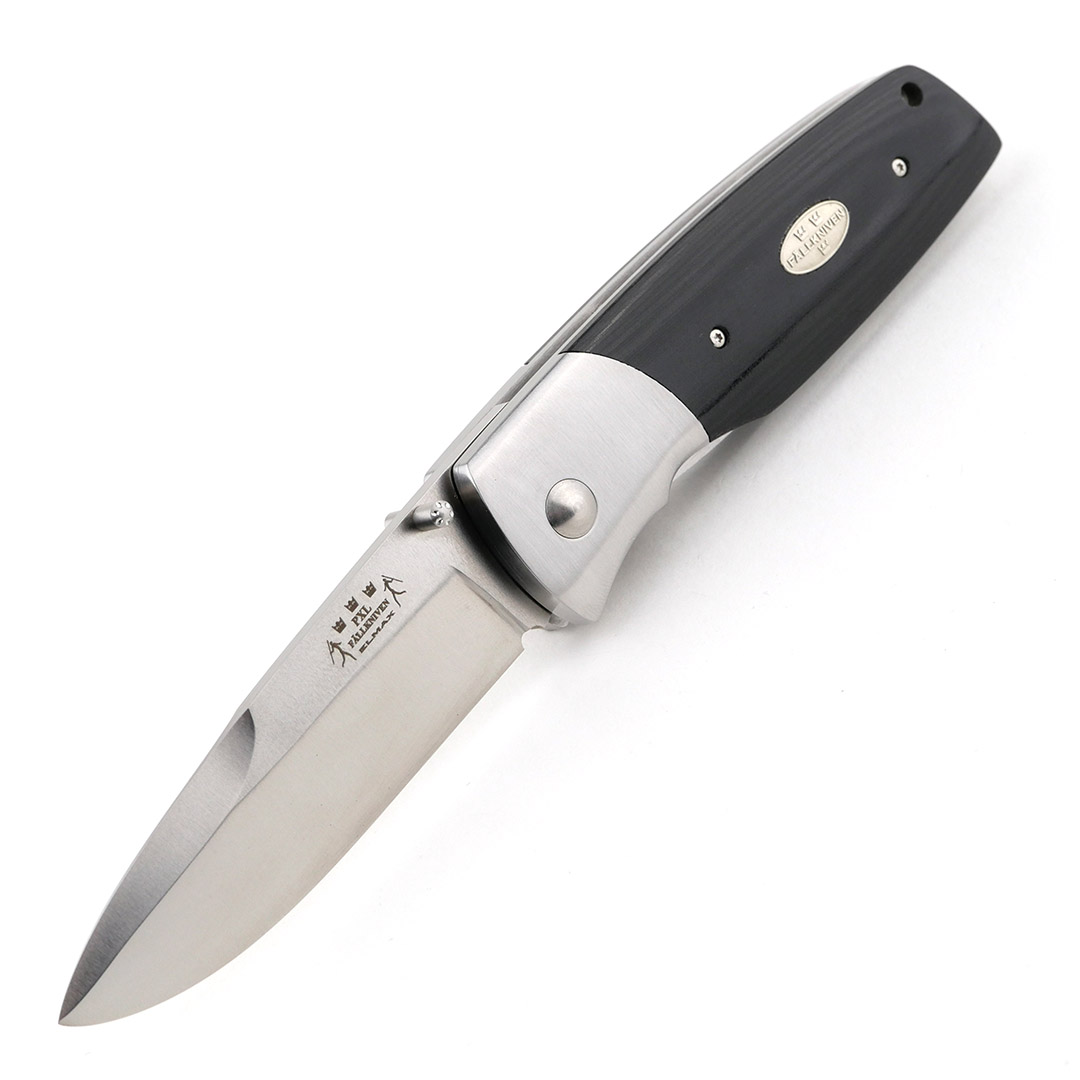
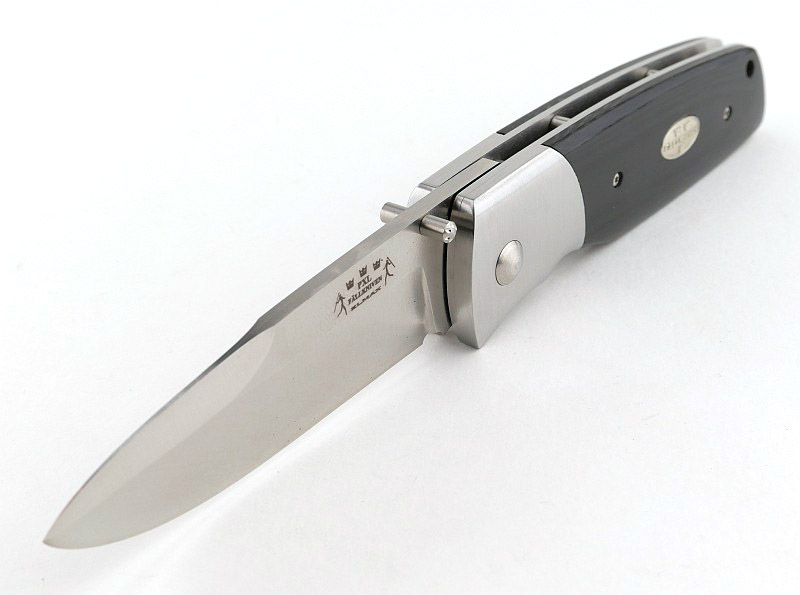
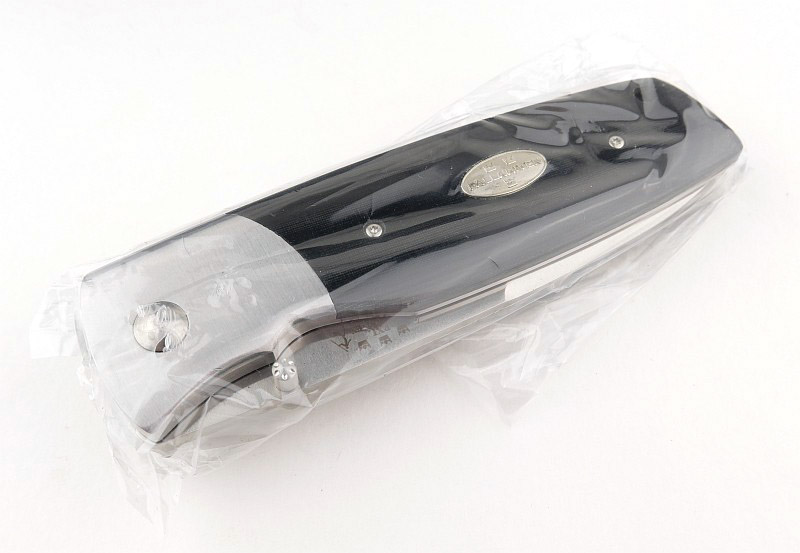
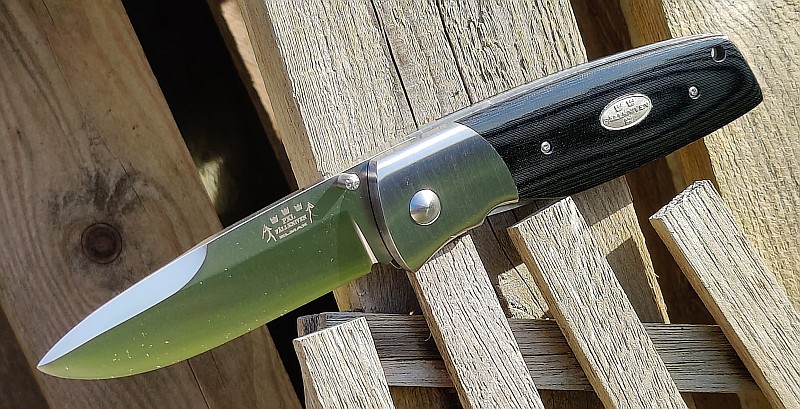
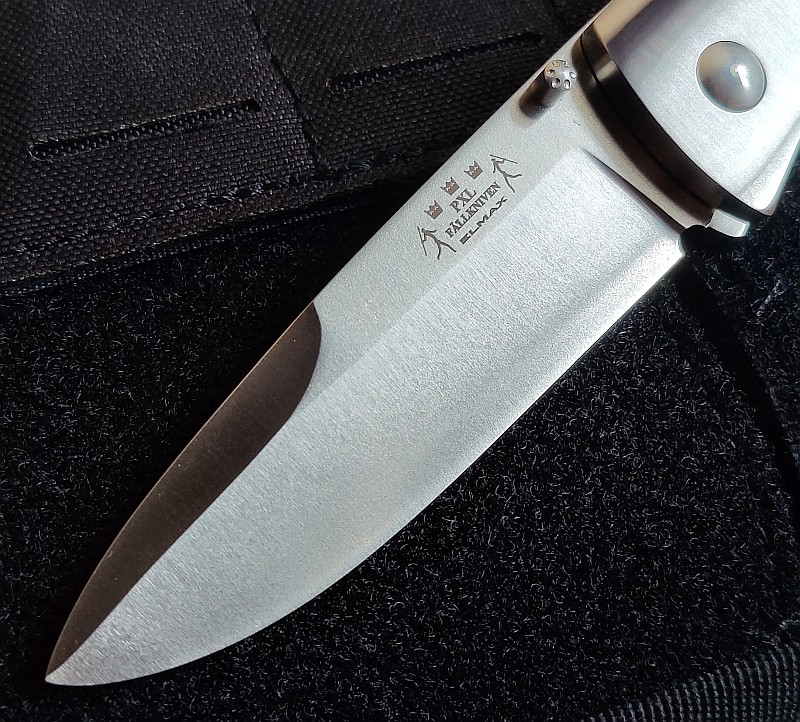
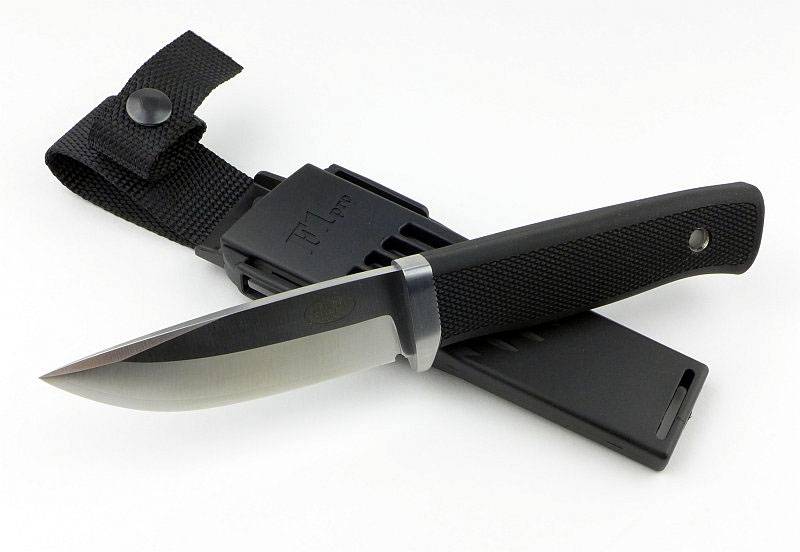
And now for the star of this review, the F1 Pro itself.
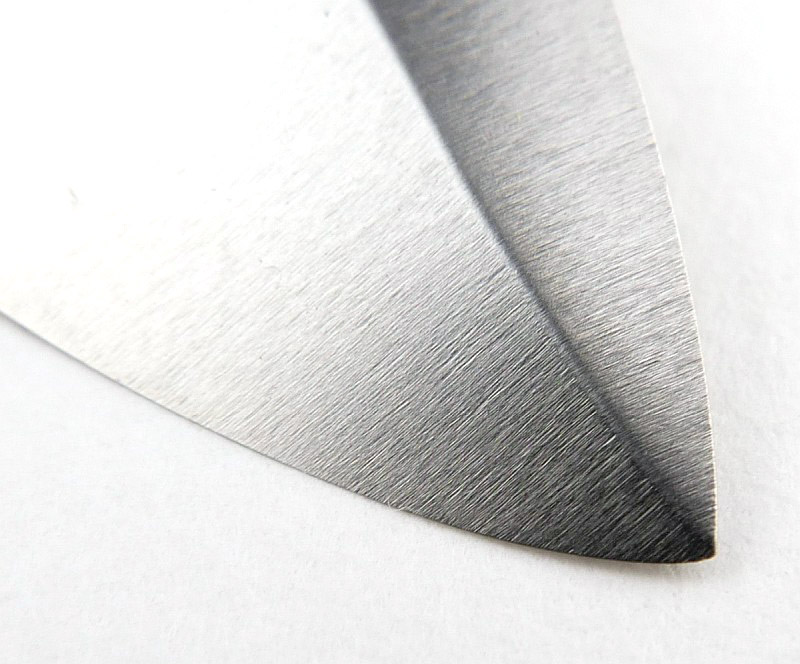
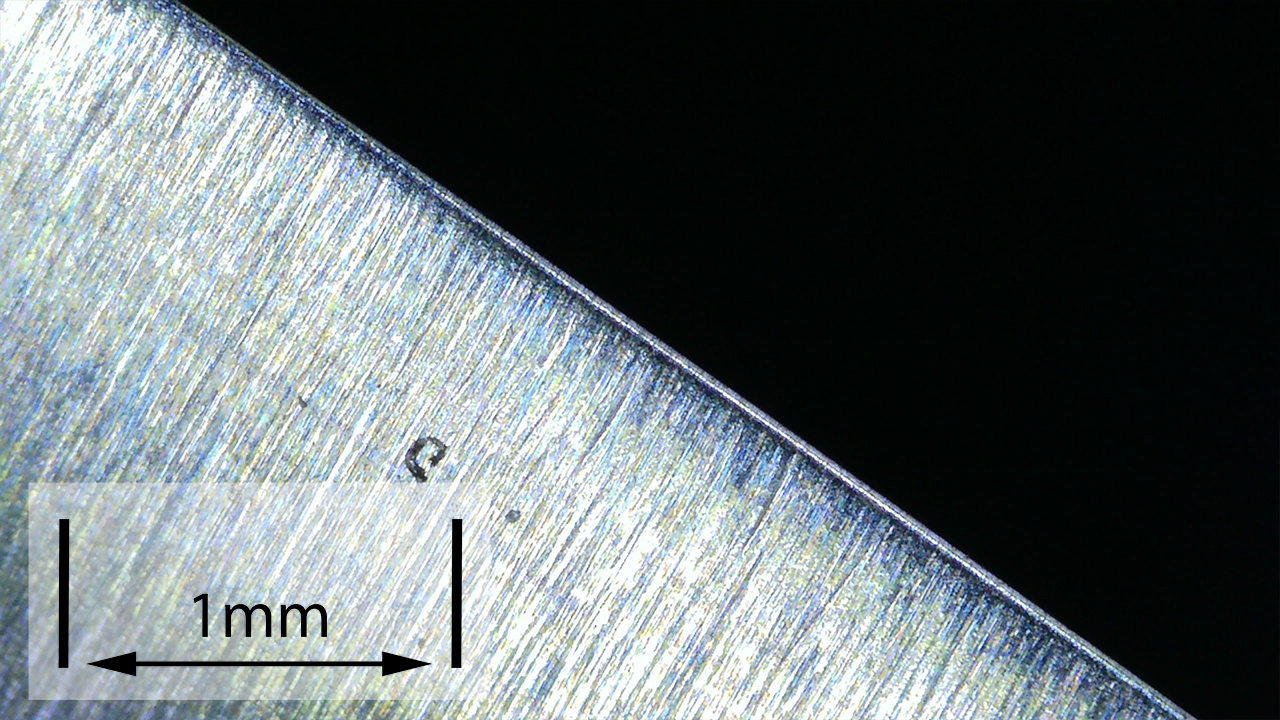
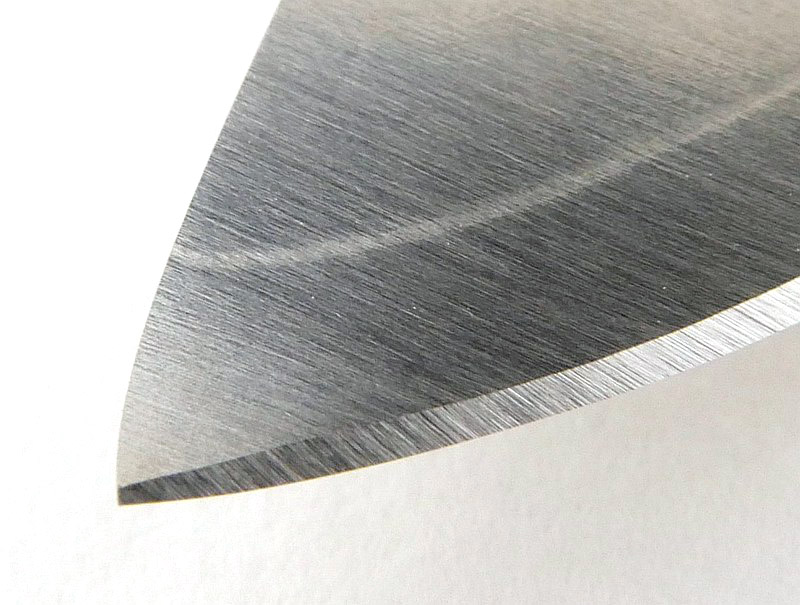
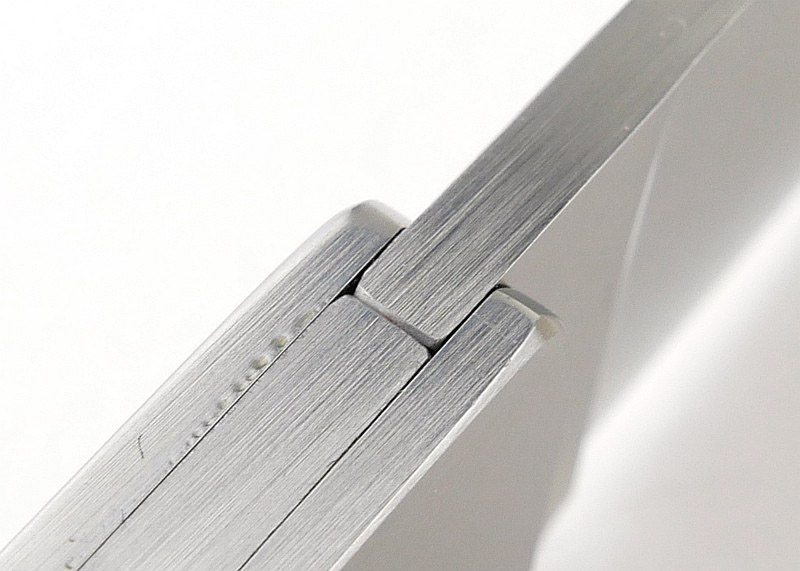
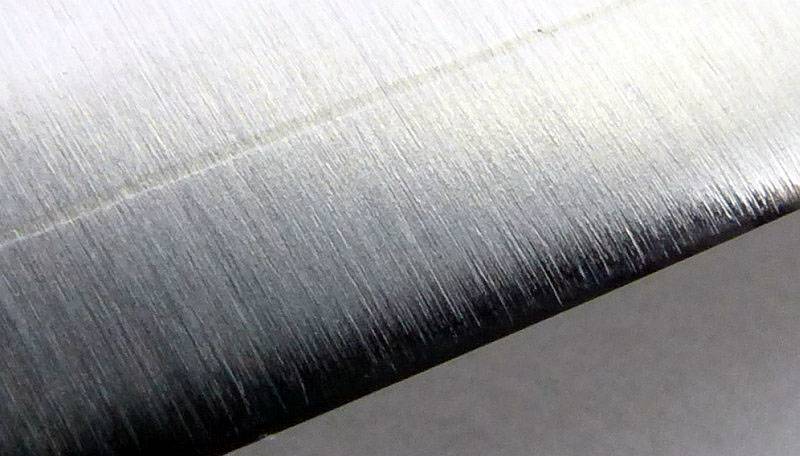
Taking a close look at the tip of the blade. You can see the line where the outer and centre steels join.
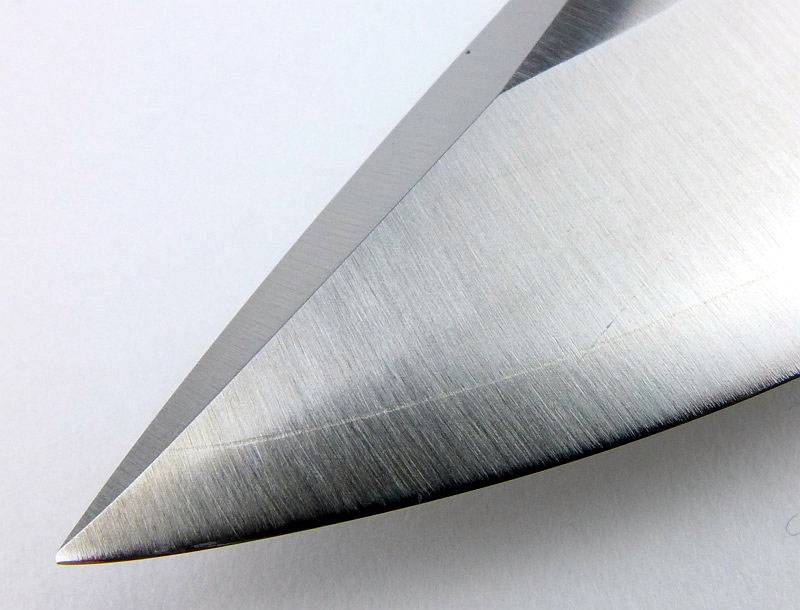
Looking closer still at the lamination join and cutting edge. Where the steels join it appears as if it is slightly softer as during the finishing processes the line has become slightly recessed. This is not a problem, just an observation.
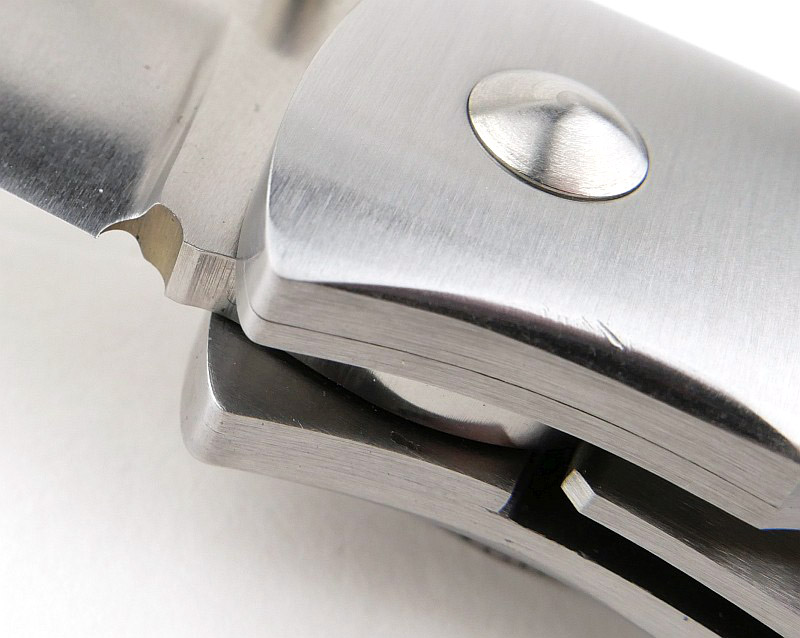
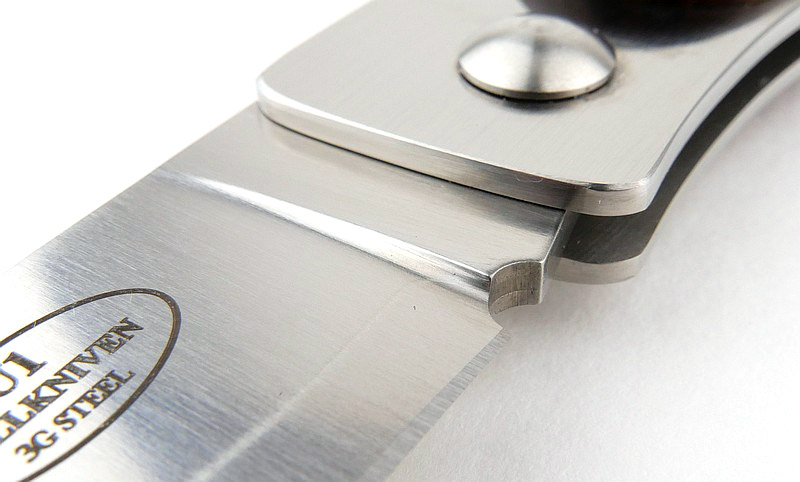
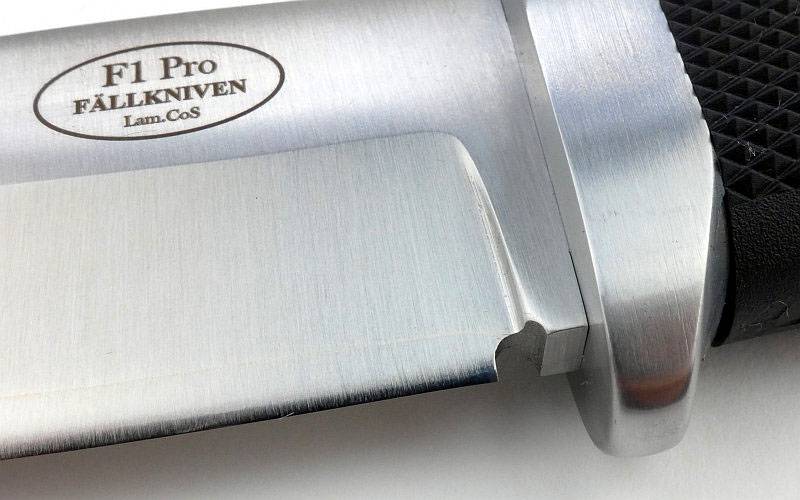
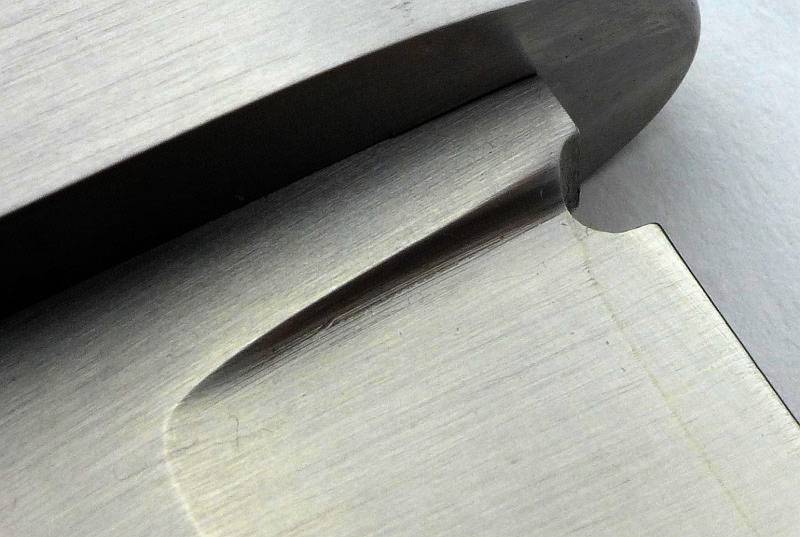
Giving the edge a proper termination the F1 Pro has a choil centred on the plunge line.
Often a point of weakness due to stress concentrators, the F1 Pro’s plunge line has a nicely radiused transition from primary grind to the ricasso.
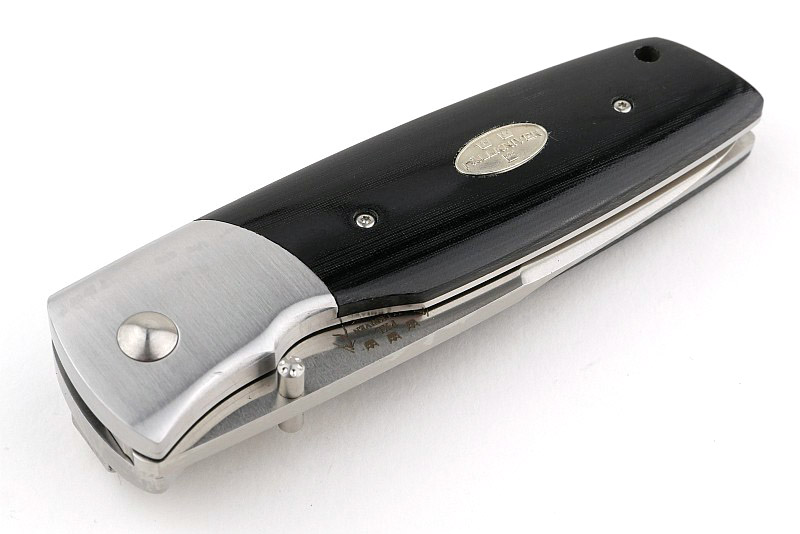
The fit of the guard to the blade is excellent, but if looking closely at the grip to guard fit, the Thermorun handle material extends slightly beyond the guard.
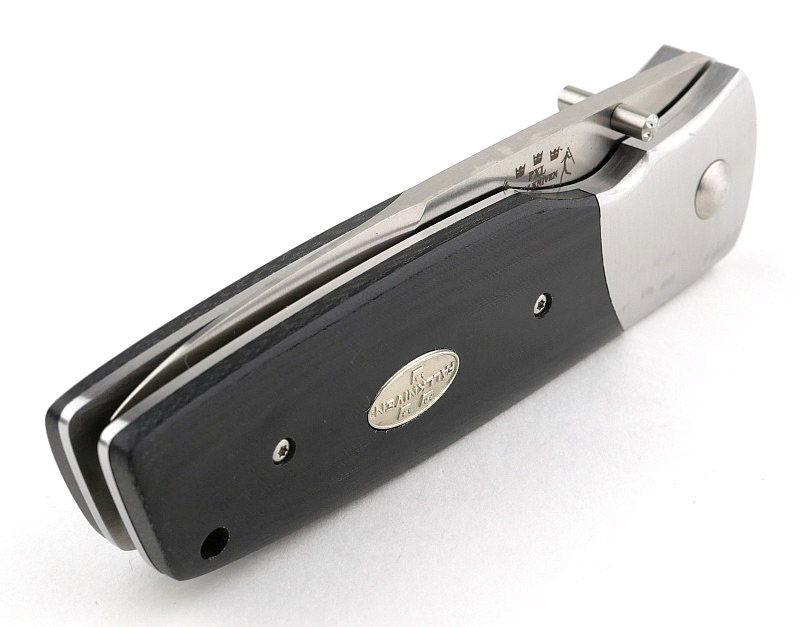
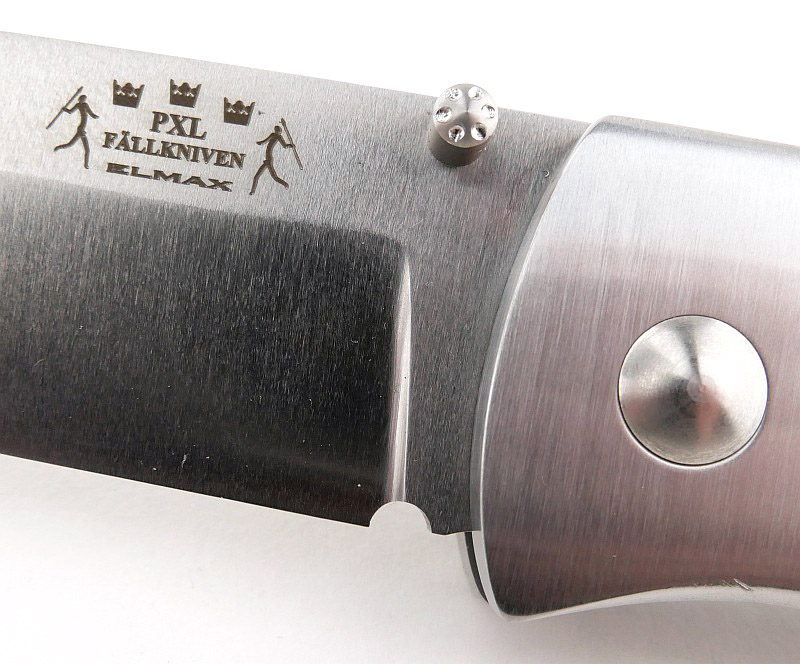
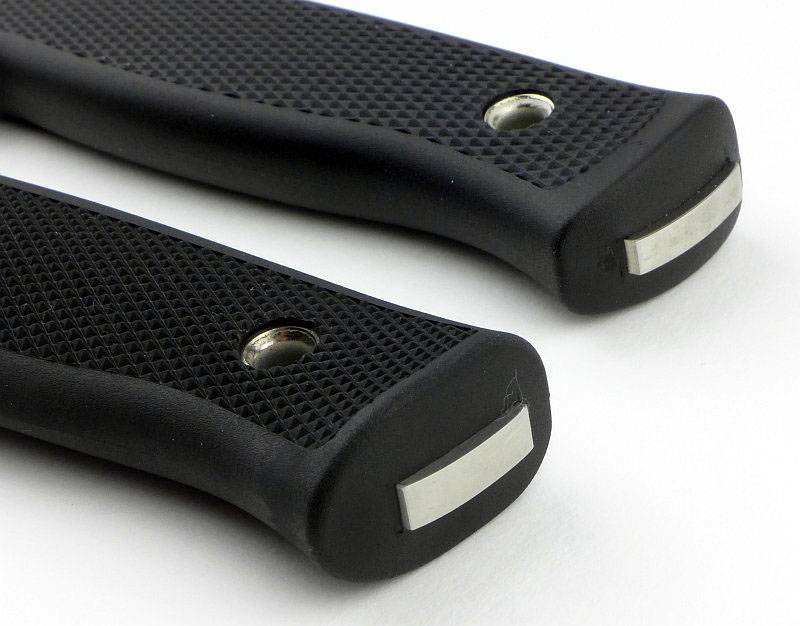
As with the F1, the tang of the F1 Pro is exposed at the pommel.
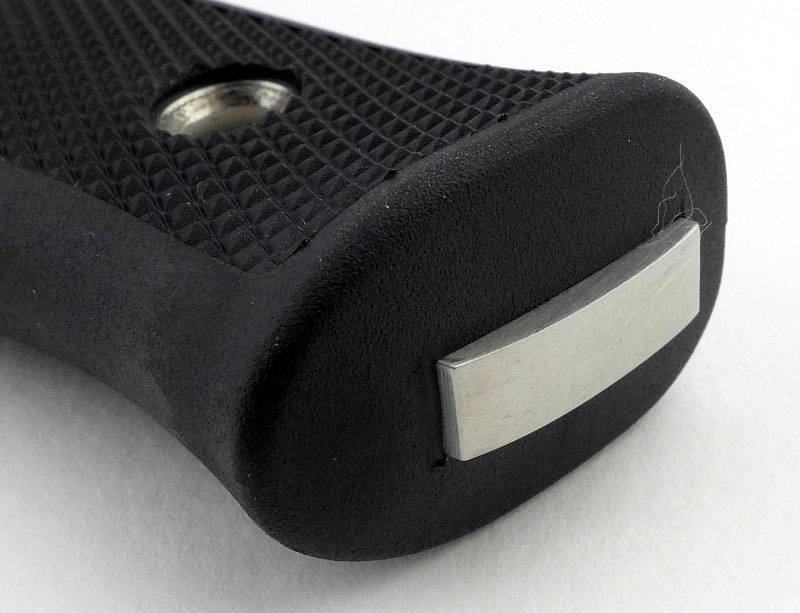
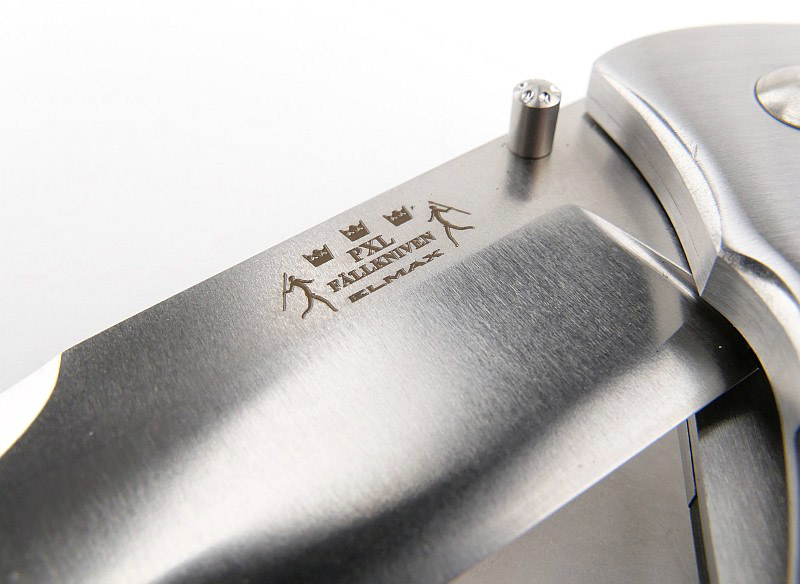
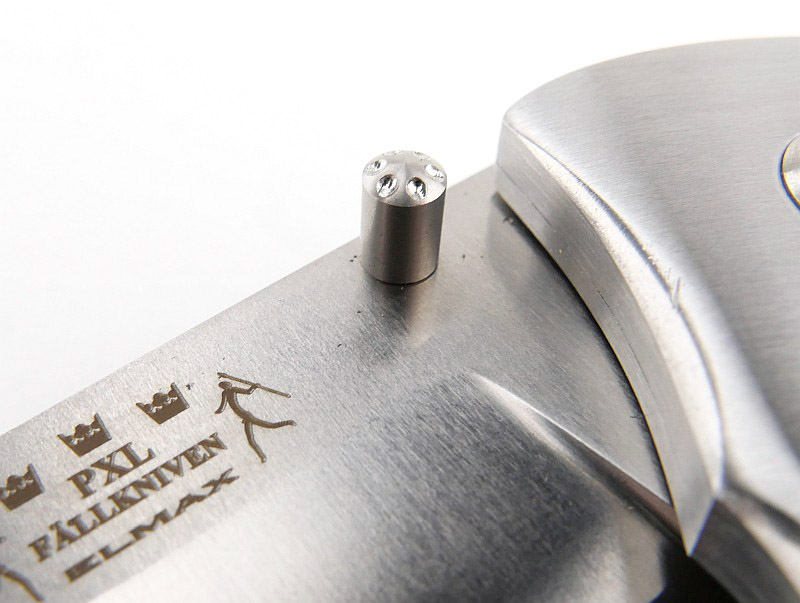
A flared tube is used for the lanyard hole and also secures the grip. The flaring of the tube not only keeps it in place, but also means the lanyard hole has no sharp edges that might have frayed the cord.
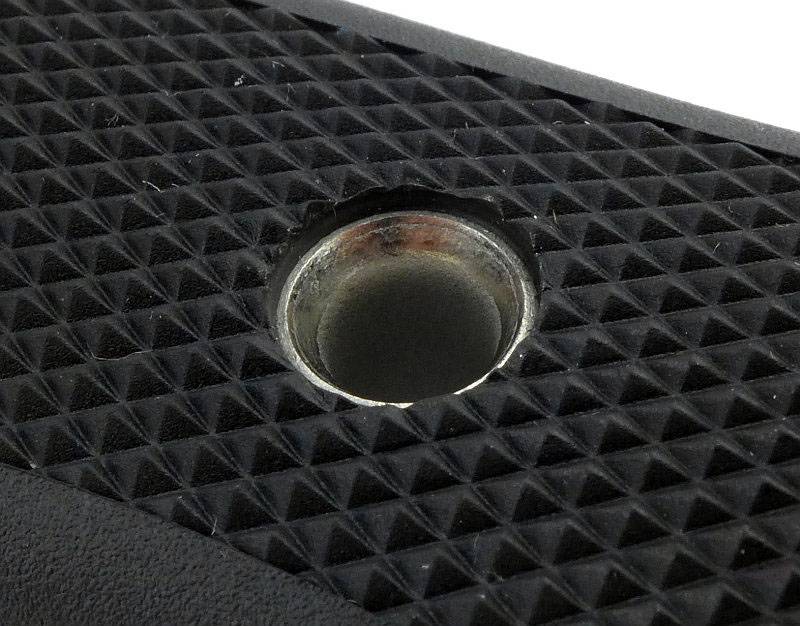
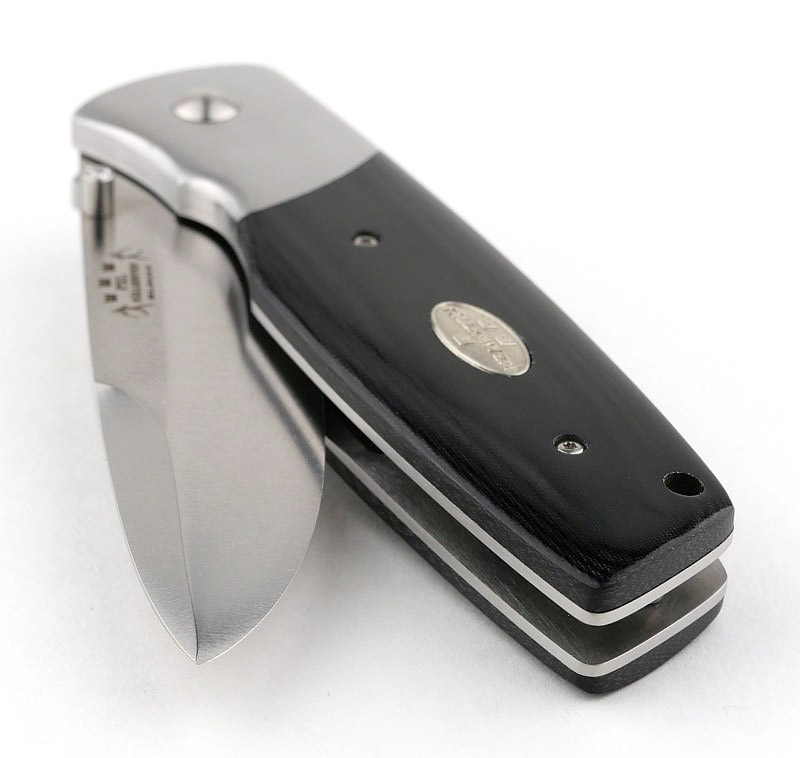
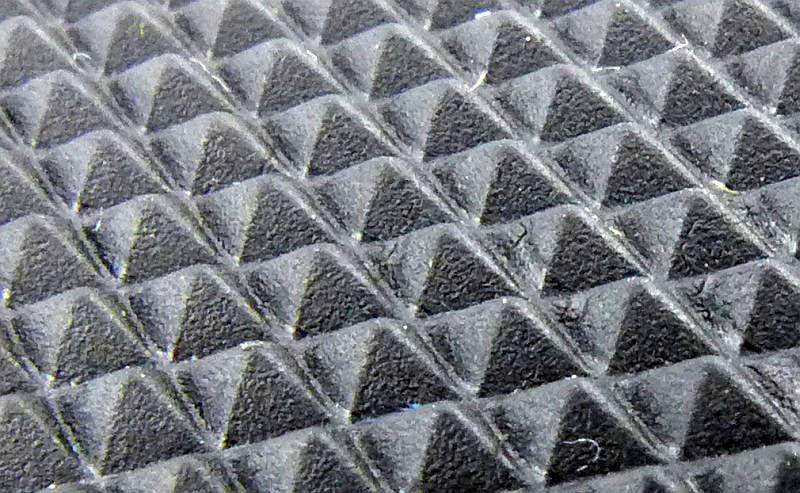
The sides of the handle have a moulded diamond knurling pattern.
Not actually sharp, the corners of the blade’s spine do strike sparks from ferrocerium rods.

Comparing the F1 and F1 Pro:
This review is not simply a comparison of the F1 and this new F1 Pro, but it would not be complete without looking at the two side-by-side.
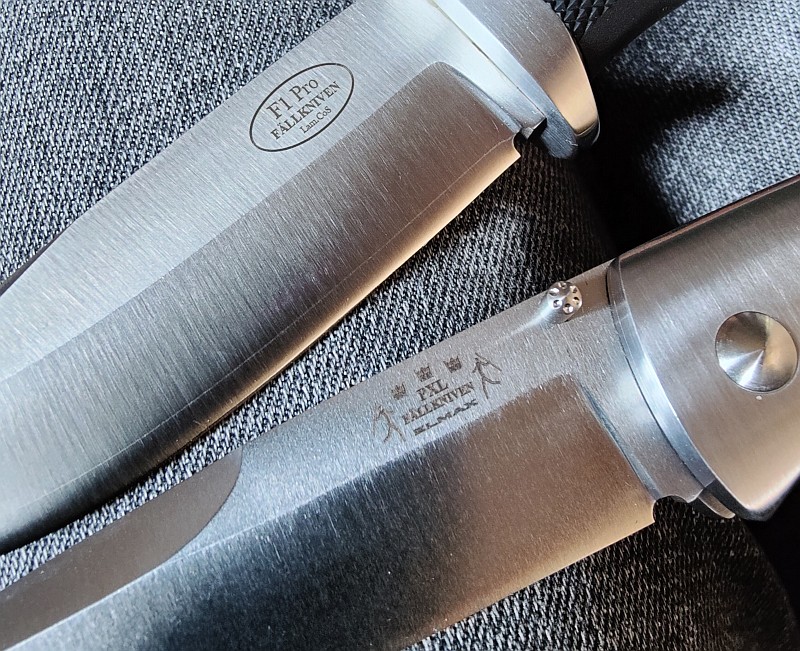
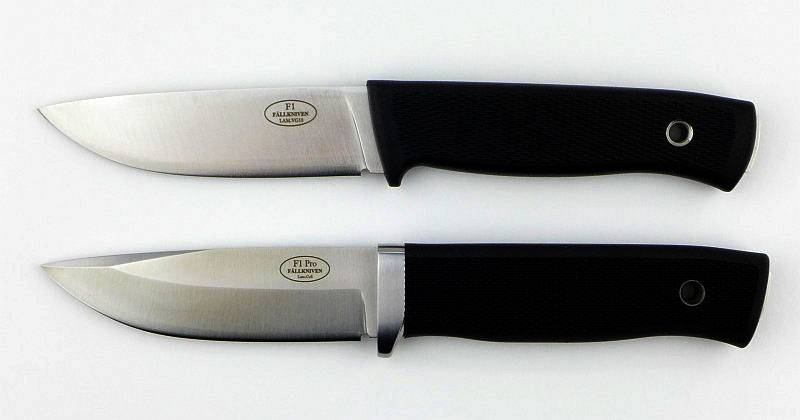
Starting with an overall view, the F1 Pro’s heavier build is immediately obvious. The new guard and modified blade grind really stand out.
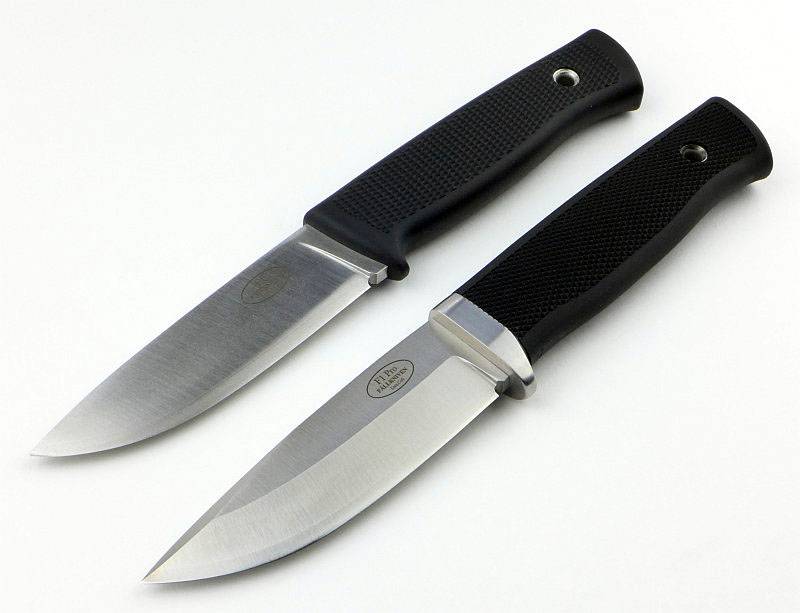
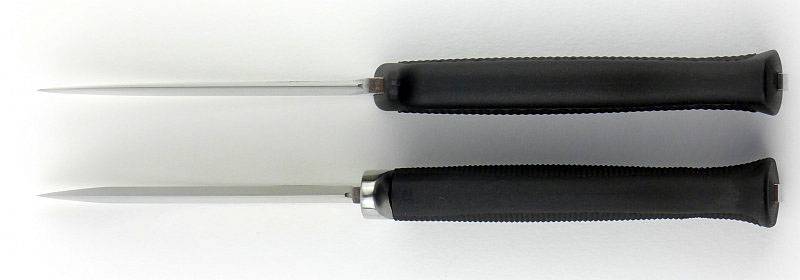
Staying with an overall view but this time directly side on. Overall dimensions are very similar.
Focusing in on the handles, the F1 Pro has a slightly deeper grip with less pronounced palm swell.
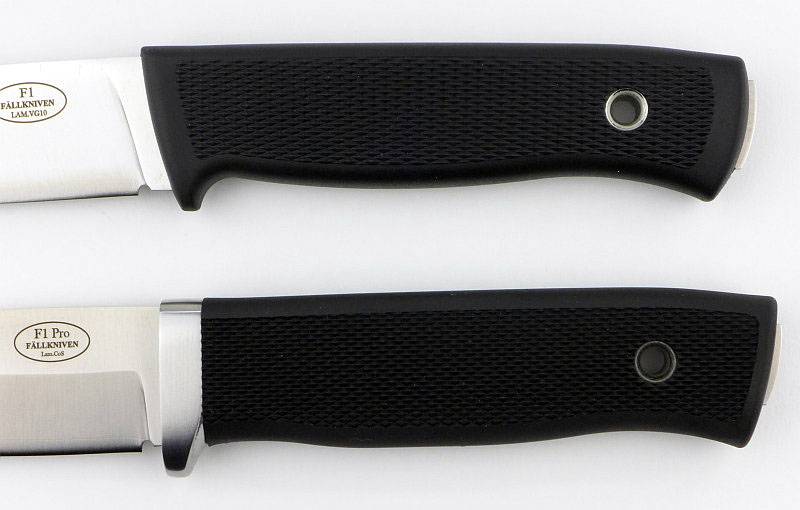
The new guard sits perpendicular to the edge. On the Original F1 the guard sweeps backwards.
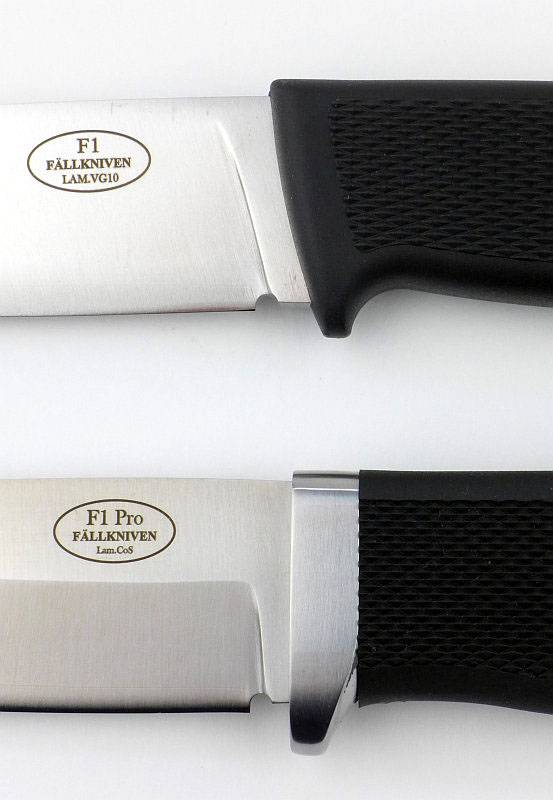
With a thicker blade stock and sabre grind, the blade of the F1 Pro is significantly stronger than the already strong F1.
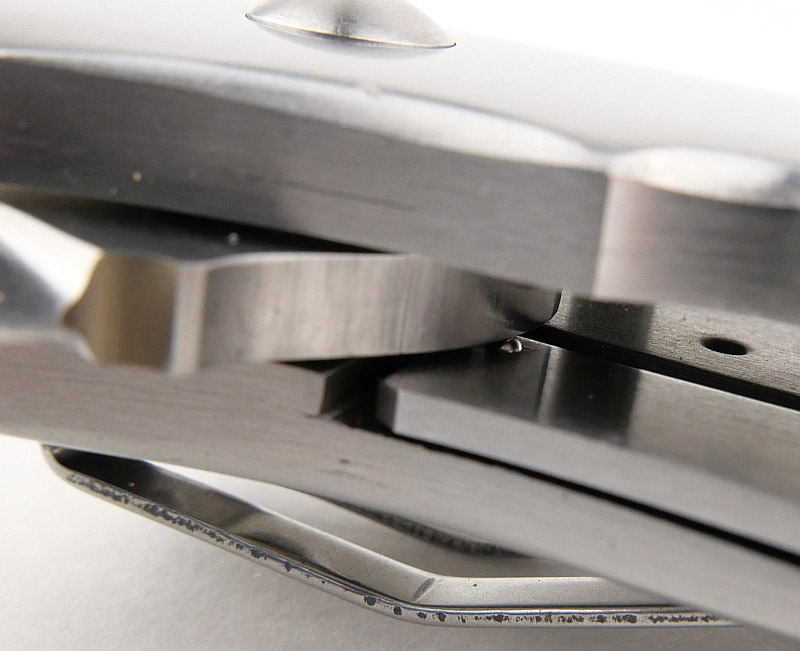
The exposed tangs also show the thicker blade stock used for the F1 Pro.
A view looking down onto the cutting edge of each knife to show the blade and handle thickness.
Lastly the F1 and F1 Pro sheaths side-by-side. The F1 Pro’s sheath is a bit chunkier than the F1’s.
What it is like to use?
With the huge success of the F1, the ‘improved’ F1 Pro certainly has a lot to live up to. Initially I expected the F1 Pro to overshadow the F1 and make it virtually obsolete, but the reality is not so. Both knives have a place, and their differences are what would make you choose one over the other.
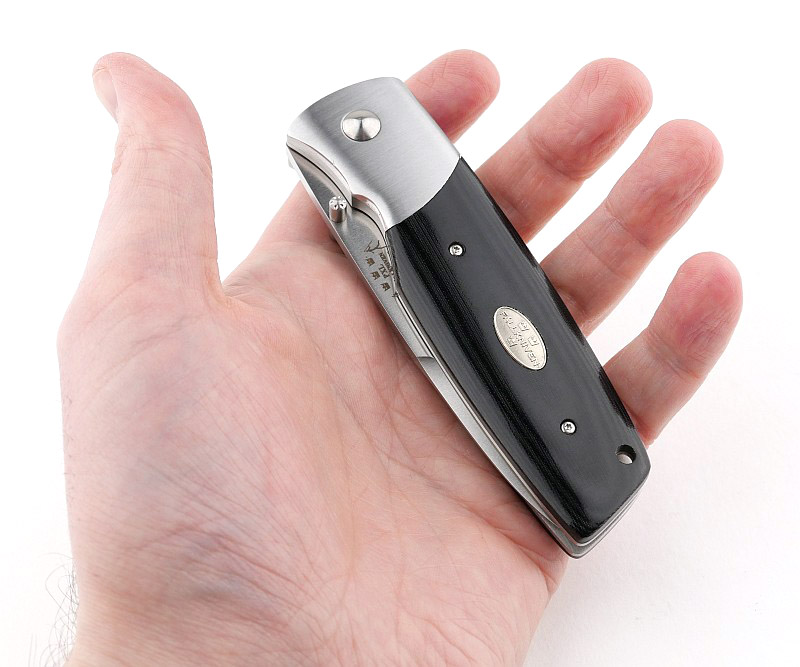
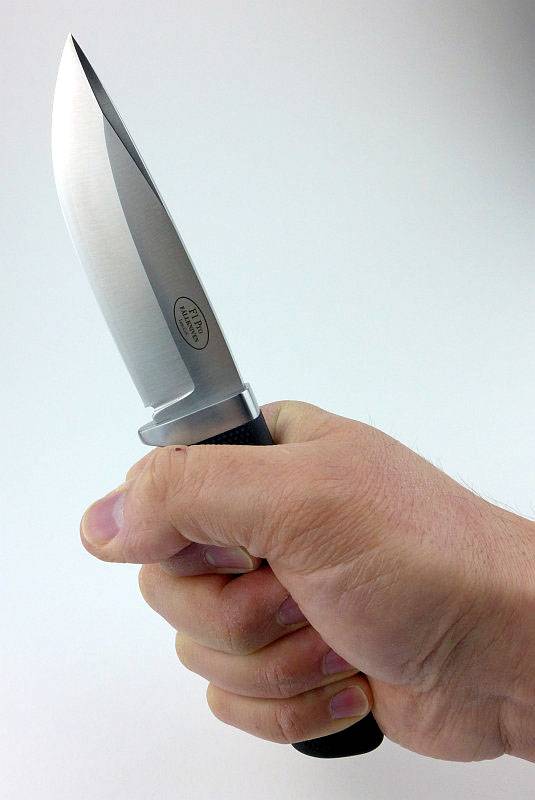
Picking up the F1 Pro, you can feel that it is nearly 20% heavier than the F1 though this is not a bad thing, just in keeping with its stronger build.
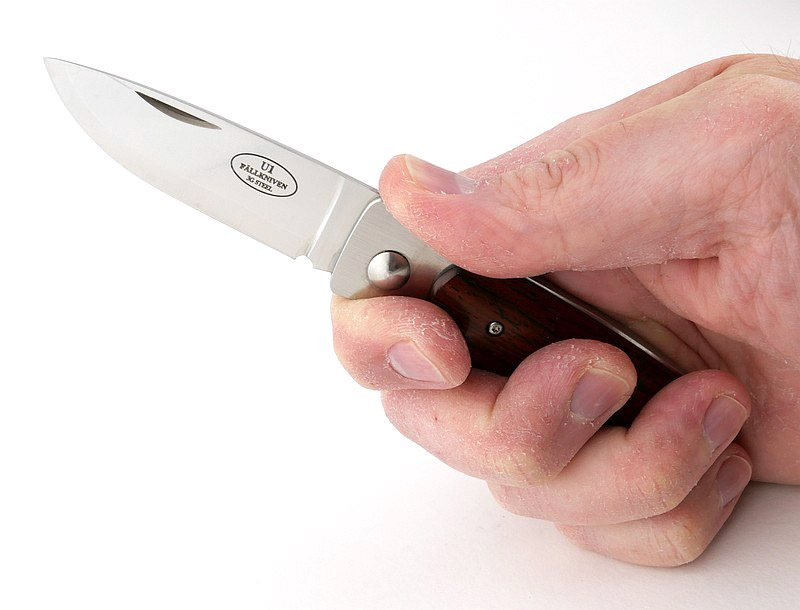
My hands take an XL size glove, so usually I prefer generously sized handles, especially if I’m going to work hard with it. That said, I’ve always appreciated the F1 being a relatively compact knife, and the F1 Pro still maintains this. A slightly larger grip fits in with this knife as an overall package very well. Even though the sheath has grown slightly as well, it still remains a lot of knife crammed into a small package.
Switching quickly to the hard case supplied with the F1 Pro. You can always leave the case as it came and put the F1 back into it, but once you have the F1 Pro out, you are not going to want to put it back into storage. I keep this one to hand, and it is very easy to pop into a backpack if getting into the great outdoors. So that case….what to do with it? Leaving the foam insert in it is no help as it will only accommodate the F1 Pro, so this needs to come out. With the case being listed as a reusable item, I was surprised that this foam did not want to come out. It seemed very firmly glued into place and I was about to give up when I found that the double-sided tape holding the foam layers together was partially out and sticking the foam to the side of the case as well. After much prying (this is a stiff closed-cell foam), I managed to get it free in one piece. The less patient might have used the F1 Pro to shred this foam liner. Of course, once out, the case can now be used for whatever you like.
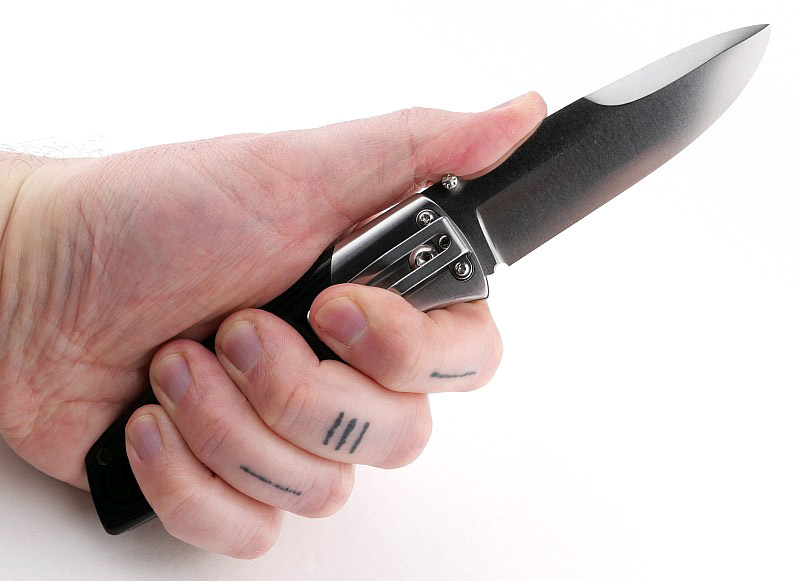
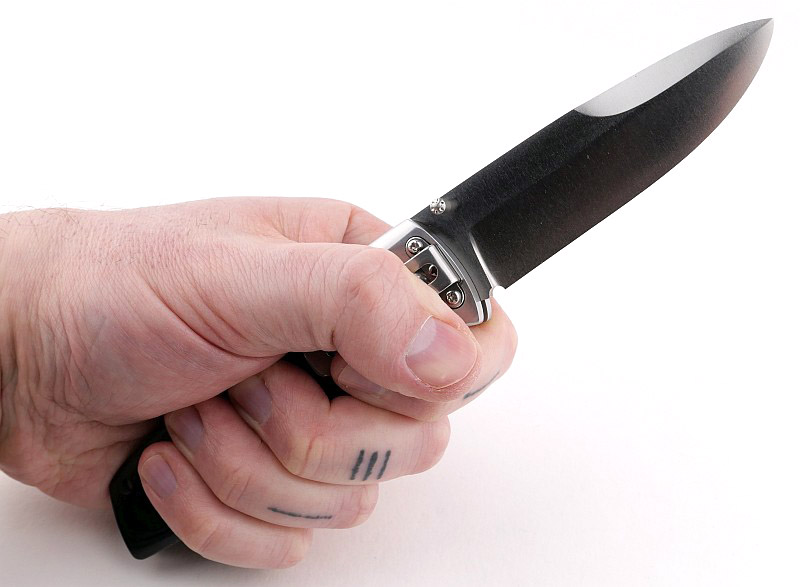
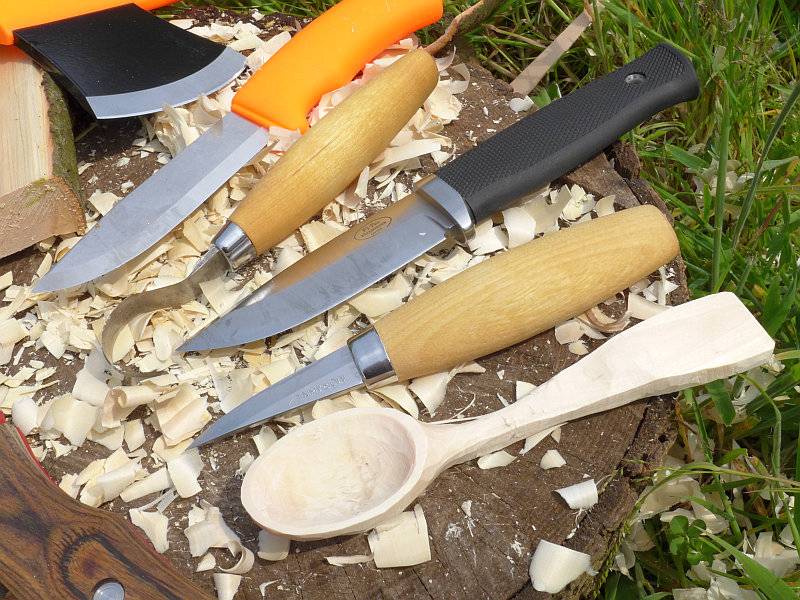
Time to get out into the field and try it out for various tasks. The first was a bit of wood carving. Not the only knife used for this, but one of the most comfortable thanks to the thick blade stock and the way the edges of the spine were finished. Placing your thumb onto the spine allows for power and control over the cut. After working with it in this way for quite some time, my thumb was not suffering at all and I could have carried on all day (but had other things to do).
As mentioned above, the spine was very comfortable to press onto, so I wondered how well it would strike a ferrocerium rod (really an essential for a survival knife). It turned out to be really rather good, giving a concentrated and directed shower of sparks.
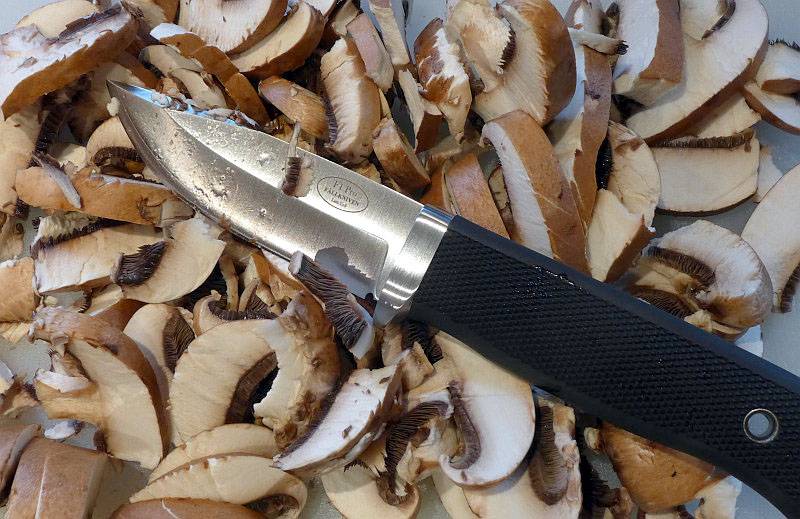
I thought I would give it a try in the kitchen as well to see what its food preparation capabilities were. A blade this thick is always going to struggle a bit with deeper cuts and this test really showed this. Starting with mushrooms, the cuts were easy and controllable, but the slices were bent over and split by the thick blade.
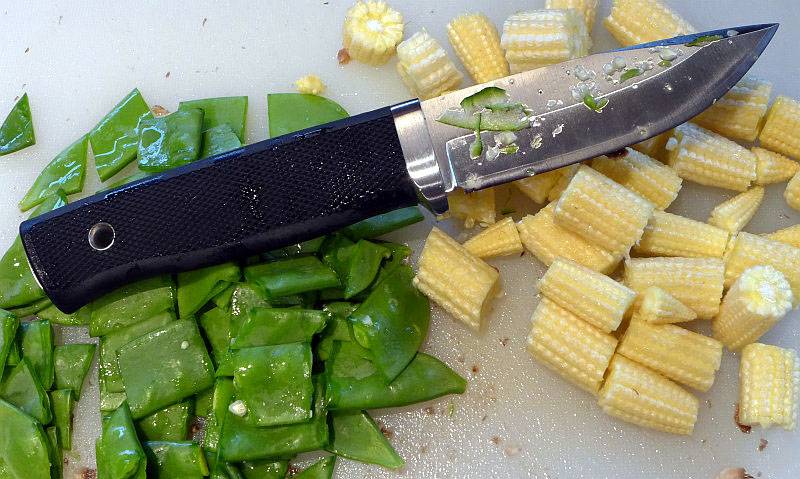
Moving to a thinner vegetable, it handled the mange-tout with ease and the baby sweetcorn were half cut, half split apart.
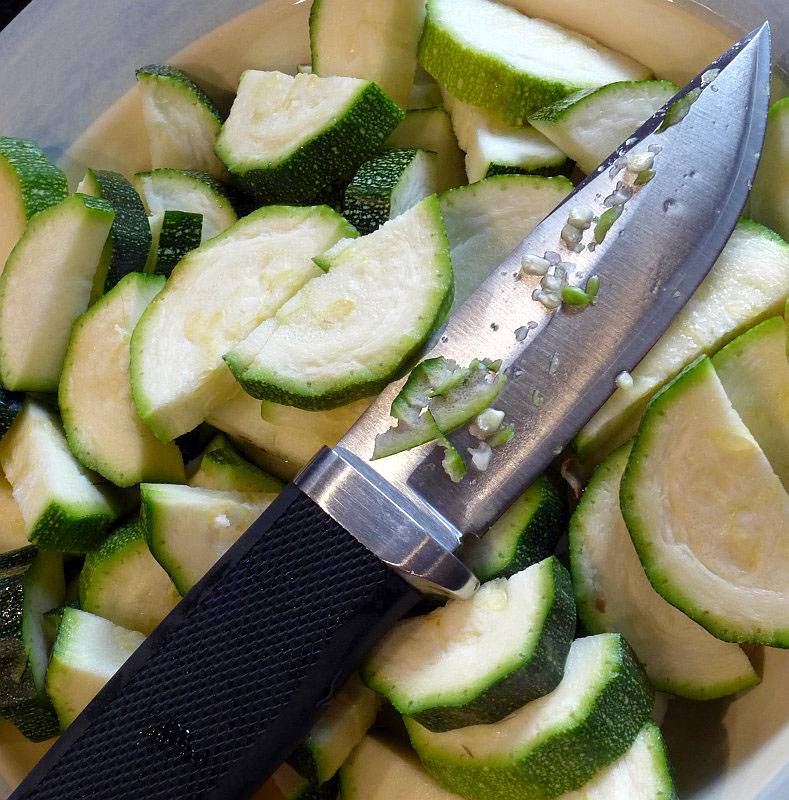
The biggest challenge to the blade thickness was a crisp courgette. Cutting was easy but there was a great deal of splitting once the blade got a little deeper. Altogether though, the cutting was easy, and even if not my first choice for food preparation, the F1 Pro worked well enough.
A little mention of that convex edge and maintaining it. For many, the maintenance of a convex edge is challenging. It is easy to set a knife at an angle and sharpen it, but the convex edge is a curve. This can be made even more difficult with an extended convexed edge, and in the case of the F1 Pro, the entire primary grind is convexed. To sharpen a convex edge you need to remove material over the entire convexed section, so for the F1 it means you really need to work on the entire primary grind. It will never look like new once you have done this. You can of course start to put a standard bevel onto the F1 Pro and it will still work well. I sometimes do this and once the bevel has got a little larger I just knock off the shoulder of the bezel (adding a second bevel) giving a pseudo convex effect. It is generally much easier to do this in the field than attempt a full convex sharpen.
Reader’s Note: There is a commonly known ‘simple’ convexing method using wet and dry paper and a mousemat, so you may want to look into this for maintenance at home. It is not really an ‘in the field’ method. Convexing by hand with a flat stone requires practice and a methodical approach, but can be done in the field with a small stone.
Is the F1 Pro going to be right for you? If you want a high strength, compact and efficient cutting tool, then the answer will be ‘yes’. You could also choose the tried and tested, proven design of the original F1, which gives you a slightly lighter and more compact overall package (at the cost of some blade strength), and this would be fine for most users and most conditions. ‘Most conditions’ being the crucial part of that description, as should you find yourself in an emergency situation where the knife might be tested to its limits, you might prefer to have all the strength you possibly could. The F1 Pro has that extra strength ‘in case’ you need it.
Taking the F1 Pro on its own merits, and you have an extremely sturdy, easily manageable cutting tool with excellent edge retention (thanks to the Cobalt Steel). The F1 Pro is a complete package with the knife/sheath, DC4 sharpener and reusable plastic case.
Review Summary
The views expressed in this summary table are from the point of view of the reviewer’s personal use. I am not a member of the armed forces and cannot comment on its use beyond a cutting tool or field/hunting knife.
Something that might be a ‘pro’ for one user can be a ‘con’ for another, so the comments are categorised based on my requirements. You should consider all points and if they could be beneficial to you.
| _______________________________________________ |
_______________________________________________ |
| Things I like |
What doesn’t work so well for me |
| _______________________________________________ |
_______________________________________________ |
| Builds on an already proven formula and reputation. |
Quality and strength comes at a higher price. |
| Cobalt steel edge. |
Relatively heavy for its size. |
| Very strong blade. |
Convex edge can be more difficult to maintain with standard whetstones. |
| Strikes a ferrocerium rod well. |
Thicker blade less suited to deeper cuts. |
| Thick spine is very comfortable to push with the thumb for heavy cuts. |
|
| Price also includes the DC4 sharpener and reusable waterproof case. |
|
Discussing the Review:
Please feel free to add comments to the review, but the ideal place to freely discuss these reviews is on a forum. If you started reading the shorter forum version of the review, but followed the link this full exclusive review, please return to that forum to discuss the review there.
If you read the review entirely on Tactical Reviews, please consider one of the following to join in any discussion.
EdgeMatters – Sponsored Reviews (UK based Forum for Knife Makers and Collectors)
BladeForums – Knife Reviews (US based Forum for Knife Discussion)
CandlePowerForums – Knife Reviews Section (Largest and Friendliest Flashlight Community Forum)