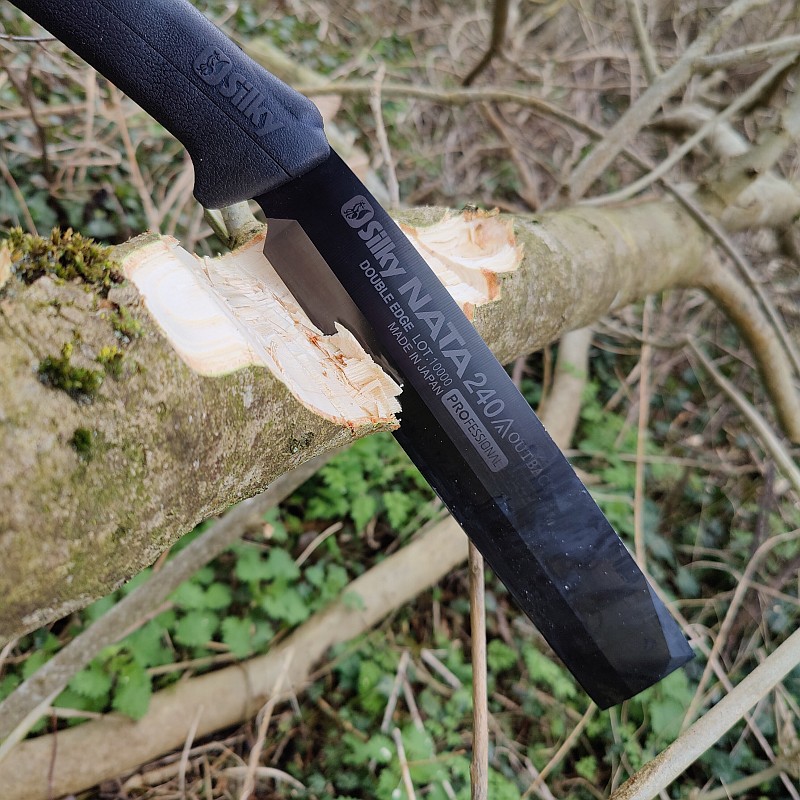
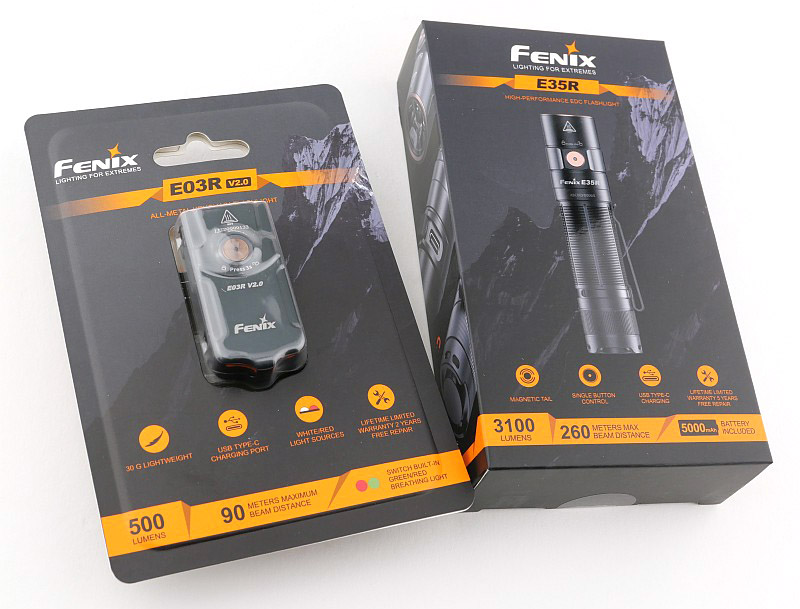
Fenix are updating and upgrading two excellent EDC lights. The E03R V2.0 and E35R build on their predecessors and raise them to a higher level. Join me in this review of the Fenix E03R v2.0 and E35R to see how they perform and what improvements have been made.
Review Videos
For the E03R V2.0 first a short format sixty second review:
The short format sixty second review of the E35R:
Onto a full video review covering many more details of both:
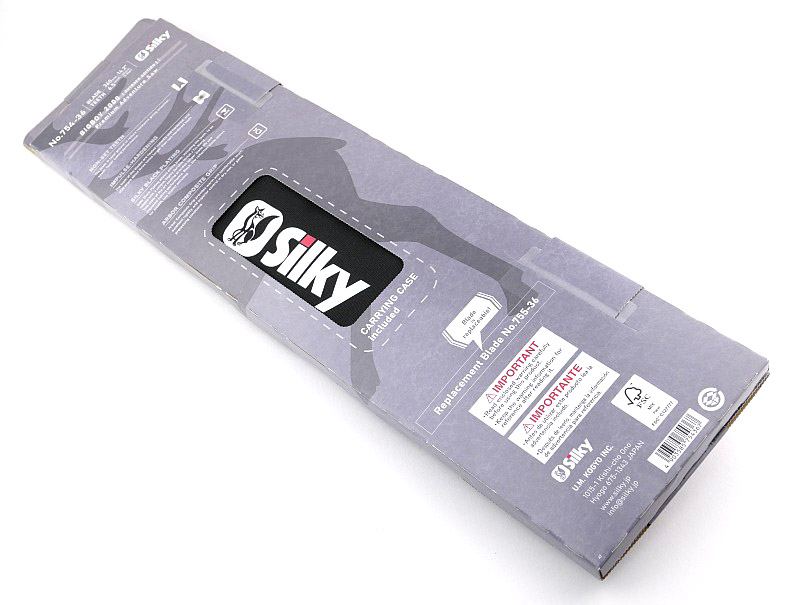
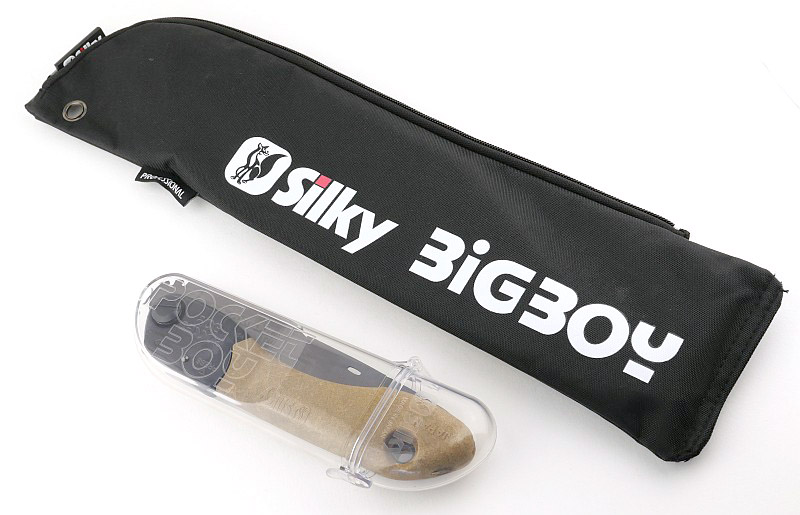
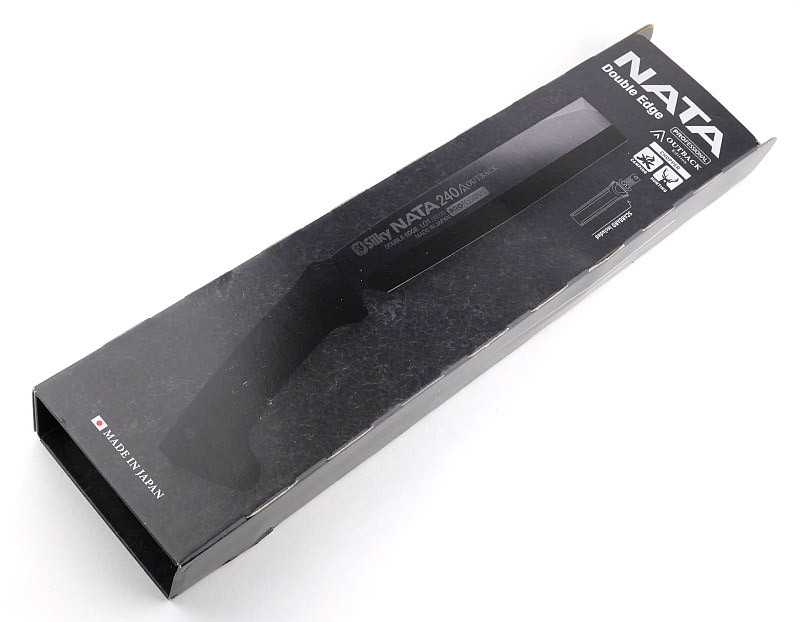
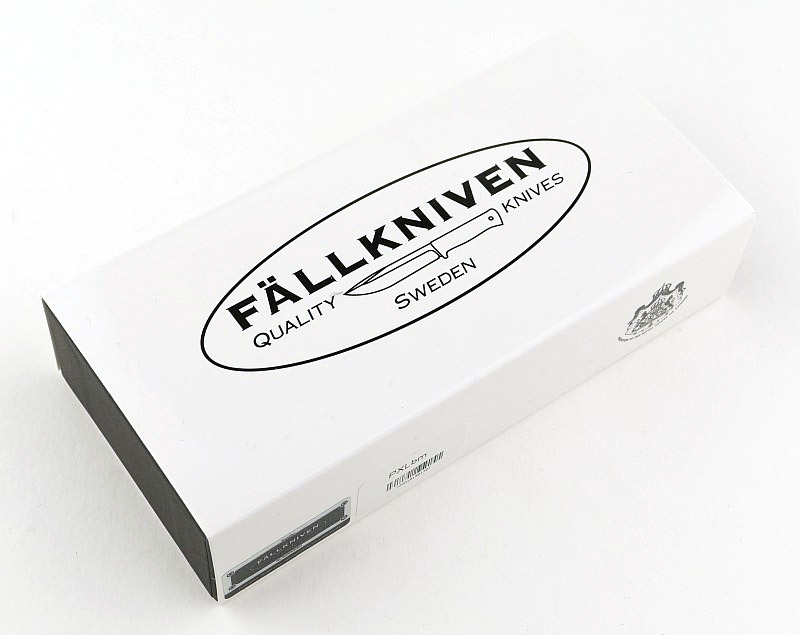
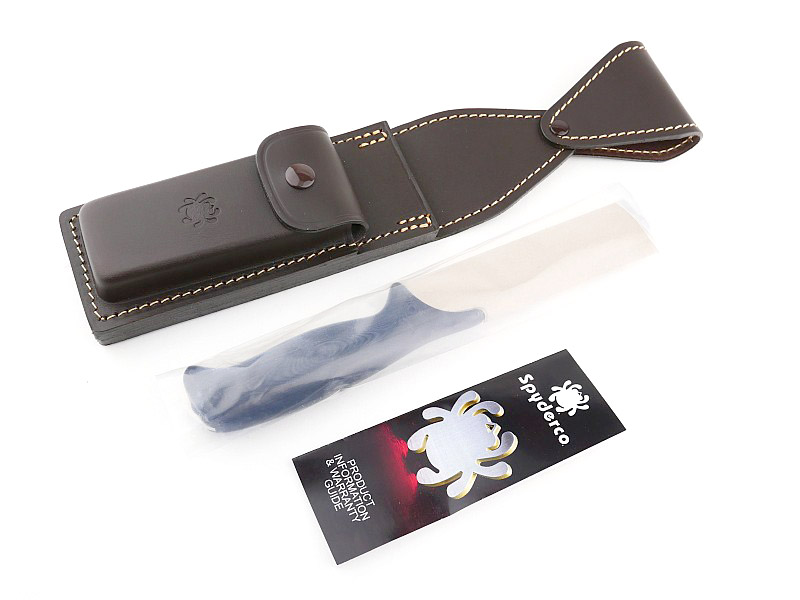
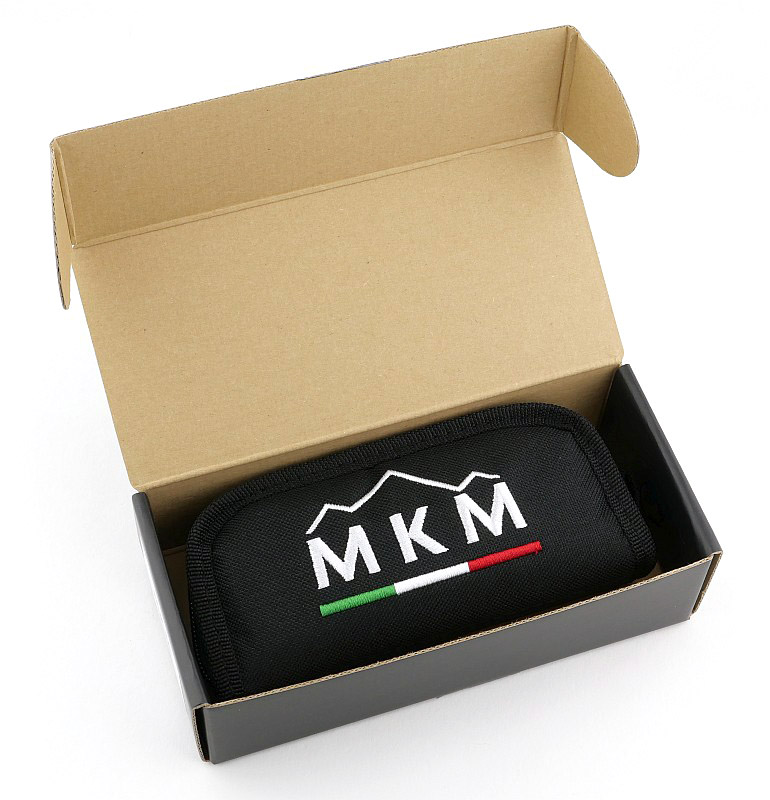
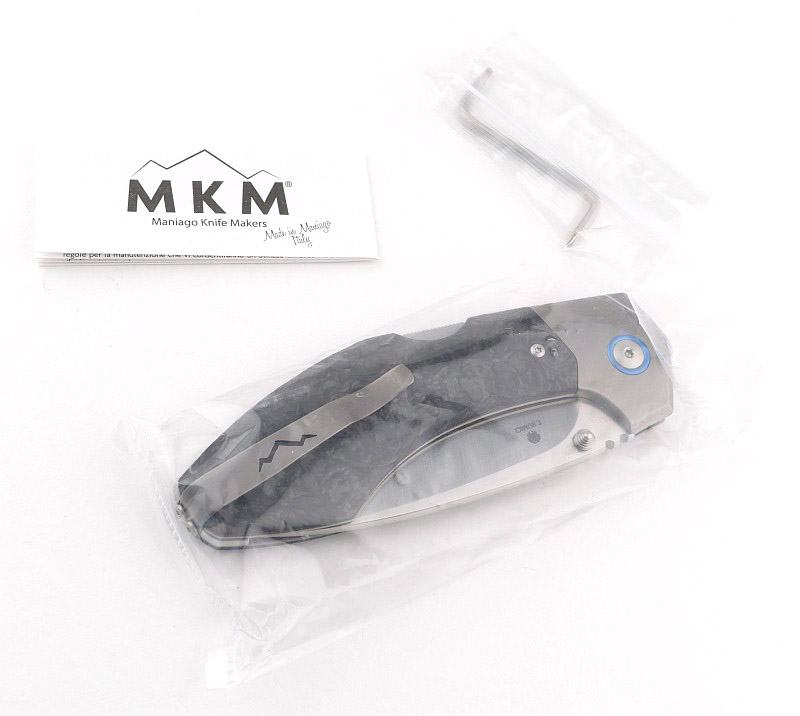
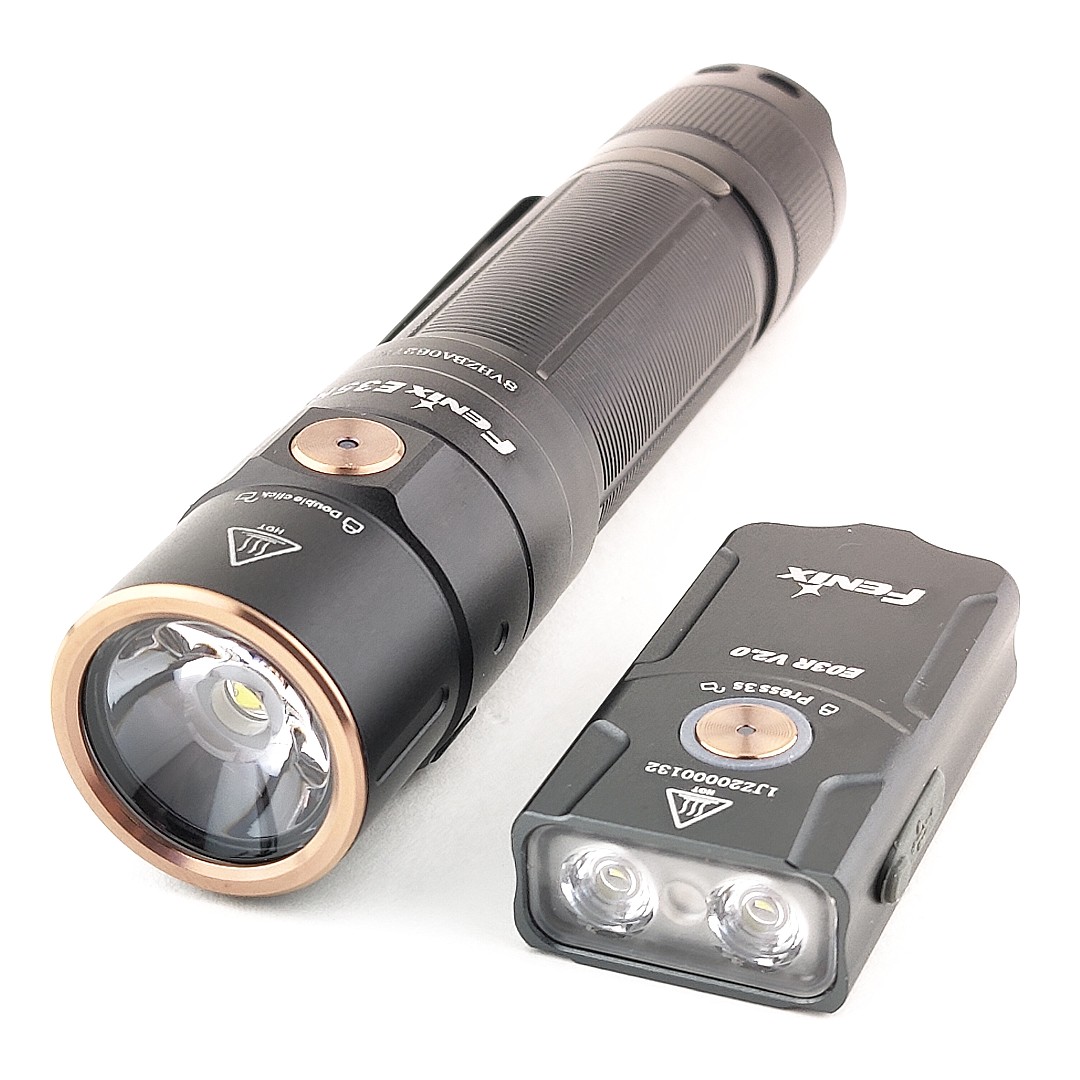
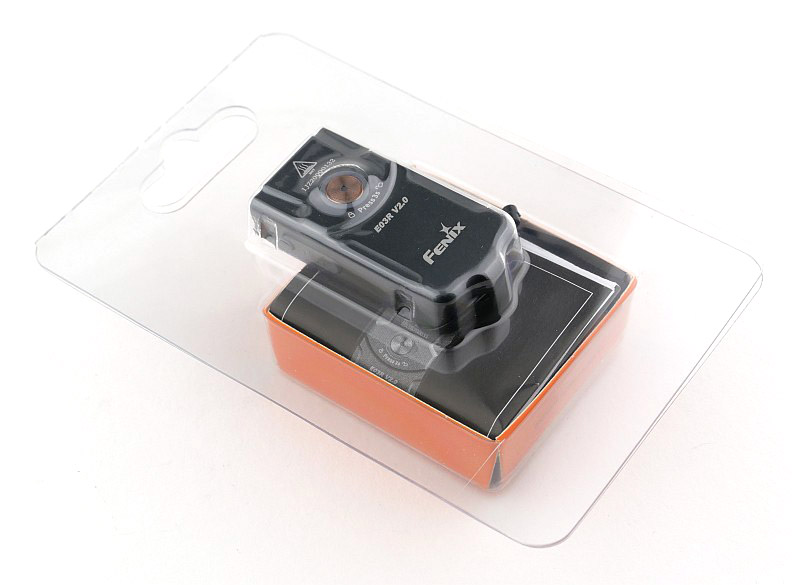
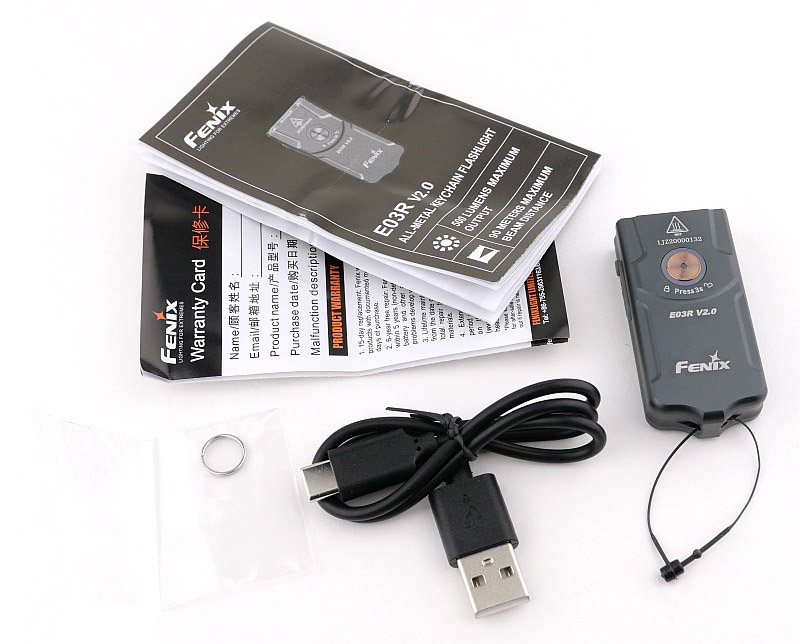
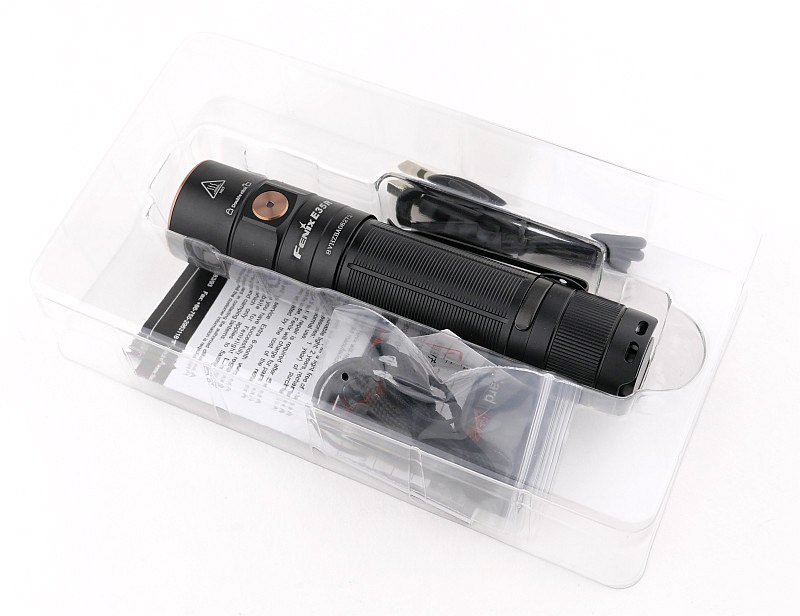
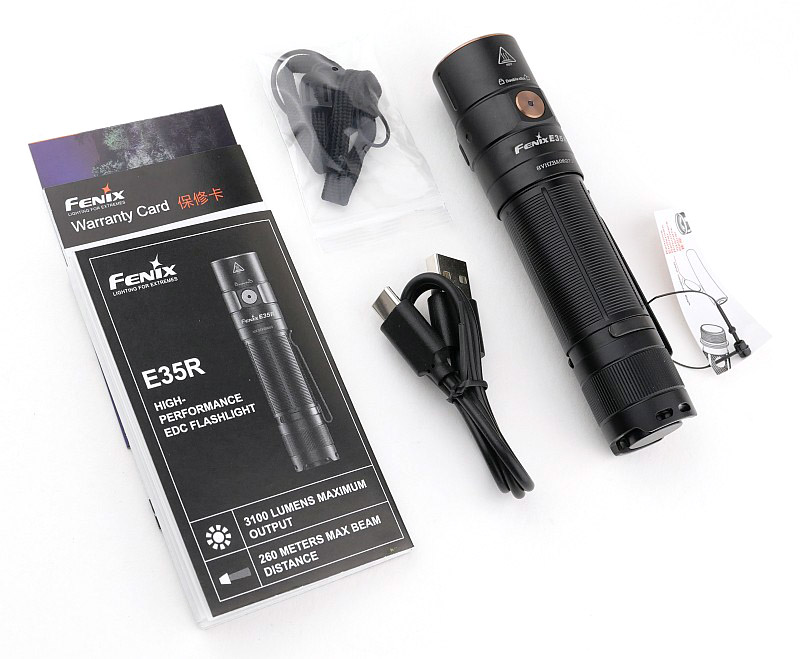
What is in the box?:
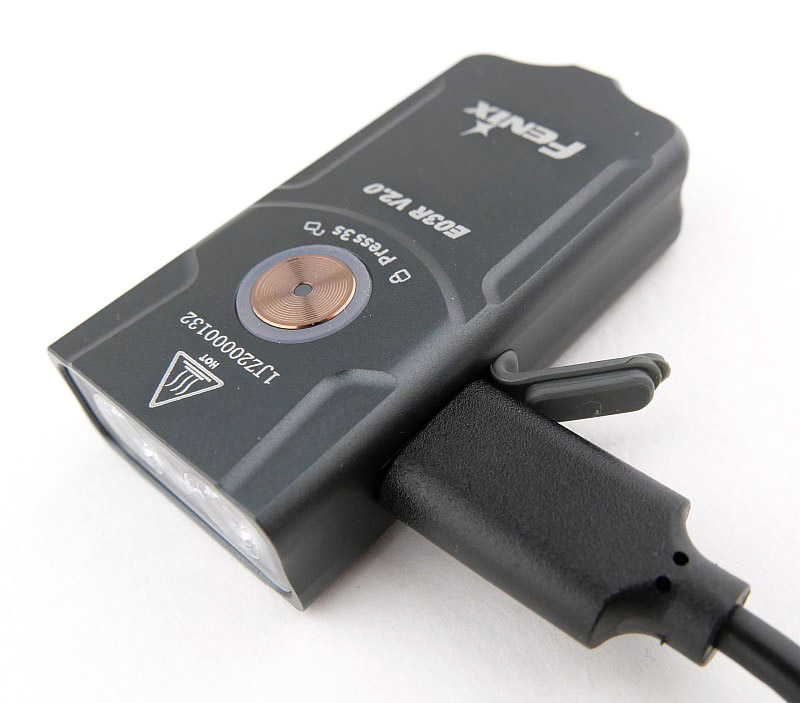
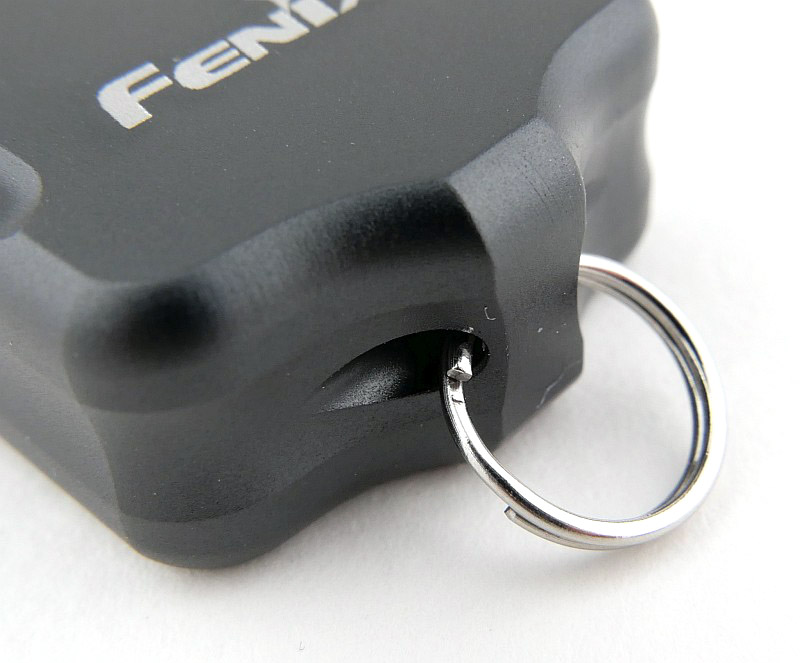
A brief look over the contents of the box for each of these lights. Starting with the E03R v2.0 in its plastic clamshell inner. To remove the E03R V2.0 from the package needs the plastic tie that comes fitted through the lanyard hole. Without this you can’t get a grip on it ton pull it out of the very tight fitting packaging. It comes with a USB-C charging cable, small split keyring and instructions.
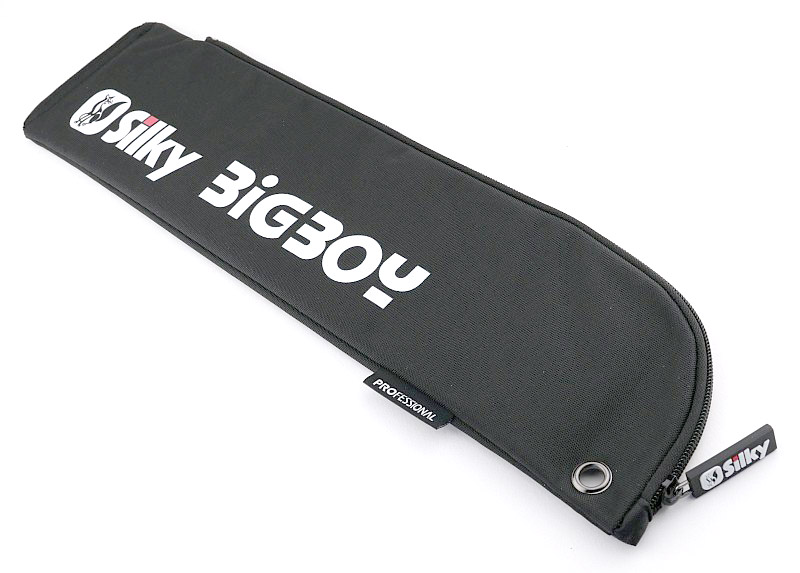
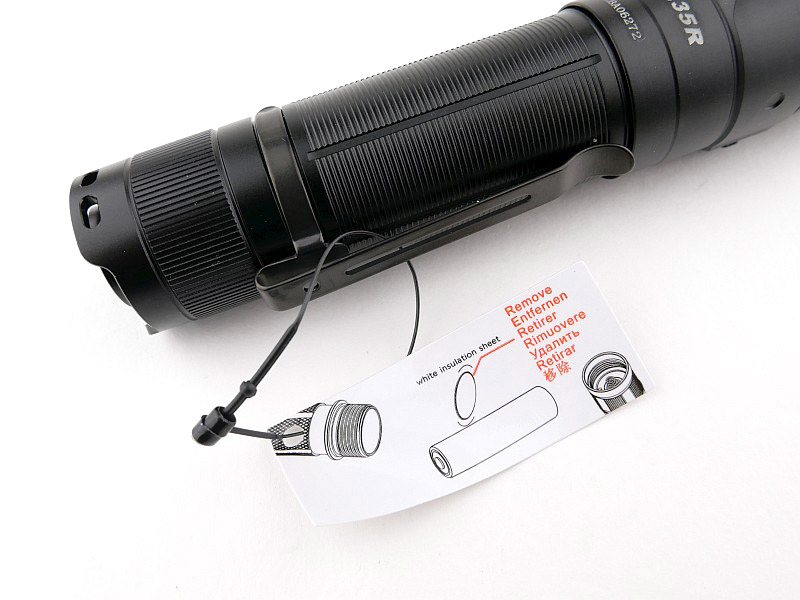
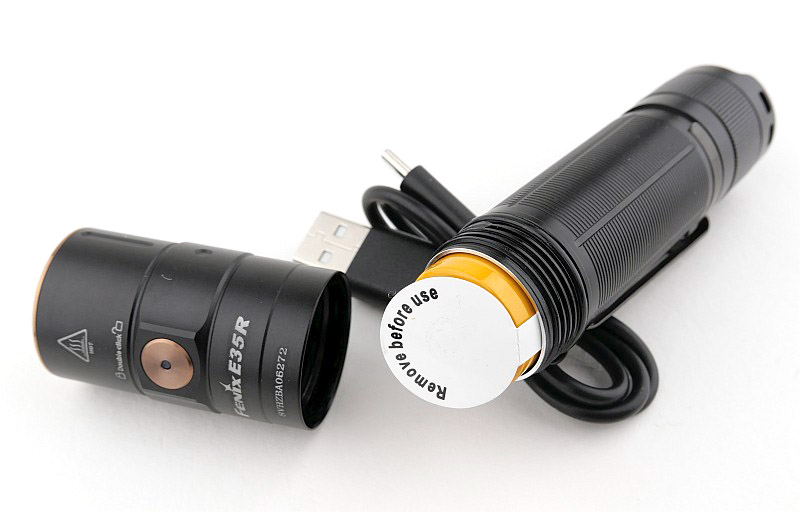
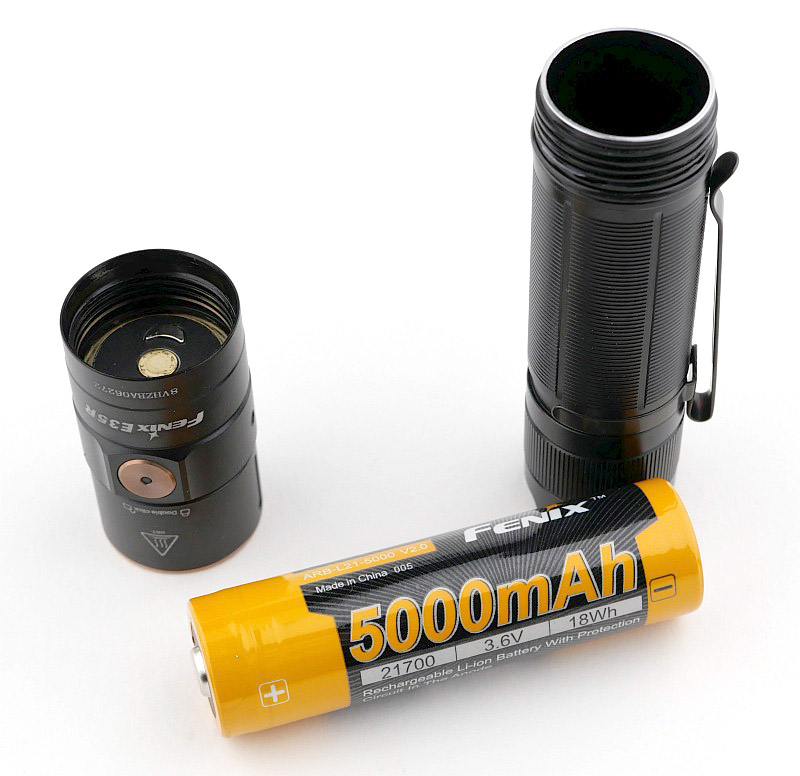
The E35R slides out of the outer cardboard box in a plastic tray. This comes with the battery already fitted, a USB-C charging cable, wrist strap and spare o-ring, plus the instructions.

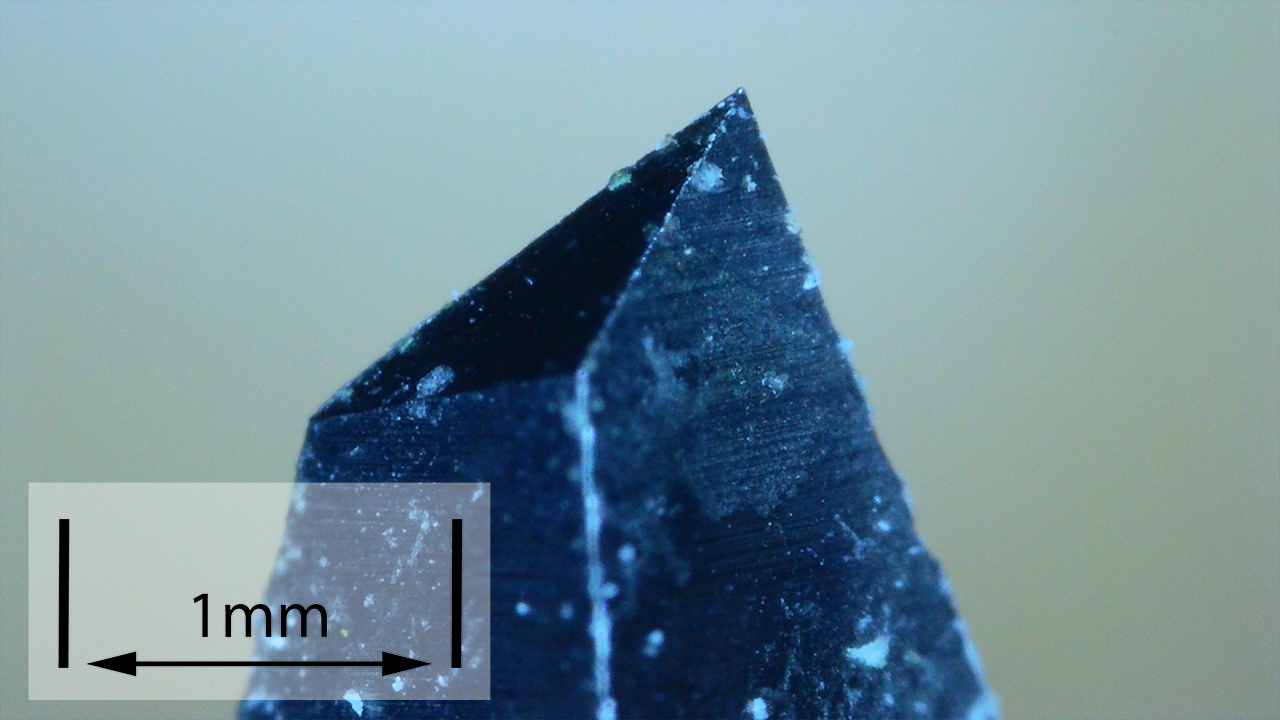
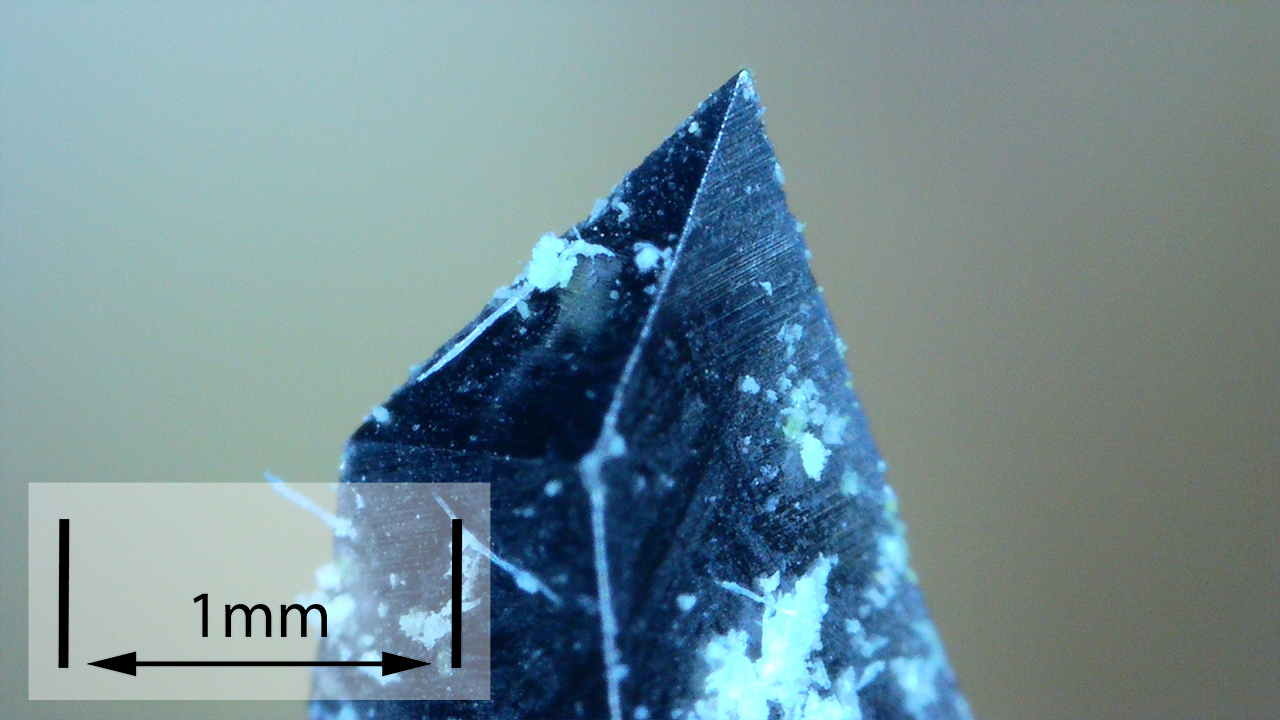
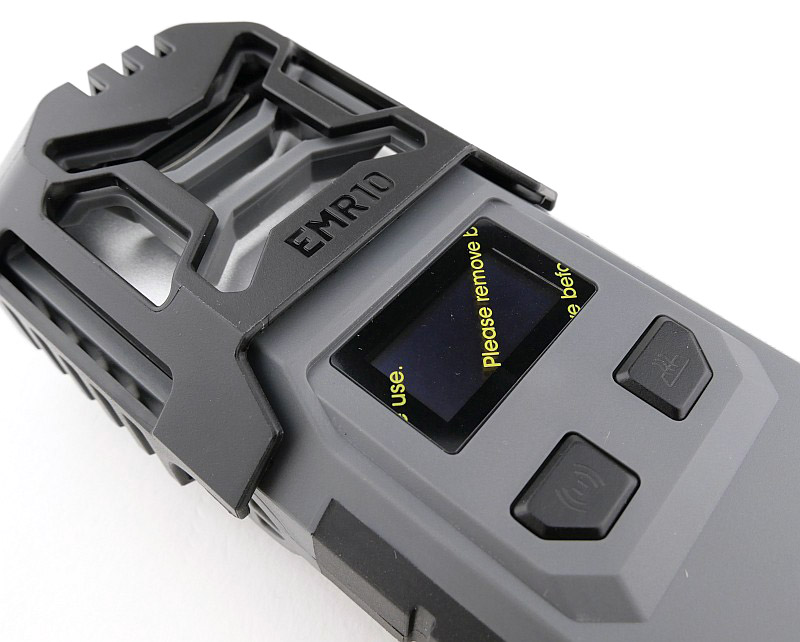
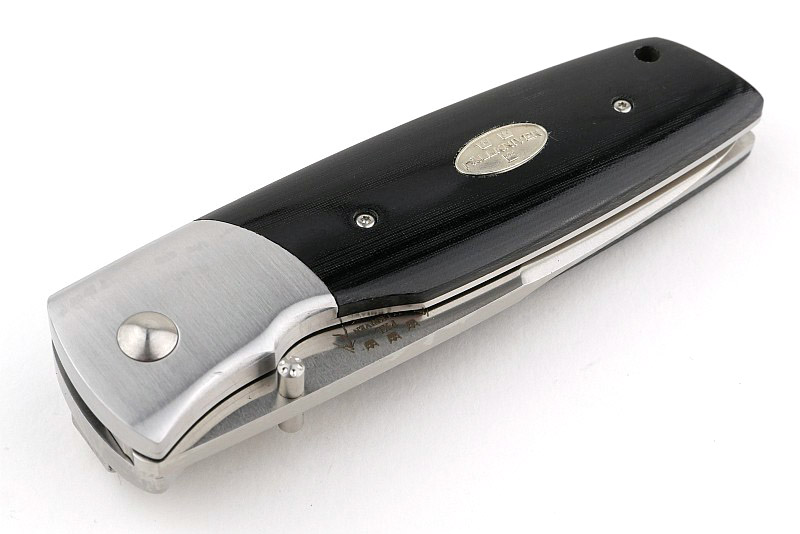
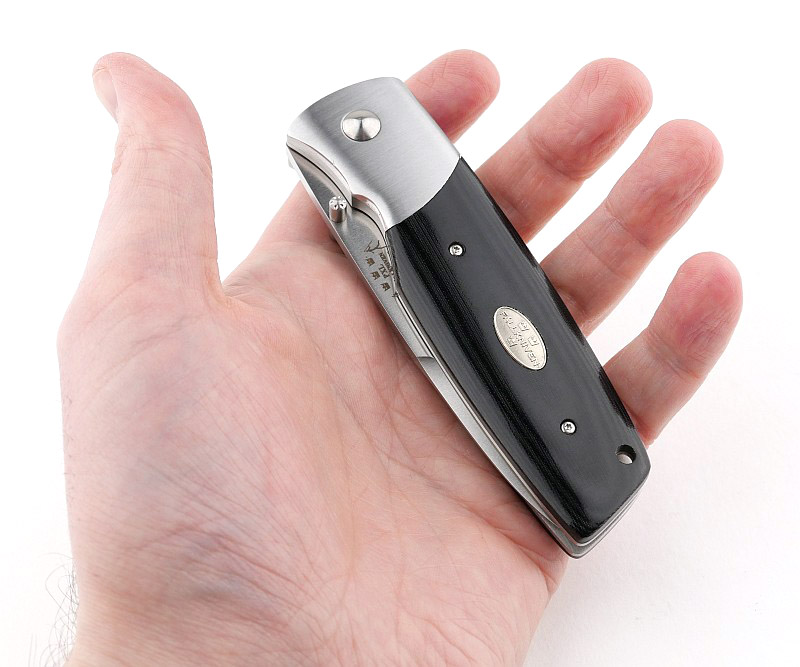
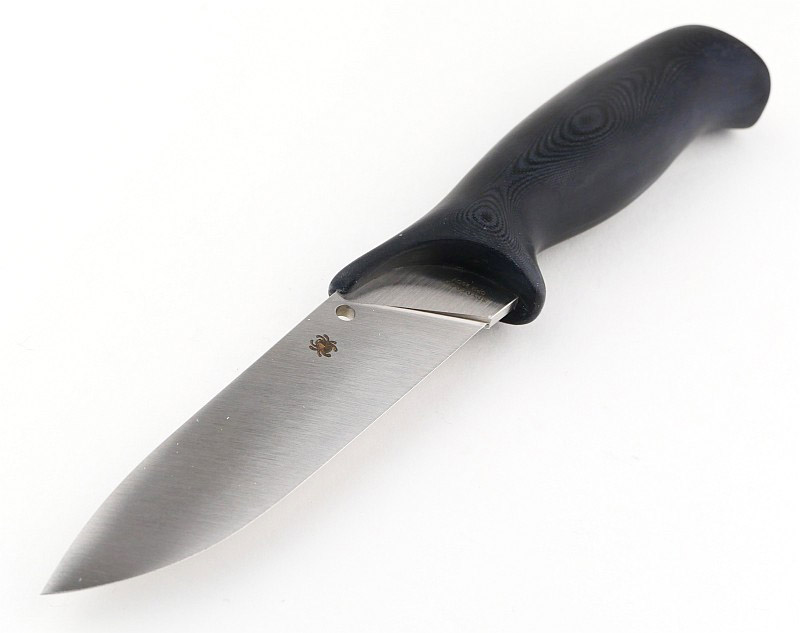
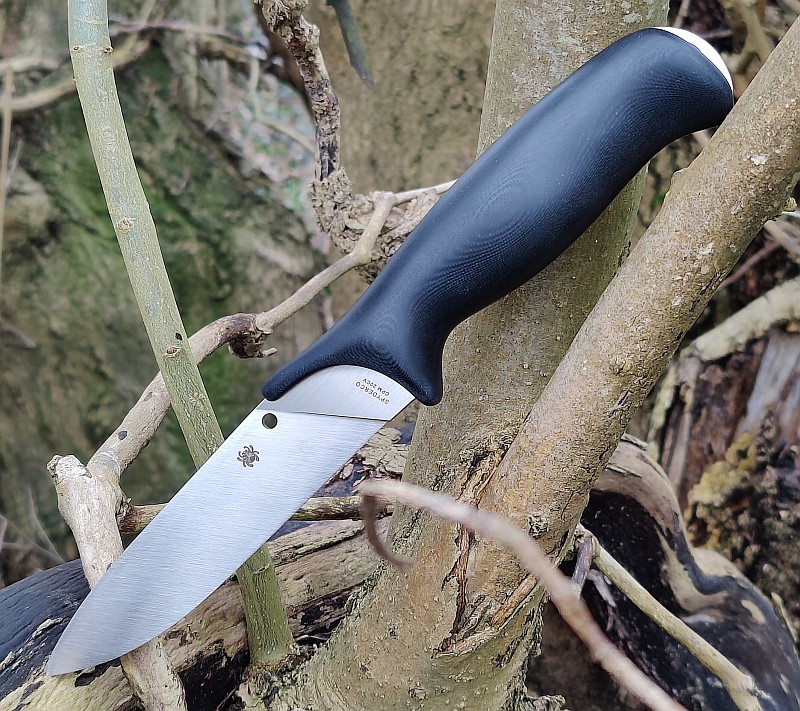
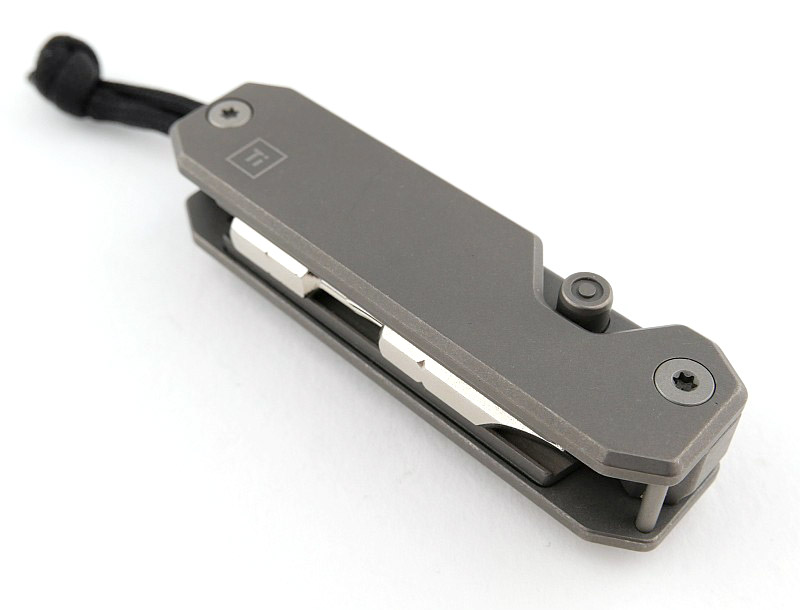
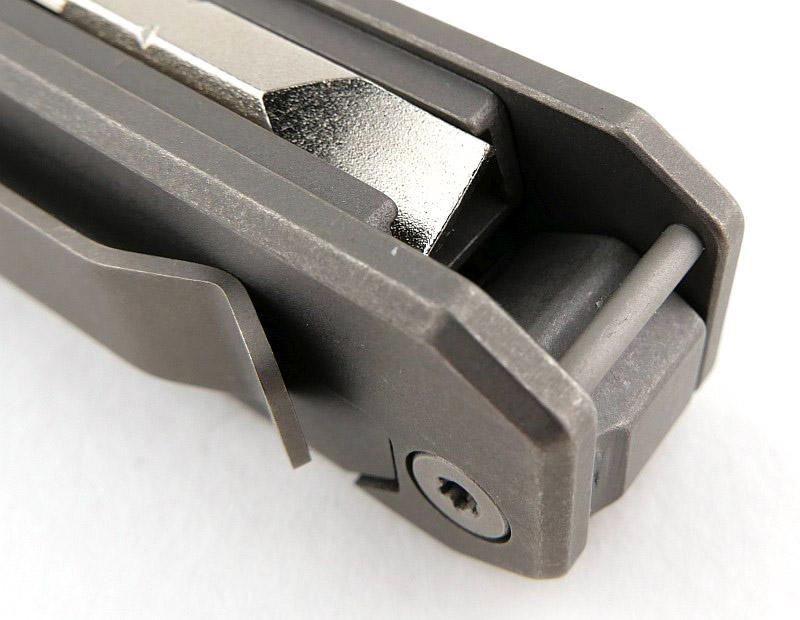
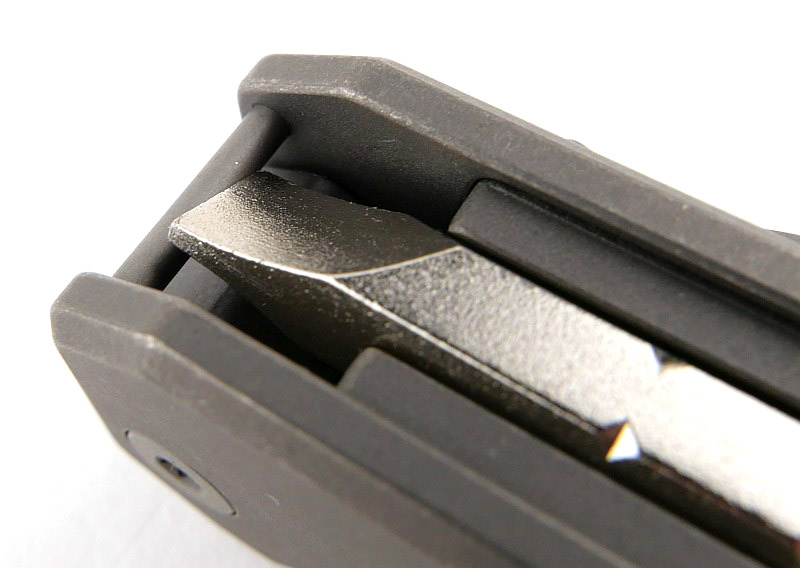
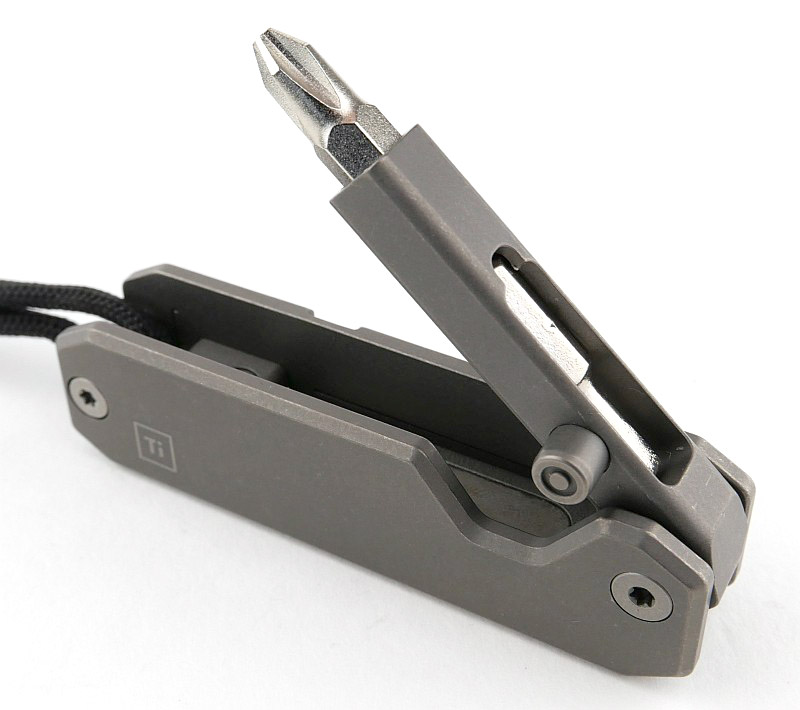
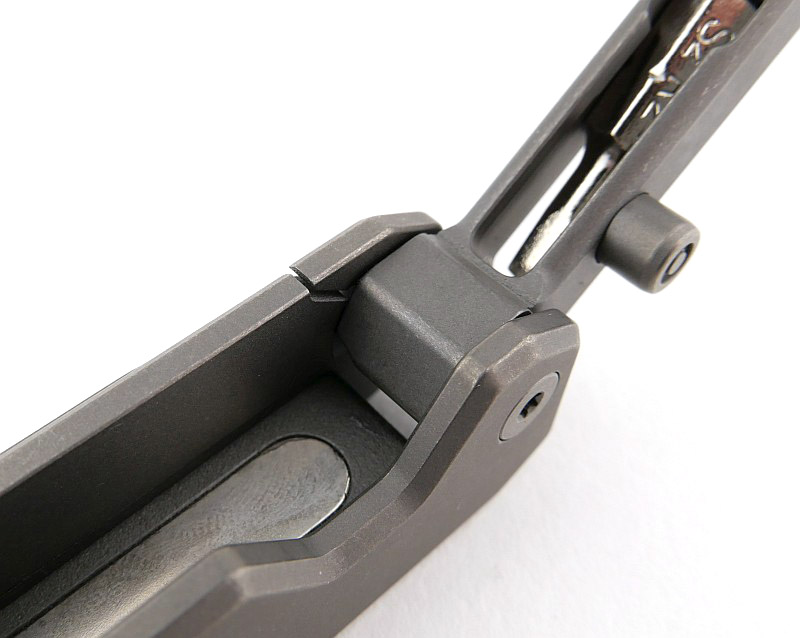
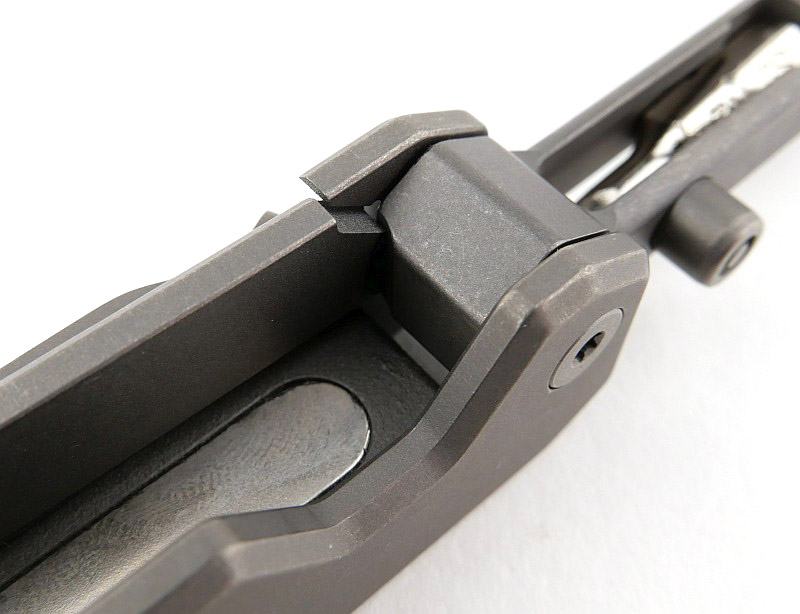
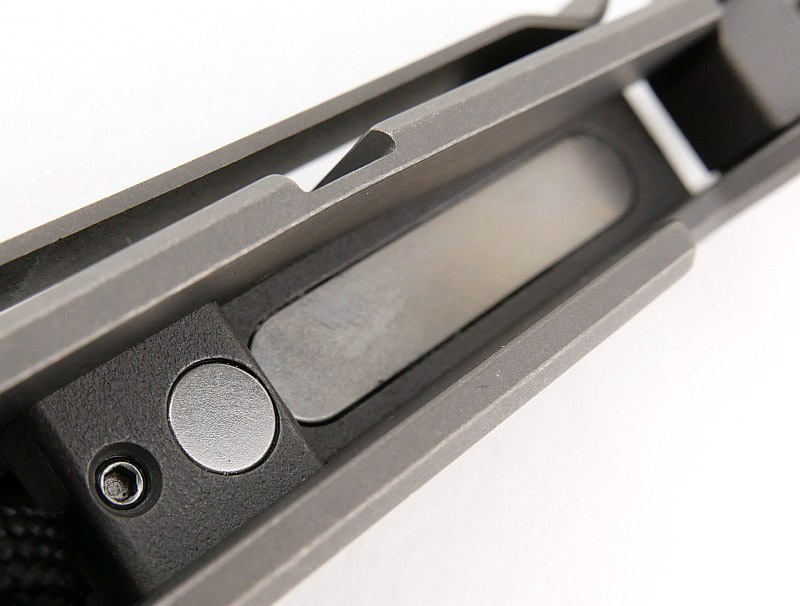
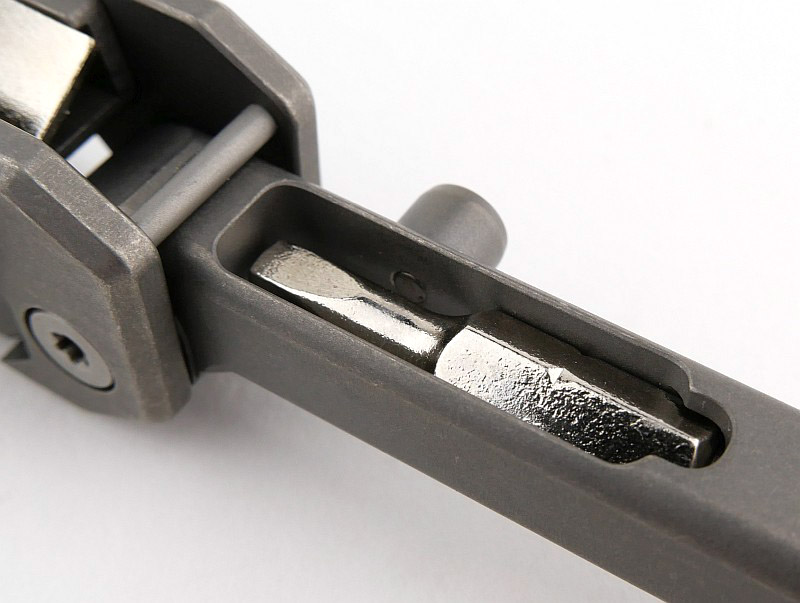
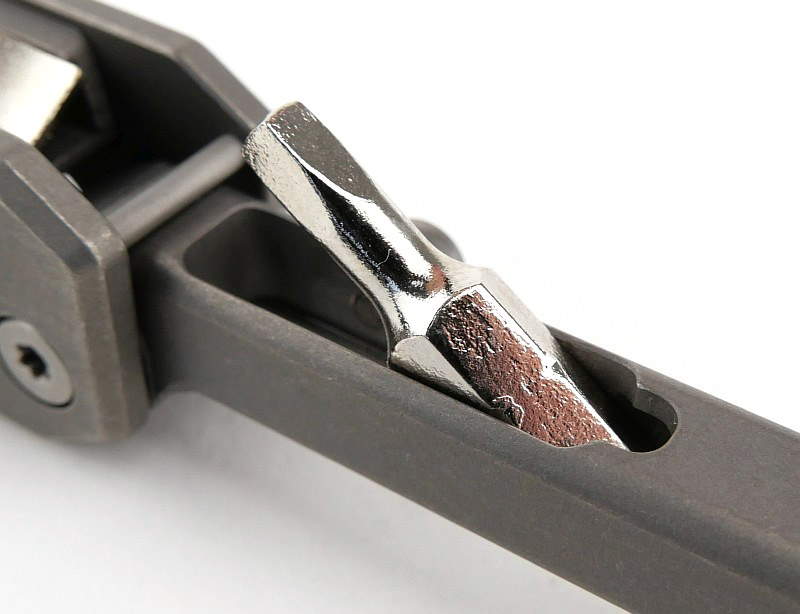
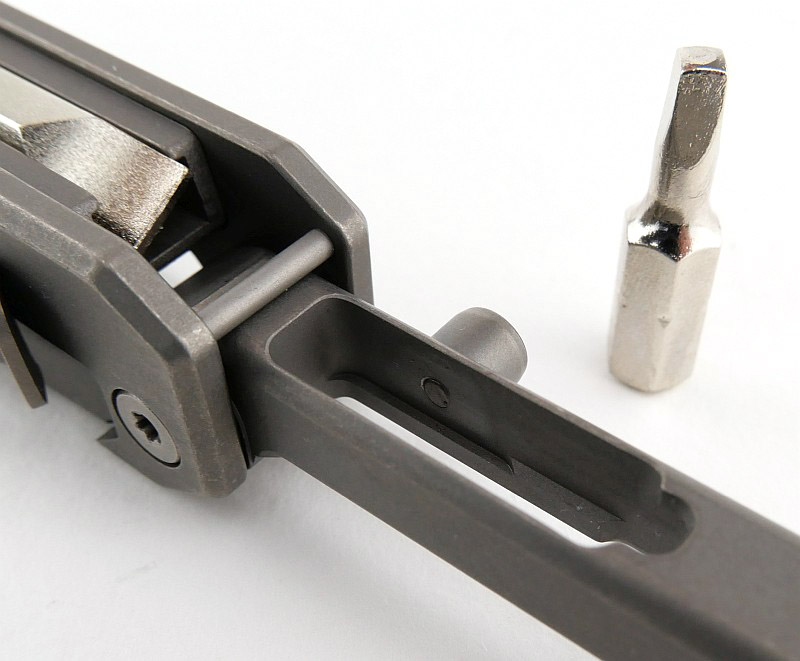
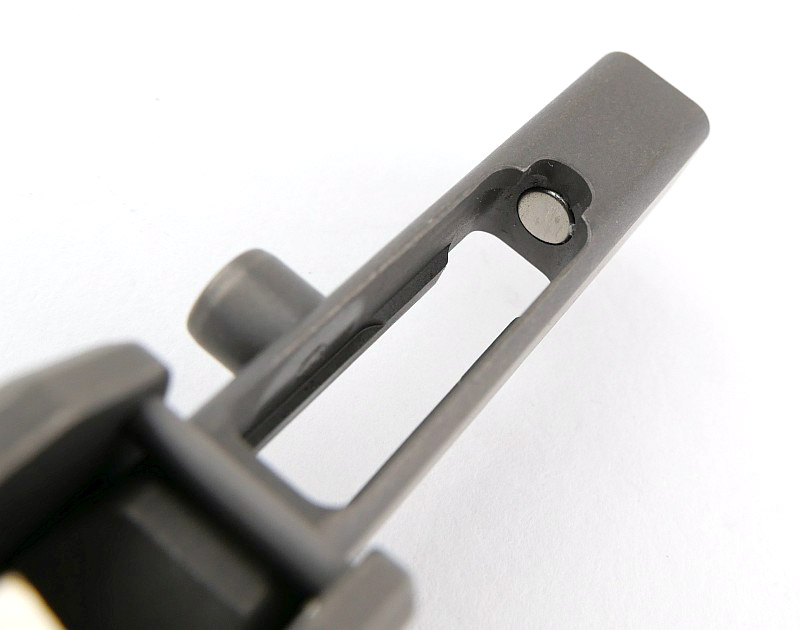
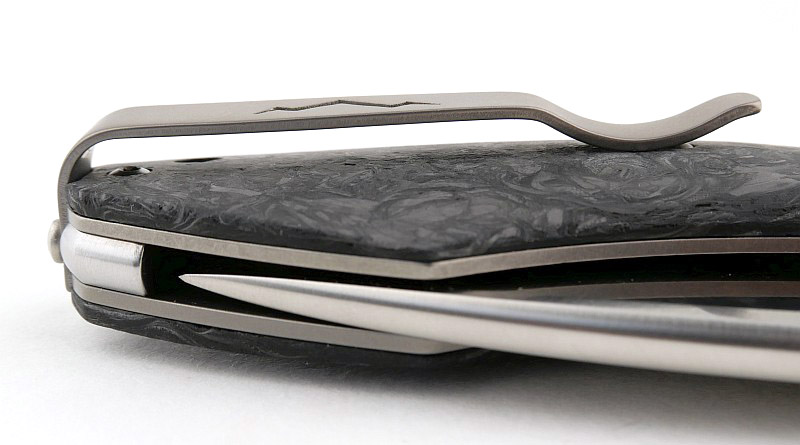
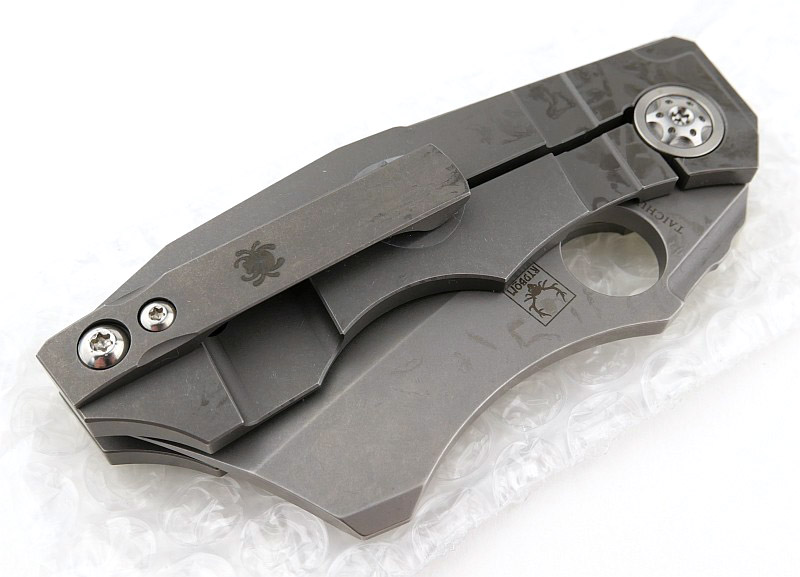
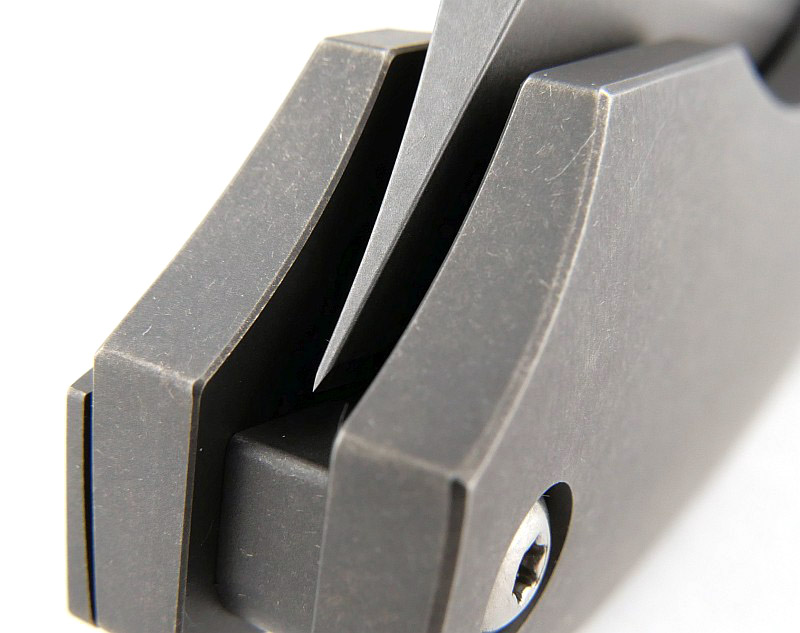
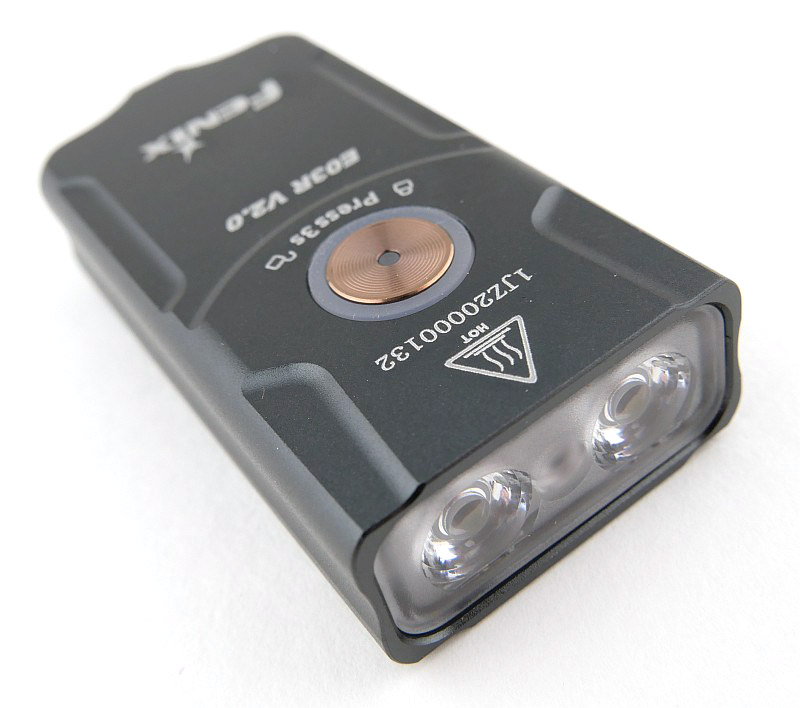
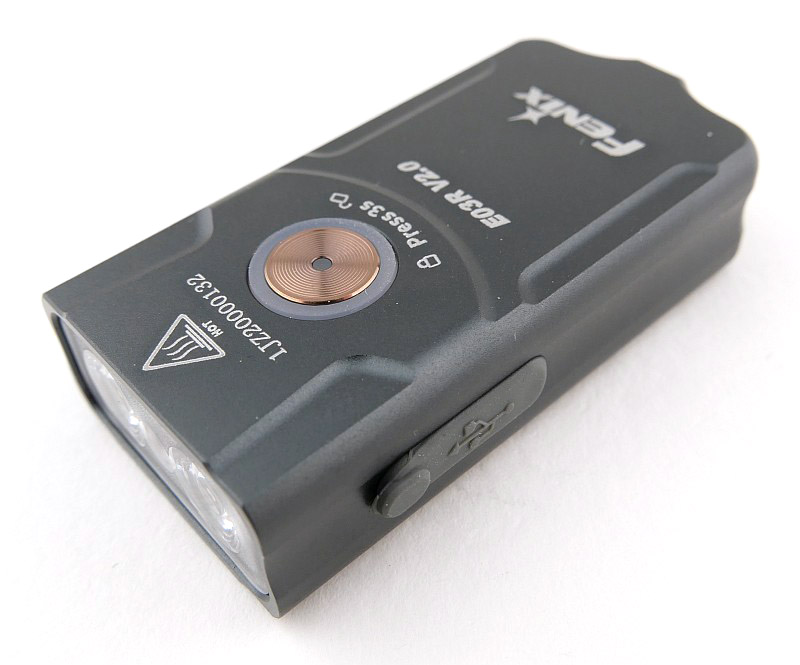
A good look round the E03R V2.0 – Things to look out for here are:
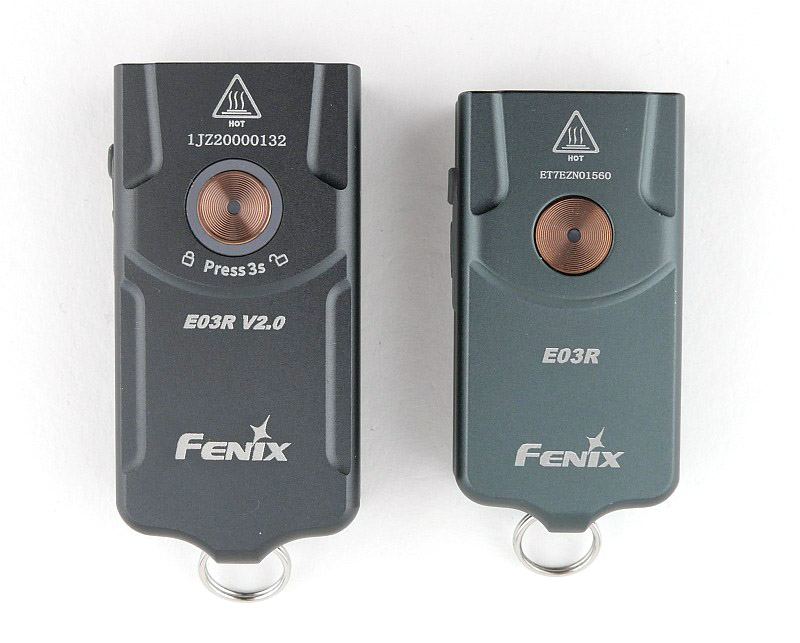
Before anything else, here is a side-by-side of the original E03R and the new V2.0. You can immediately see the increase in size that allows for the uprated output and runtime.
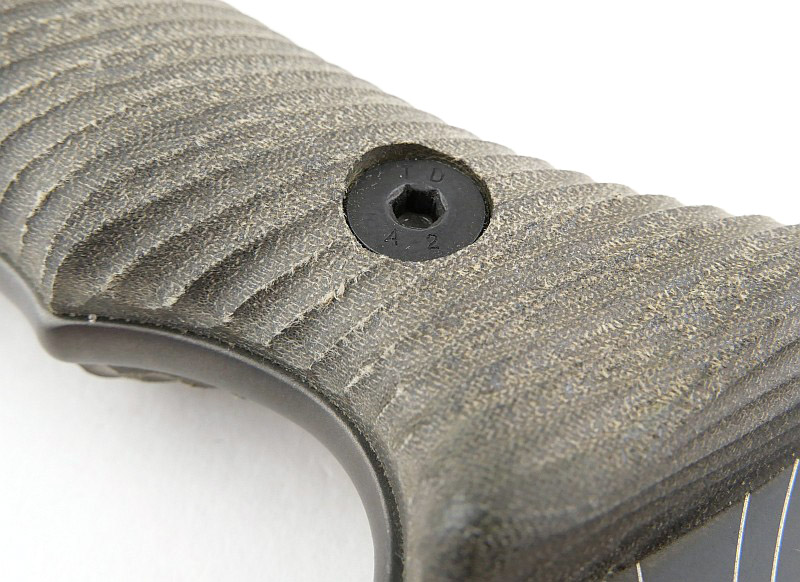
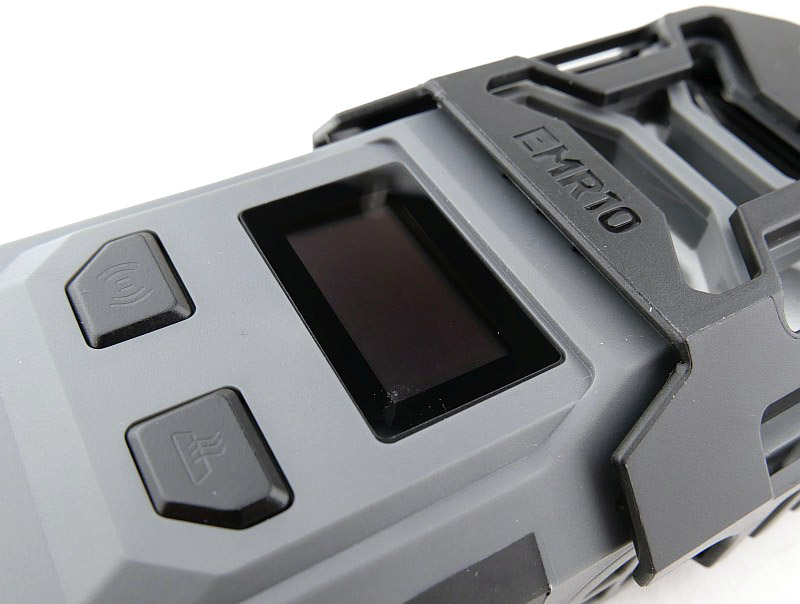
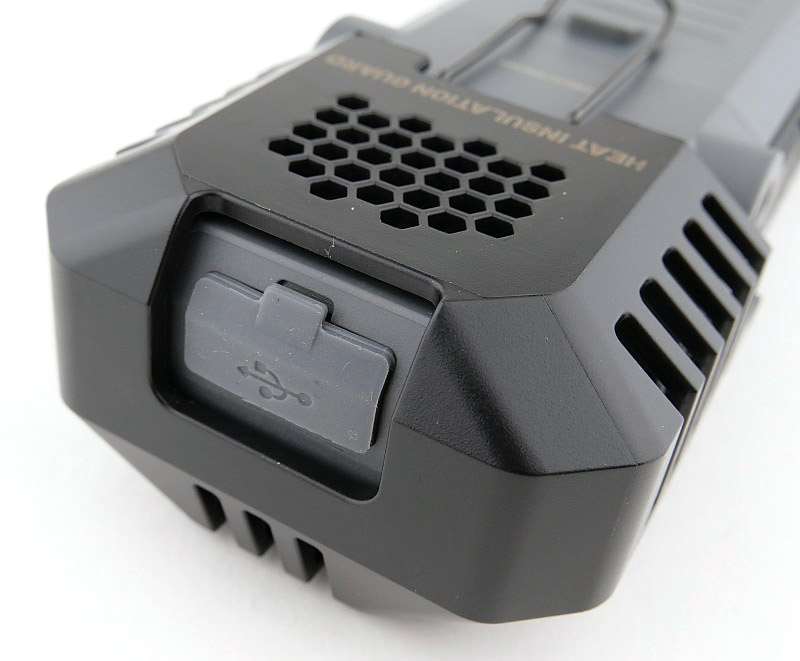
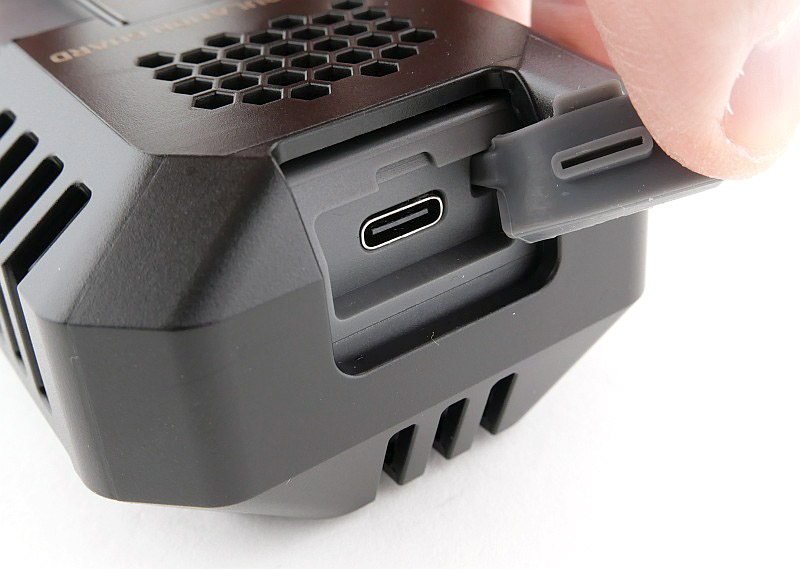
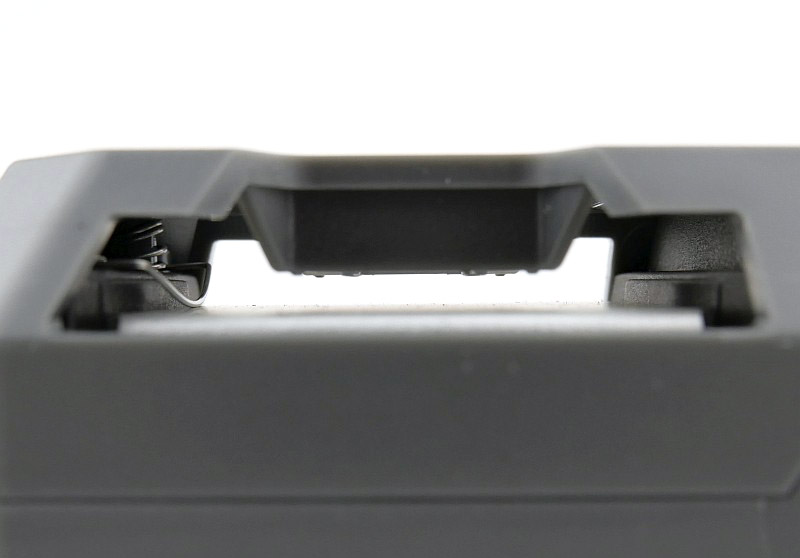
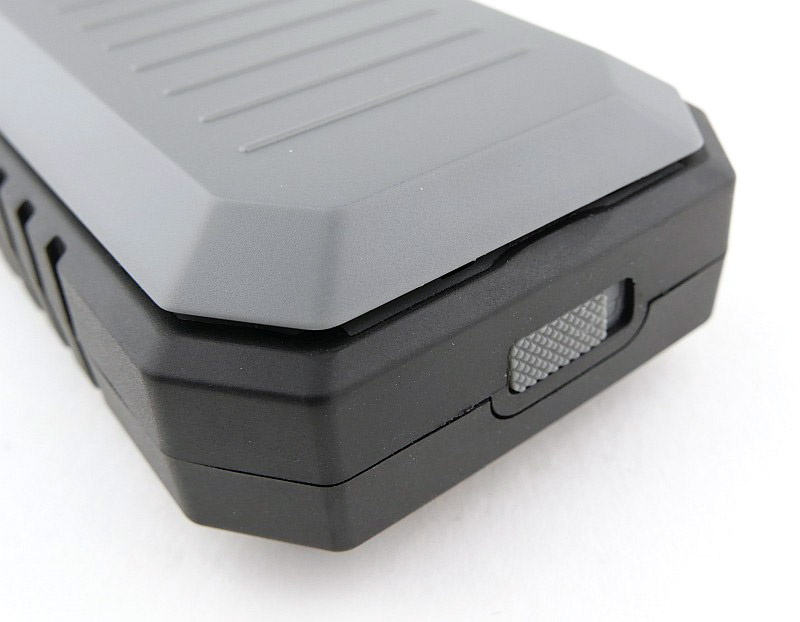
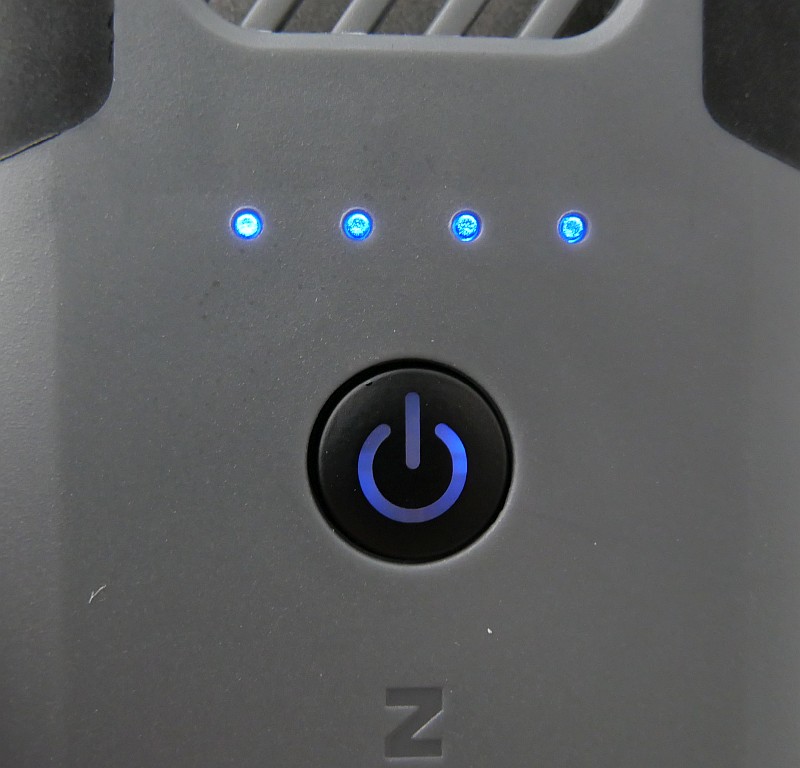
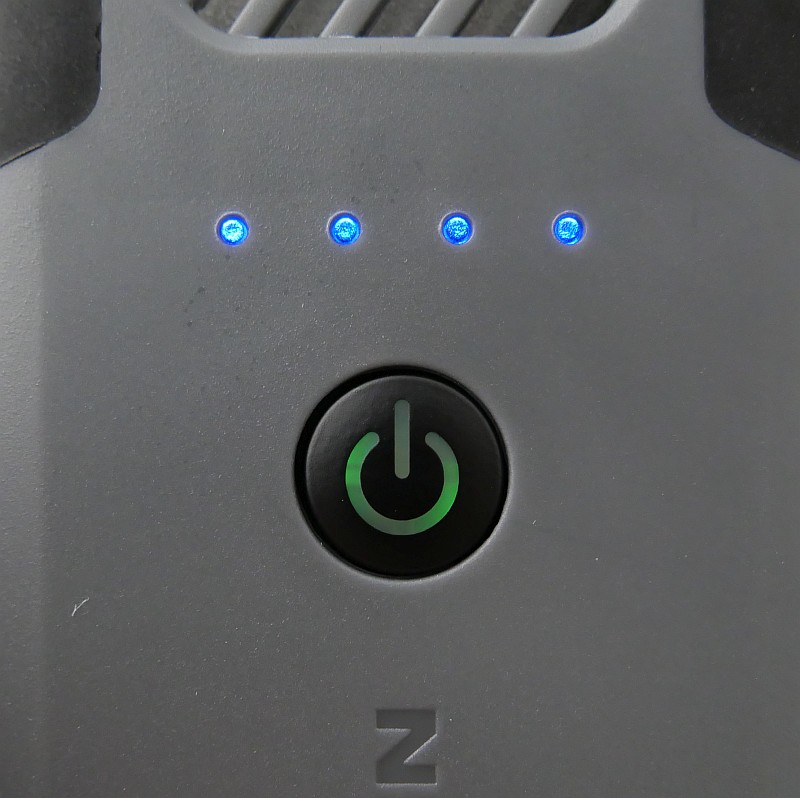
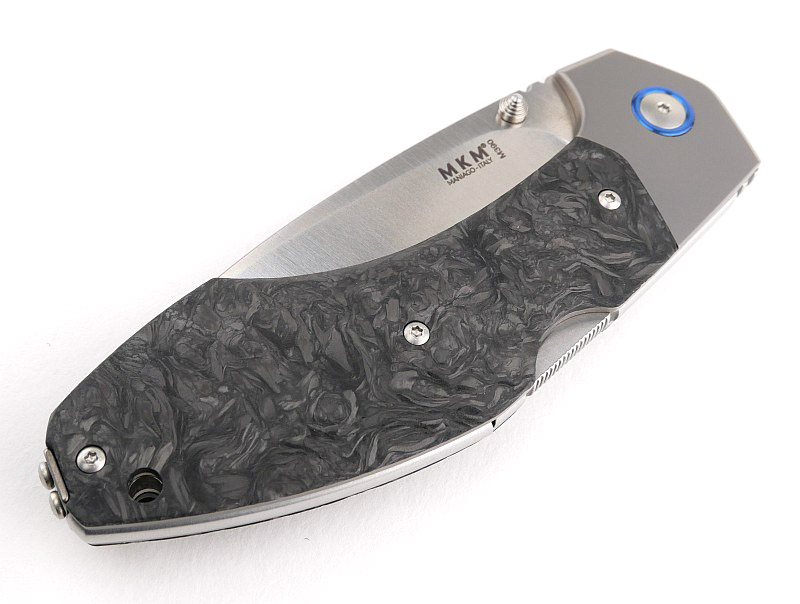
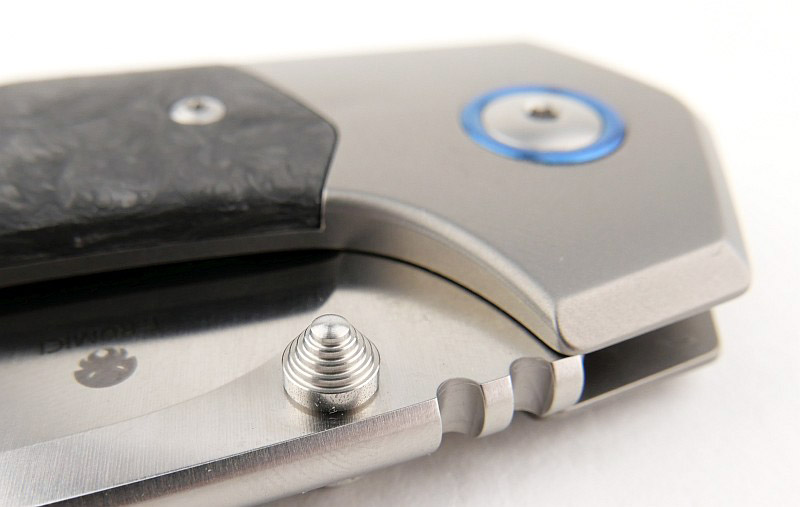
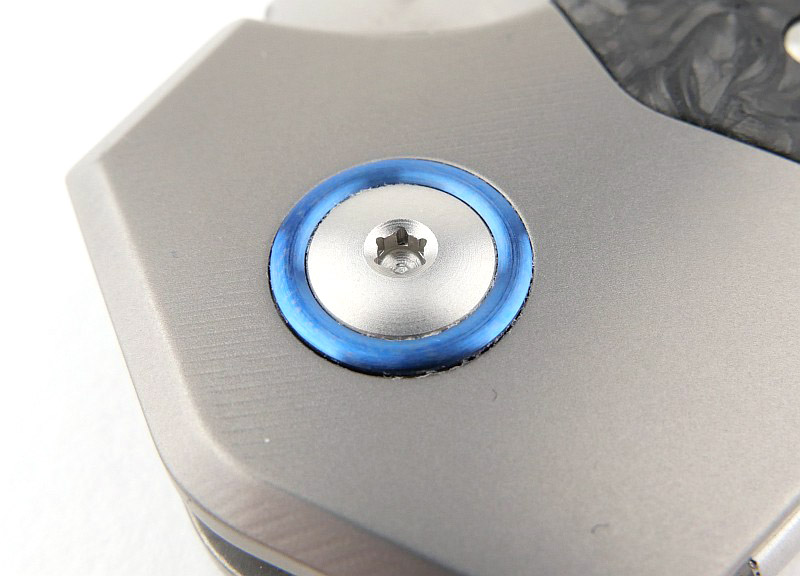
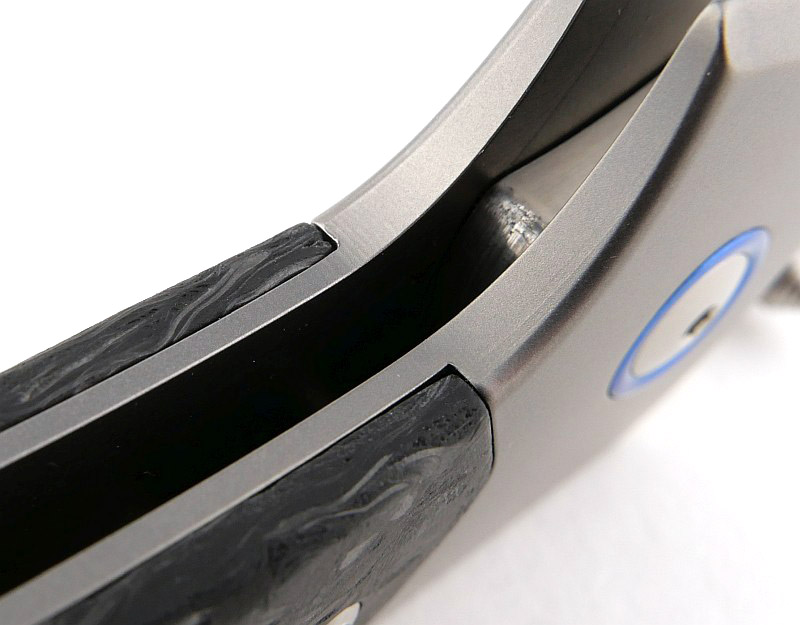
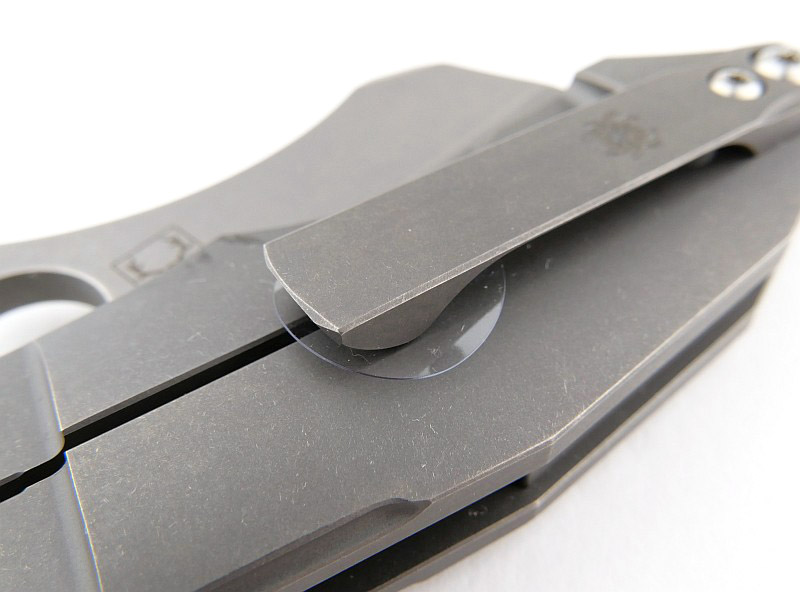
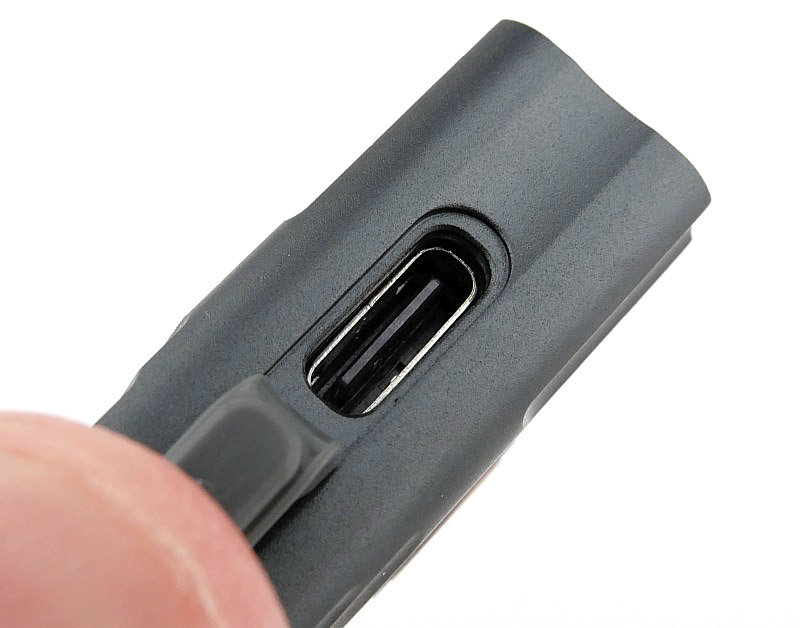
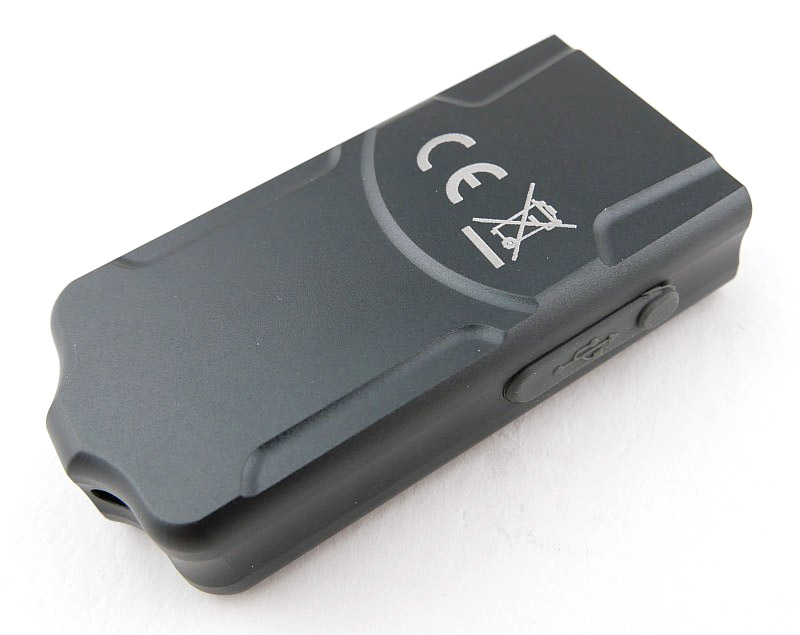
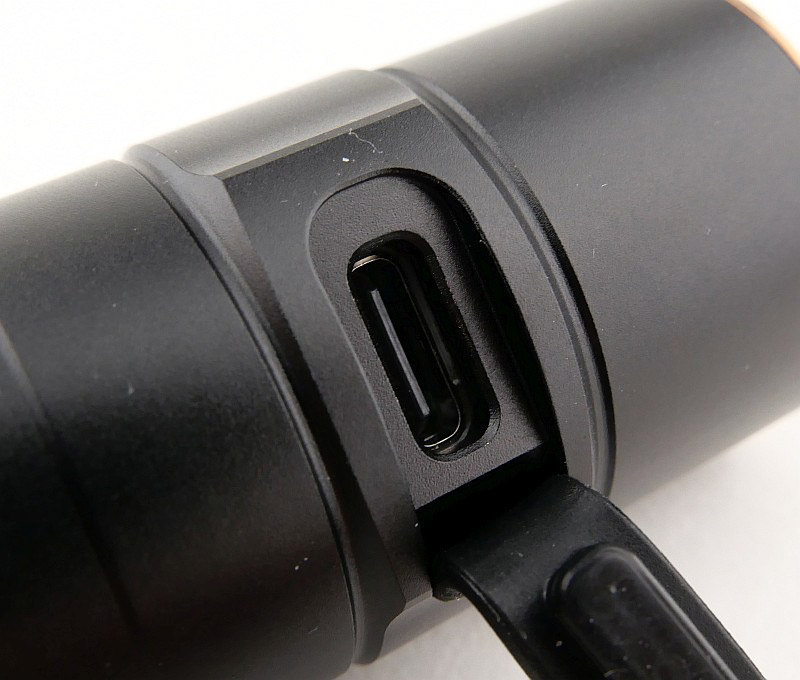
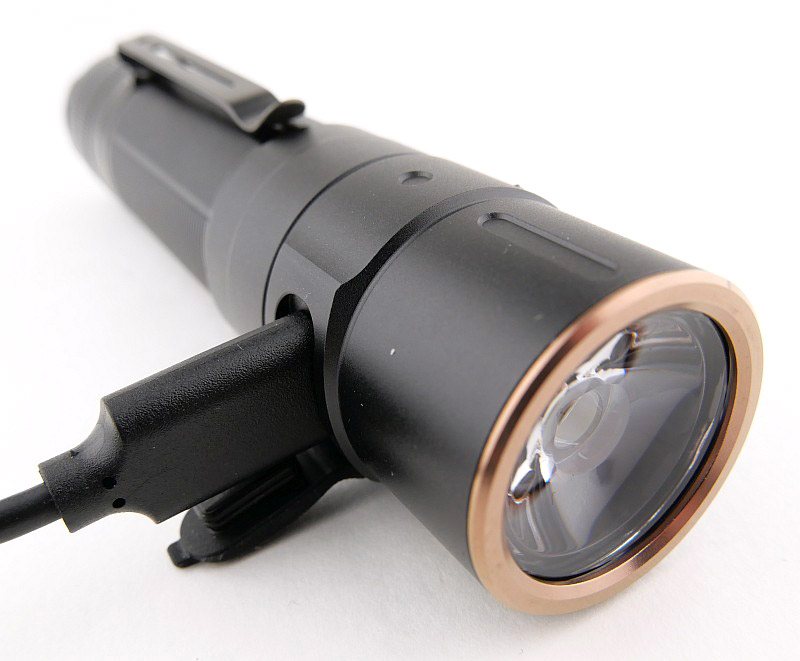
At the front is the twin TIR optic for the main white beam (with central optic for the Red beam). On the side is a rubber port cover for the USB-C charging port. The power switch has an outer illuminated ring. The switch’s centre also has an indicator light for the state of charge. Details of the split-ring keyring are shown.


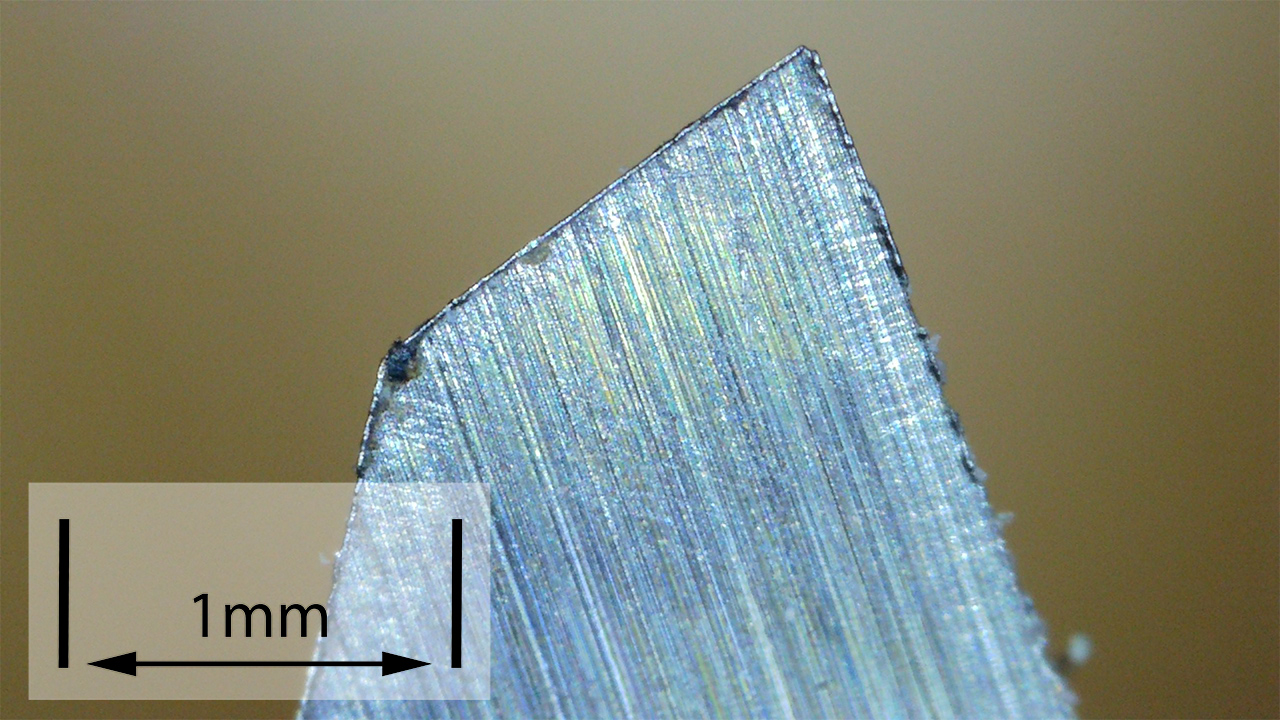
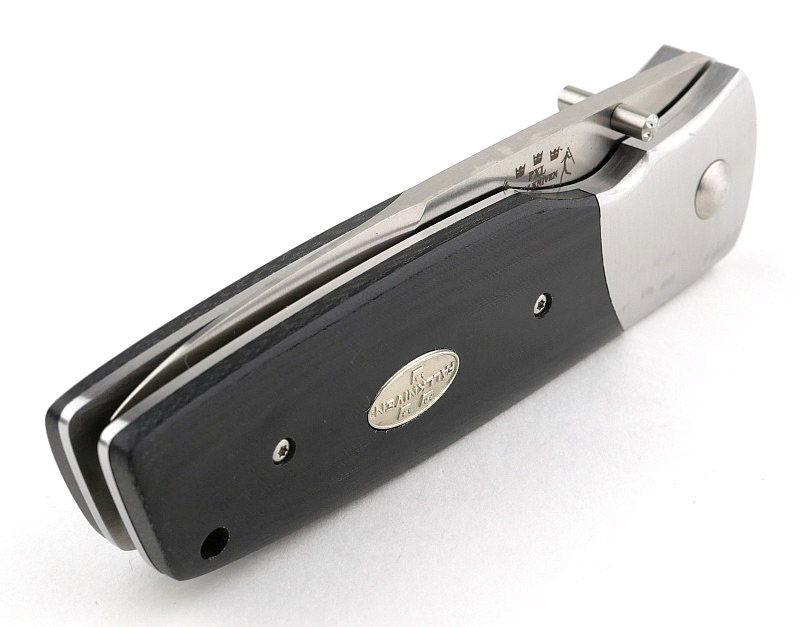
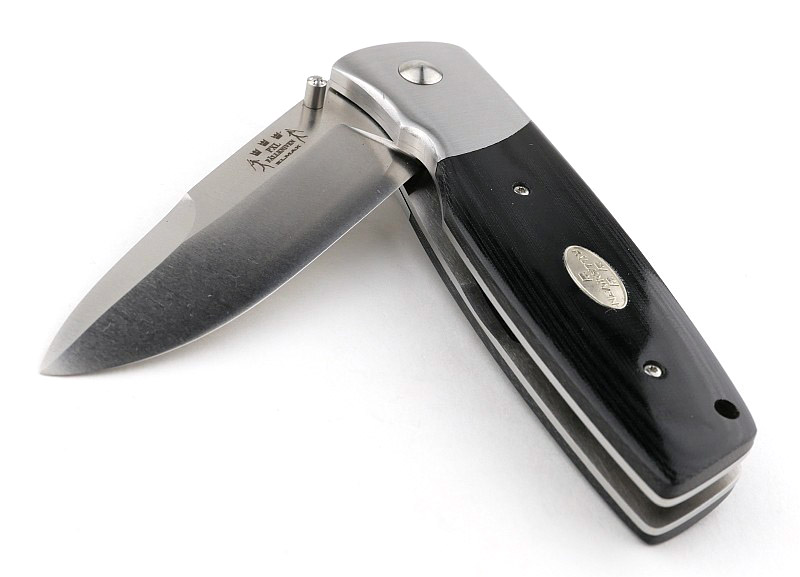
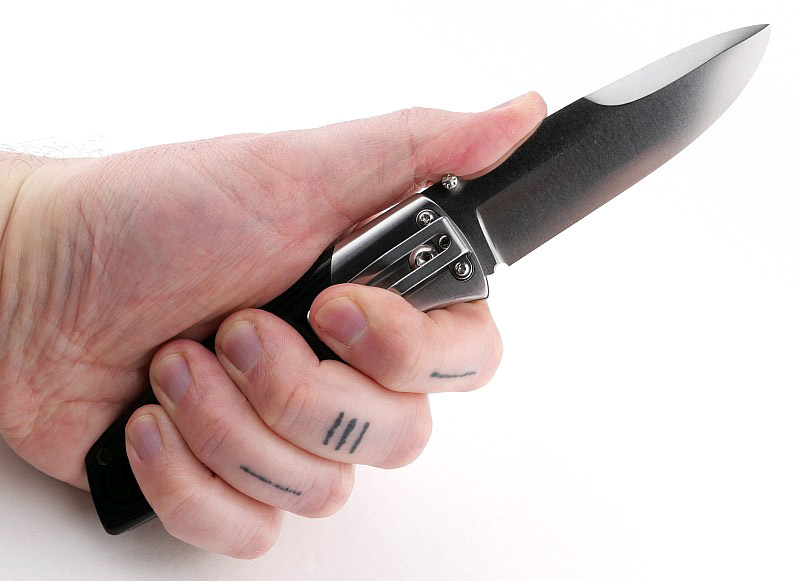
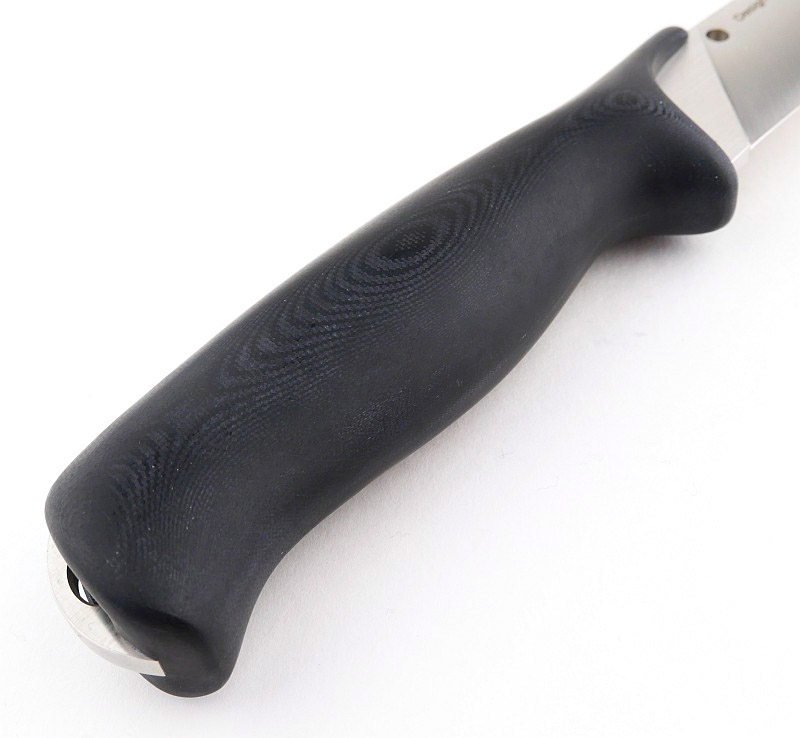
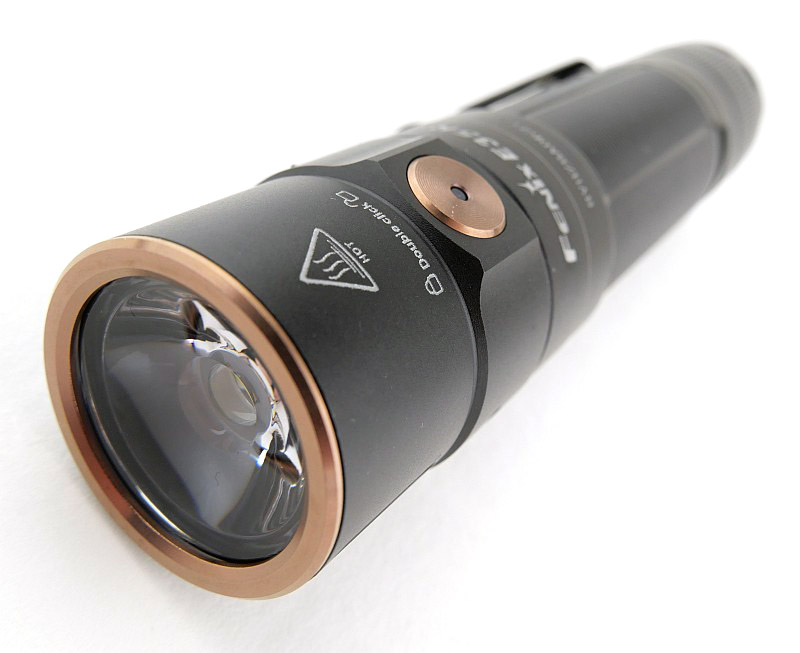
Taking a more detailed look at the E35R:
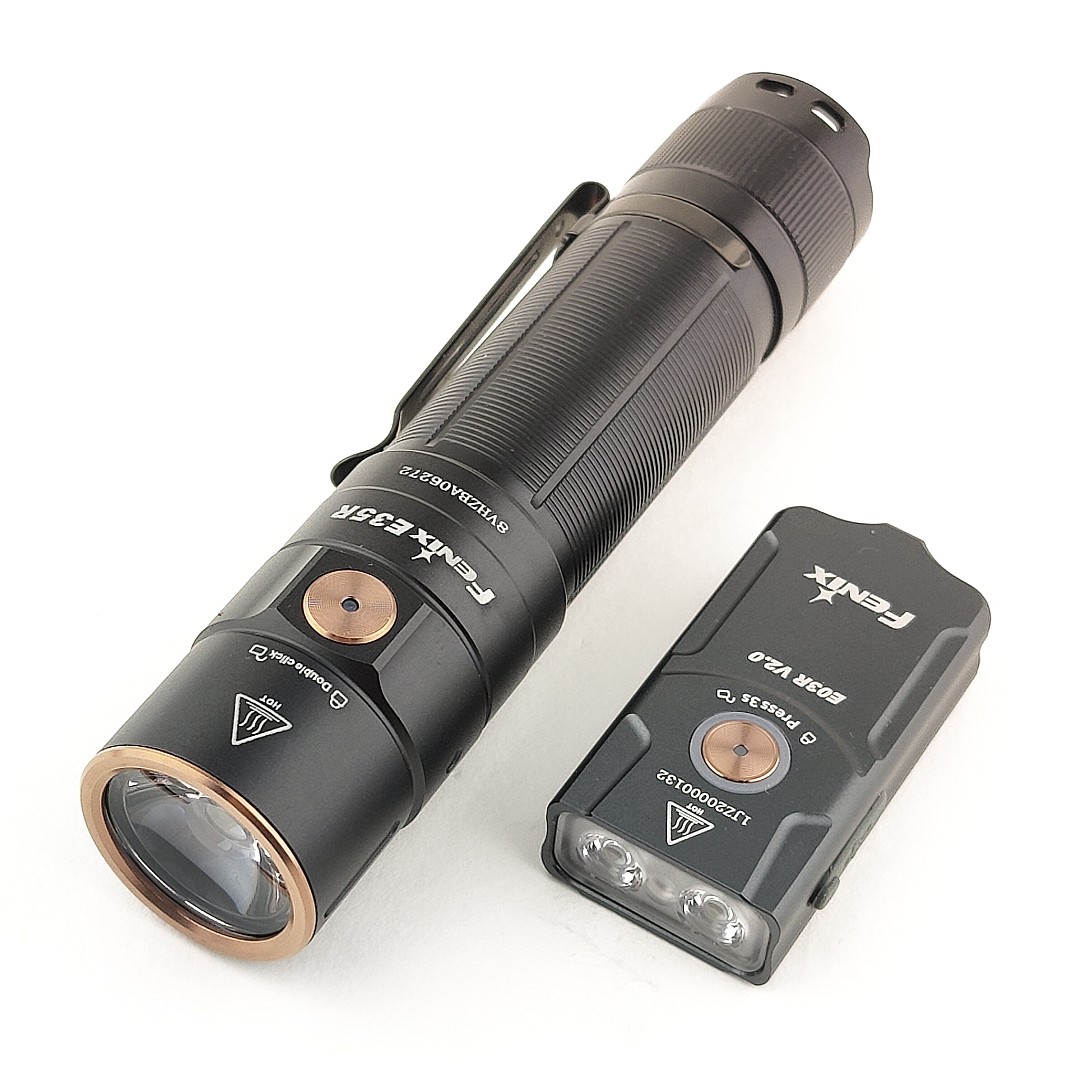
The side by side comparison to the original E35 is included in the video earlier in the review. Most noticeable is the addition of the USB-C charging port. Visually, apart from that, the E35R is almost identical to the E35.
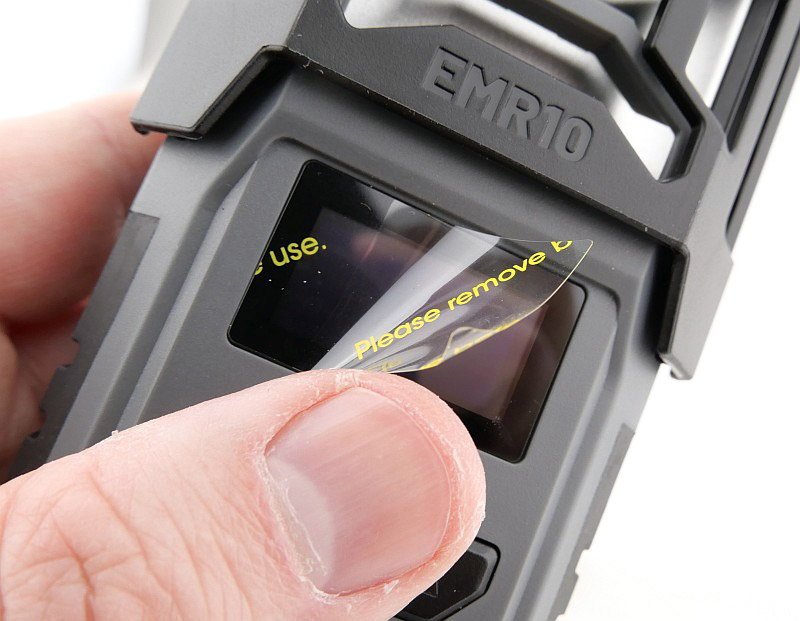
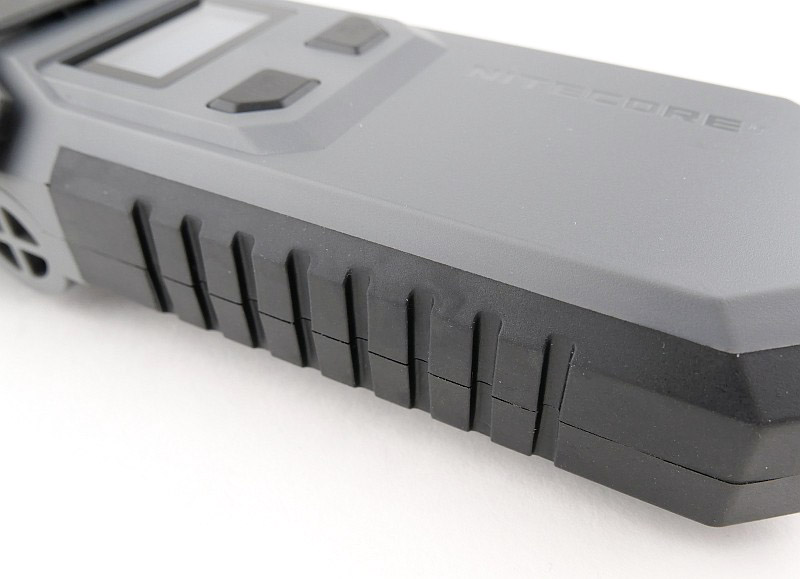
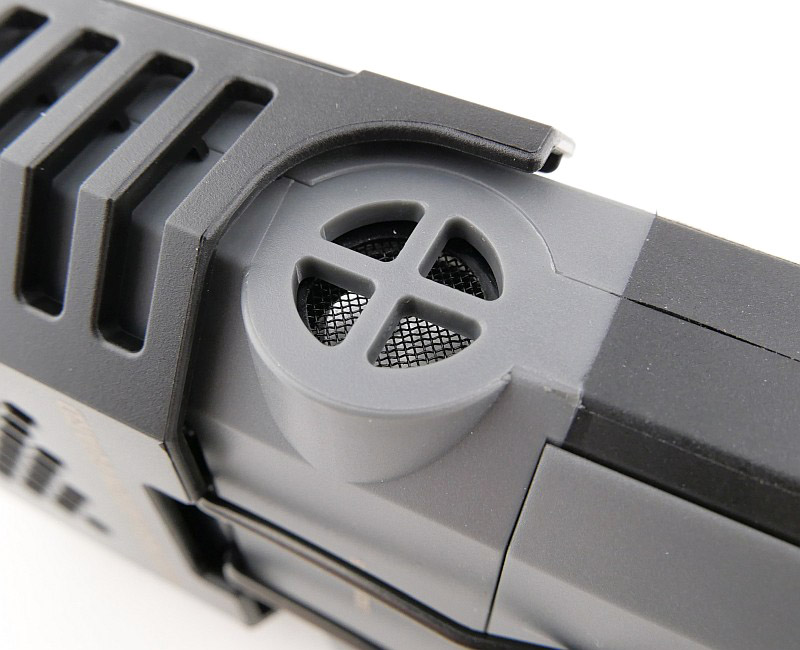
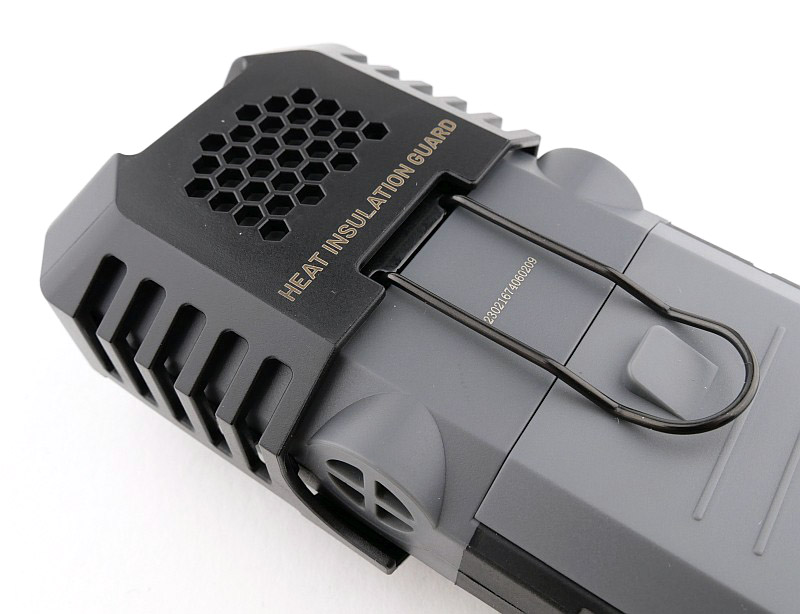
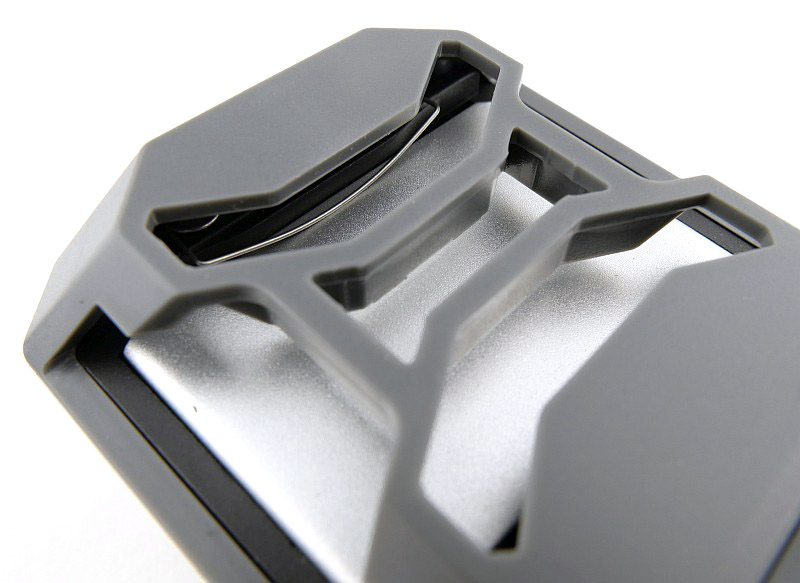
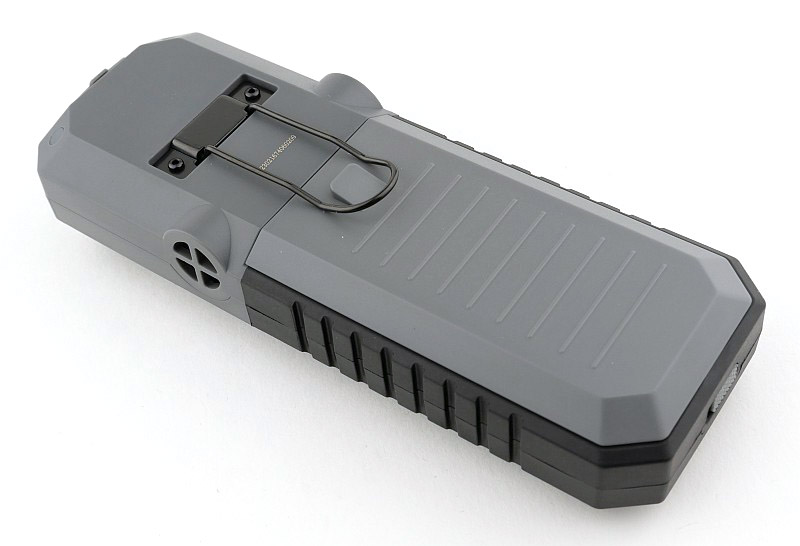
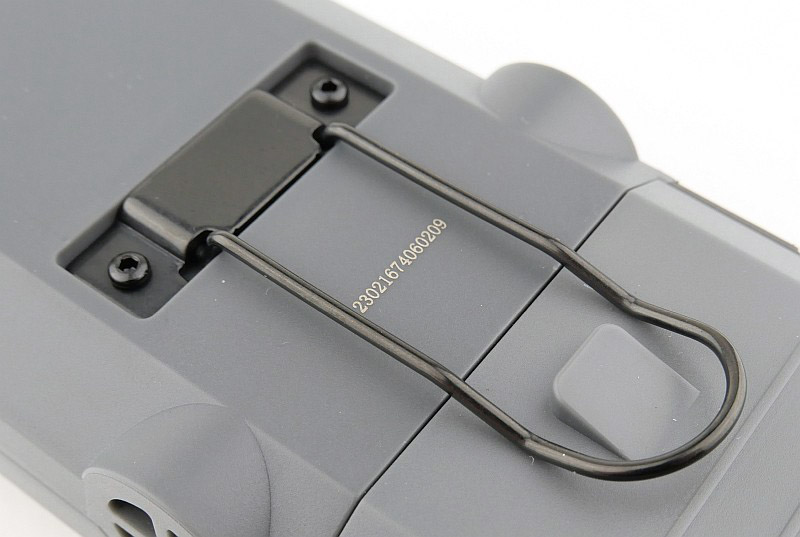
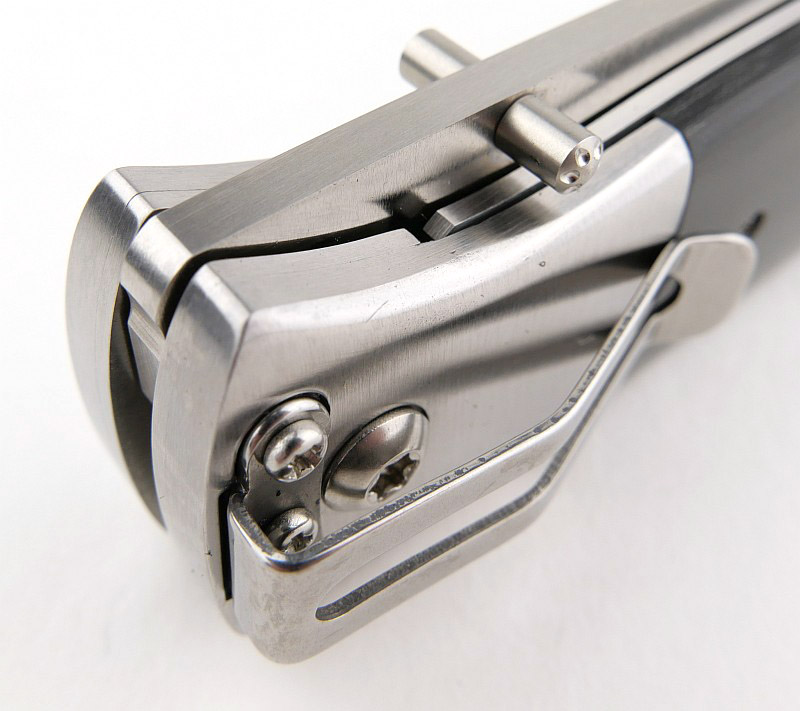
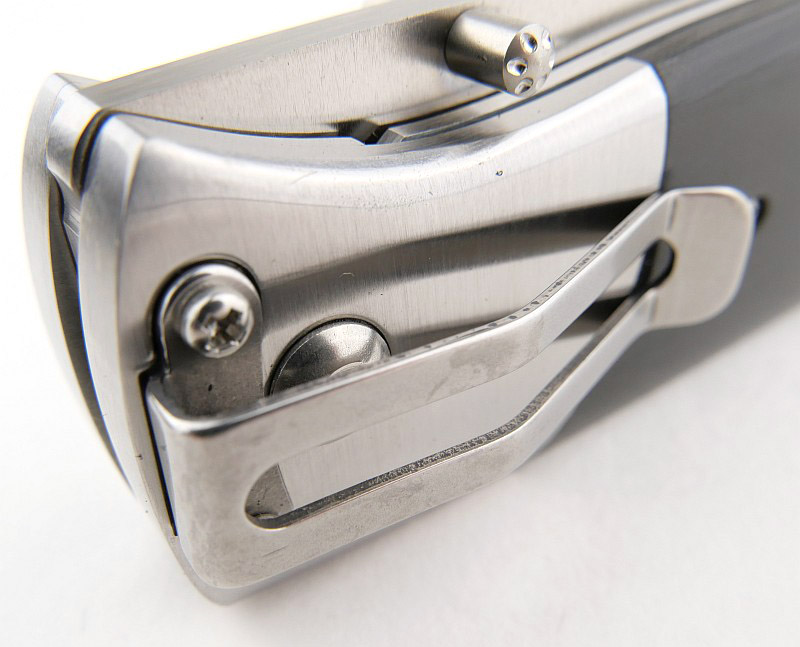
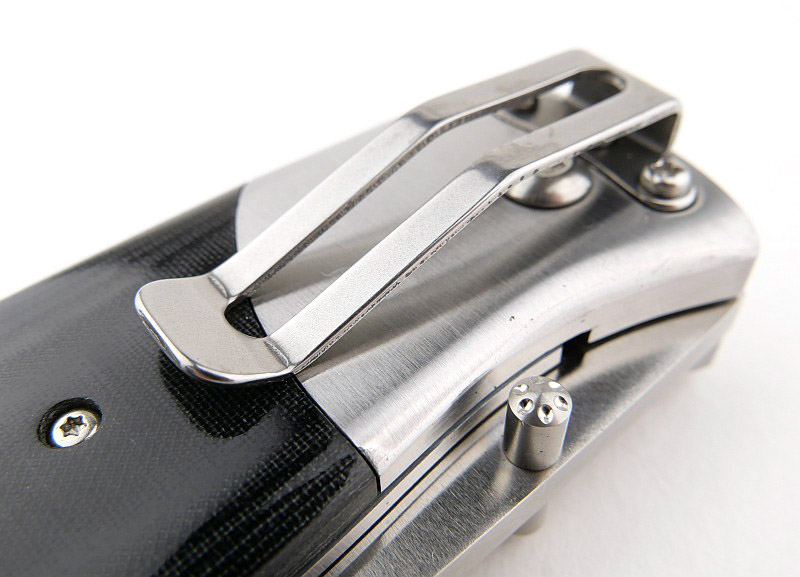
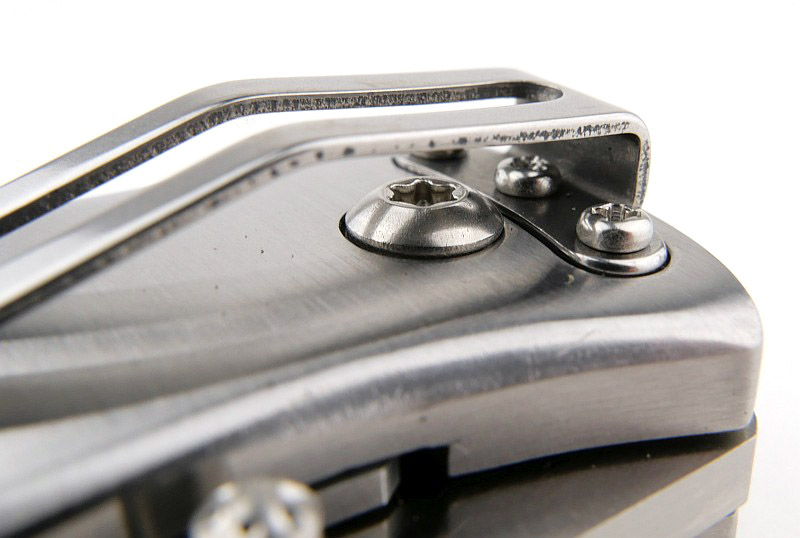
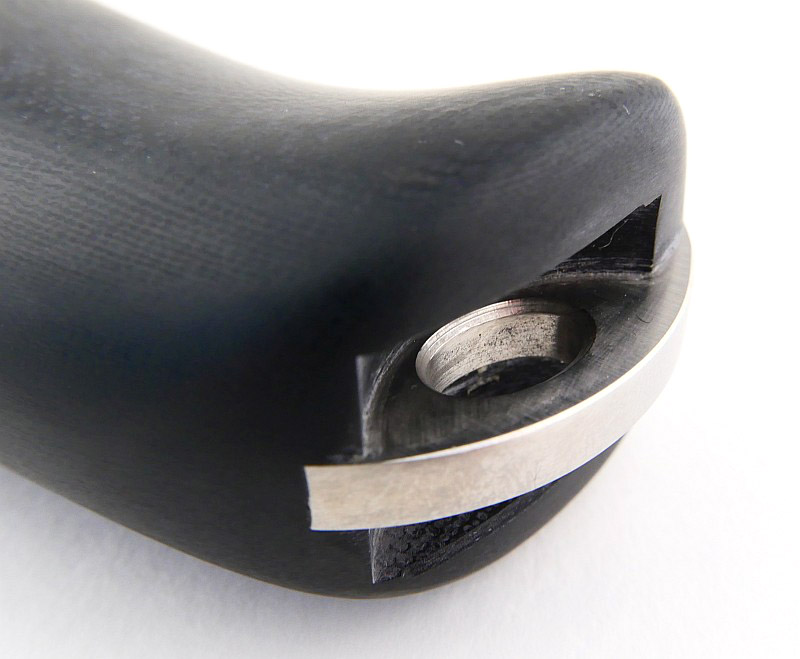
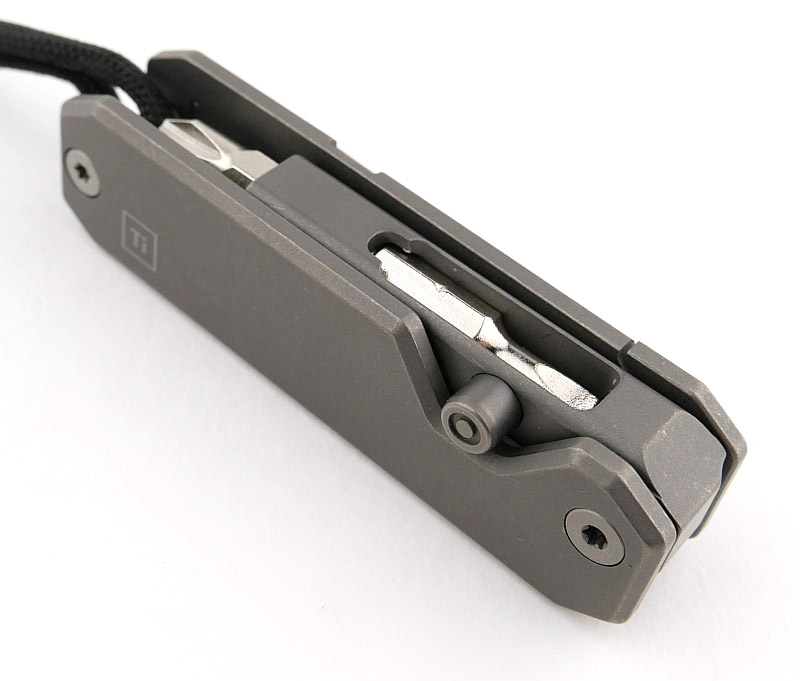
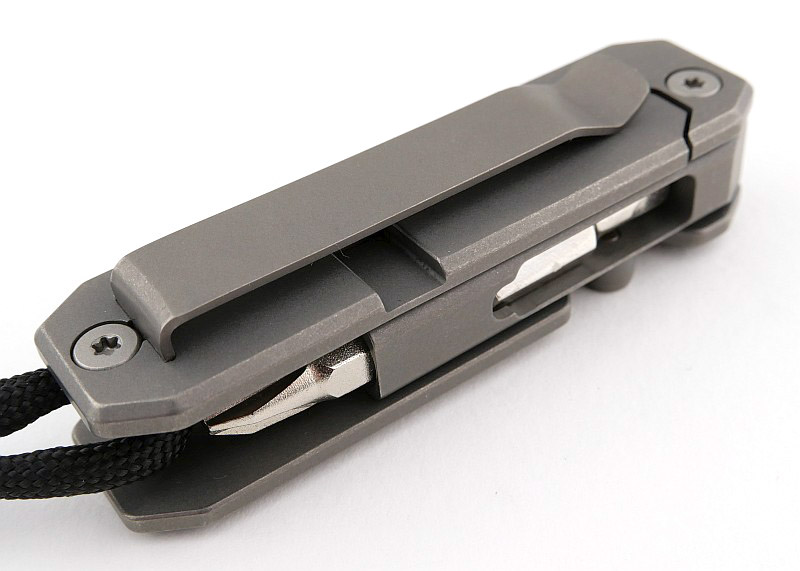
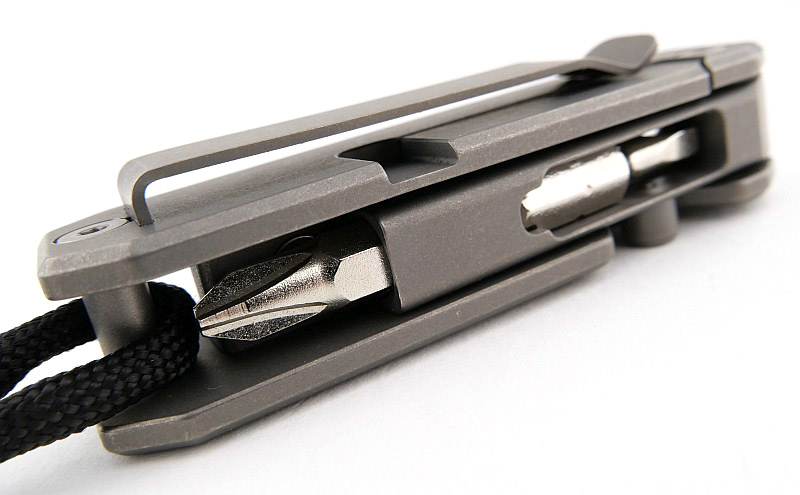
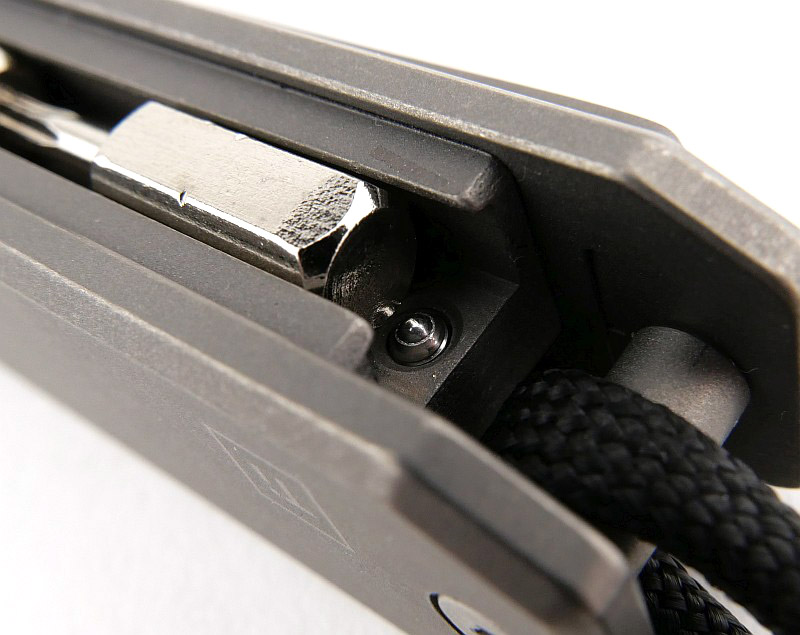
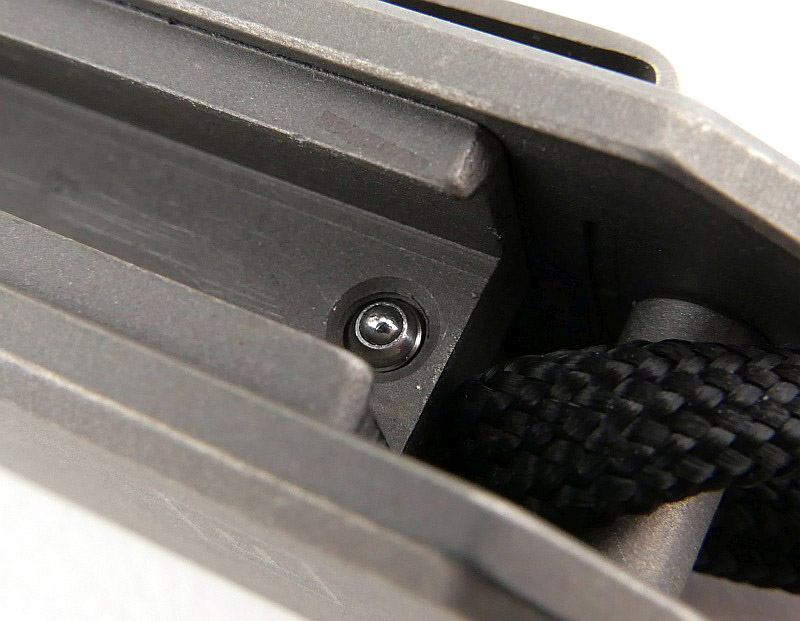
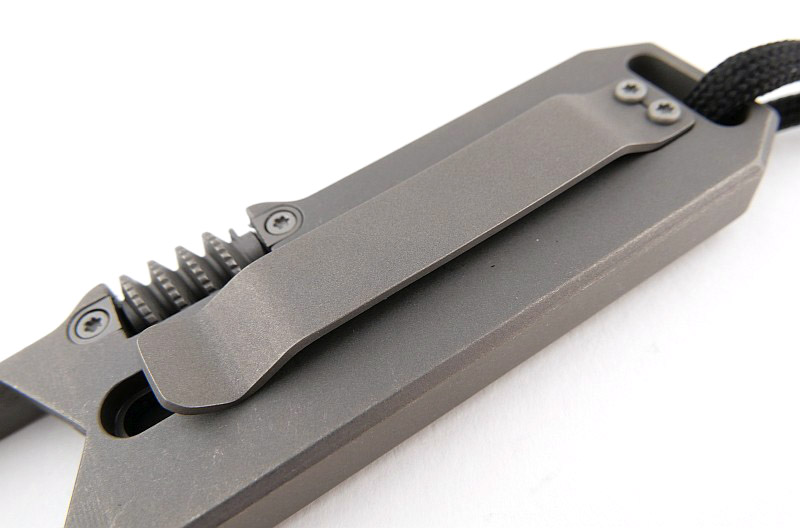
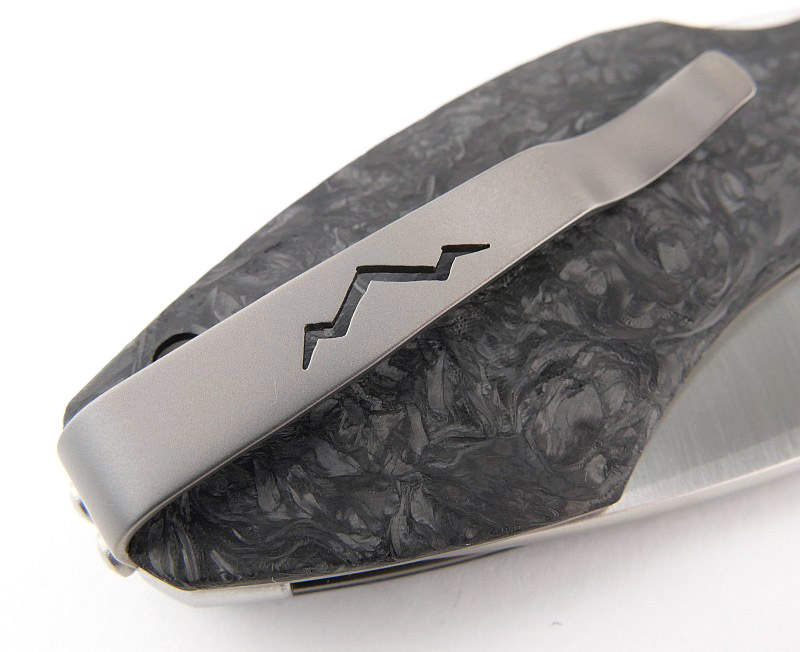
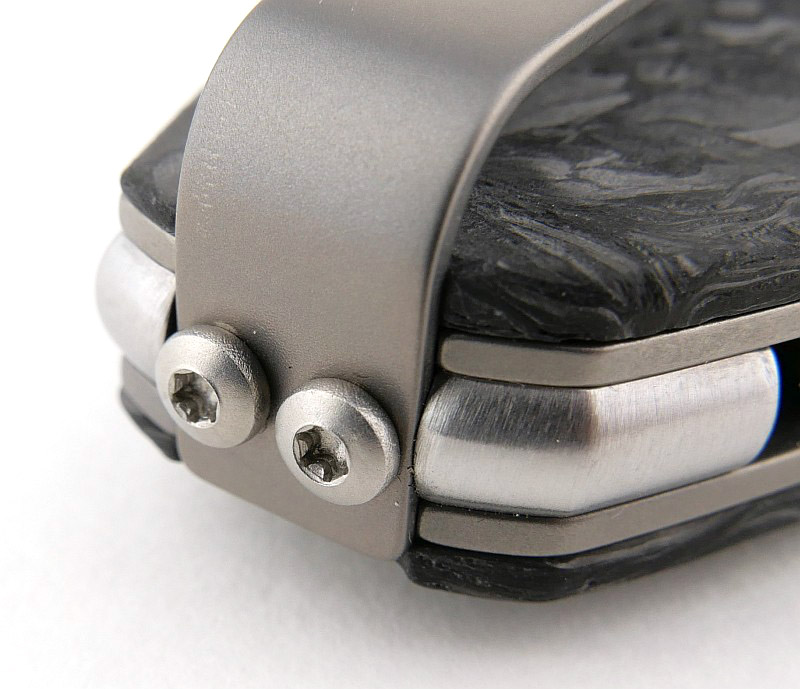
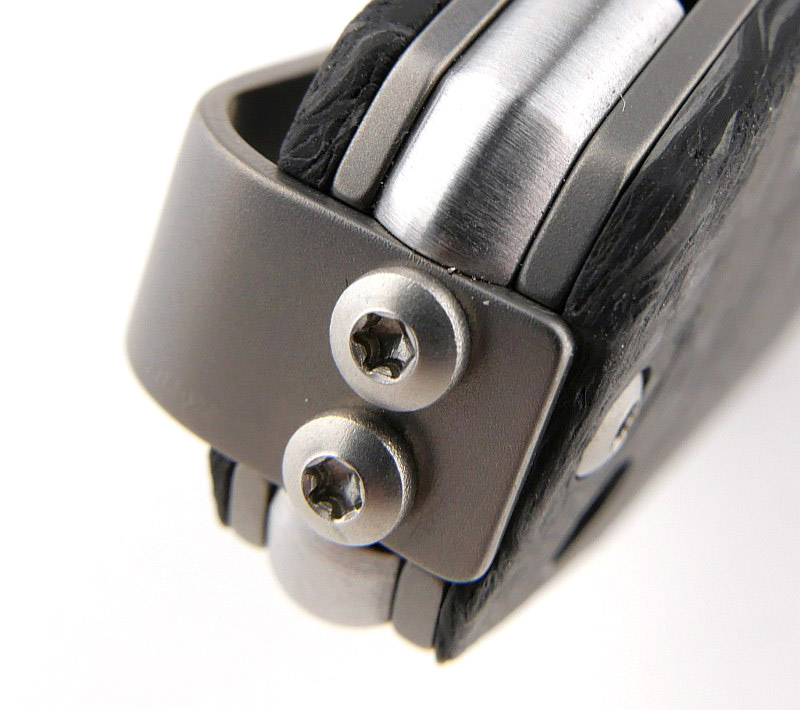
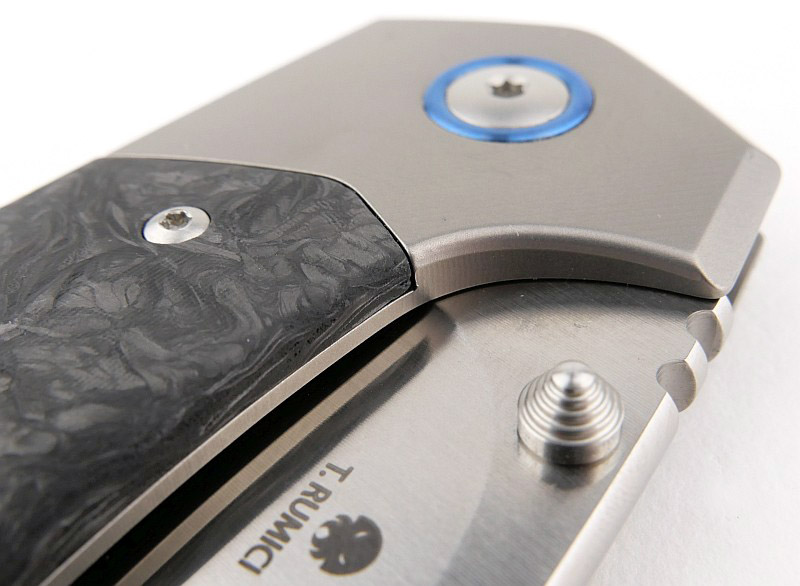
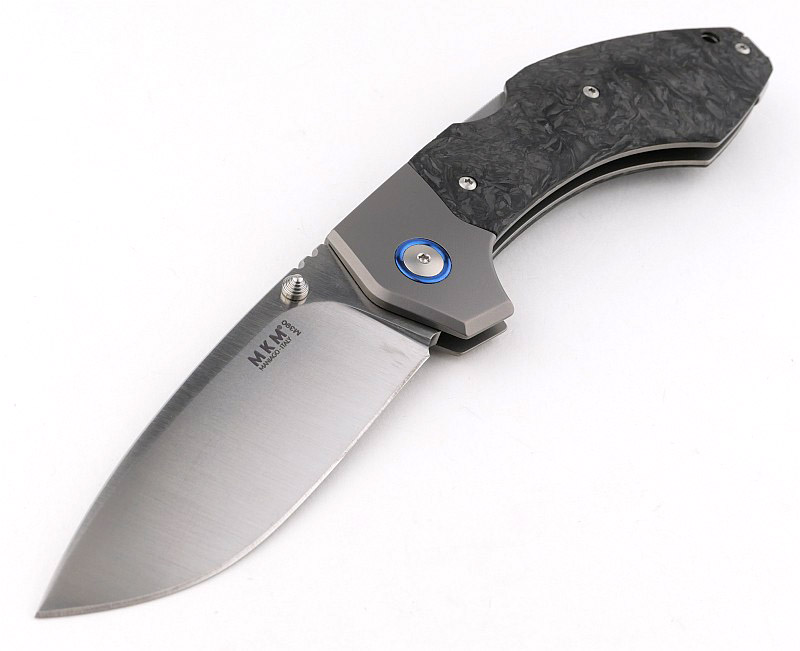
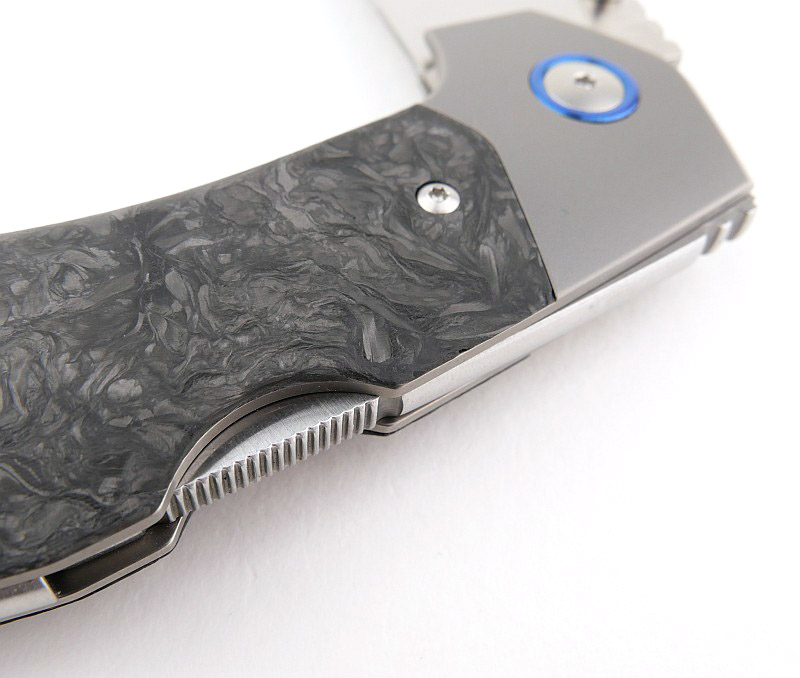
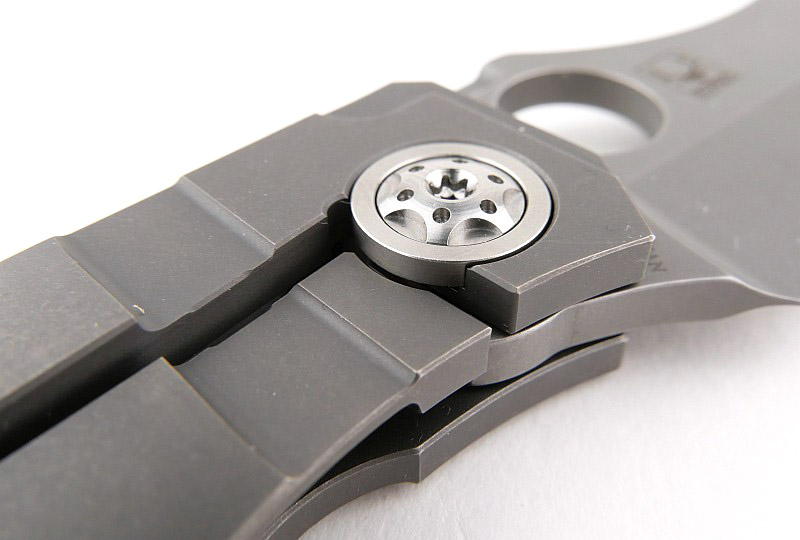
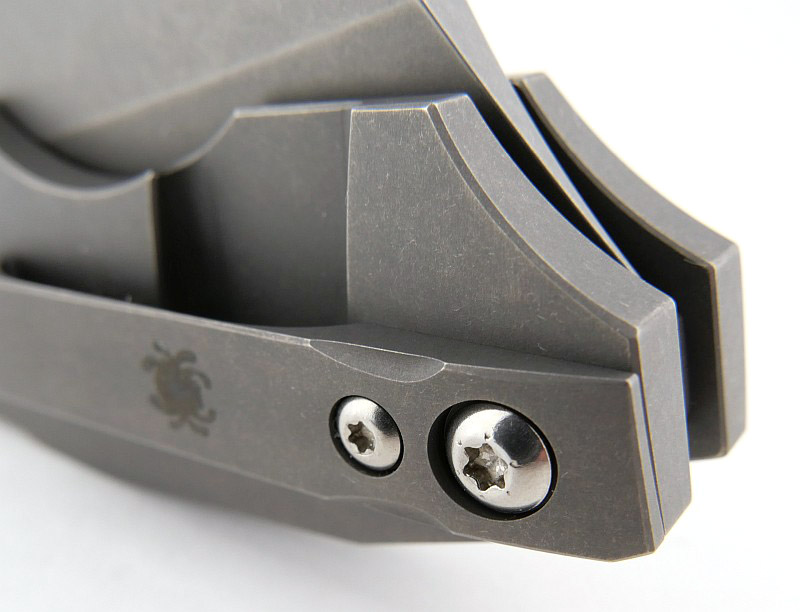
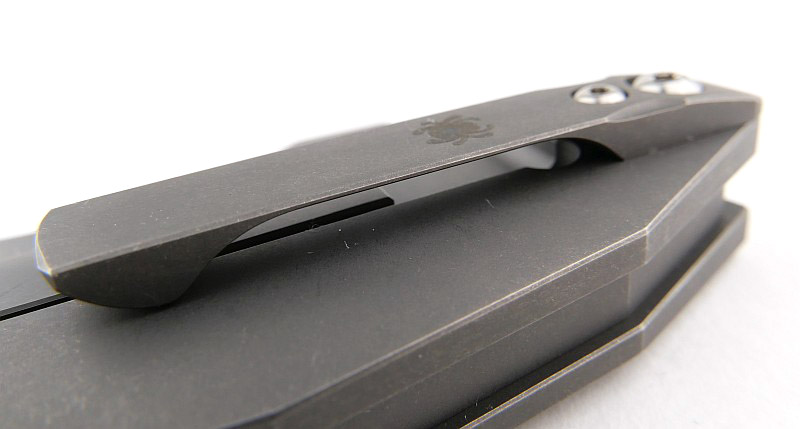
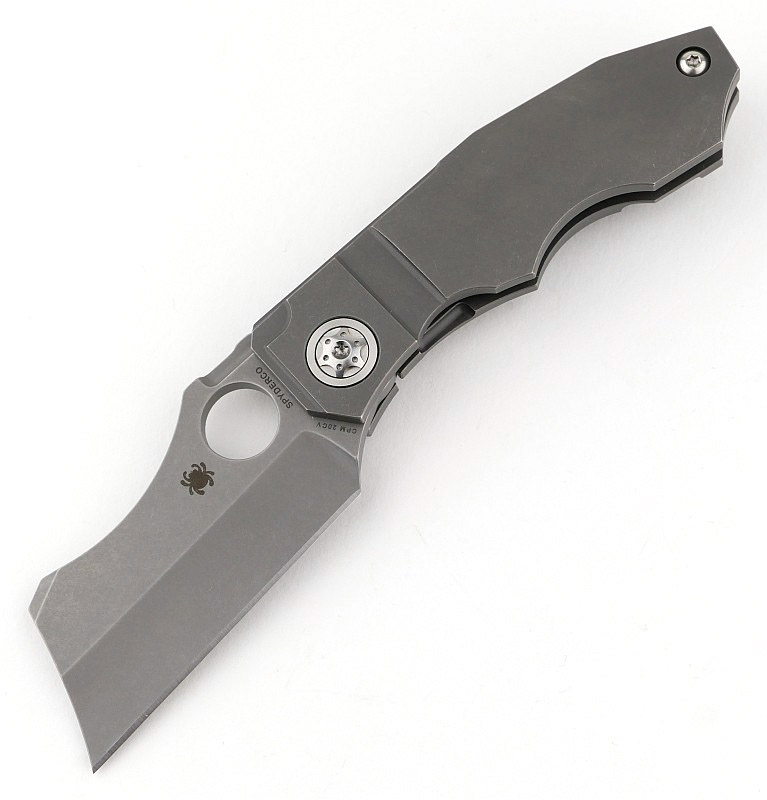
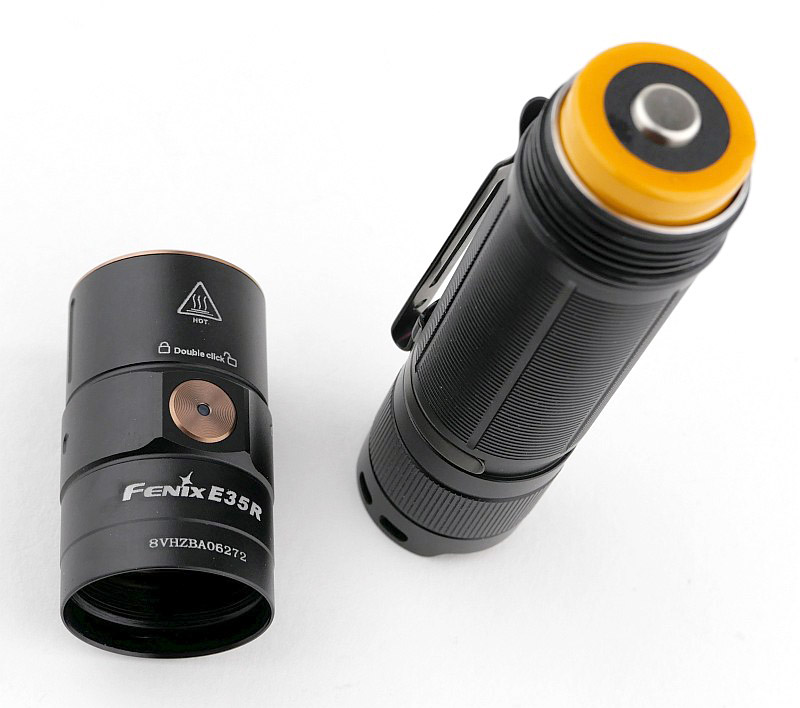
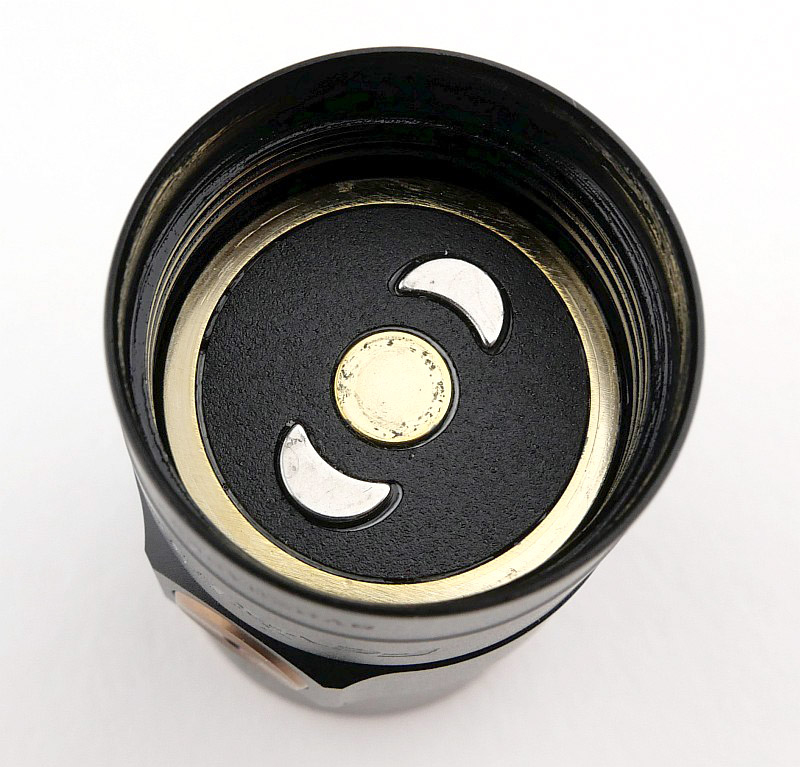
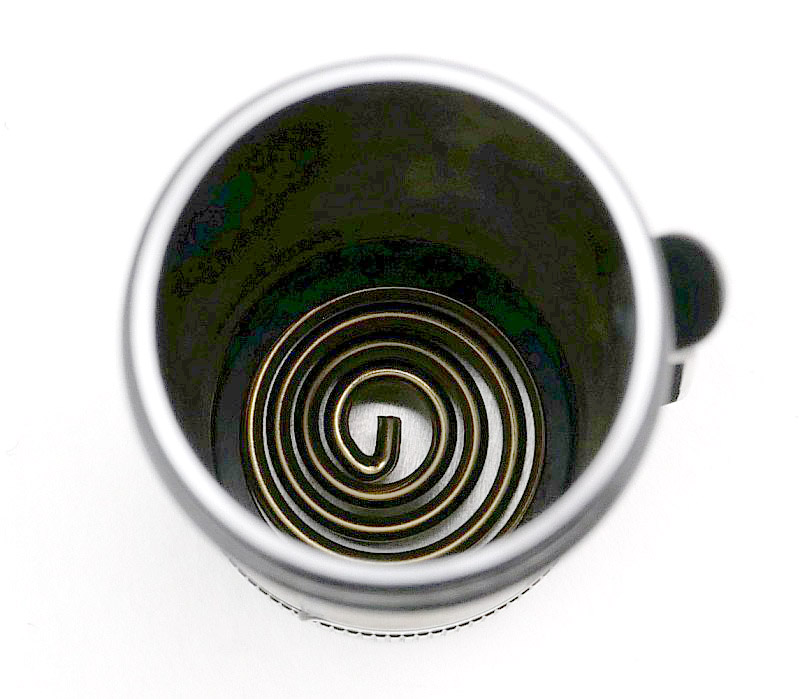
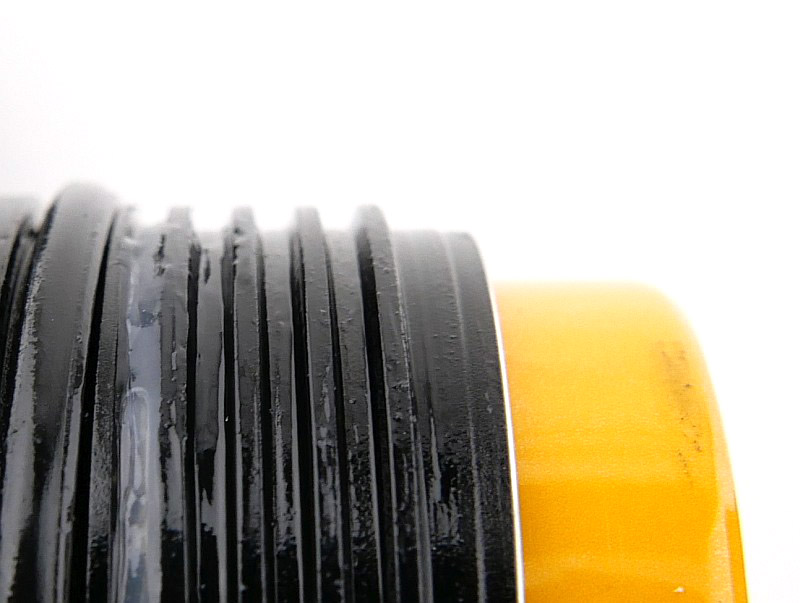
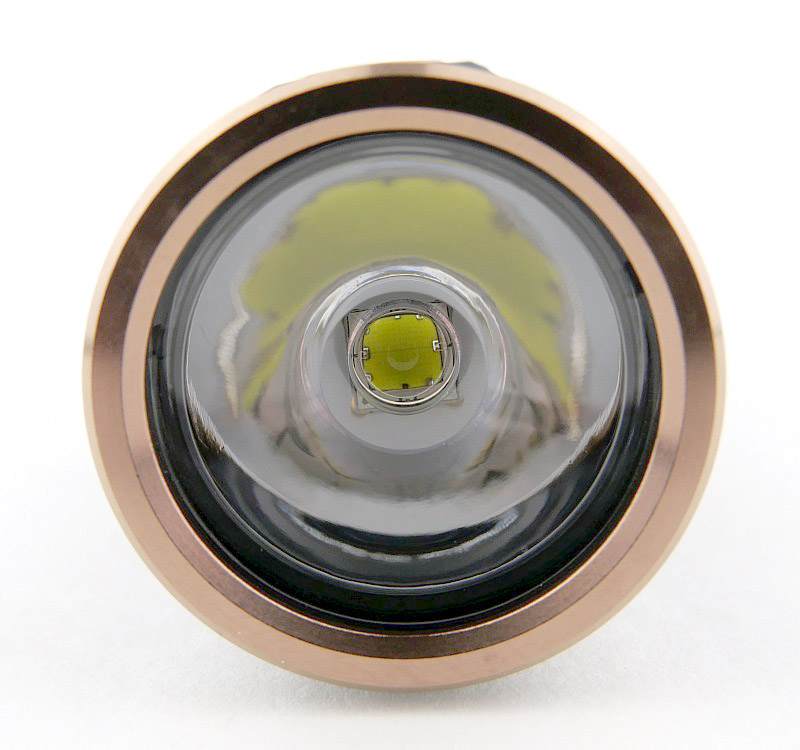
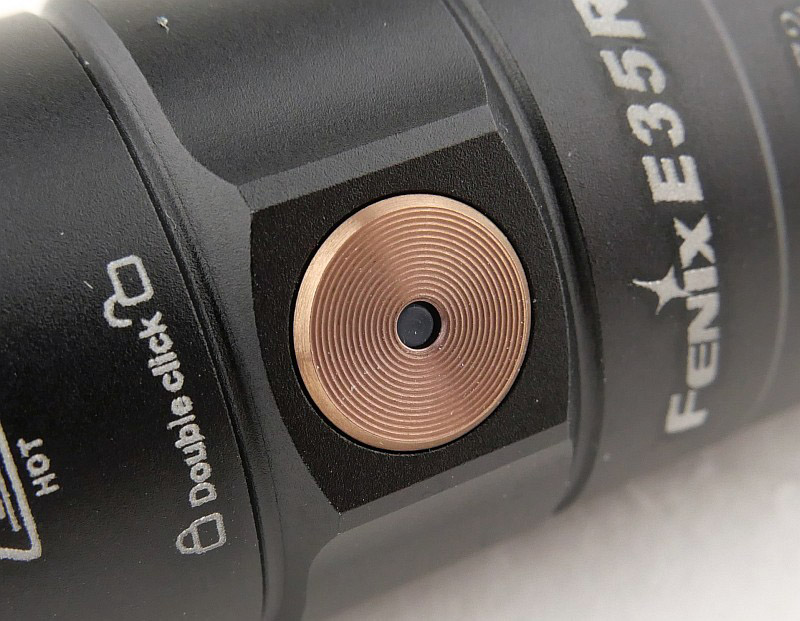
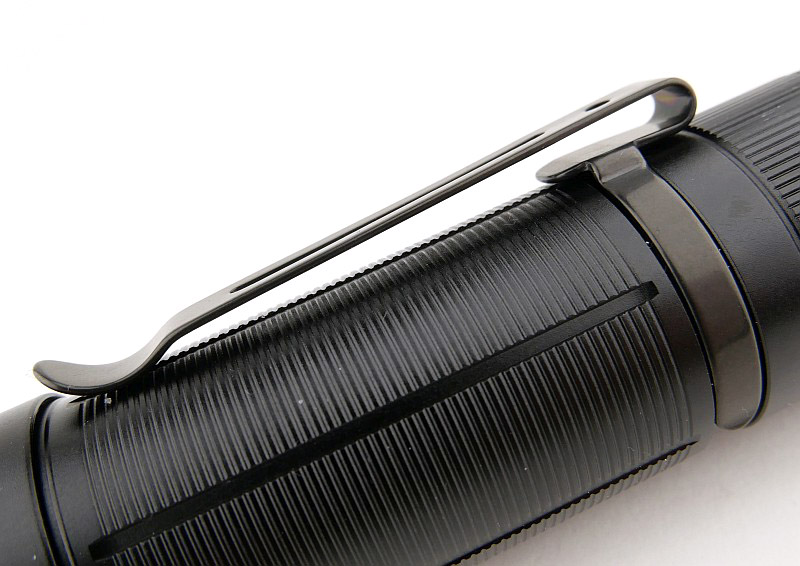
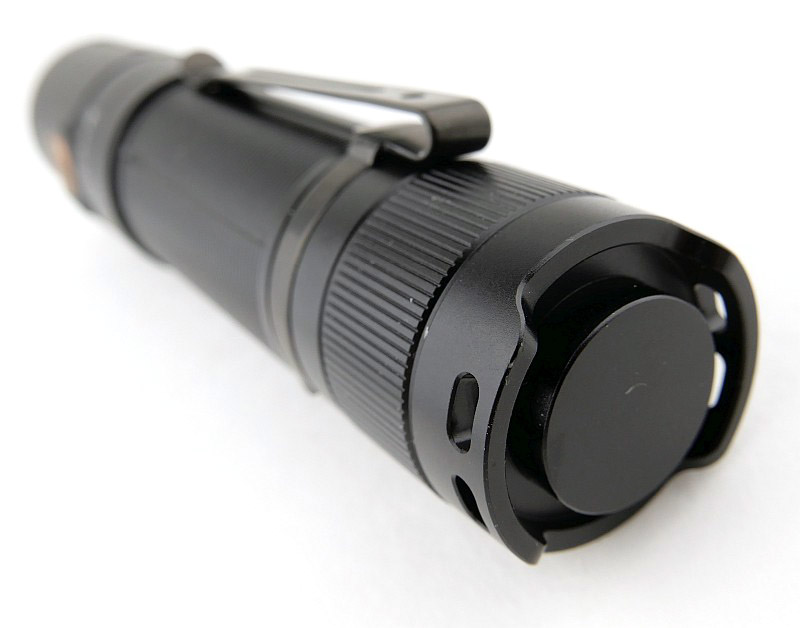
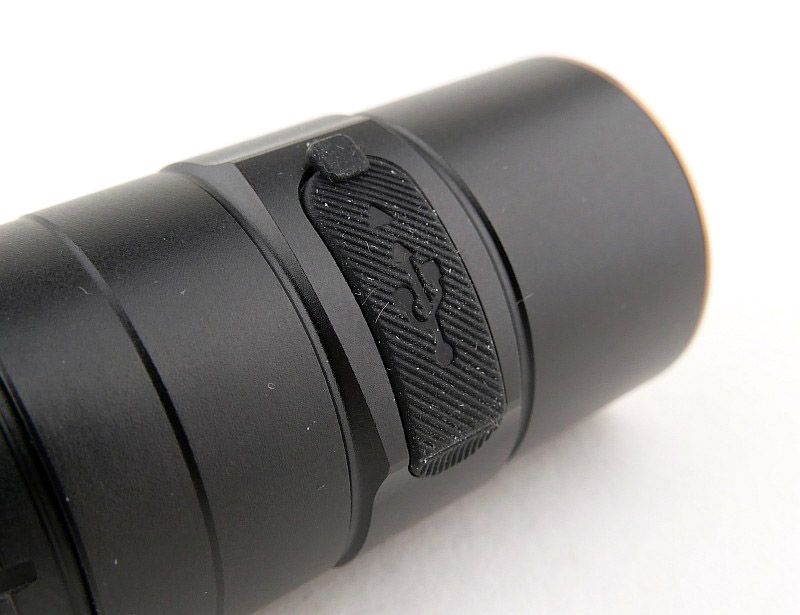
In case you think it is faulty out of the box, Fenix has included a label to remind you to remove the in-transit insulator which protects the E35R from discharging in storage. For the E35R, it is the head rather than tail that unscrews to access the battery compartment. The contacts in the head include physical reverse polarity protection. In the tail is a single strong coil spring to keep the 21700 5000mAh cell in place. The threads are near-square in profile. There is a bronze detail ring round the TIR optic to match the colour of the power switch. To indicate the battery level the centre of the power switch lights up either solid, or a flashing. A steel pocket clip is included. One other addition in the update is the E35R now having a magnetic tail.
The beam
Please be careful not to judge tint based on images you see on a computer screen. Unless properly calibrated, the screen itself will change the perceived tint.
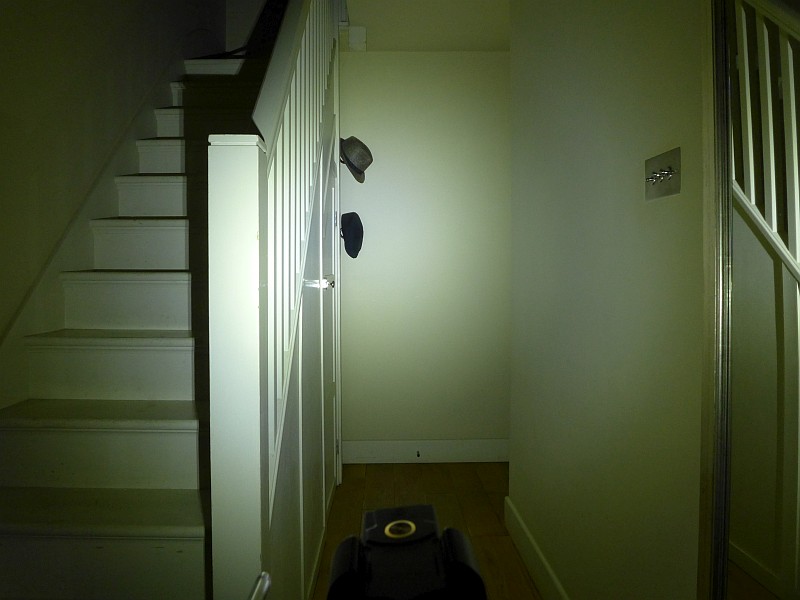
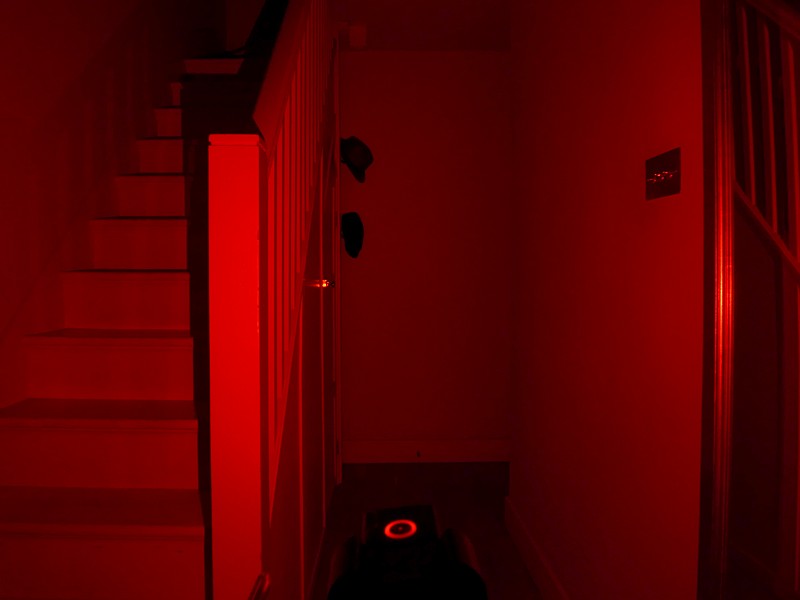
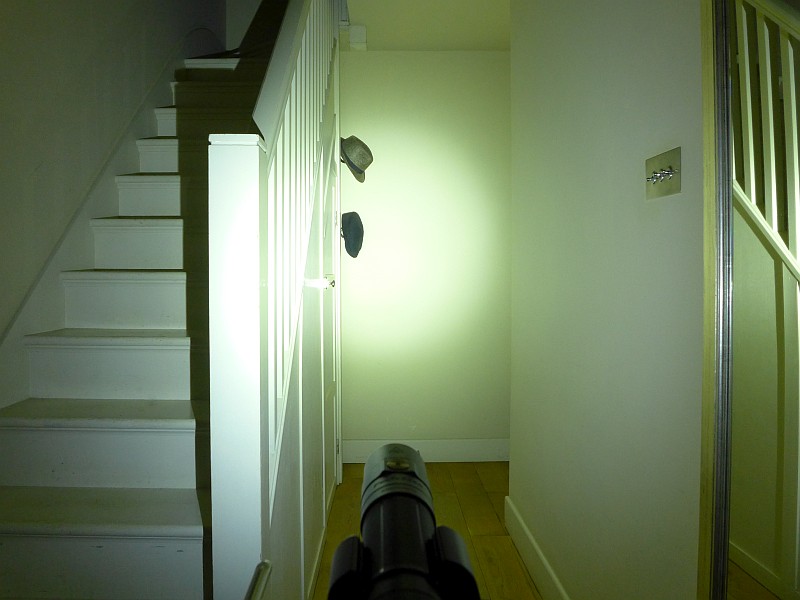
The indoor beamshot is intended to give an idea of the beam shape/quality rather than tint. All beamshots are taken using daylight white balance. The woodwork (stairs and skirting) are painted Farrow & Ball “Off-White”, and the walls are a light sandy colour called ‘String’ again by Farrow & Ball. I don’t actually have a ‘white wall’ in the house to use for this, and my wife won’t have one!
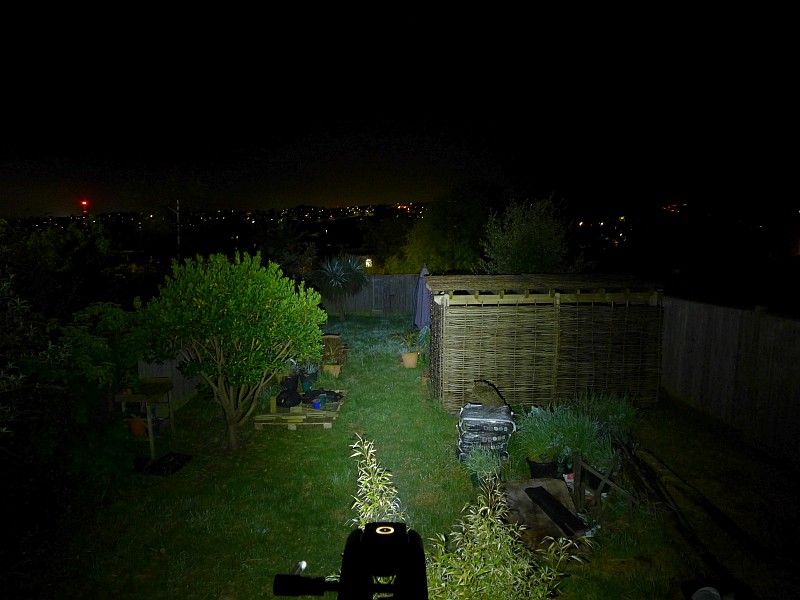
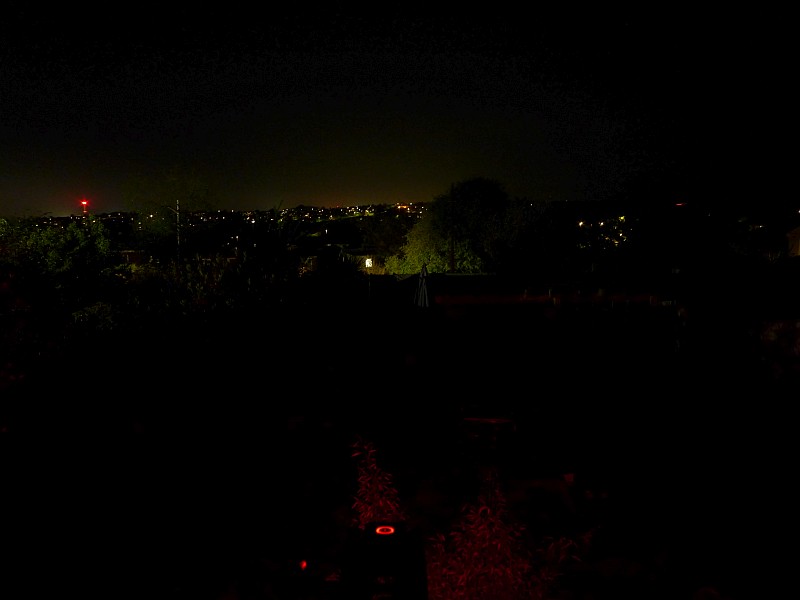
This gallery starts with the E03R V2.0 indoors, white and red beams. The red beam exposure is intentionally longer to show the shape of the beam, not the relative brightness to the white. However, for the outdoor beamshots, the exposure for white and red is similar, and is intended to show the red beam range is, of course, very limited.
Then the last two beamshots are the E35R, showing the very strong performance.

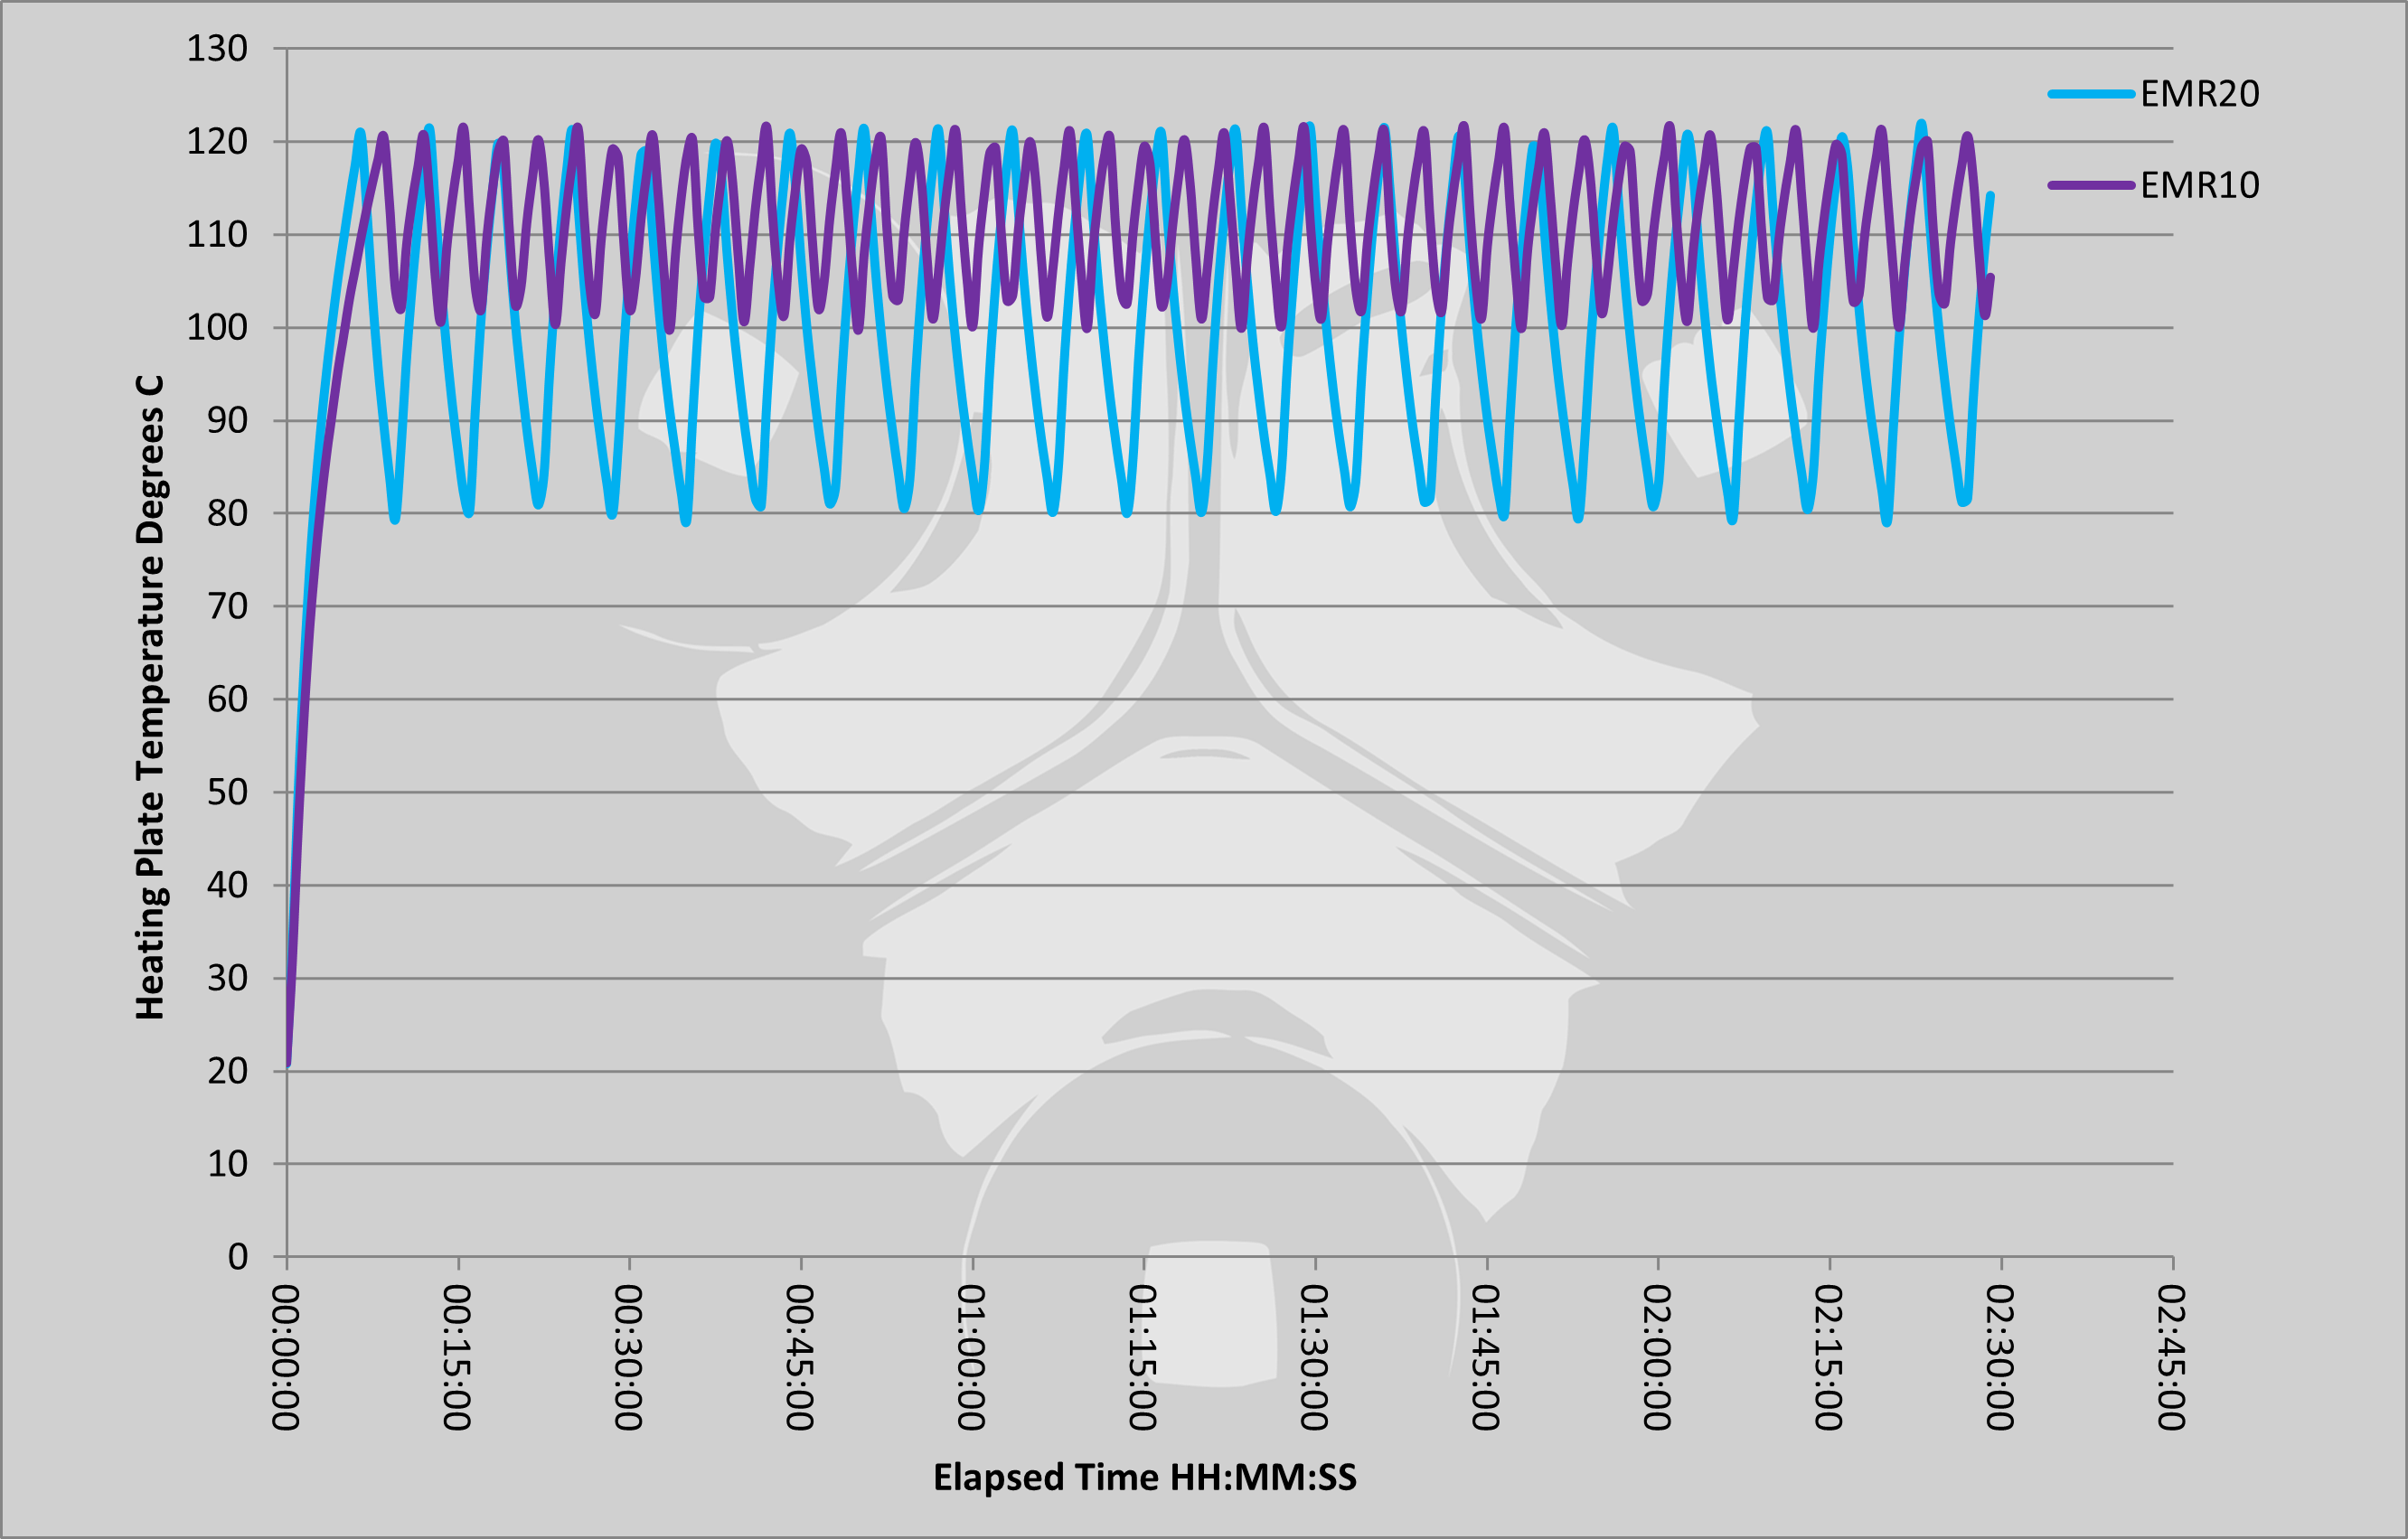
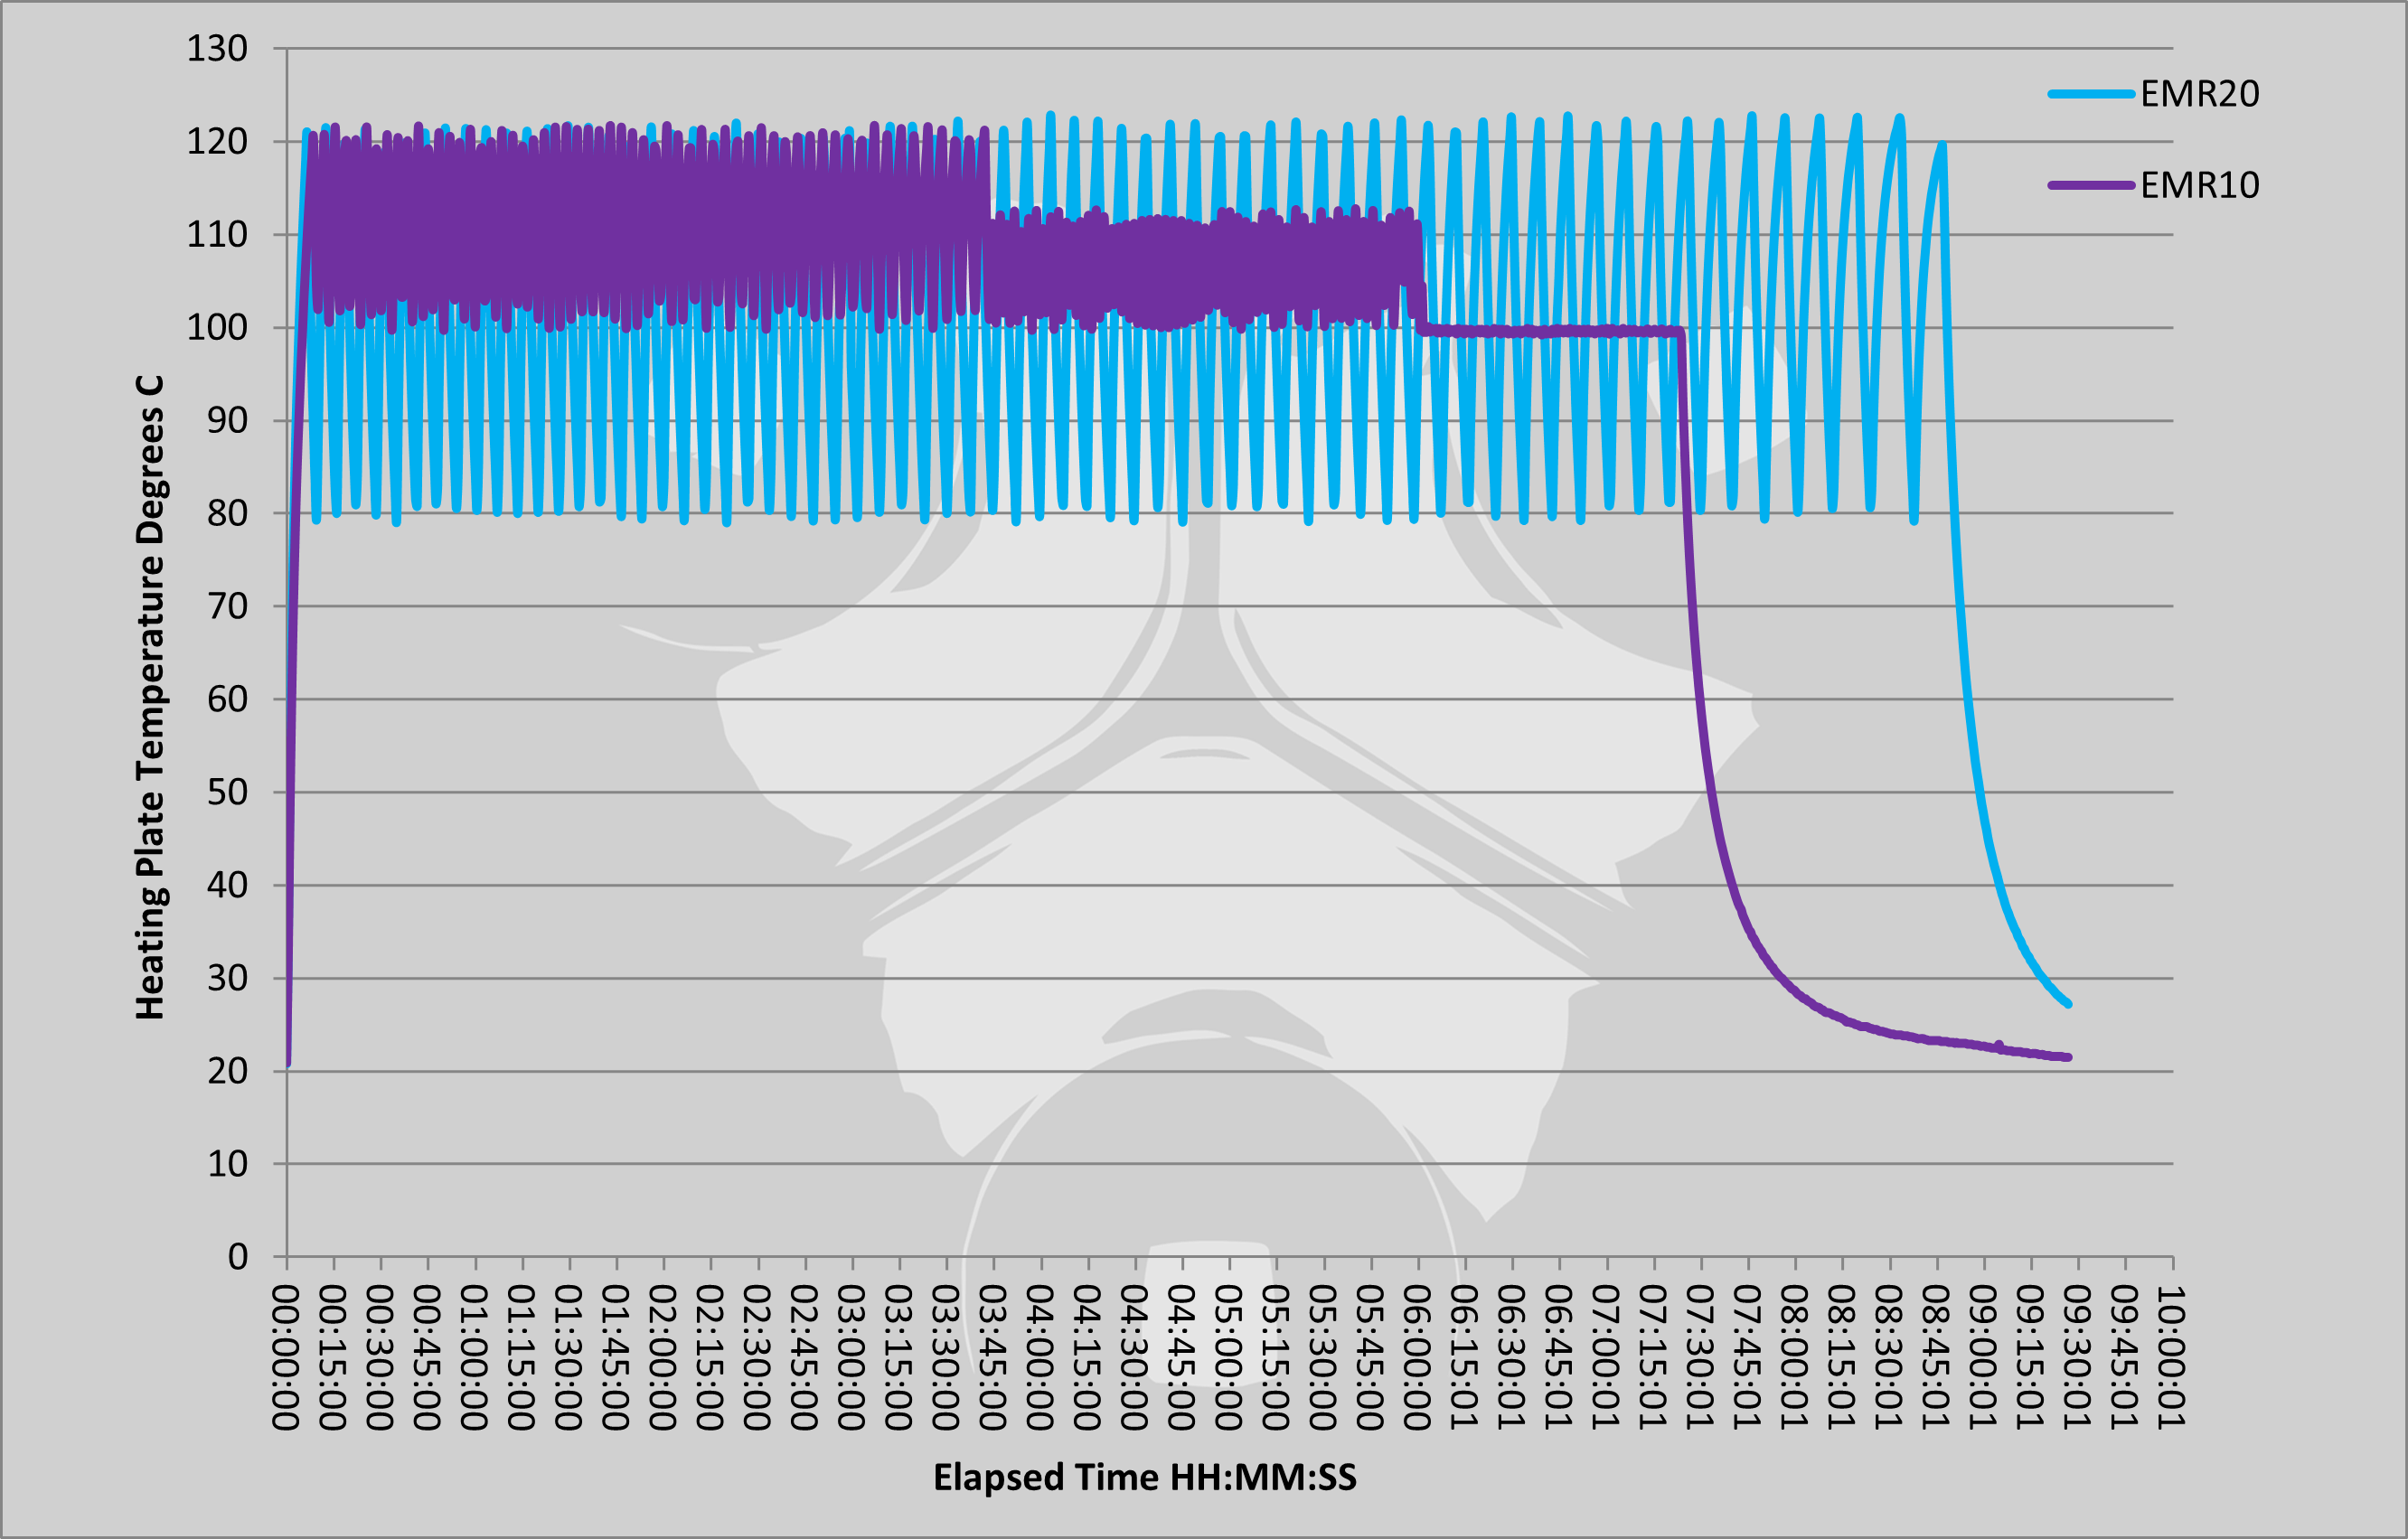
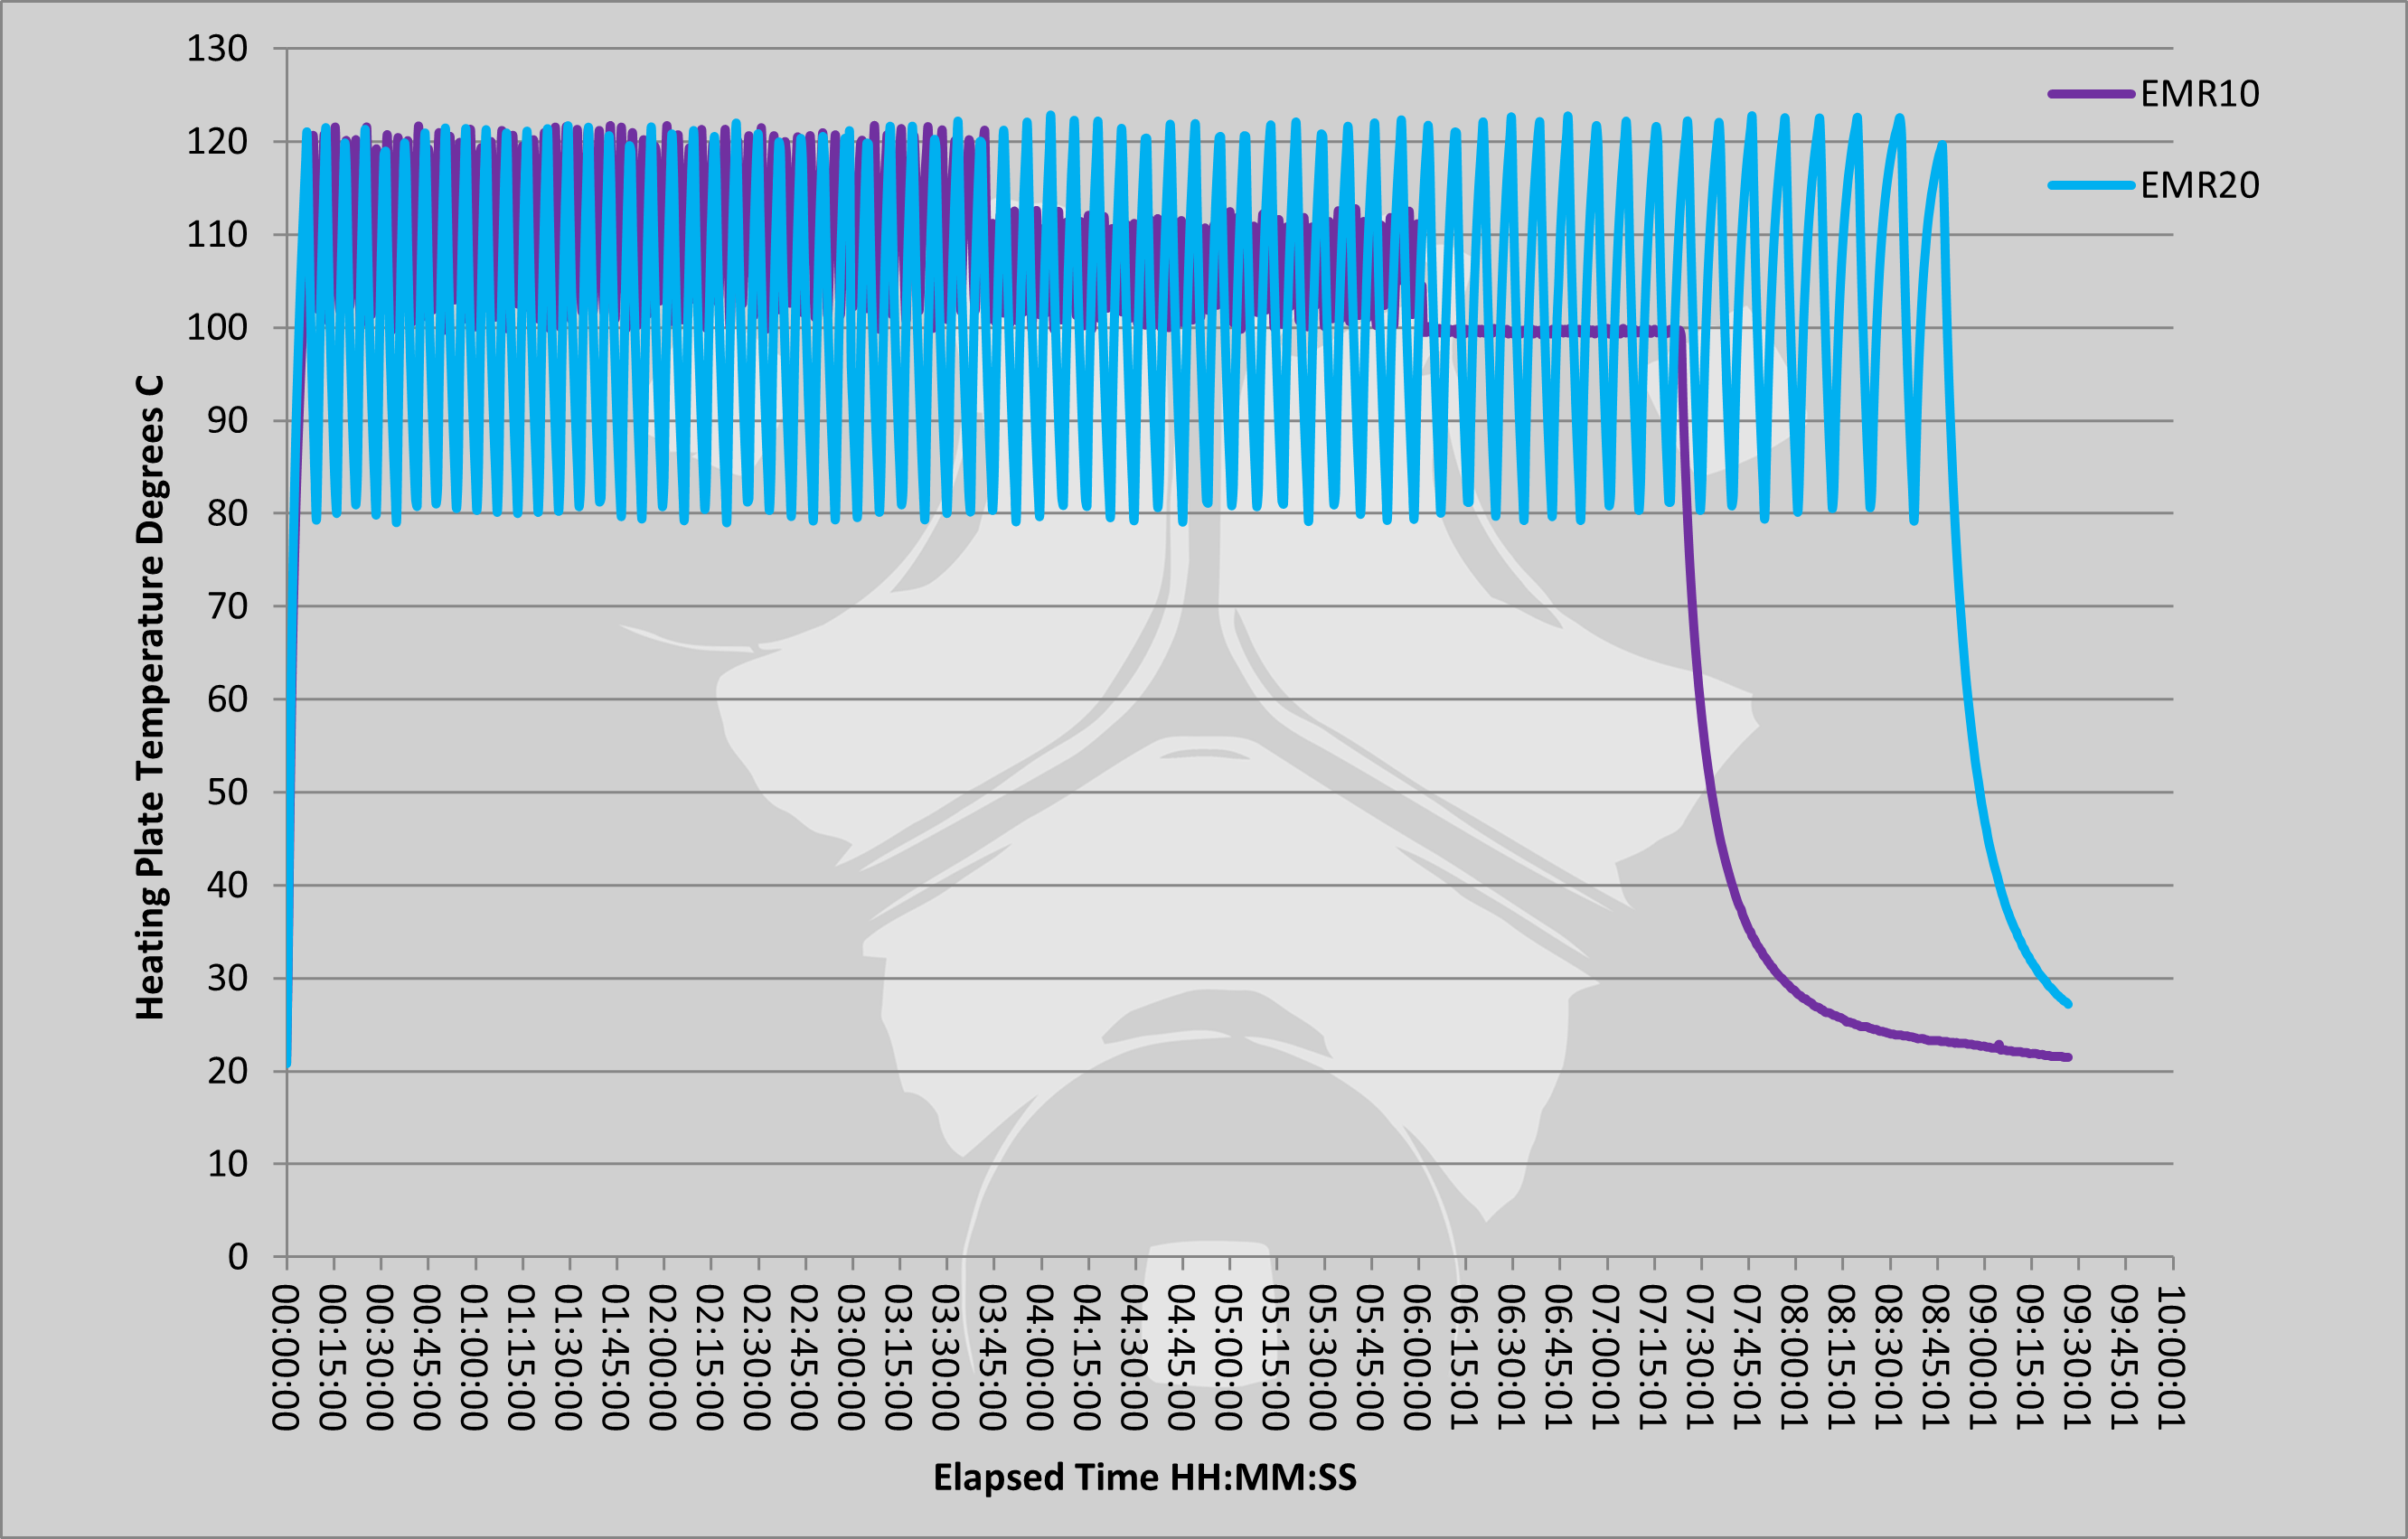
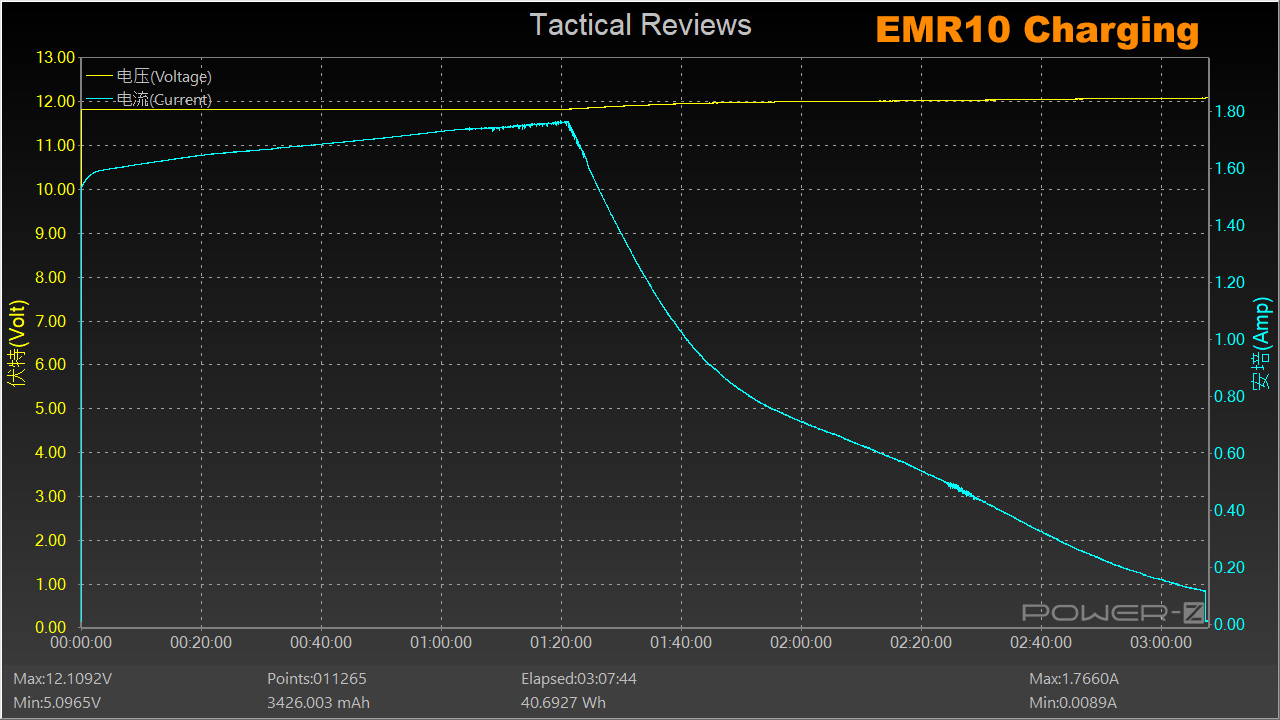
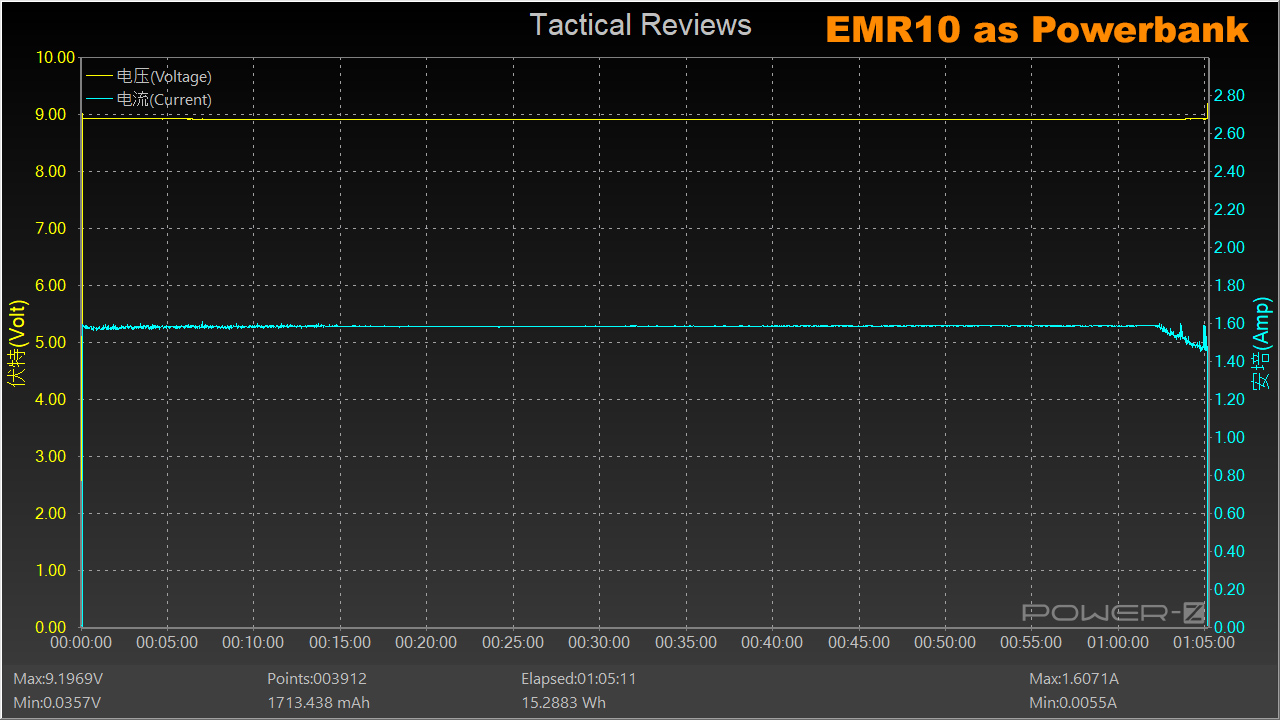
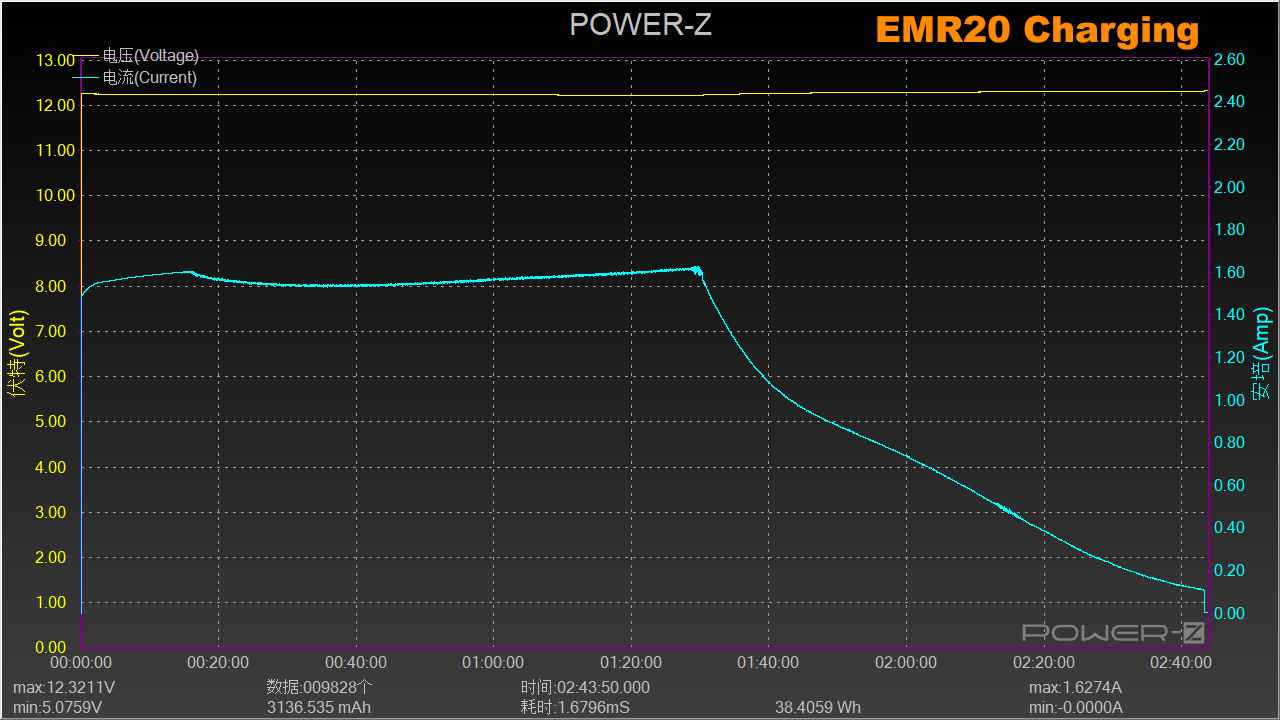
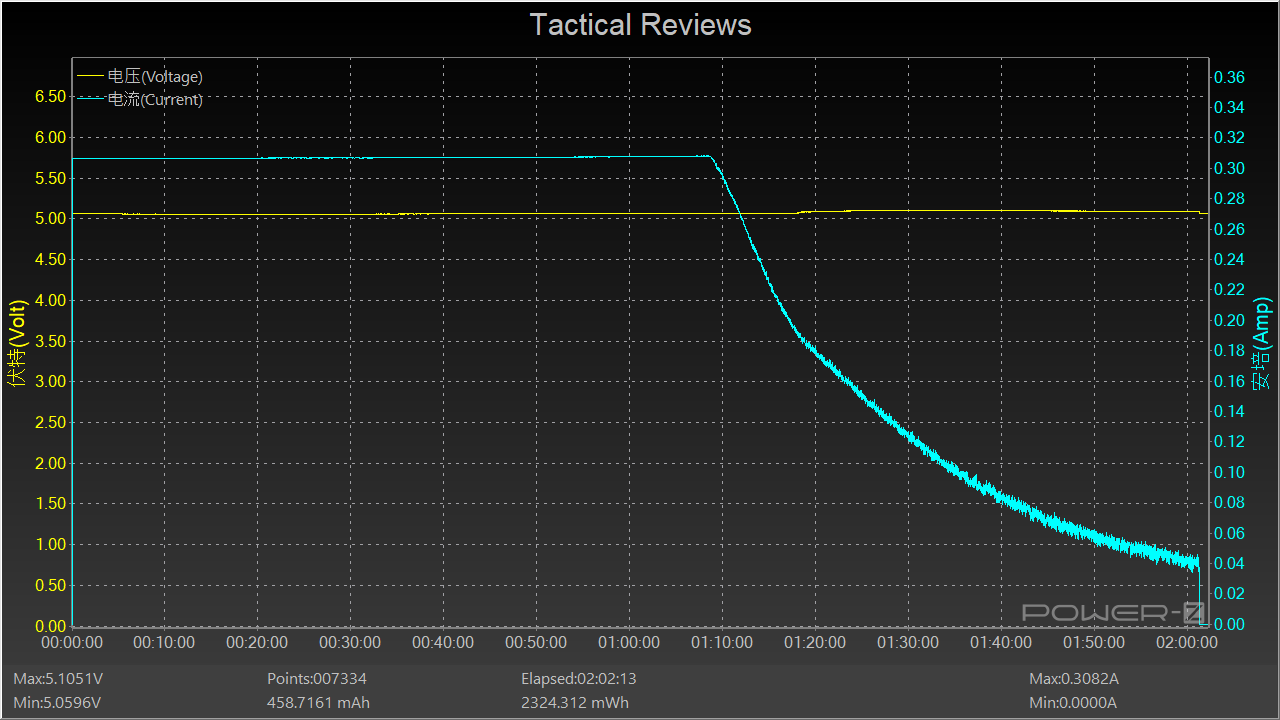
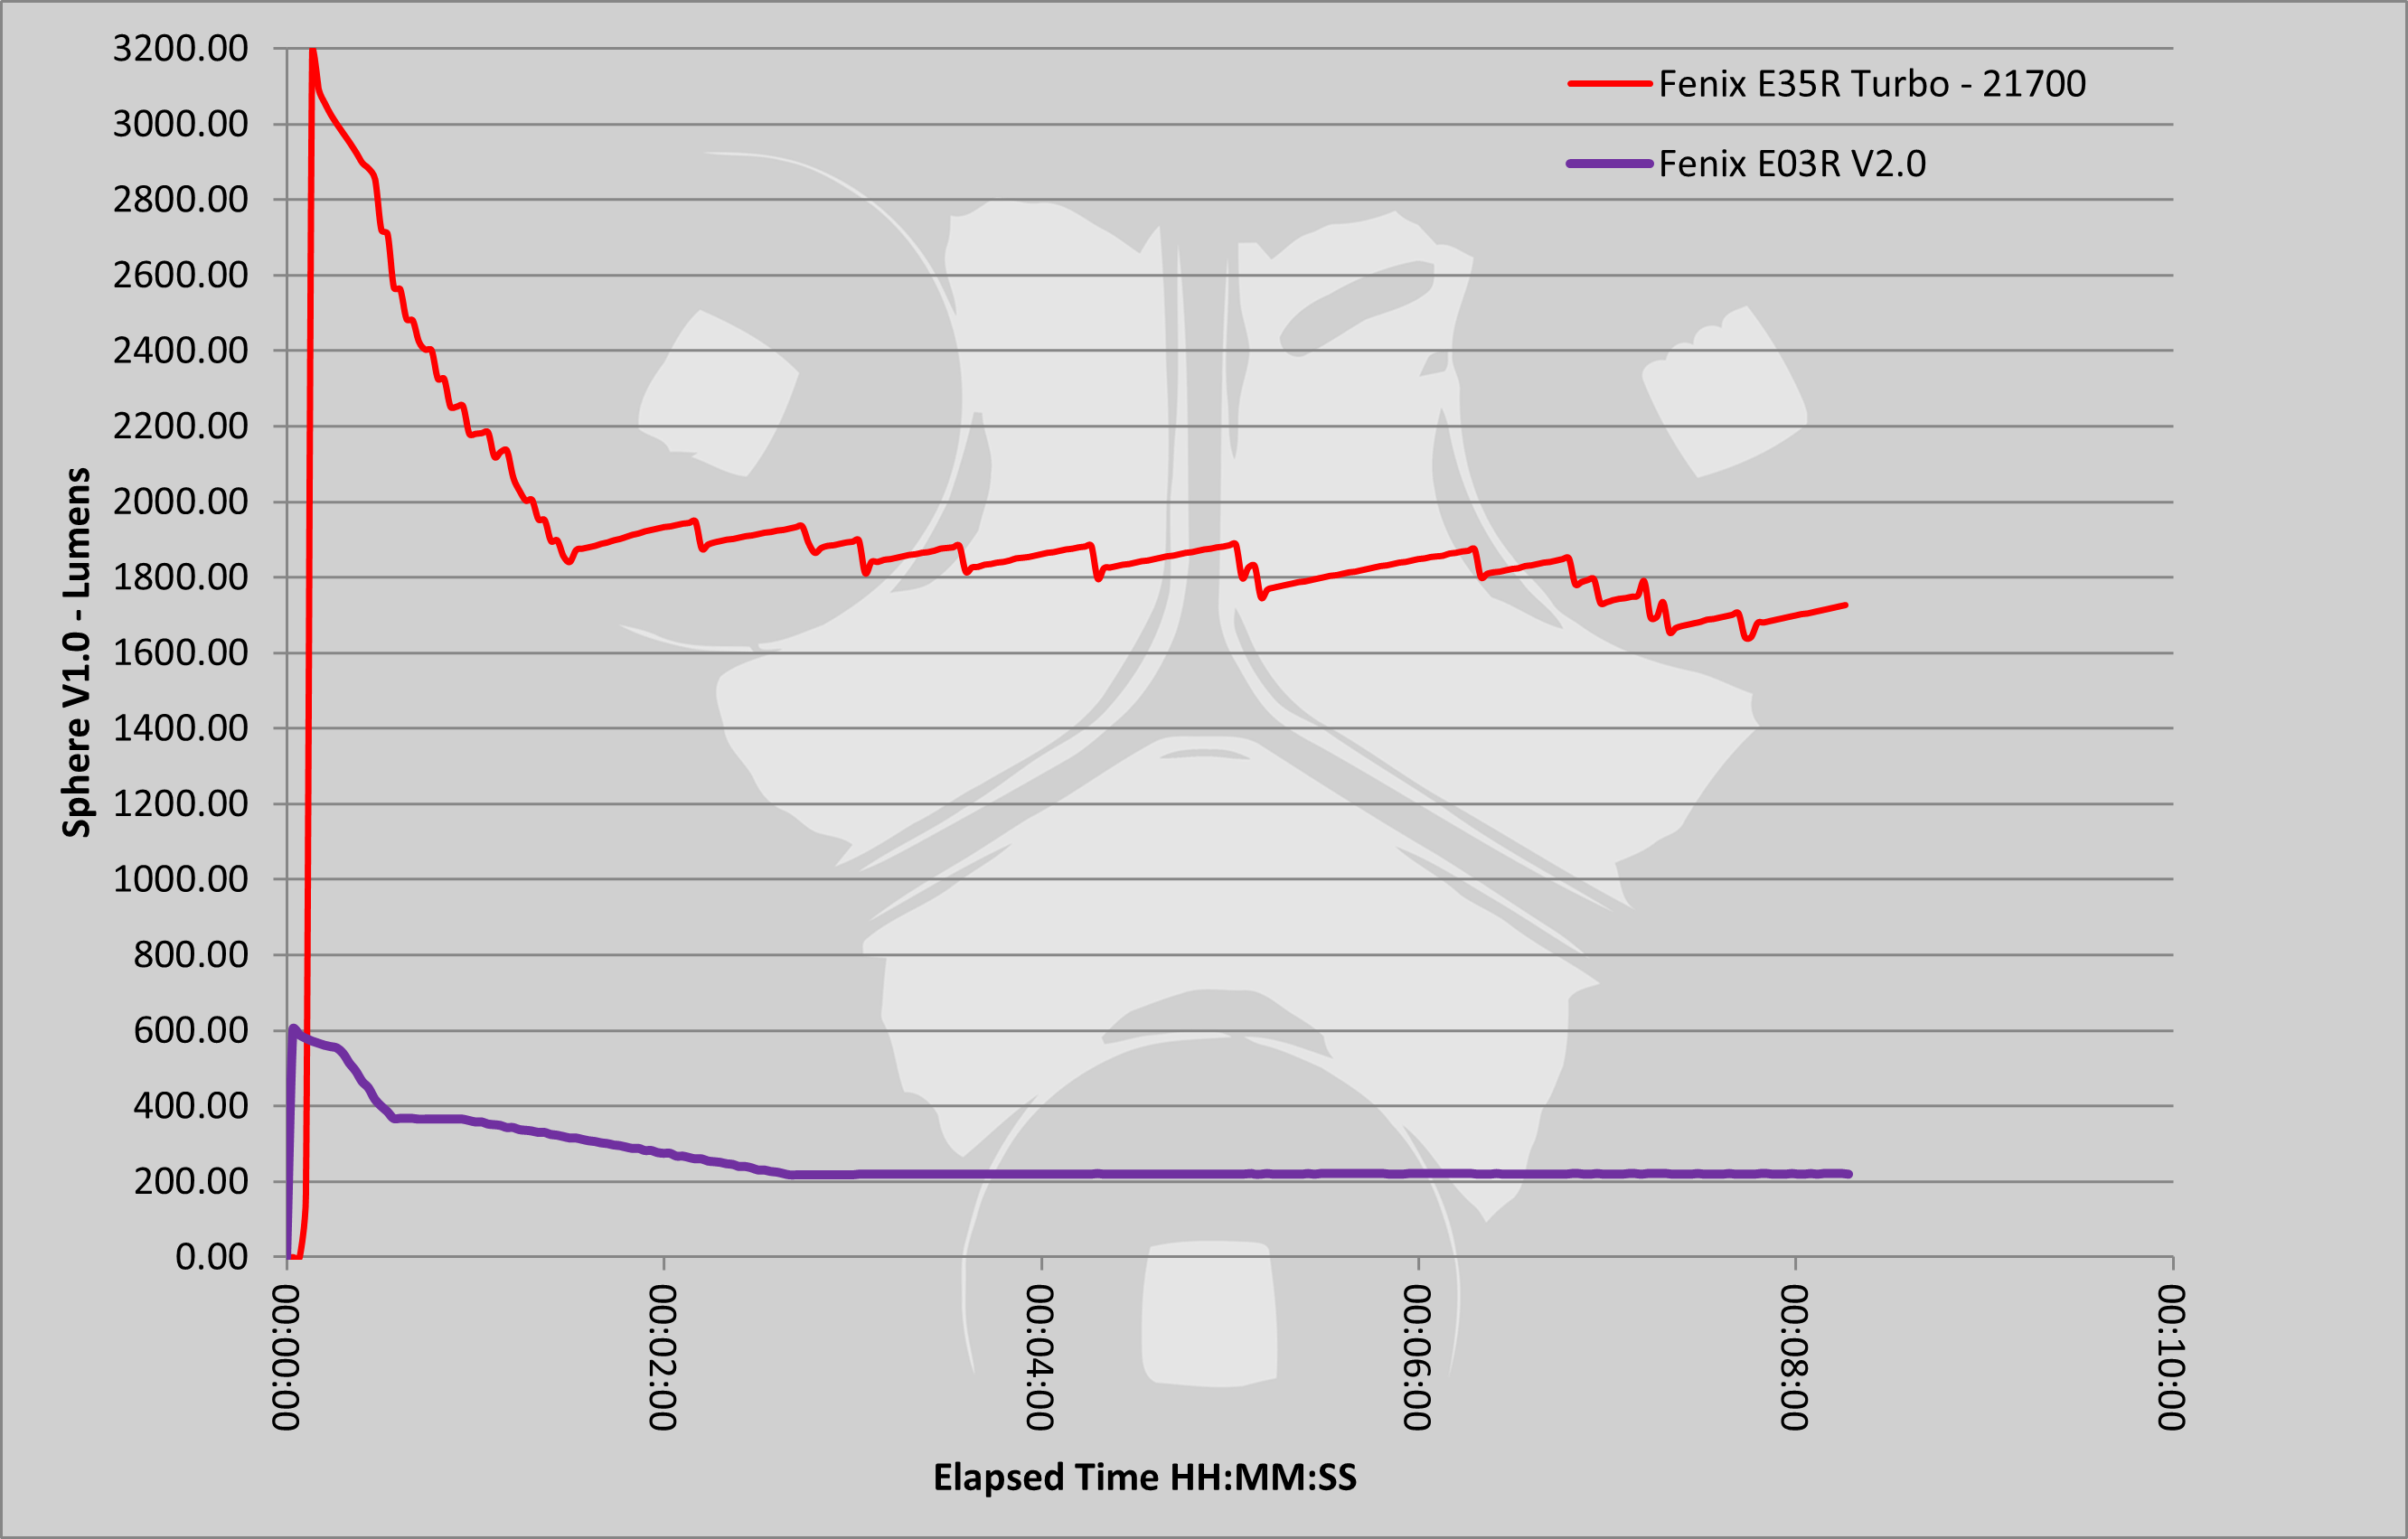
Batteries and output:
The E03R V2.0 has a built in li-po 400mAh cell, and the E35R runs on a removable 21700 5000mAh cell.
These images are the charging traces for the E03R V2.0 and E35R.

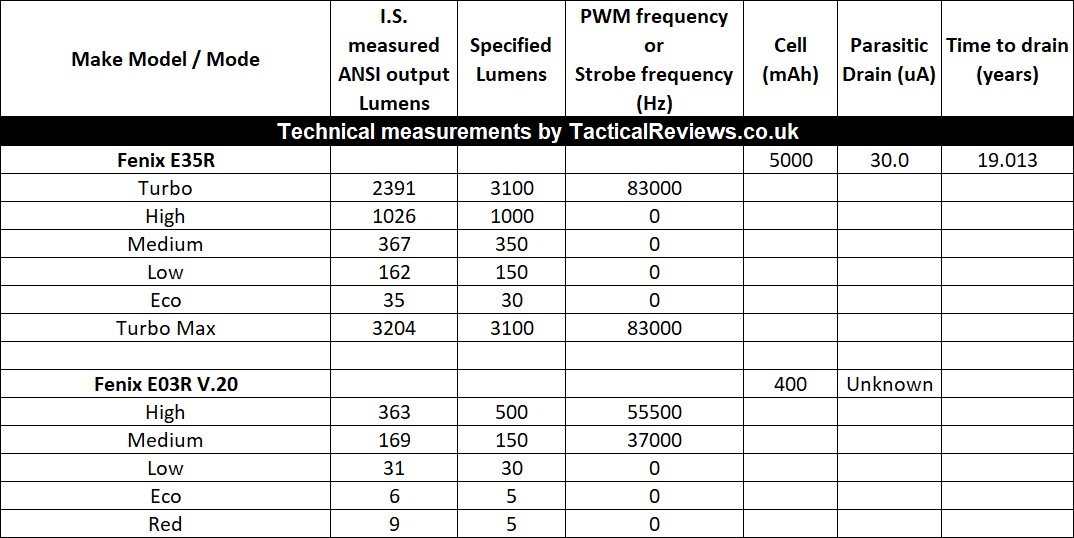
Please note, all quoted lumen figures are from a DIY integrating sphere, and according to ANSI standards. Although every effort is made to give as accurate a result as possible, they should be taken as an estimate only. The results can be used to compare outputs in this review and others I have published.
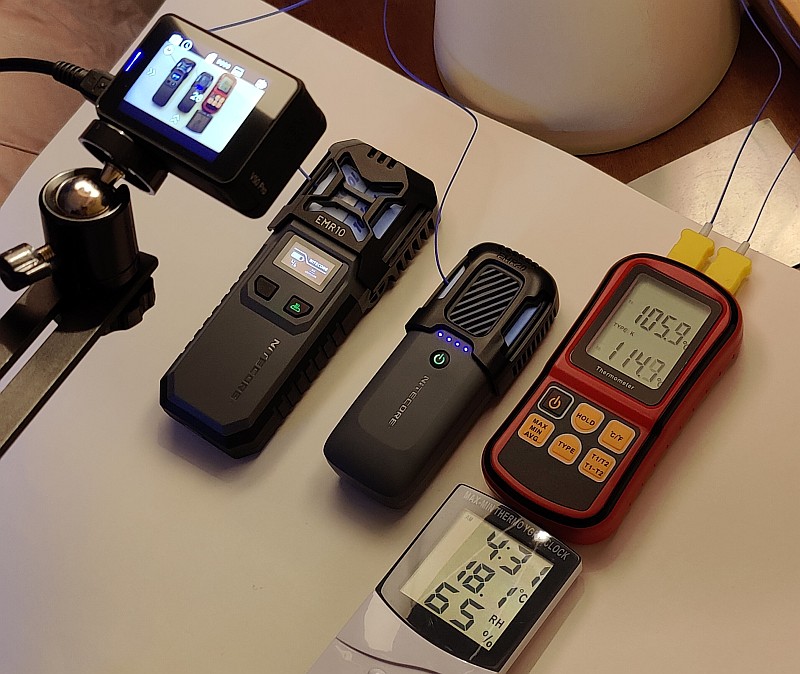
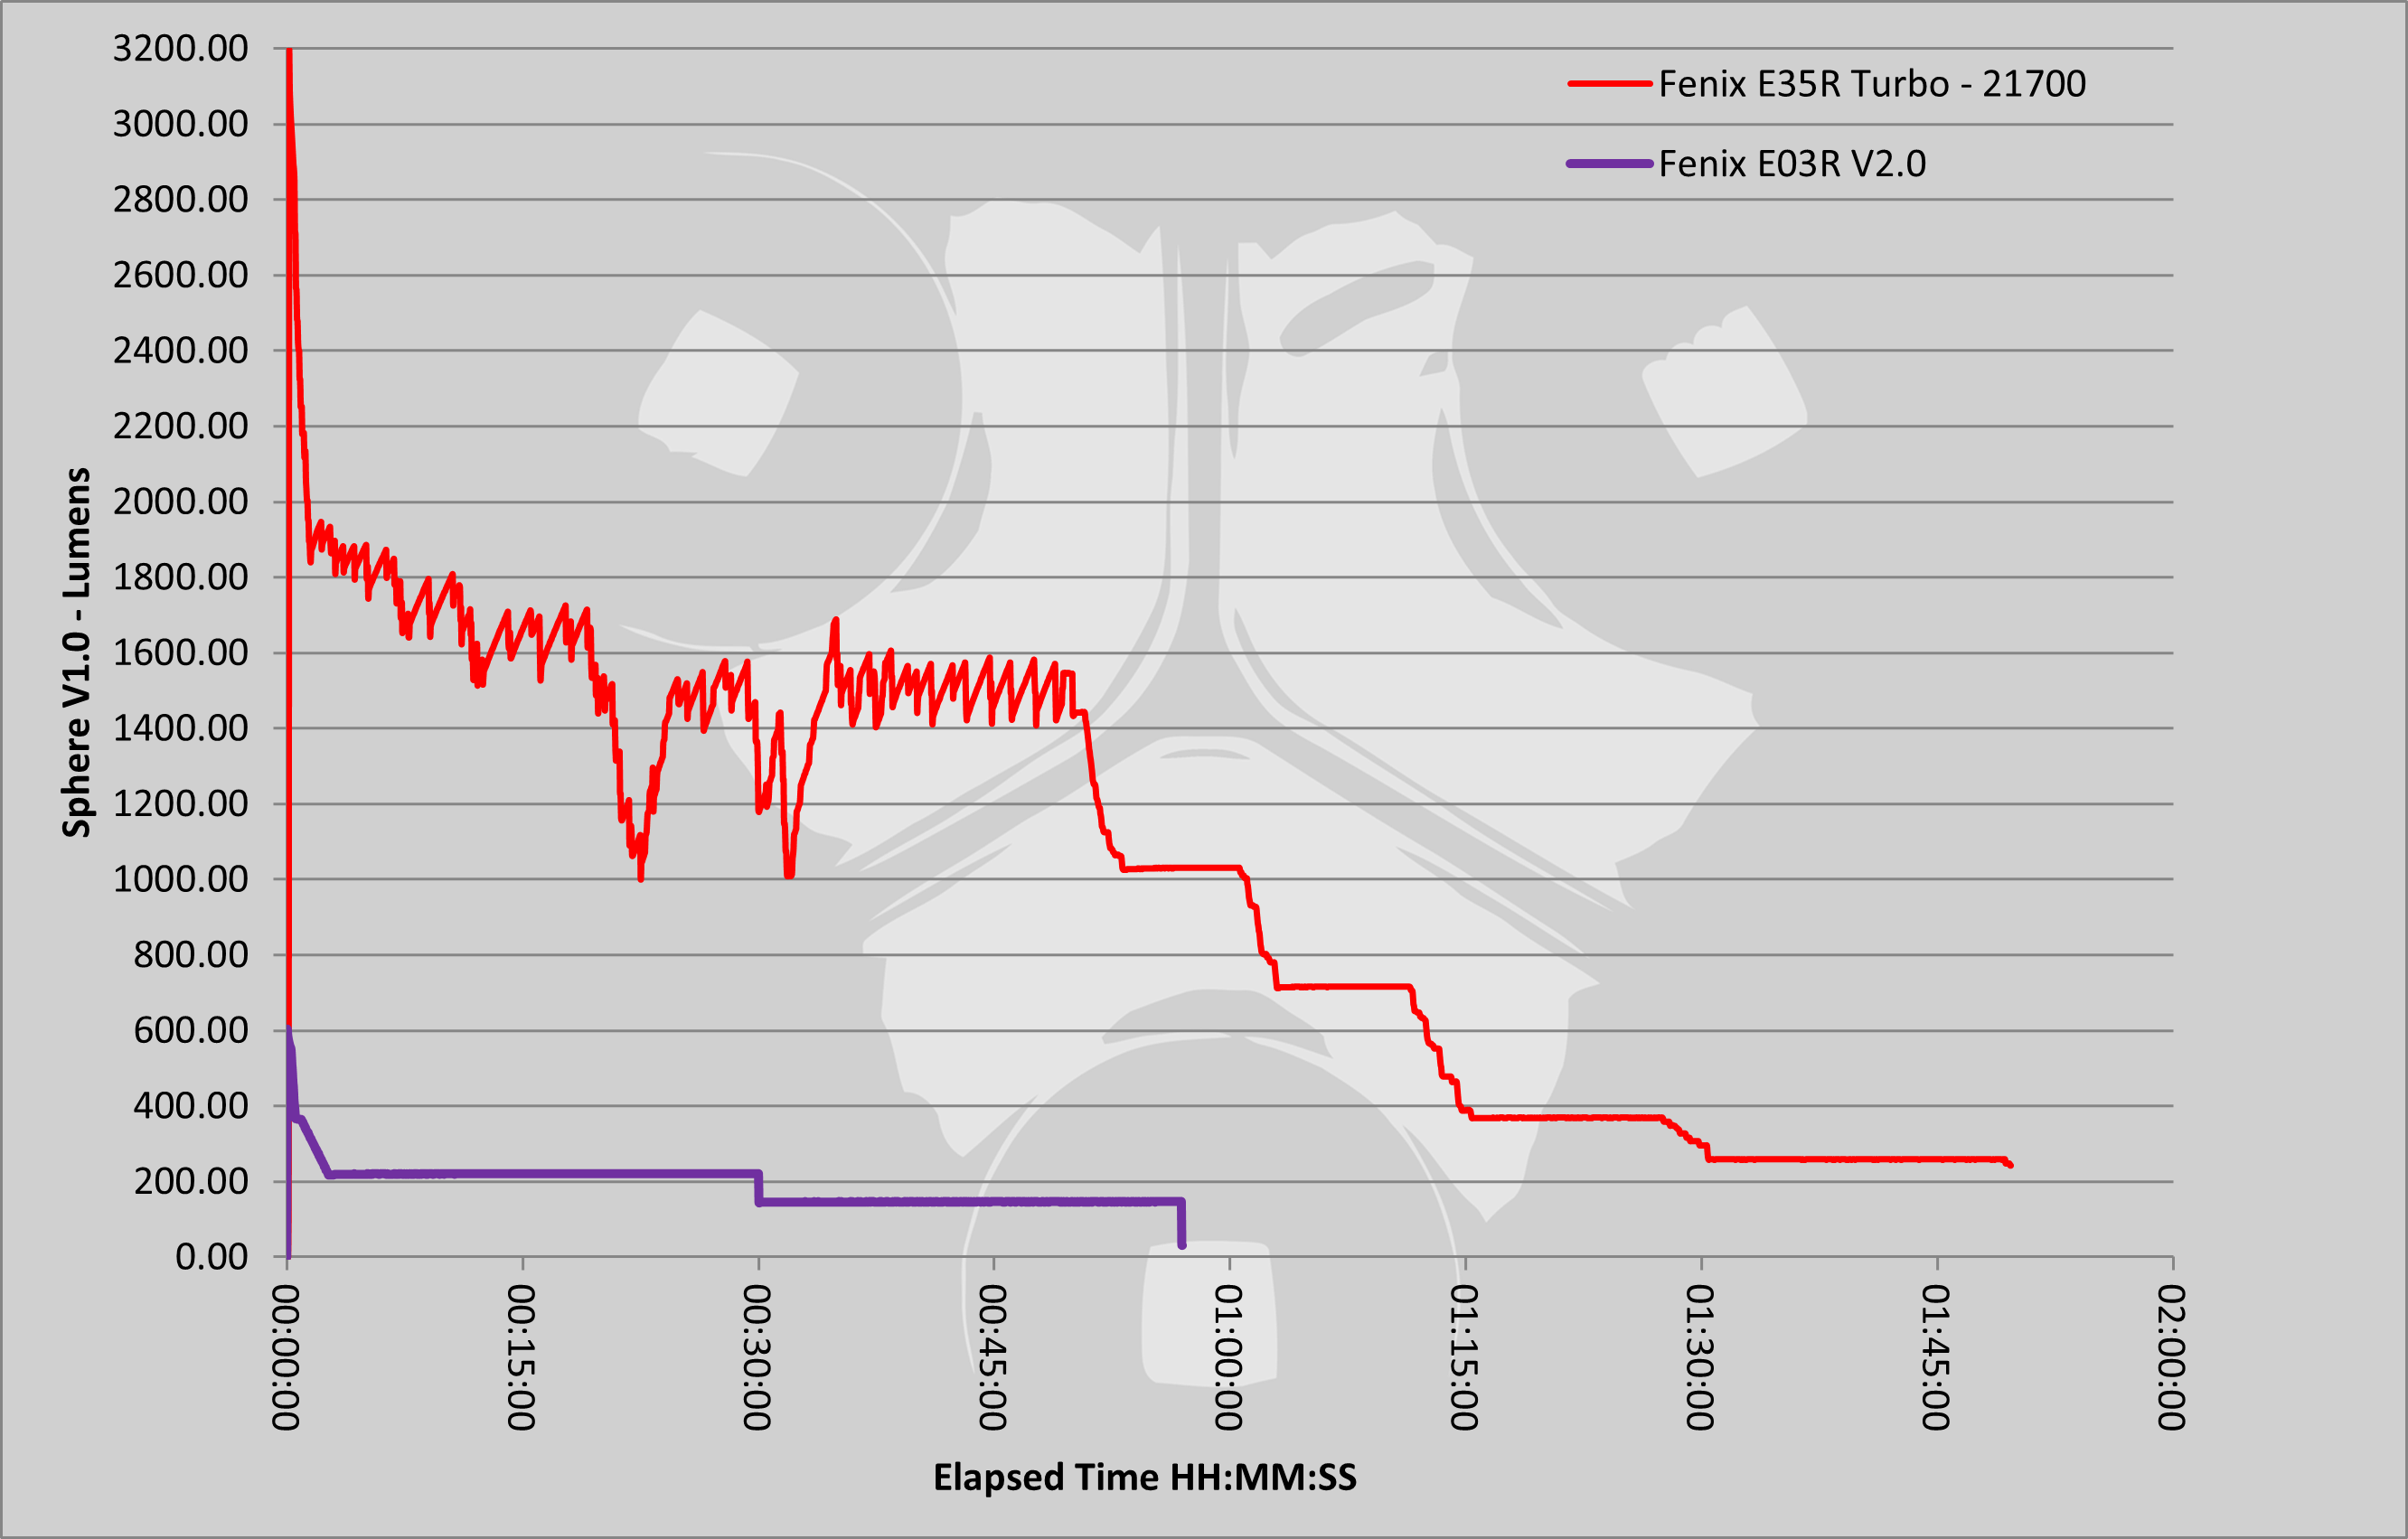
When carrying out runtime tests, I always use a cooling fan to at least represent some of the cooling provided by your hands, and also the lower temperatures outside. Not using any cooling would be unrealistic.
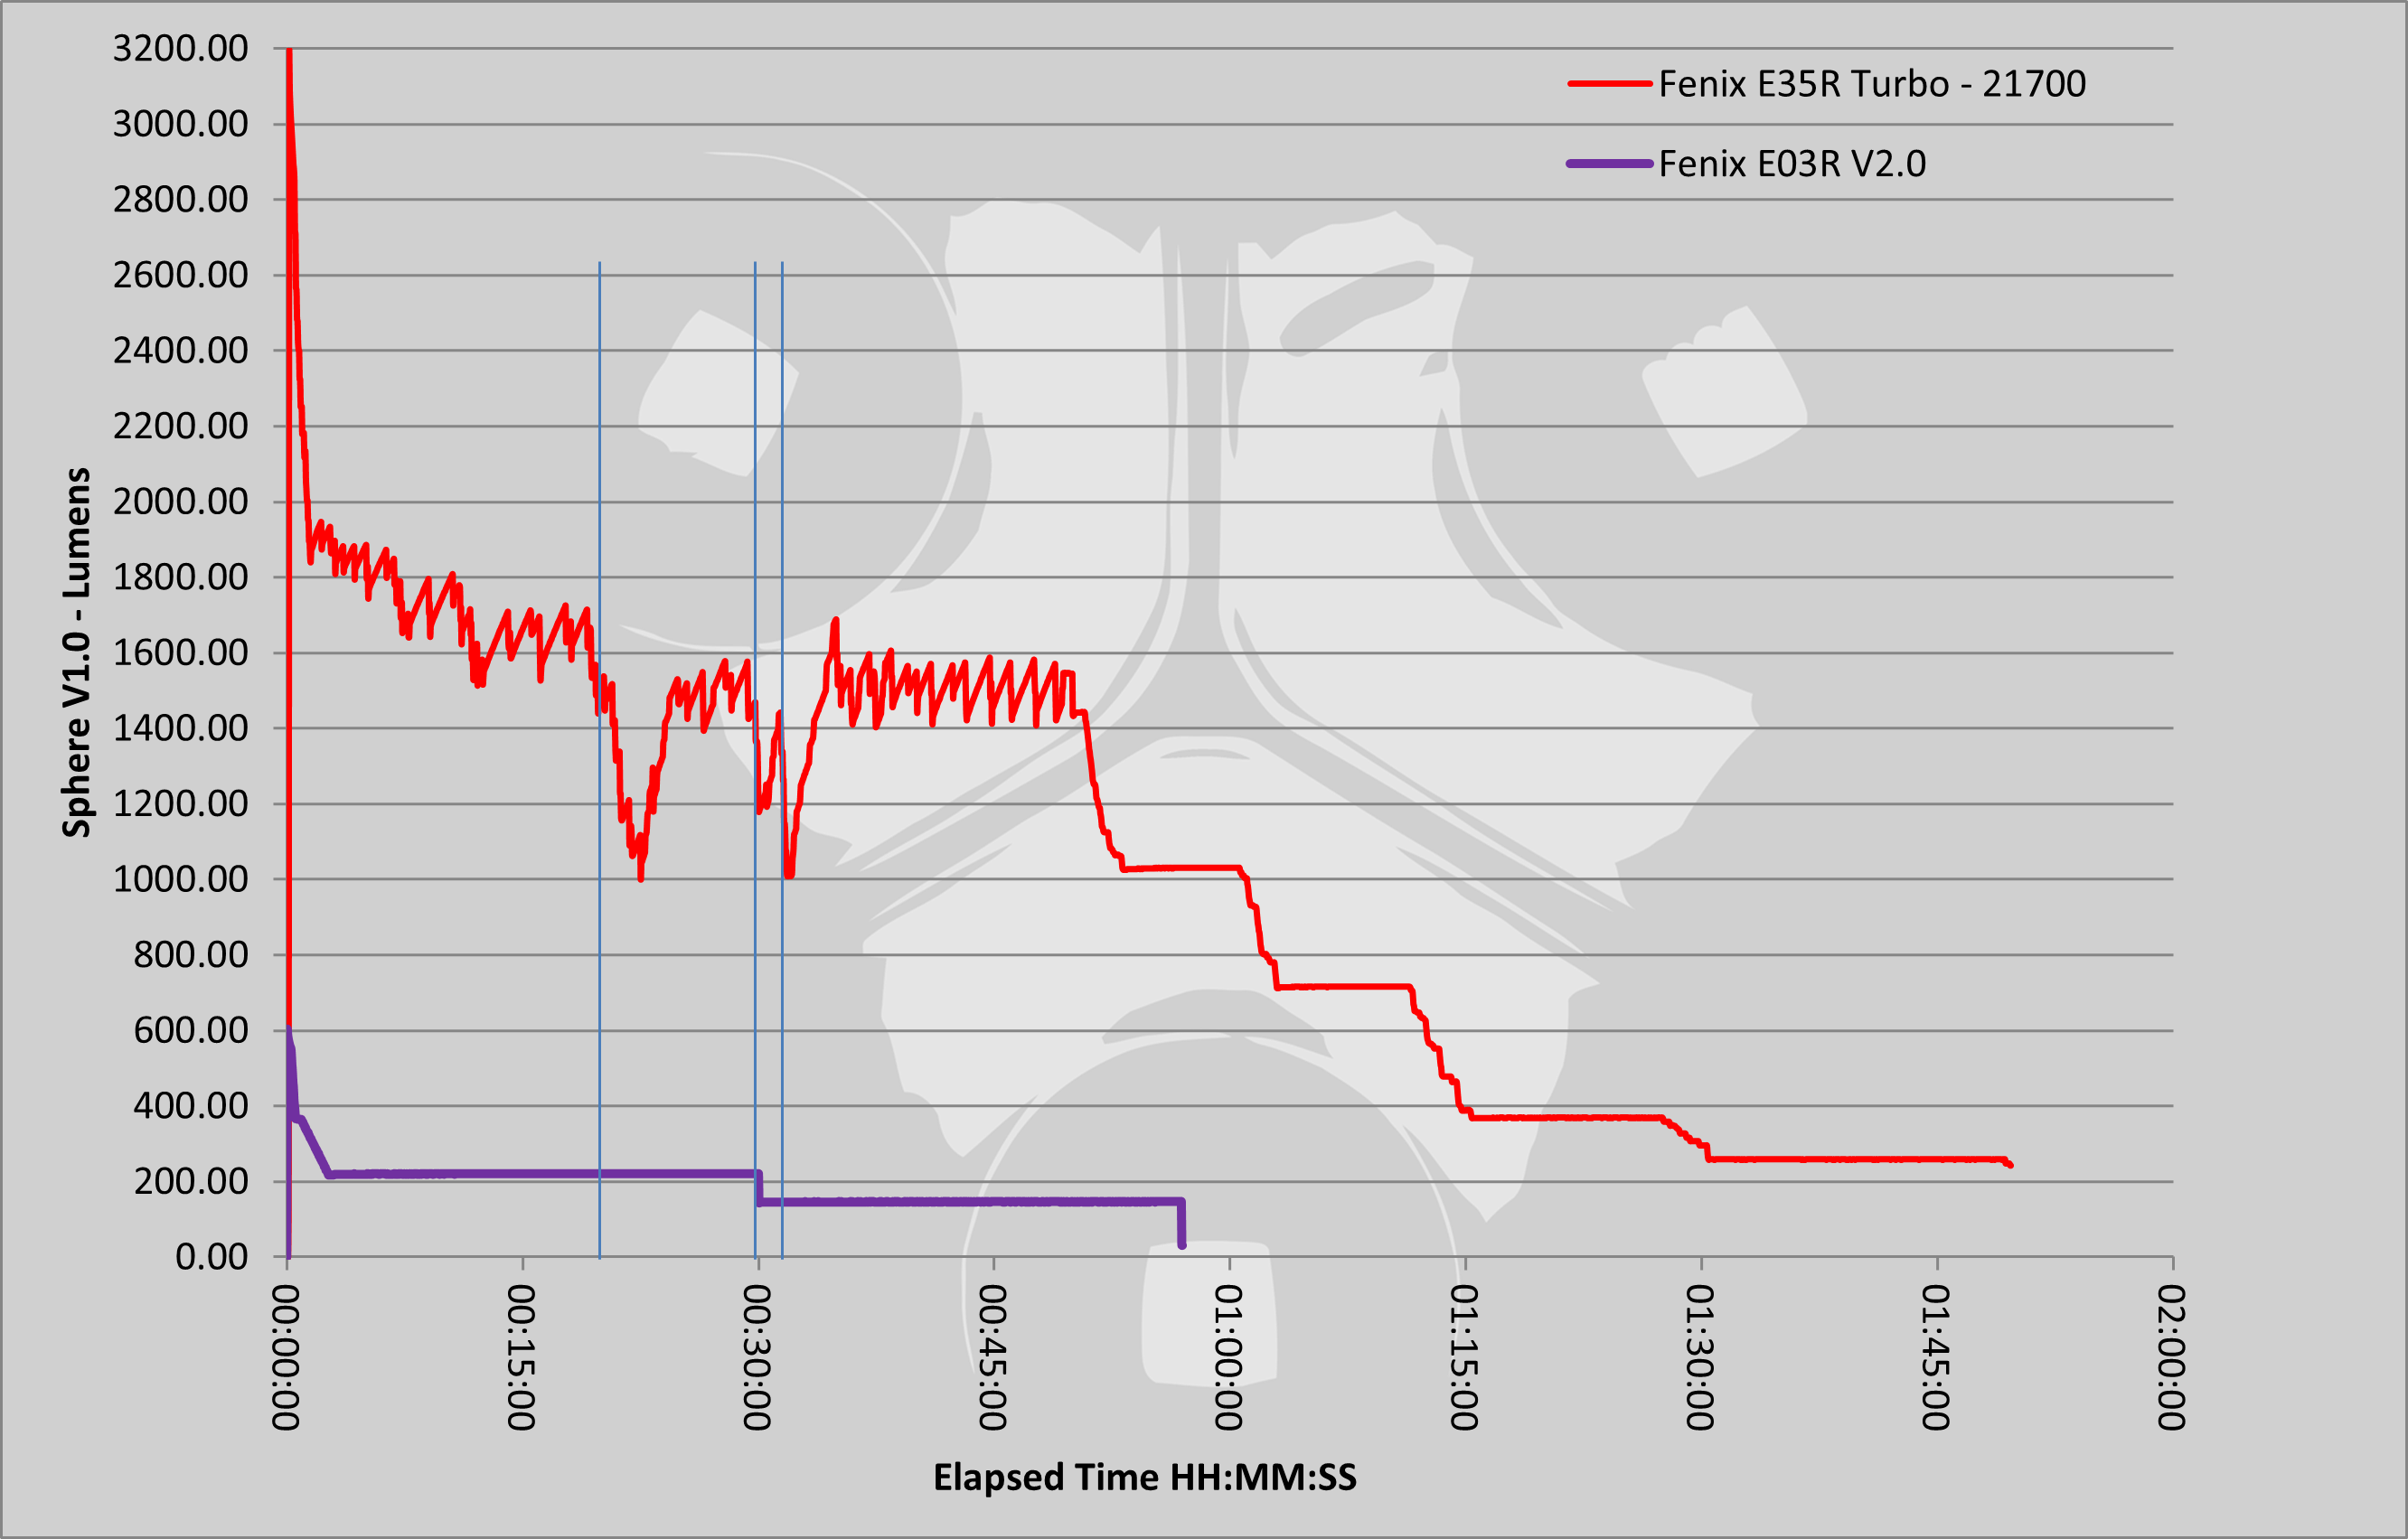
In this run of the E35R, there were actually three power cuts that stopped the cooling fan running (the logging was running on battery), and this corresponds with drops in the output due to the thermal regulation ramping down the output.
The E03R V2.0 output is very predictable and stable and needs no further comment.
In the gallery, the second image has the times of the power cuts marked so you can see the corresponding drops in the E35R’s output.
Showing just the start of the output trace, the final image in the gallery shows the thermal regulation controlling the output.
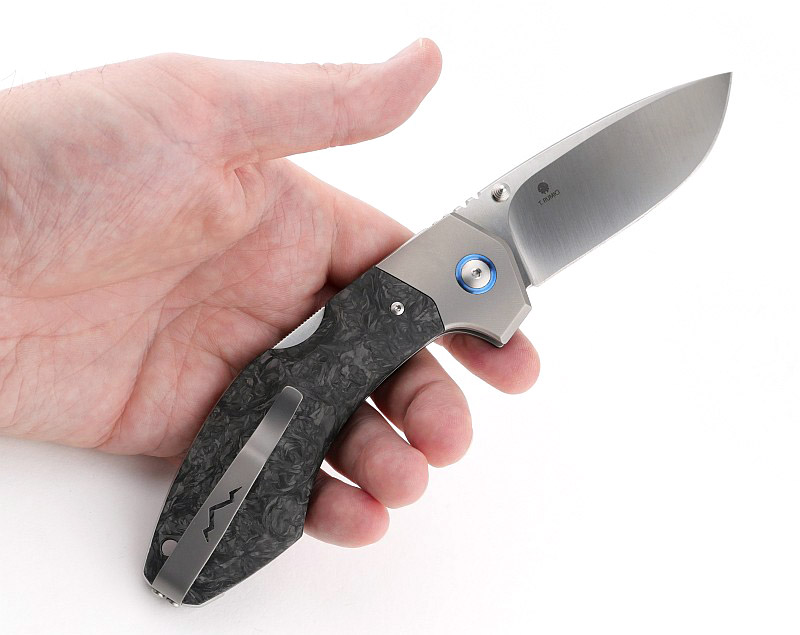
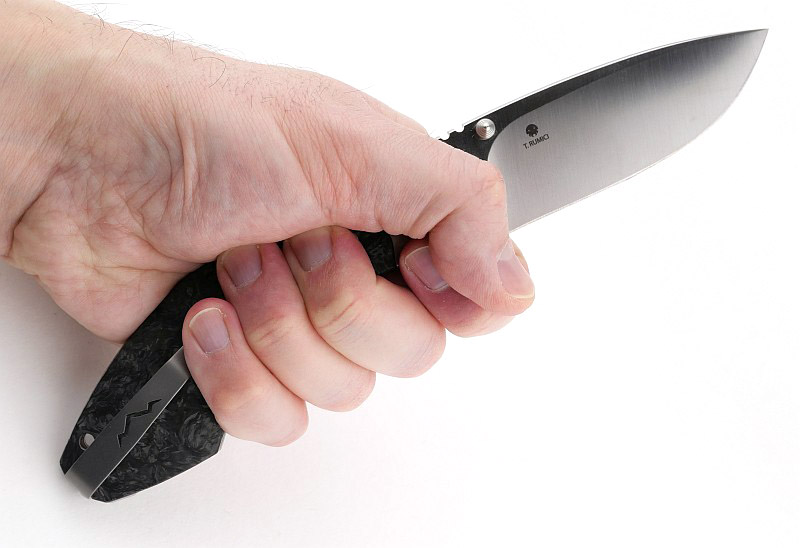
The E03R V2.0 and E35R in use
Since Fenix first previewed the E03R V2.0, the debate has been based largely around if they have made it too big for a key chain light. Ultimately only you can make that decision, but I’ve found it a very good size. Being slightly larger it is more readily to hand (easier to get a grip on), and the added functions raise its usefulness even more.
I particularly like the ‘breathe’ modes of the E03R V2.0. A soft locator light which give a confidence that when in an unfamiliar place you can activate the breathe mode and then always be able to find where the E03R V2.0 is.
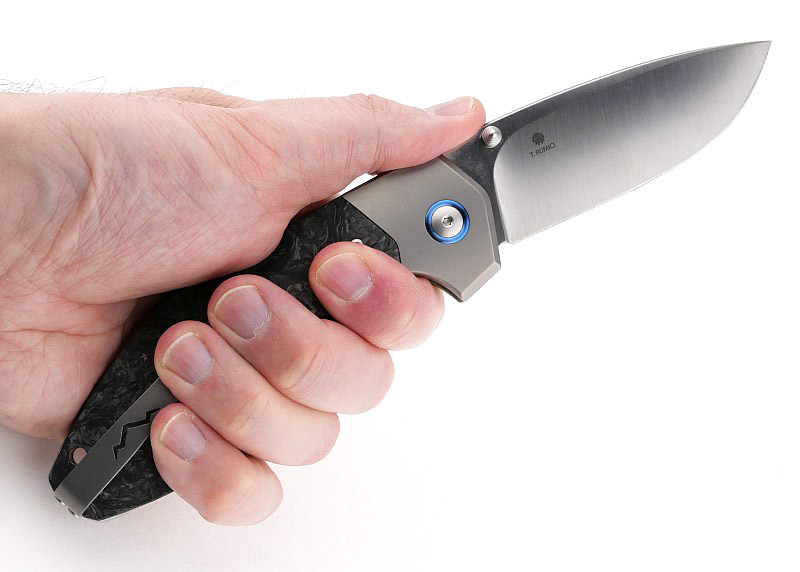
For a light that is going to be knocking around, and in and out of pockets, the timing of the power switch activation seems spot on. I’ve not had any accidental activations, and not really bothered with the lockout. It is good to have the option, but so far no warm pockets.
Between these two lights, the interface is effectively the same, so it is very natural to pair them. Of course the E35R is a single white light LED that goes up to an amazing 3000lm output.
At that maximum output the E35R does get hot quickly, and as shown in the runtime graphs, cannot be maintained – but take a moment and look at those graphs again. The E35R, with good cooling, is running at over 1500lm for an hour. This is a solid performance for a EDC pocket light.
I would prefer one lower mode on the E35R, but for most people, the available modes are going to work well.
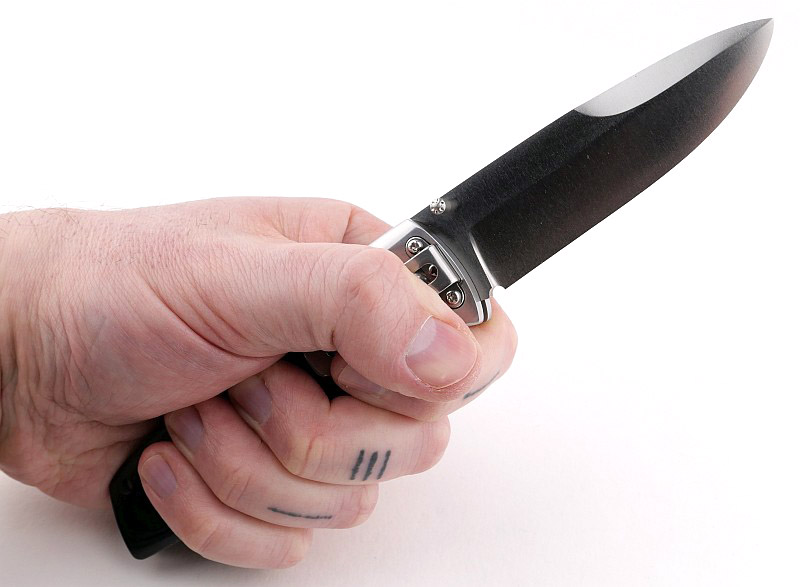
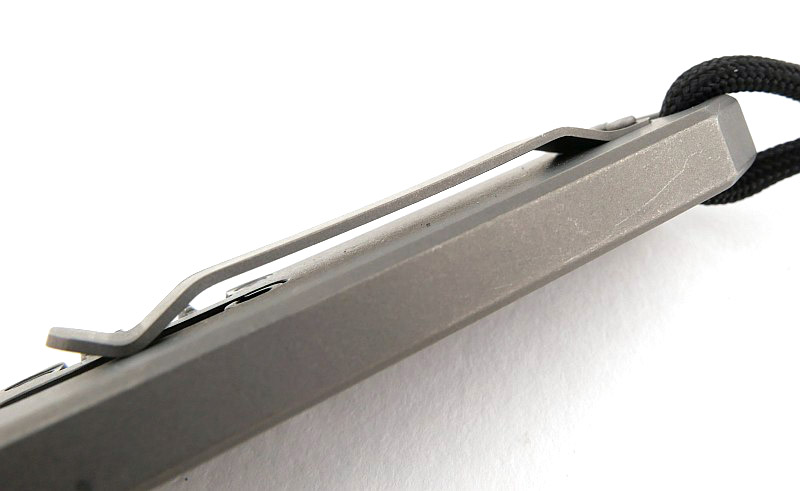
With the power button being relatively low profile, it can be a bit hit and miss to find, especially with gloves. To get around this, what I do is to line up the pocket clip so it is opposite the power switch. You then use the pocket clip to index your grip and find the power switch without looking.
The original E35 was a good powerful compact light. It was just slightly smaller and a little lighter, and just enough light wrapped around a 21700 cell. Fenix have now managed to also squeeze in the on-board charging and magnetic base which are worthy updates and make the E35R a complete package.
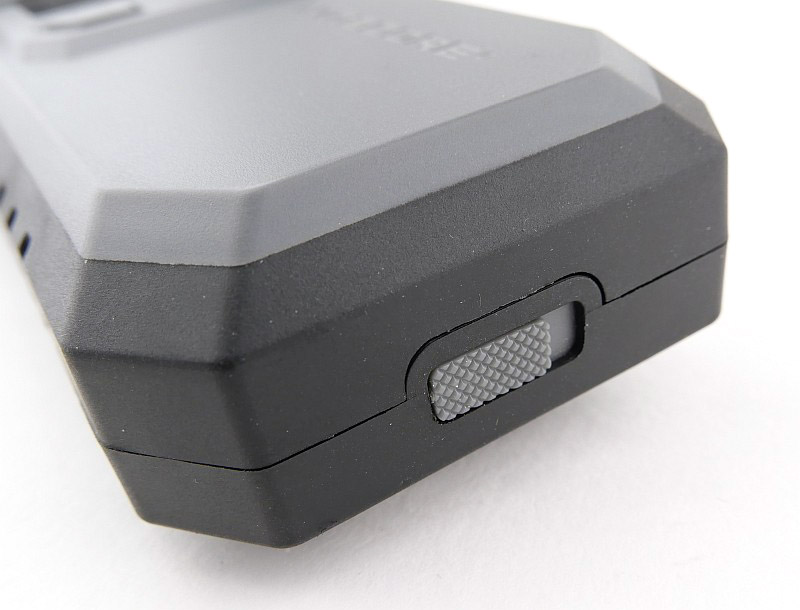
So far, on testing the magnetic base of the E35R, I’ve found issues with slippage if put onto a smooth vertical surface. The magnet holds the light, but the finish on the tail is so smooth, if the surface is also smooth the E35R usually slips and slides down. If the magnet is holding a horizontal surface it is very secure. It is less about the magnet’s strength and more about there being enough grip between the E35R and the surface to not slide downwards.
‘New and improved’ is often a false claim, but for this pair of EDC lights from Fenix, it really is.
Review Summary
The views expressed in this summary table are from the point of view of the reviewer’s personal use. I am not a member of the armed forces and cannot comment on its use beyond that covered in the review.
Something that might be a ‘pro’ for one user can be a ‘con’ for another, so the comments are categorised based on my requirements. You should consider all points and if they could be beneficial to you.
_______________________________________________
What doesn’t work so well for me
_______________________________________________
E35R – Could do with a lower mode for household use.
E35R – Tends to slide down smooth vertical magnetic surfaces.
Nothing else for either.
_______________________________________________
Things I like
_______________________________________________
E35R – 3000lm maximum output.
E35R – built around the 21700 cell.
E35R – simple and effective user interface.
E35R – magnetic tail.
E35R – built-in USB-C charging.
E03R V2.0 – ‘breath’ locator beacon mode.
E03R V2.0 – white and red output (and green in breath).
E03R V2.0 – built-in USB-C charging.
E03R V2.0 – great combination of size, weight, power and runtime.