
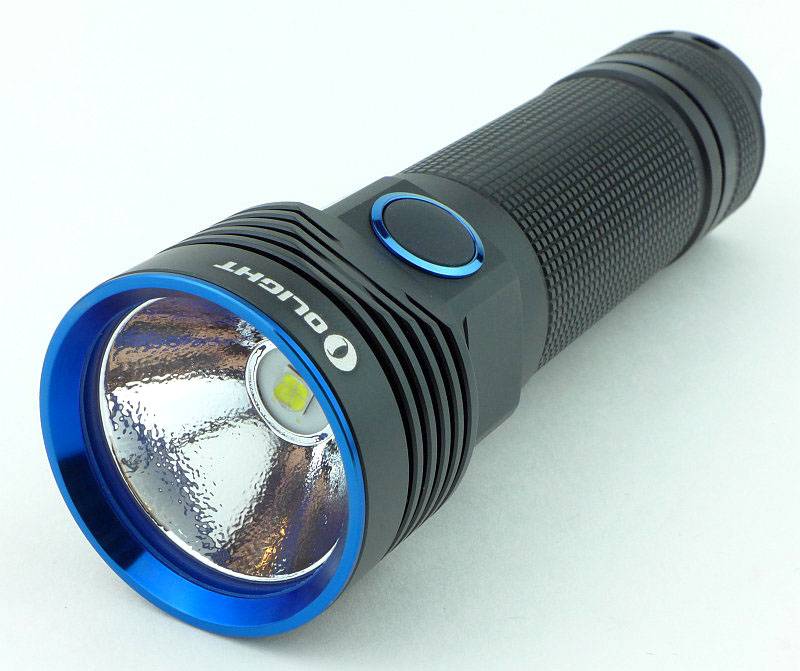
Olight’s R50 Seeker is a handy sized powerhouse using a 26650 cell and the XHP50 LED allowing it to give you 2500lms in an easily carried package; built-in USB charging adds to its flexibility.
Taking a more detailed look:
The R50 arrives in something more like a presentation box than just ‘packaging’.
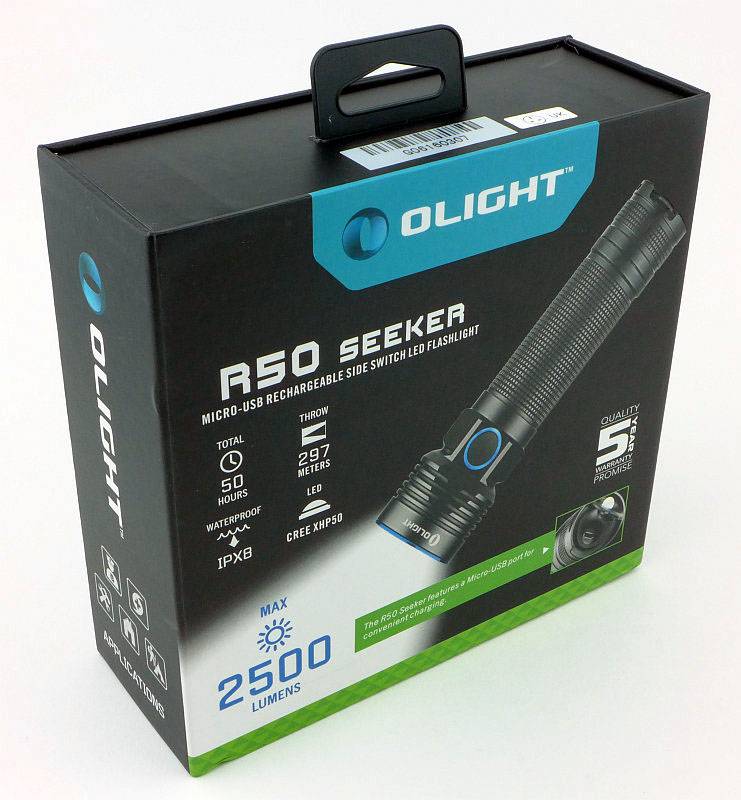
The box has a lid which is held shut with magnets.

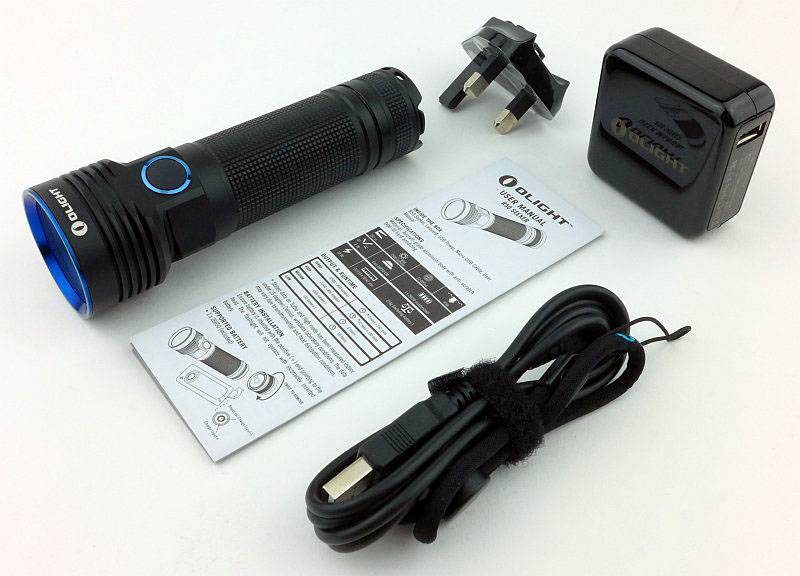
Taking everything out you have the R50, instructions, charger, charger plug adaptor, USB cable and lanyard.
Before you can use the charger you need to fit your local plug adaptor.
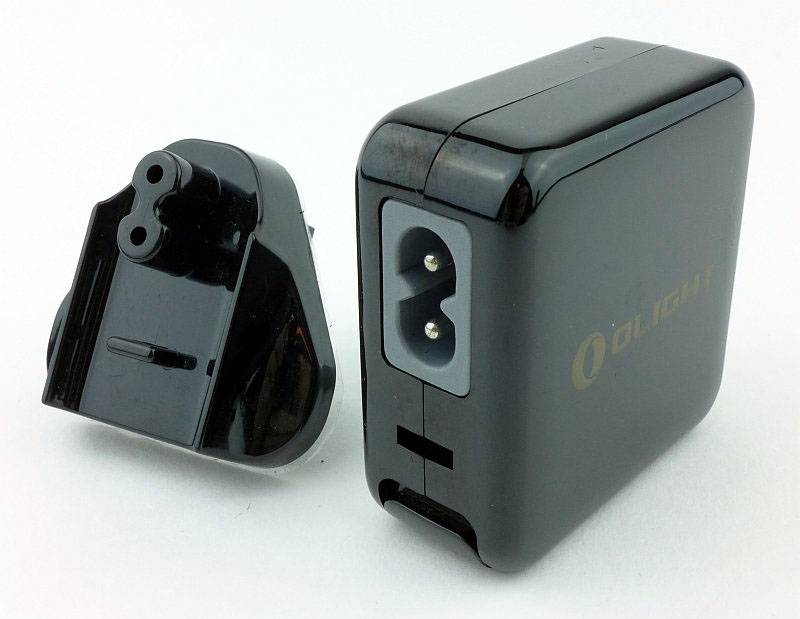
The adaptor clicks into place.
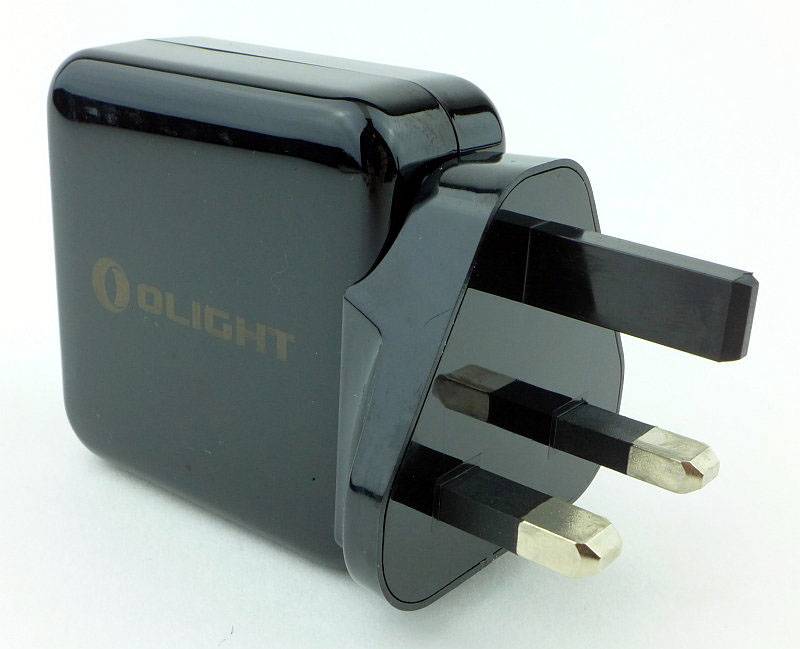
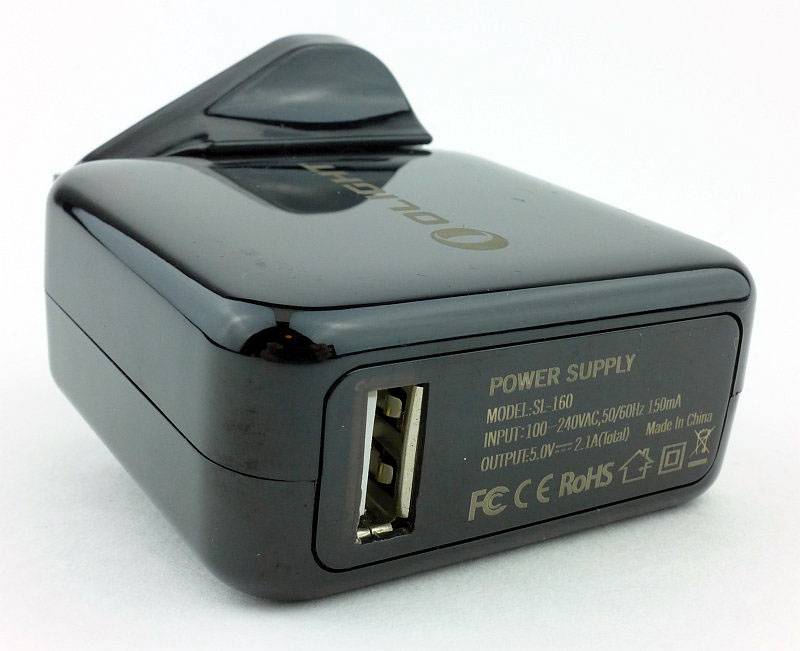
The charger is multi-voltage and with a 2.1A output.
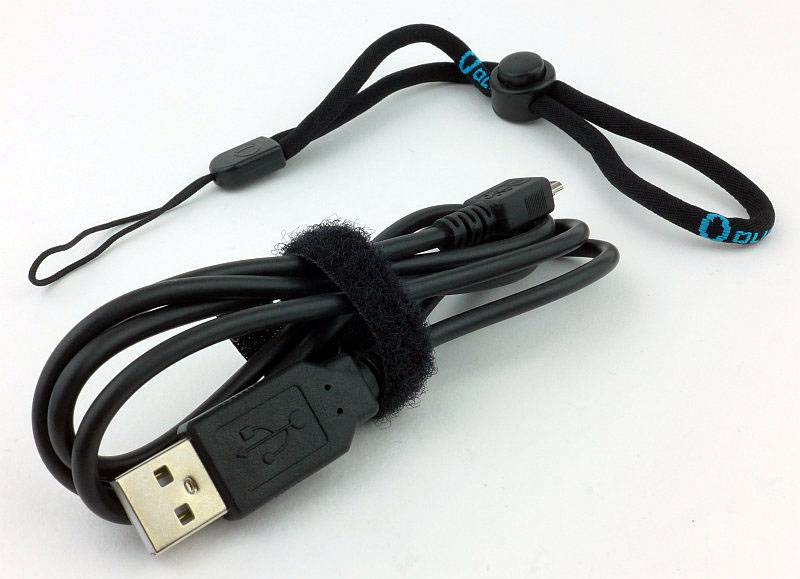
Separating out the USB cable and lanyard. The lanyard has a very nice ‘fabric tube’ wrist loop.
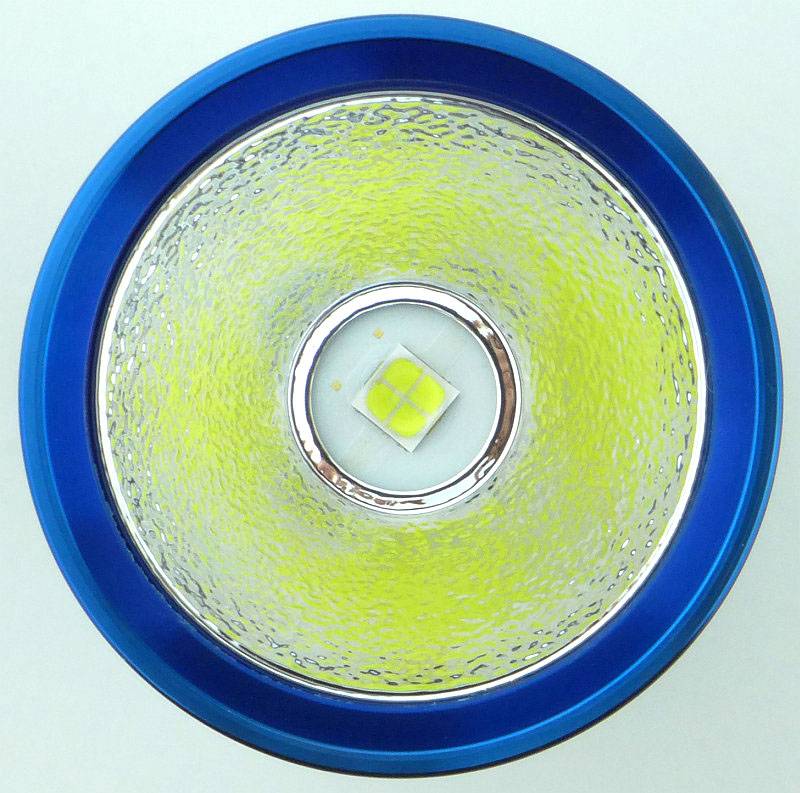
A good looking light with blue bezel an switch rings.

Looking from the rear you can see the USB charging port cover in the tail-cap.
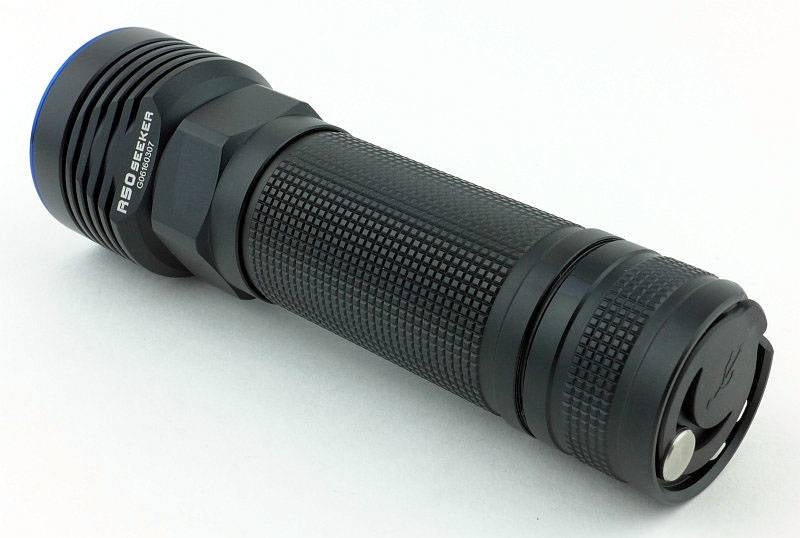
The main power switch is low profile, but big enough to be easy to use.

Diving in close to the quad die XHP50 LED.

Surrounding the LED is a textured reflector.
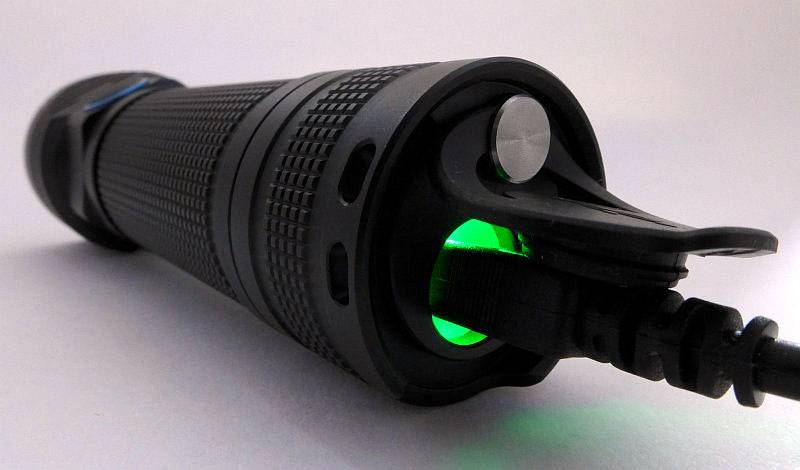
Flipping round to the other end, there is a rubber charging port cover in the tail-cap.
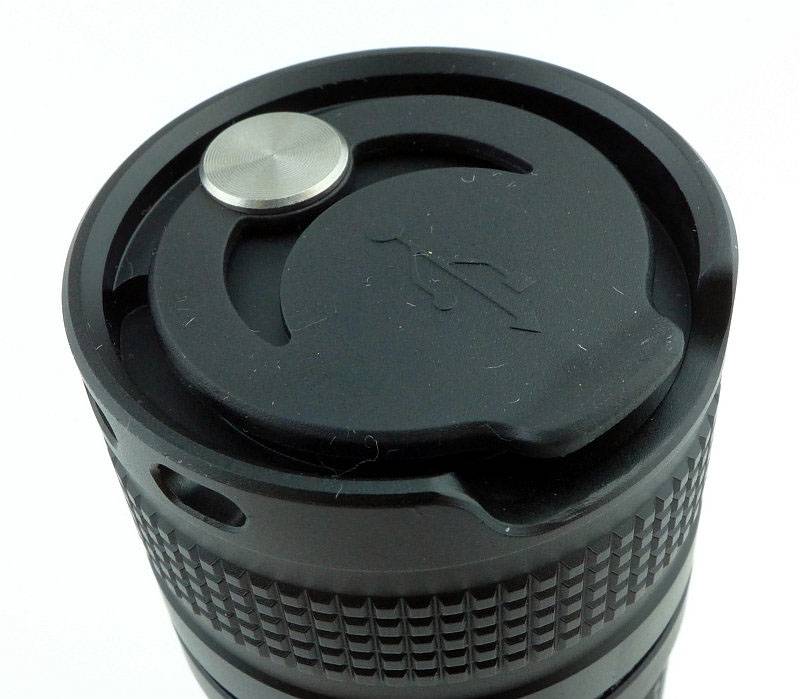
Pulling this aside exposes the micro-USB socket.

Inside the tailcap, there are three contacts; a ring contact for the end of the battery tube, and two sprung button contacts.
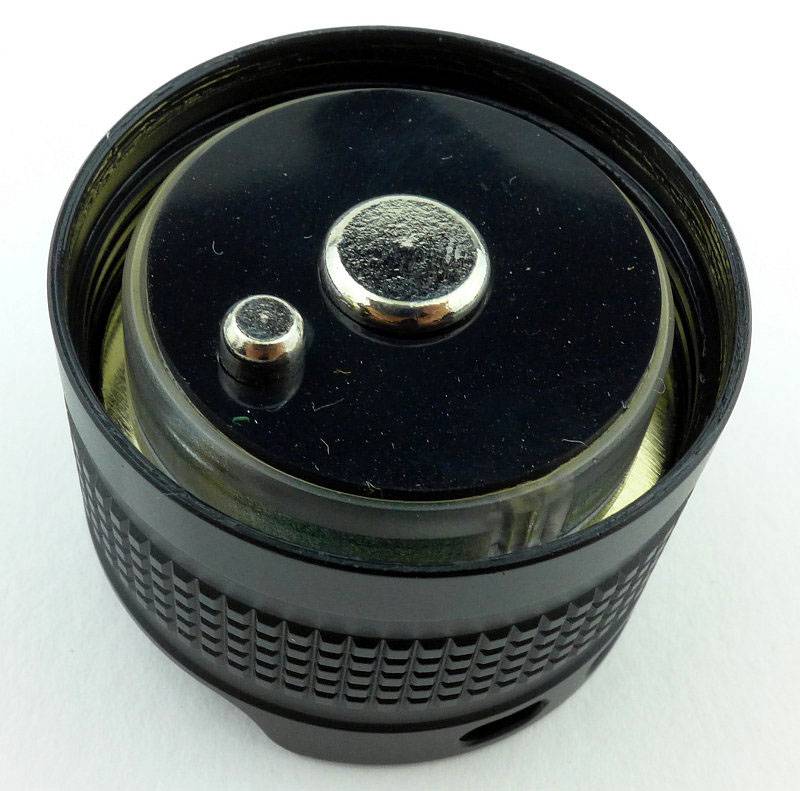
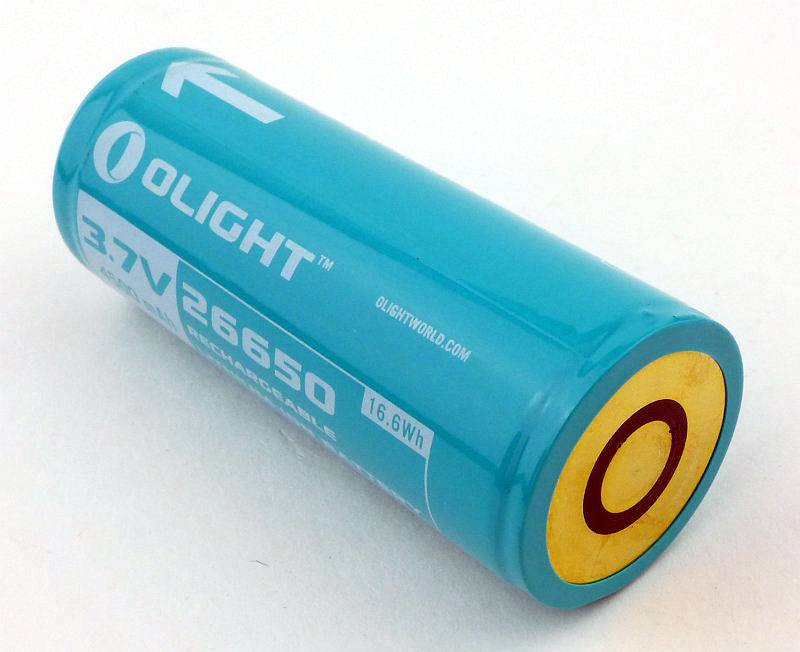
The tail-cap end of the cell has two contacts to match the two in the tail-cap.
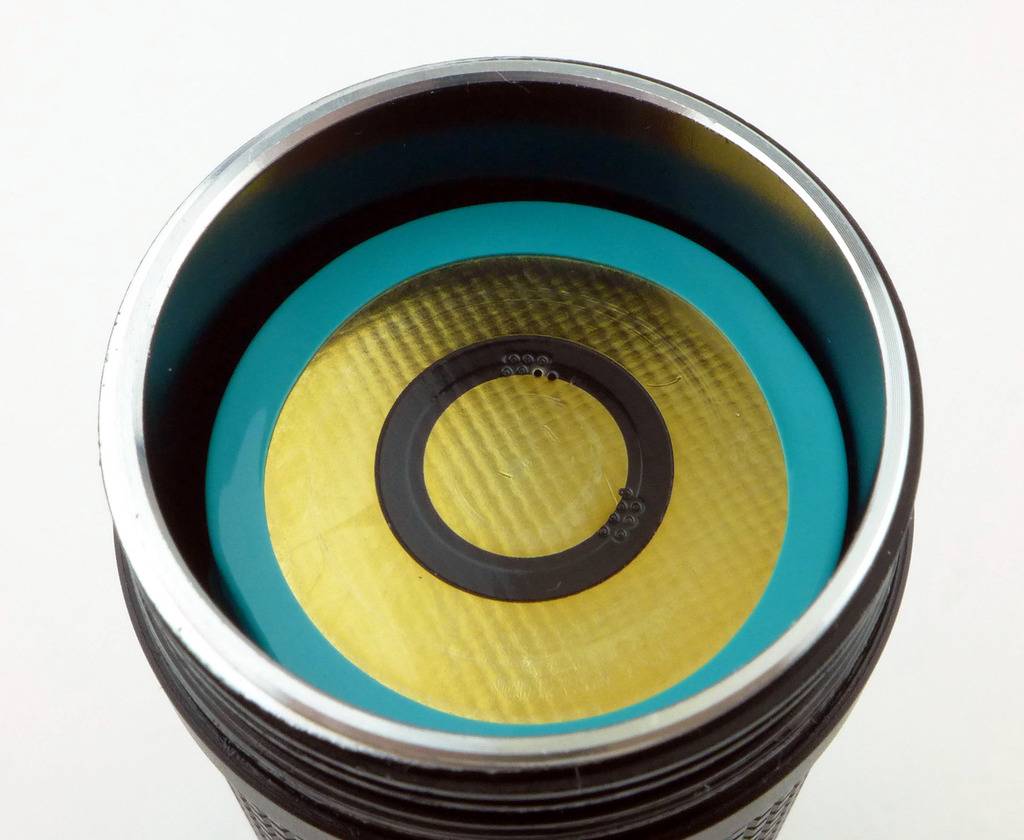
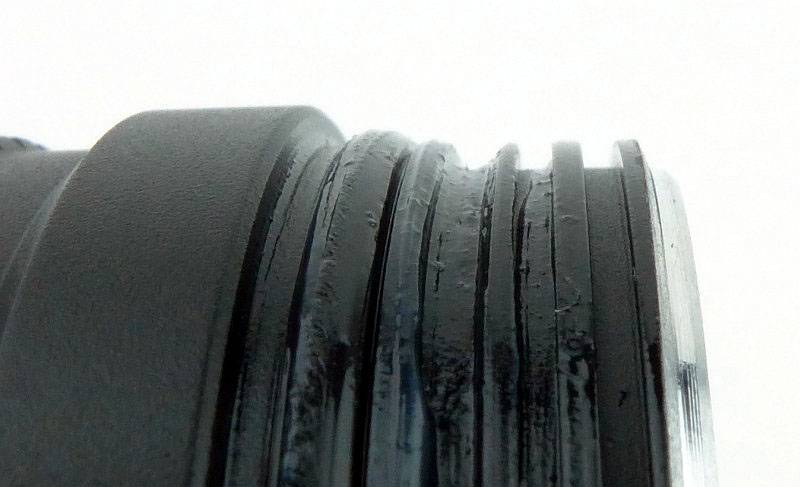
Threads are square cut.
Supplied with the R50 is a proprietary Olight 26650 cell.
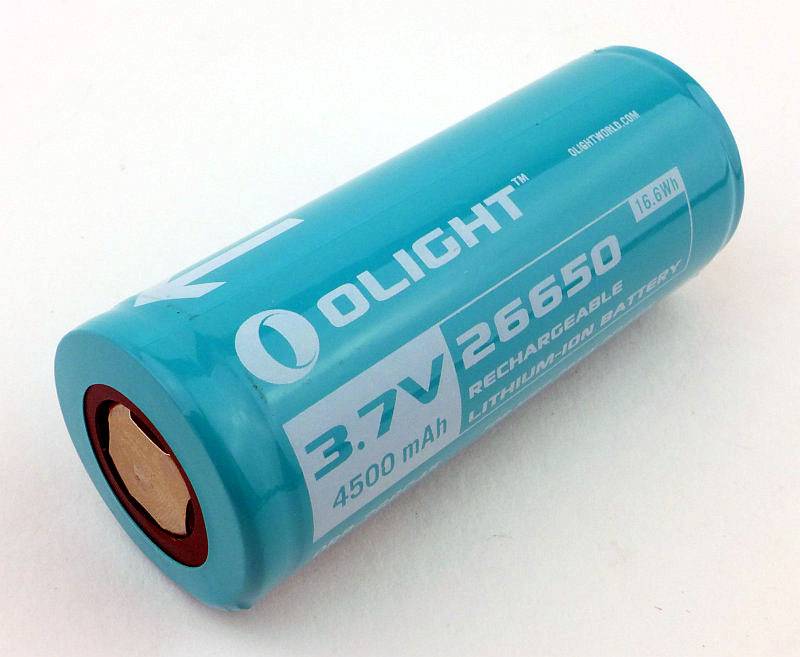
This cell has the twin contacts on the ‘negative’ end of the cell, and an arrow on the side to indicate which way to insert it.
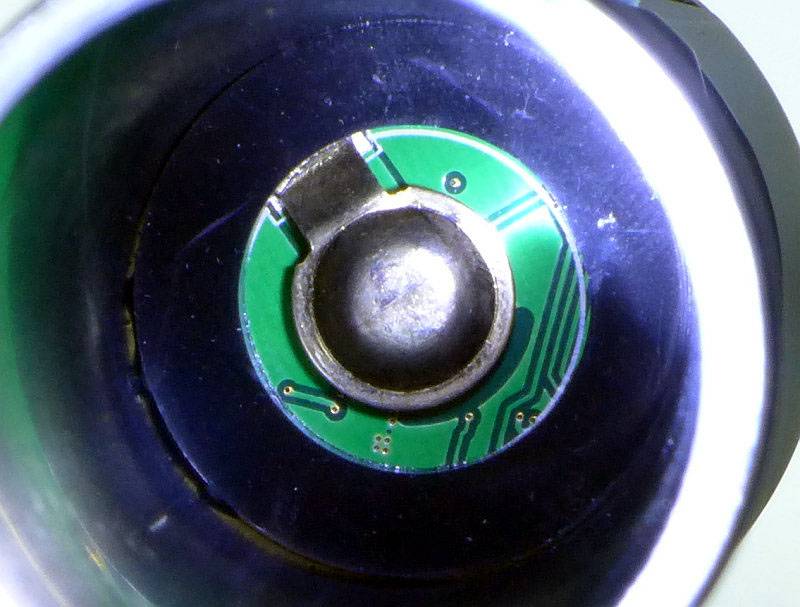
Peering inside the battery tube to look at the positive contact.
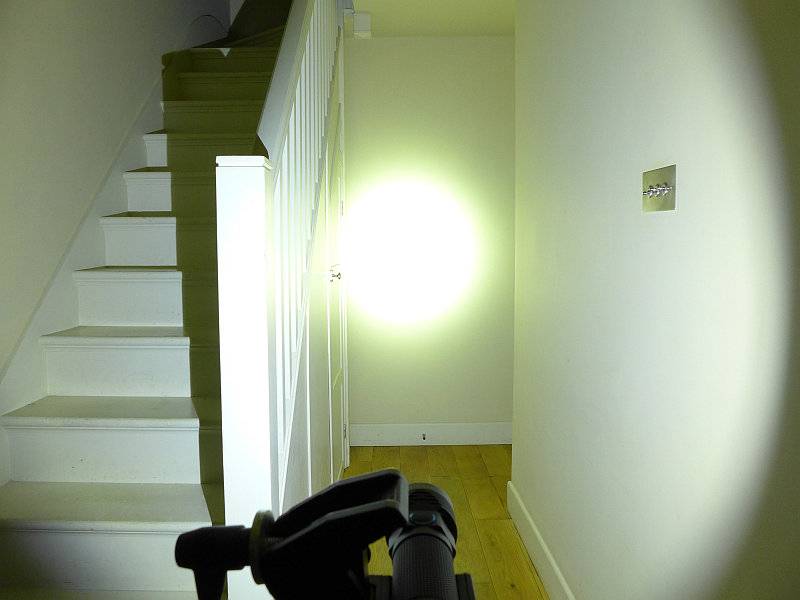
The beam
Please be careful not to judge tint based on images you see on a computer screen. Unless properly calibrated, the screen itself will change the perceived tint.
The indoor beamshot is intended to give an idea of the beam shape/quality rather than tint. All beamshots are taken using daylight white balance. The woodwork (stairs and skirting) are painted Farrow & Ball “Off-White”, and the walls are a light sandy colour called ‘String’ again by Farrow & Ball. I don’t actually have a ‘white wall’ in the house to use for this, and the wife won’t have one!
The R50 manages to combine a very wide spill with a bright hotspot.
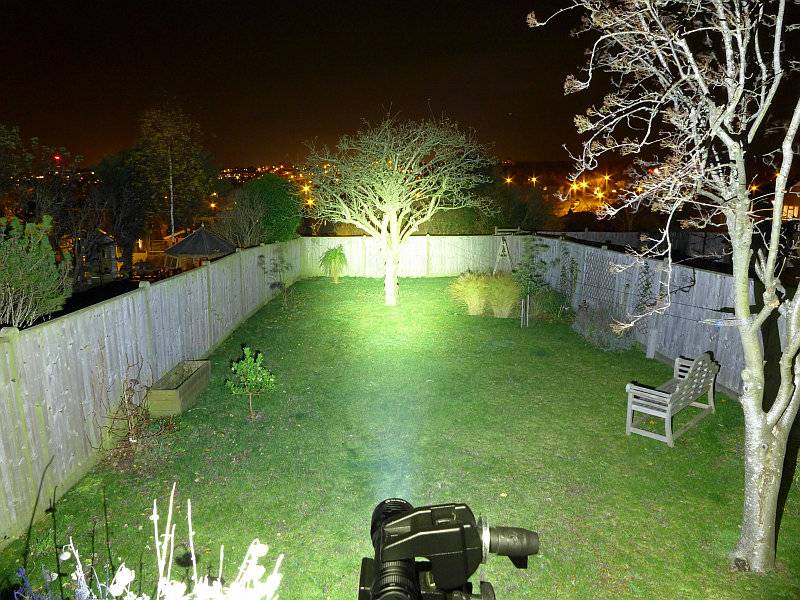
Taking it outside and that wide beam lights up everything near you and the broad hotspot has good range.
Modes and User Interface:
Before we get into the controls, we need to charge the R50. After connecting the USB cable there is a red charging indicator light next to the USB socket.
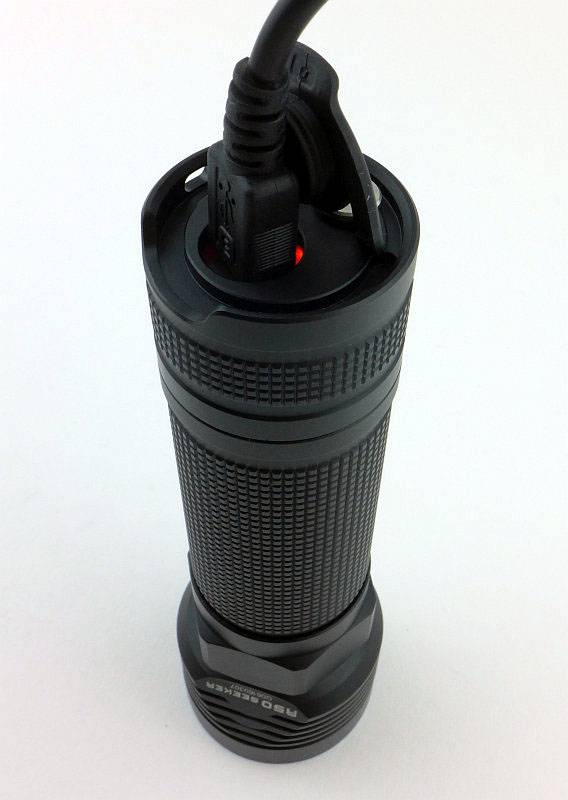
Once fully charged this turns green.
To turn ON to the last used constant mode, click the side switch once.
To turn ON to Turbo directly, double-click the side switch.
To turn ON to Strobe, triple-click the side switch.
To turn ON to Low mode directly, press and hold the side switch for 1s.
To change brightness level, with the R50 ON, press and hold the switch to cycle through Low – Medium – High – Low etc.
To turn OFF, click the side switch.
There is a memory for the last used ‘normal’ mode (Low, Medium, or High) but High is only memorised for 10 minutes after which the R50 goes back to Medium.
There are two ways to lockout the R50:
1. Unscrew the tail-cap a half turn.
2. Press and hold the side switch (from OFF) for over 2s. (After 1s the R50 will come onto Low, but after 2s it will go off again as it enters lockout.)
To exit lockout use the corresponding method to the lockouts above:
1. Tighten the tailcap.
2.Press and hold the switch for 3s.
Batteries and output:
The R50 Seeker runs on a proprietary 26650 cell. The instructions do not mention support for standard 26650 cells, however I have tried this and the R50 does function (though does not accommodate very long cells) apart from the charging not working.
To measure actual output, I built an integrating sphere. See here for more detail. The sensor registers visible light only (so Infra-Red and Ultra-Violet will not be measured).
Please note, all quoted lumen figures are from a DIY integrating sphere, and according to ANSI standards. Although every effort is made to give as accurate a result as possible, they should be taken as an estimate only. The results can be used to compare outputs in this review and others I have published.
| ___________________________________________ | ________________________________ | ________________________________ |
| Olight R50 using supplied 26650 cell | I.S. measured ANSI output Lumens | PWM frequency or Strobe frequency (Hz) |
| ___________________________________________ | ________________________________ | ________________________________ |
| Turbo | 2479 | 0 |
| High | 1281 | 0 |
| Medium | 440 | 0 |
| Low | 39 | 0 |
* Beacon and Strobe output measurements are only estimates as the brief flashes make it difficult to capture the actual output value.
Peak Beam intensity measured 22000 lx @1m giving a beam range of 297 m.
There is parasitic drain at 52uA. When using the included 4500mAh cell, it will take 9.87 years to drain the cell.
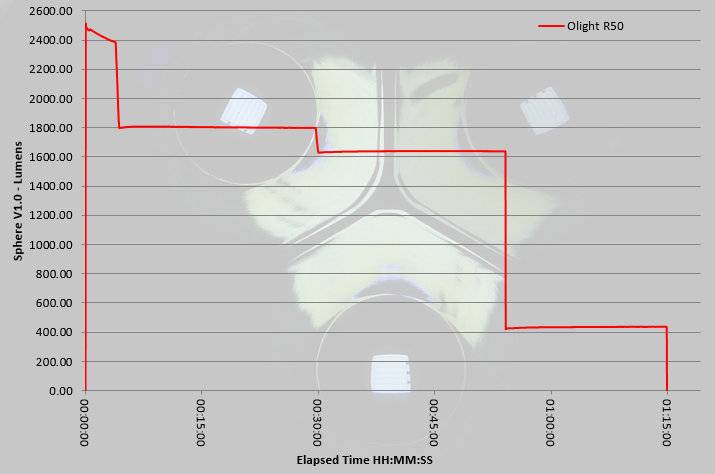
A very impressive output for a compact light. During extended use, the Turbo stepping down from nearly 2500lm to 1800lm is not noticeable and while running at 1800lm starts to generate a good amount of heat. Even with the step down at 30 minutes to around 1650lm you don’t really notice, and it is only once you get to about 50 minutes and the R50 steps down to the medium output of 440lm that you see a drop in output.
Troubleshooting
This section is included to mention any minor niggles I come across during testing, in case the information helps anyone else.
No issues were encountered during testing.
As per the description of this section, this information is provided in case anyone else finds a similar ‘issue’ that might be fixed in the same way.
The R50 Seeker in use
For such a usable and useful light I am disappointed Olight did not include a holster. Even though it uses the 26650 cell, so has a thicker tube than the common 18650 size light, Olight have kept the overall size very compact and comfortable to hold. It may not be jeans-pocket sized, it is easily coat-pocket sized.
Output is extremely impressive and does meet the specified 2500lm. This does drop to 1800 after 3 minutes, but that reduction is barely noticeable and the R50 continues to impress. Everyone who has seen me using the R50 has said “that is bright” and asked what it is; a real talking point.
One area where I think Olight has really cracked it, is the interface. It is the same, or very similar, to many of the other Olight lights with a single side switch, so you will recognise the way it works. Giving the user direct access to the maximum and minimum levels, whatever you last used, makes this a real winner. Another nice touch is the way that the ‘normal’ mode (from a single click of the side switch) will not memorise High beyond 10 minutes of being off, it means that whatever you were doing with the R50, worst case you might get Medium if you turn it on without thinking. Not so much you get blinded and yet powerful enough.
These days you won’t really find yourself unable to find a USB charger at work or at home. The R50 comes with a quality 2A charger anyway, but while you are away from home you will be able to top up the R50 easily enough. The instructions specifically don’t mention using any other 26650 cells, but being the rebel I am, I popped one in. Clearly the charging function is not going to work, but the R50 itself did work, so you can carry a spare 26650 if you want. Just beware that the R50’s tube is not that long, so some 26650 cells may be too long. Check it fits before you rely on it.
There is some shaping at the head, but the R50 effectively has no anti-roll feature, you need to put it down head-down or tail-down. It does tail-stand very well.
Running the R50 on Turbo also provides you with a hand-warmer as it does heat up quite a lot. Given a cold evening, this certainly is a welcome feature. If you decide to tail-stand the R50 on Turbo you will hit the over-heat protection, so expect the output to drop if you let it get really hot.
Personally I find the R50 hits a real sweet spot in terms of size, ergonomics and output. Give me a side-switch light any day, add to that a cell which is large enough to sustain a significant output and a great all-rounder beam, keep it small enough to pop into a coat pocket and you have a winner. I’ll forgive it the proprietary cell for the fact that this has convenient built-in USB charging, doesn’t need anything else to be bought to use it, but can use standard 26650 cells, so gets round the normal limitation of proprietary cell lights.
Review Summary
| _______________________________________________ | _______________________________________________ |
| Things I like | What doesn’t work so well for me |
| _______________________________________________ | _______________________________________________ |
| 2500lm from a compact light. | Requires the proprietary cell for built-in charging. |
| Excellent UI using an ergonomic side switch. | No holster supplied. |
| Can run on a standard 26650 – Unofficially. | No Anti-Roll. |
| Direct access to Maximum and Minimum modes. | |
| Regulated output. | |
| All-rounder beam. |

Discussing the Review:
Please feel free to add comments to the review, but the ideal place to freely discuss these reviews is on a forum. If you started reading the shorter forum version of the review, but followed the link this full exclusive review, please return to that forum to discuss the review there.
If you read the review entirely on Tactical Reviews, please consider one of the following to join in any discussion.
CandlePowerForums – Flashlight Reviews Section (Largest and Friendliest Flashlight Community Forum)
EdgeMatters – Sponsored Reviews (UK based Forum for Knife Makers and Collectors)