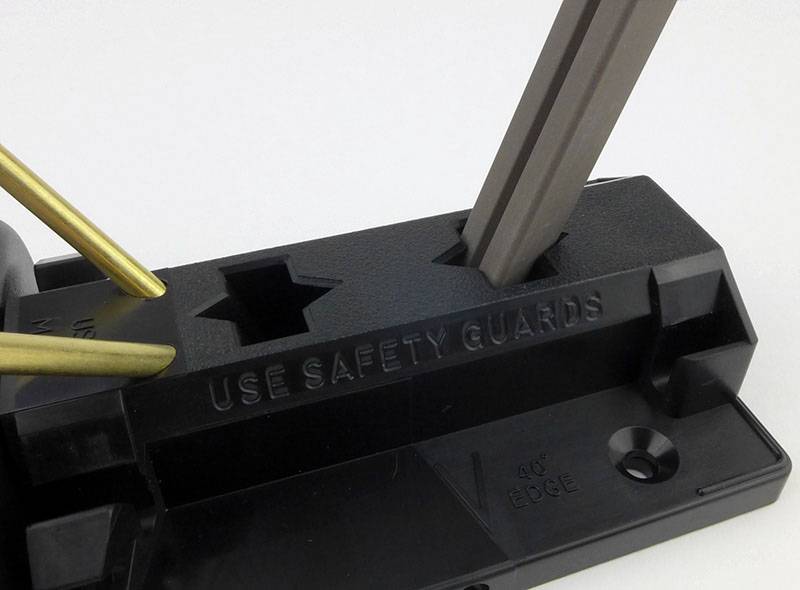
Wicked Edge’s sharpening systems have proven themselves over and over to be the ultimate precision guided knife sharpeners on the market, so much so, many high-end knife makers use them for their knives’ first edge, rather than hand sharpening their blades. Wicked Edge sharpeners are solid, reliable and fast. If you want the most precise and repeatable edge possible, combined with the least blade wear, choosing one of these sharpeners is really the best possible choice you could make.
A little more Background:
In the world of knives, Wicked Edge is one of those aspirational products. Almost everyone wants one, but few people feel they can justify paying the relatively high cost of one. Much like any quality ‘professional tool’ that performs to a higher standard, most people simply do not NEED them. Simpler, cheaper options exist, and do a reasonable job.
Perhaps one of the other challenging aspects of making that leap into the realm of the Wicked Edge is that most often we see the famous mirror polished hair splitting Wicked Edge (which I too started this article with), and to achieve this you need the full set of stone grits and strops. But you don’t need to go that far, or spend that much, certainly not straight away.
The Field and Sport is one of those simpler systems on offer which includes four grits, 100, 200, 400 and 600, and is also designed to be portable and easy to set up. In real terms, the 600 grit will give you a better working edge than a finely polished mirror finish anyway.
For this review, Wicked Edge did send a few extras as well to allow me to show the finer finishes, but they are not needed for Wickedly sharp knives.
A few more details:
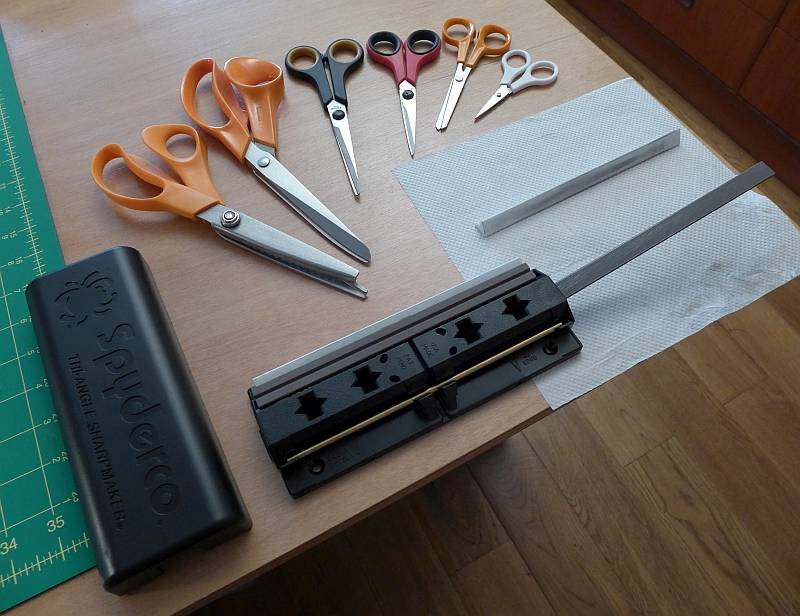
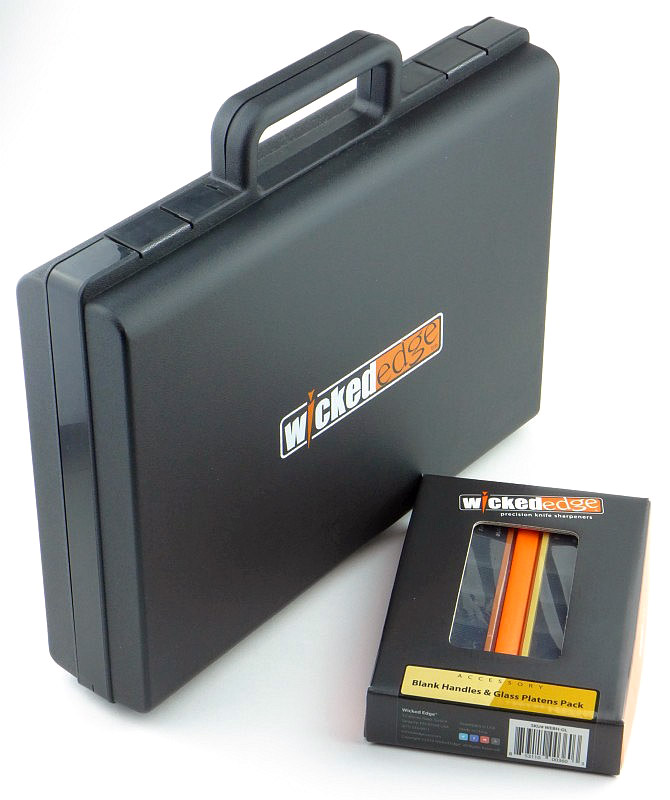
As the Field and Sport is a portable model, it comes in a carry case. This is useful for storage as well as taking it with you. Also shown here is a box of the optional glass platens for using the diamond polishing films.
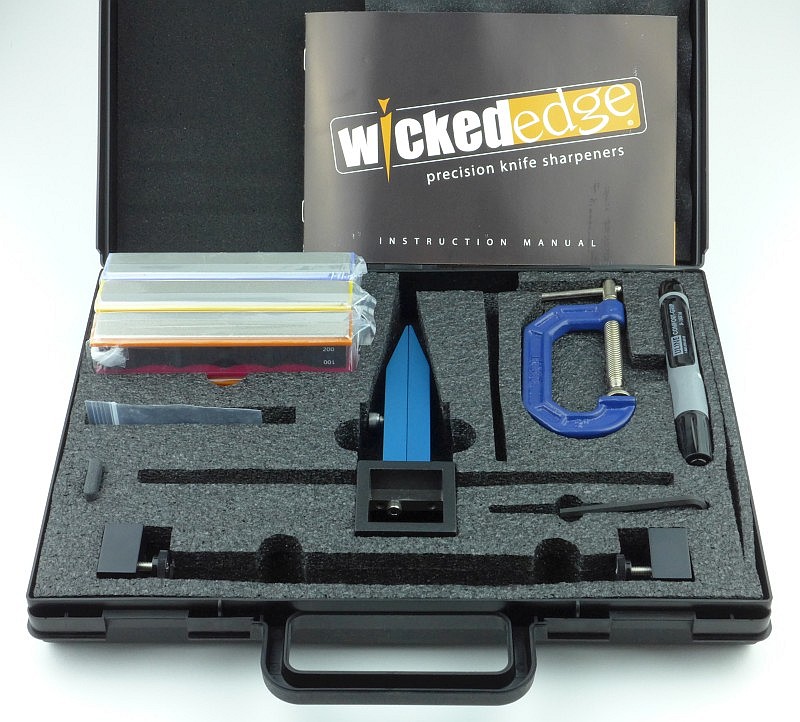
Opening up the case everything is nicely laid out in a closed-cell foam liner.
Looking a little closer you can also see that in this case the optional extra fine 800/1000 stones have been included which are not part of the standard Field and Sport kit.

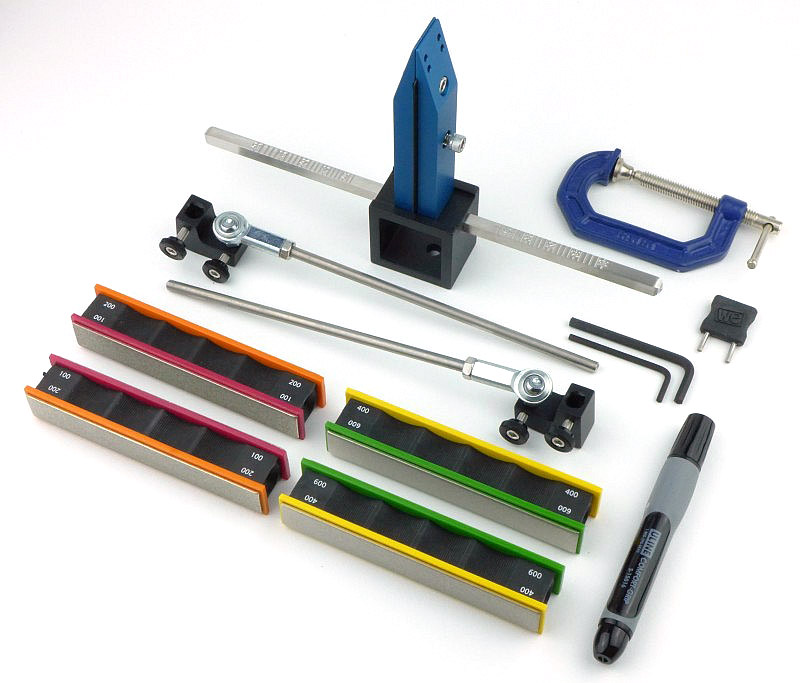
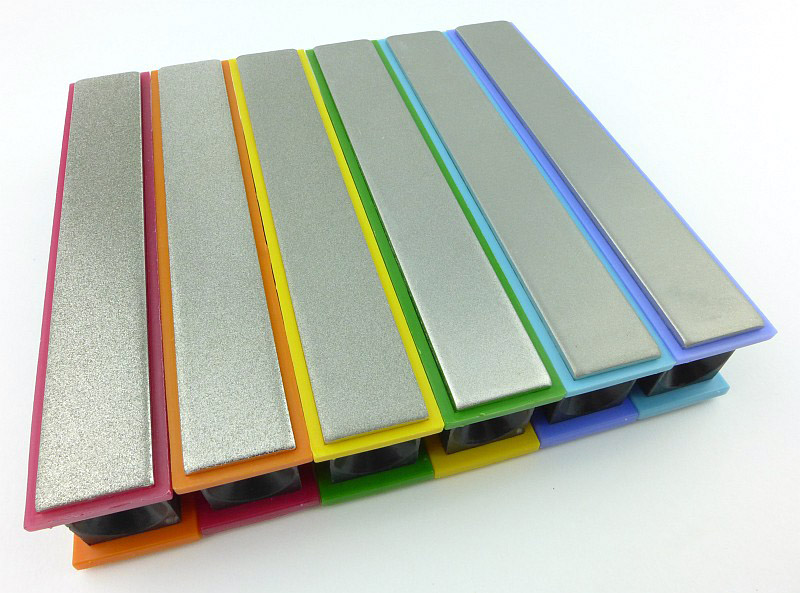
To be clear, this is the full set of part of the 2016 version of the Field and Sport kit. Included are the blade clamp, g-clamp, guide rods, 100/200 and 400/600 stones, Allen keys, blade stop and marker pen.
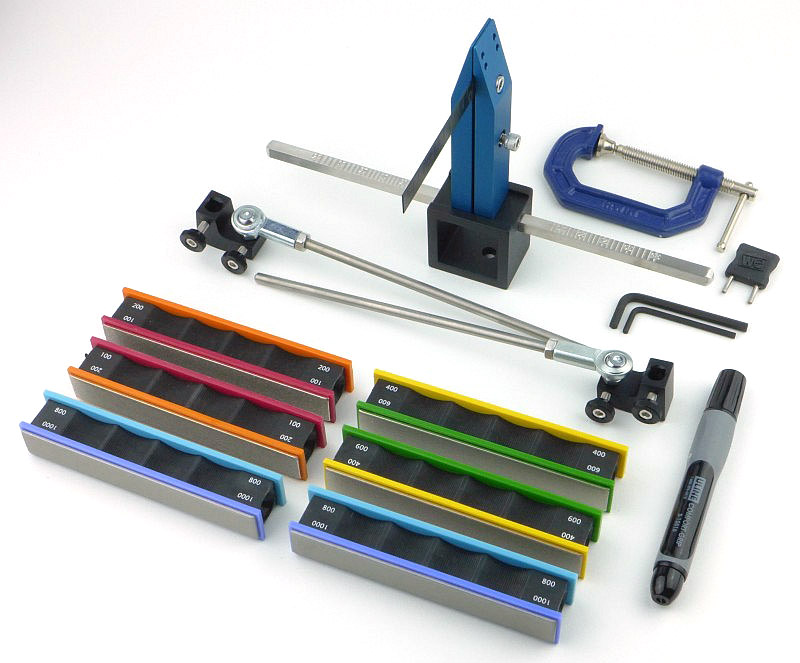
Adding in the optional 800/1000 stones that also fit into the case makes the kit look like this.
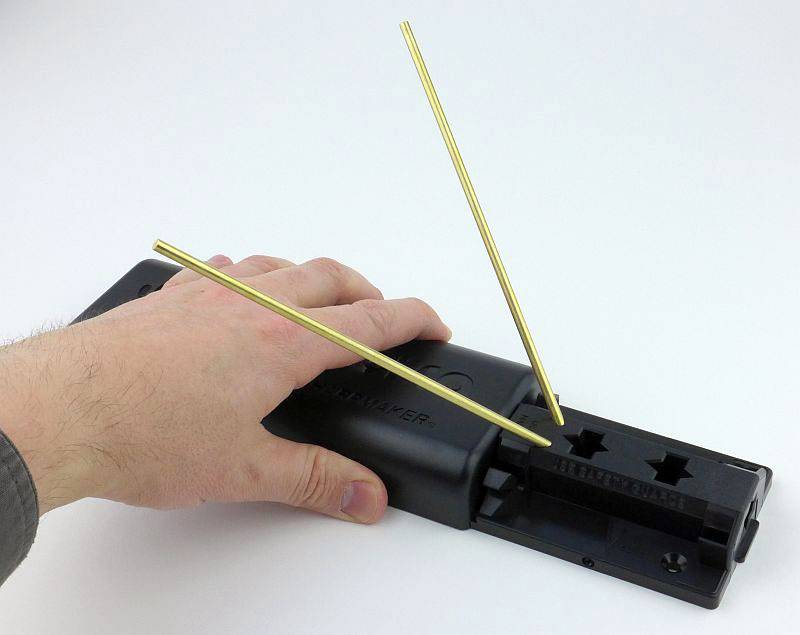
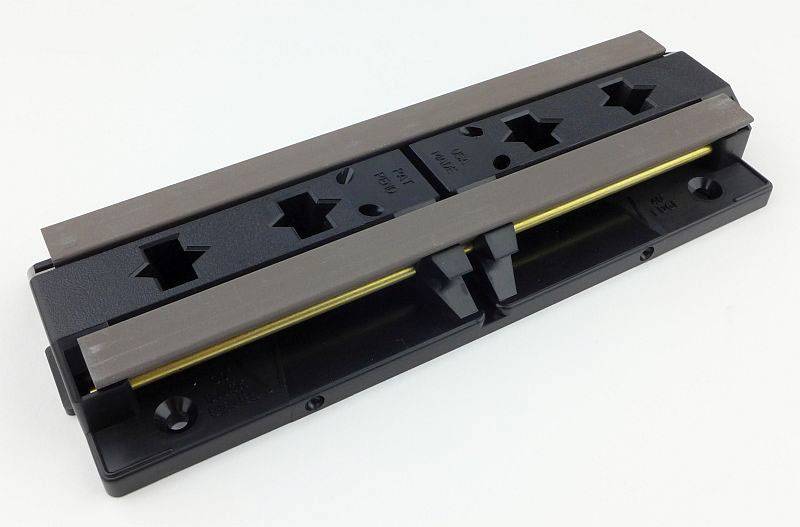
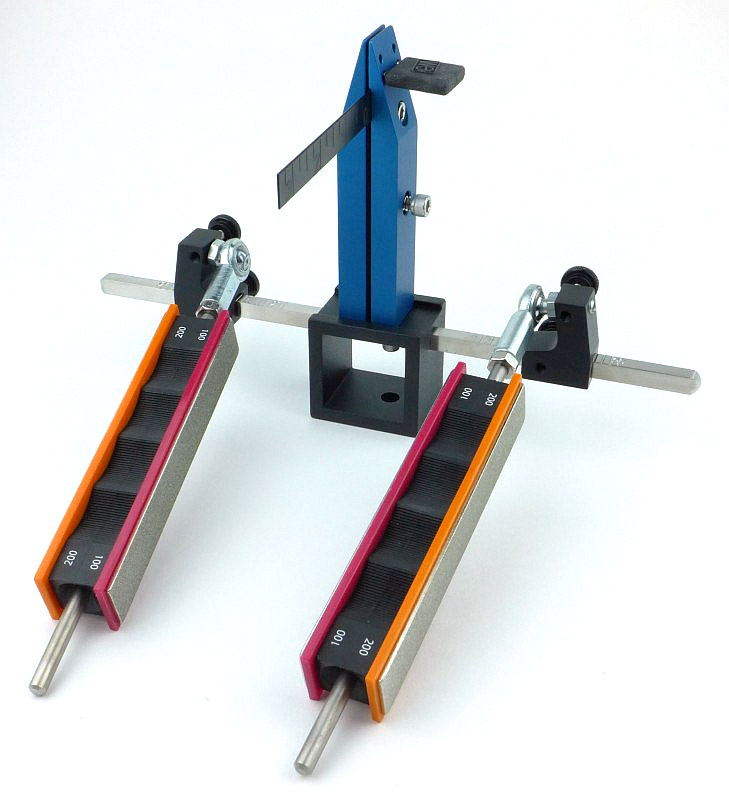
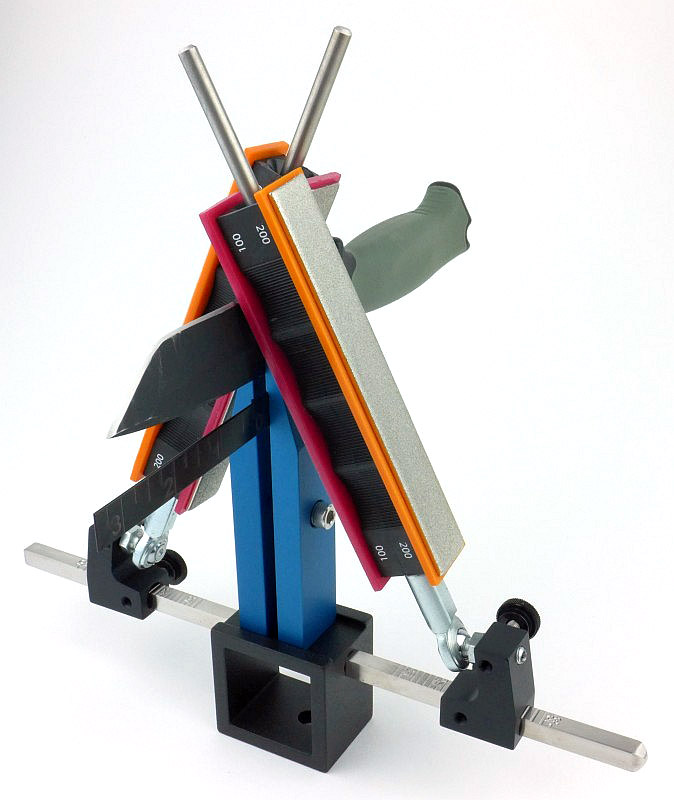
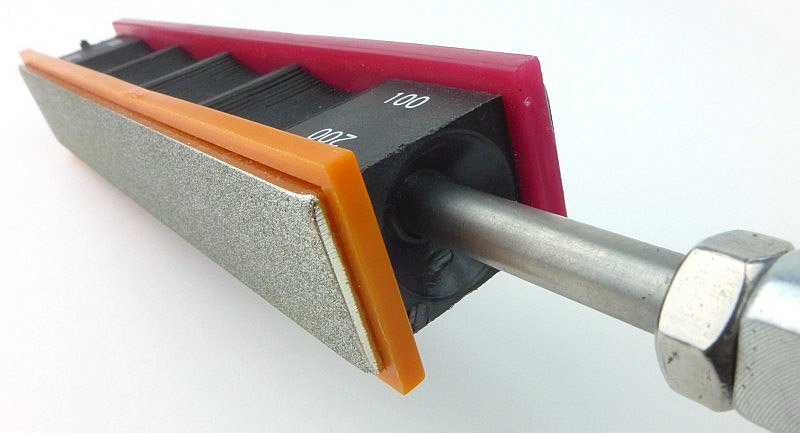
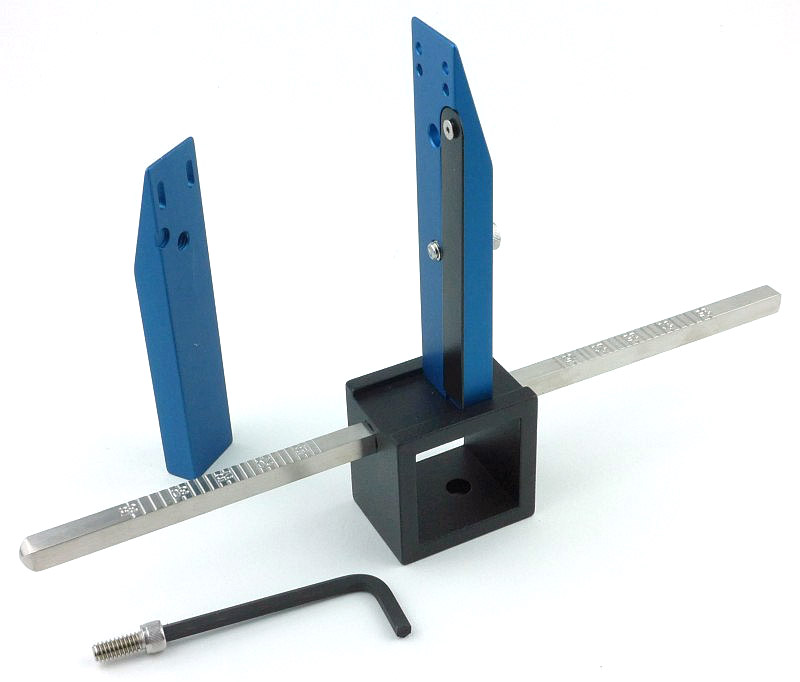
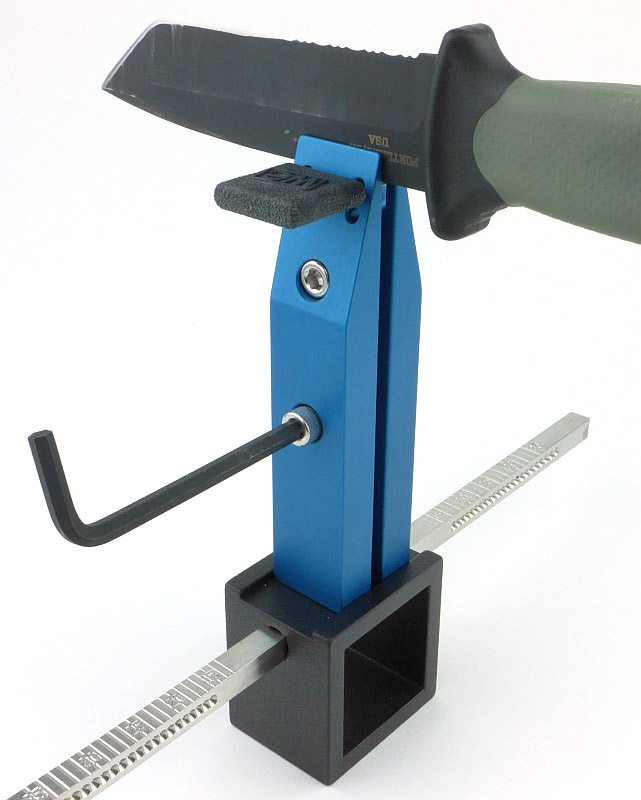
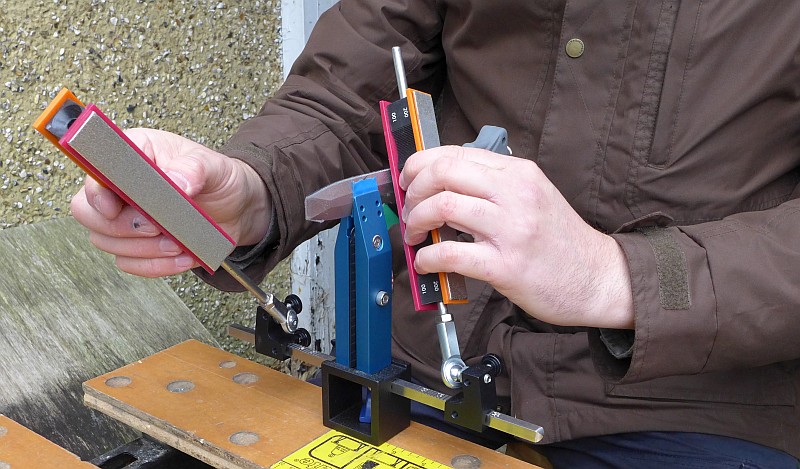
Although not clamped onto a working surface, this is the Wicked Edge fully assembled with the blade clamp, guides and stones ready to work.

With a knife fitted securely into the blade clamp this shows the arrangement of the stones as you work on the knife.
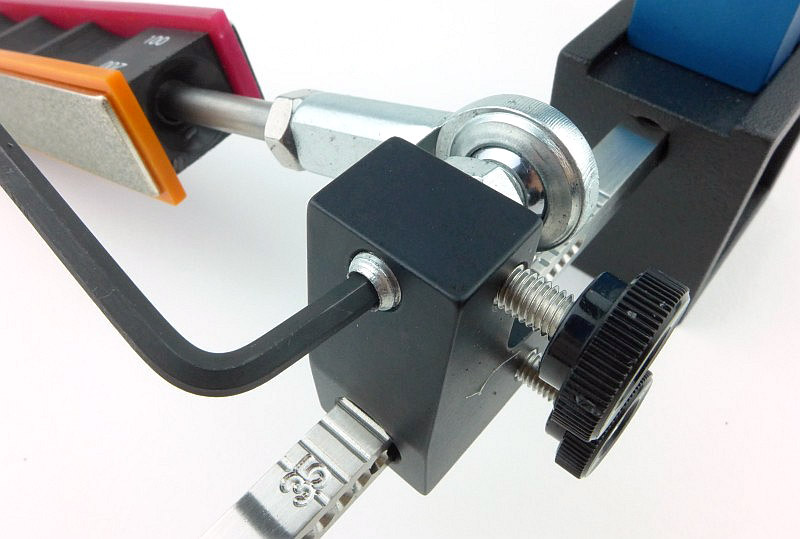
Most guided systems use just that, guides. I make that distinction as less robust guides can be bent and distorted. Not so with Wicked Edge. Take a look here at the guide rod ball-joints which have smooth but play-free movement.
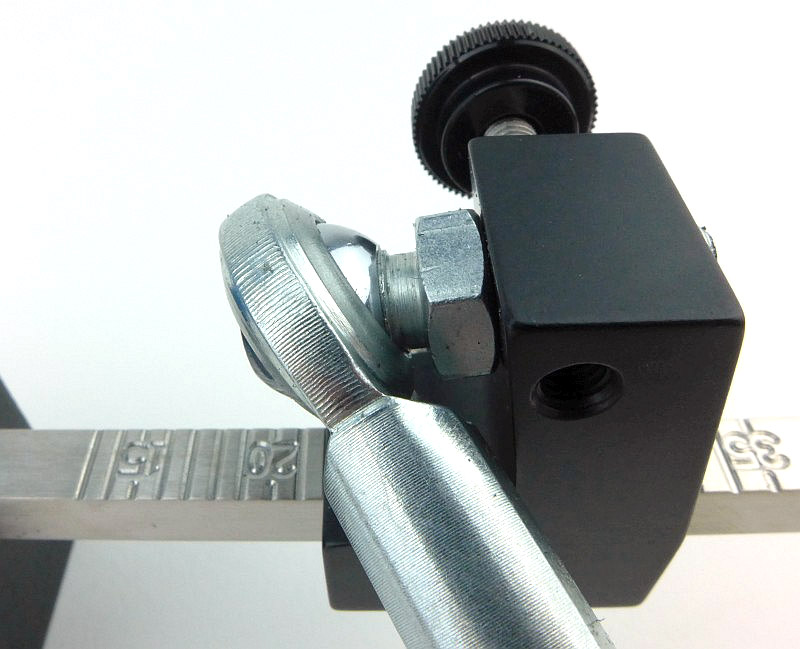
The rods fit through the entire length of the stones providing a stable alignment.
You can go precision crazy with the adjustments on the guide rod mounts. There are two hand-wheels, the lower one does the main angle adjustment.
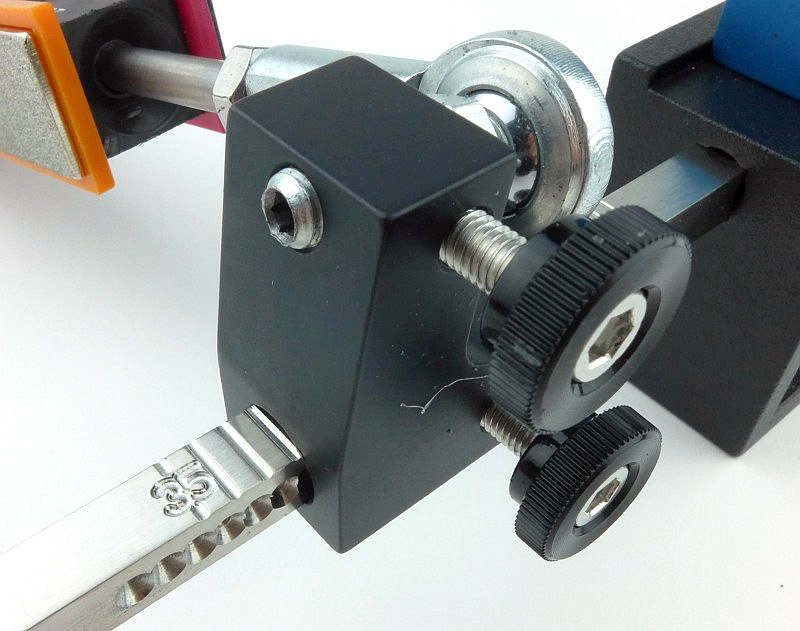
The upper hand-wheel locks the fine angle adjustment, and once released you can turn the ball joint bolt and move this out by any amount and lock it in place.
That lower hand-wheel locks into a series of precisely positioned angle holes cut into the guide rod arms.
As you can see, the hole’s spacing changes as you get further from the middle to keep the change in angle consistent for each graduation. If this was not done, when you get to wider angles each adjustment would become a smaller and smaller fraction of a degree.
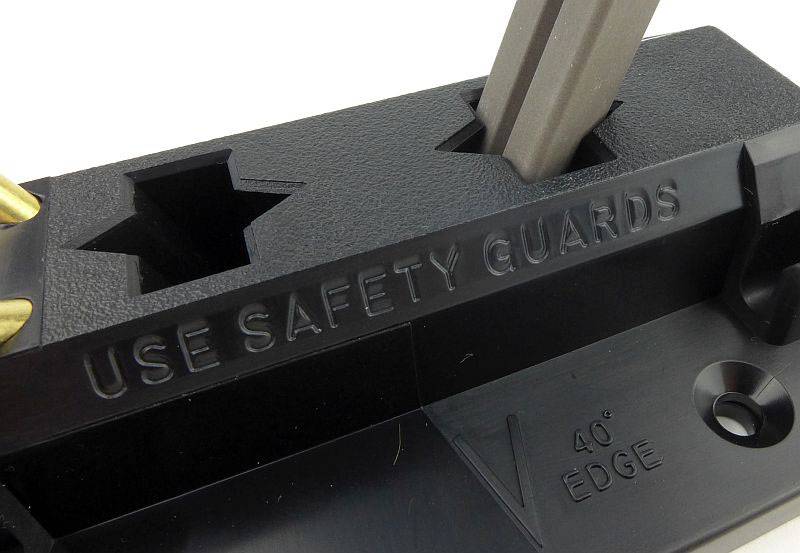
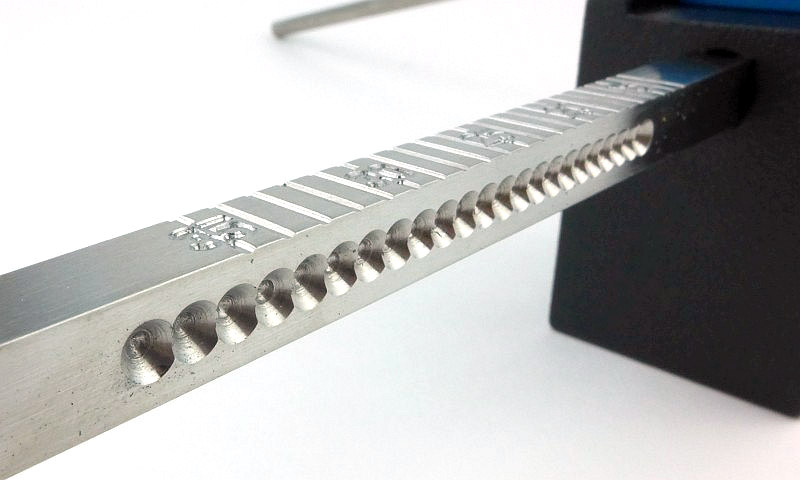
This version is the 2016 version of the blade clamp, but the principles should be similar for the latest version. One part of the clamp is fixed to the base.
To allow you to fit each blade into the clamp in the same position each time (to reduce the amount of metal removed when you re-sharpen it) there is a folding ruler inside the clamp.
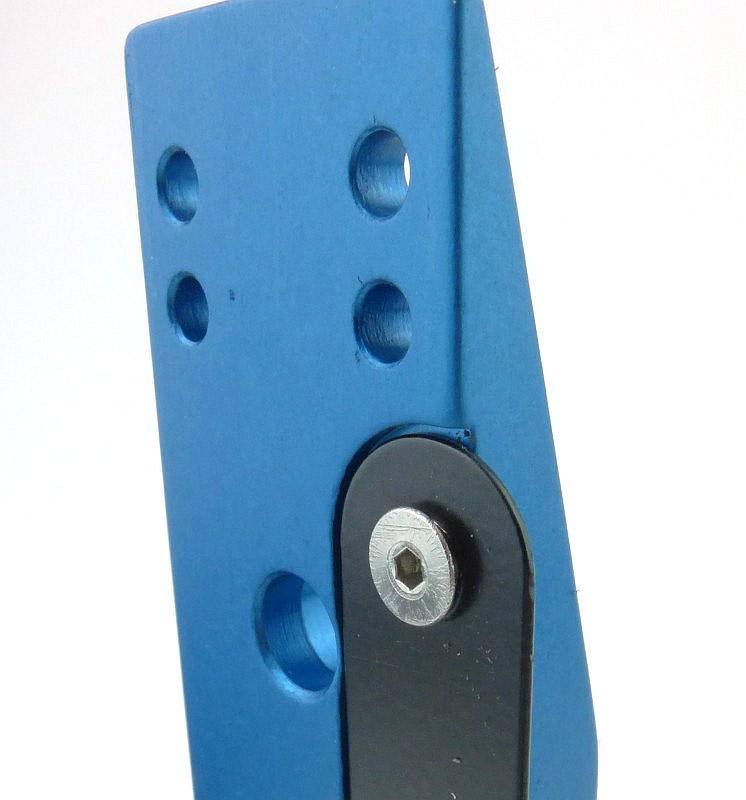
The ruler in the extended position.

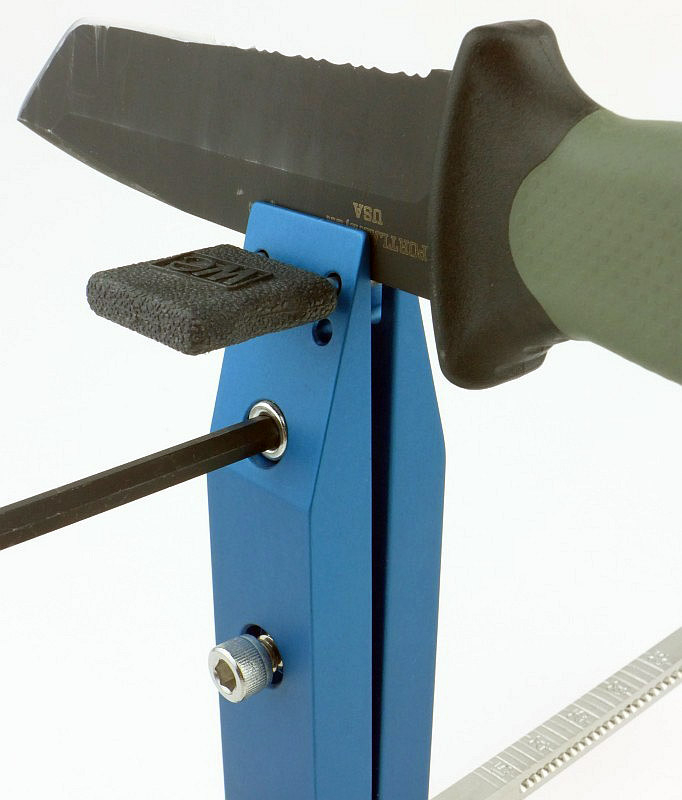
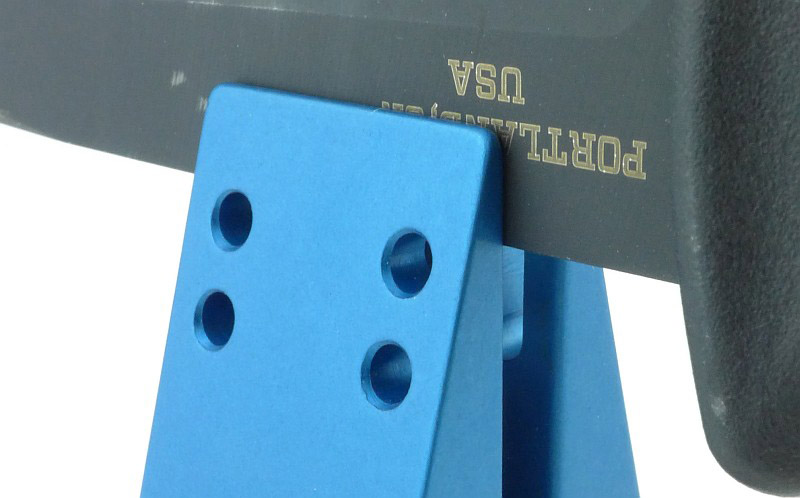
You might have notice the set of four holes near the top of the blade clamp. These provide two blade heights that are set by a removable dual pin that you rest the spine of the blade on as you tighten the clamp.
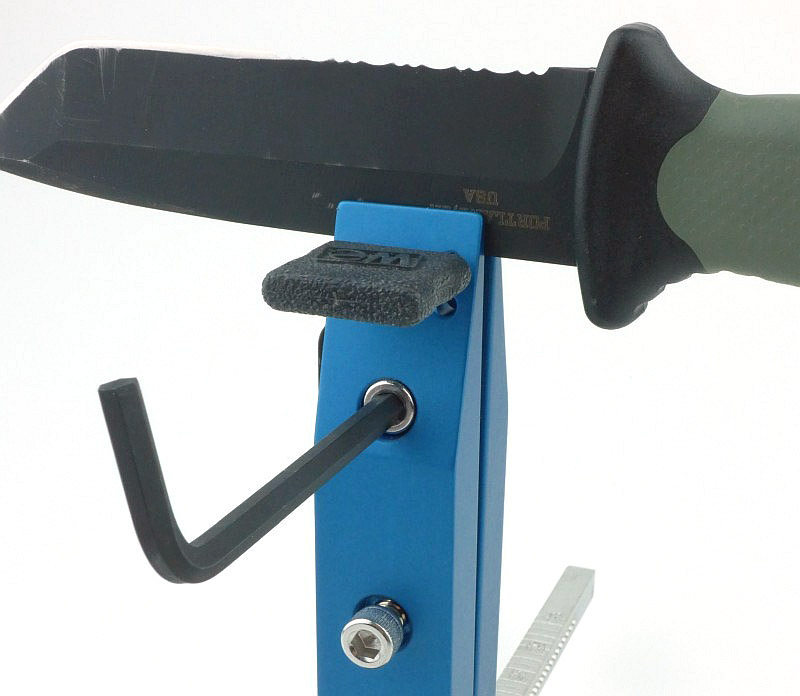
Tightening the clamp is a two stage process where initially you tighten the top bolt.
Then move the Allen key down to the lower bolt and tighten this to bring the clamp plate back out to a parallel position (to stop the blade popping out). This is important or you will have blade instability when sharpening.
Once the clamp is properly tightened you need to remove the blade height stop pin.
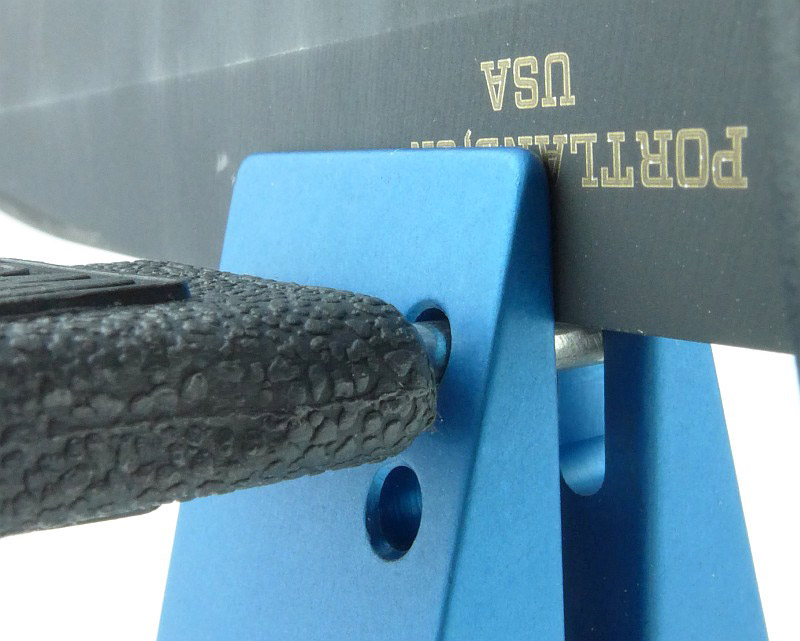
With the stop pin removed you will have room to work on the blade.
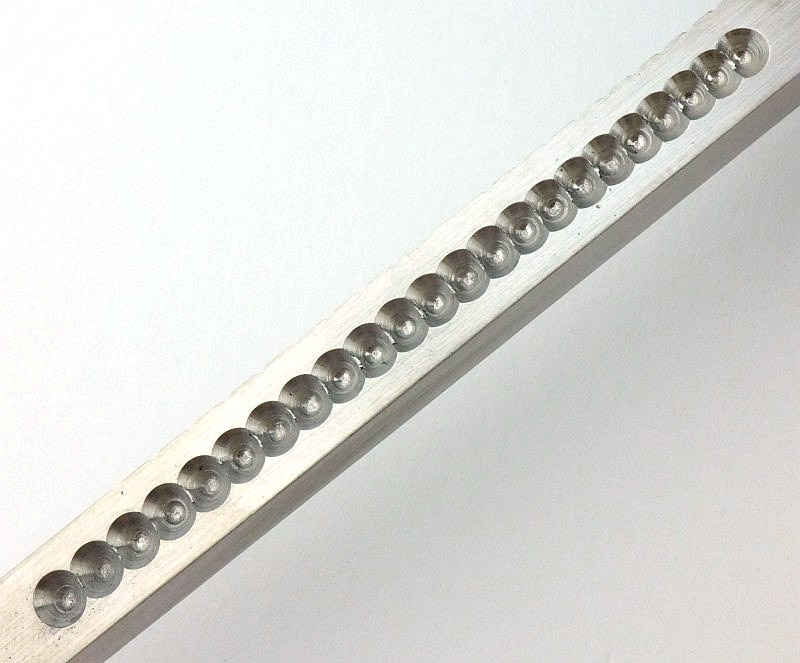
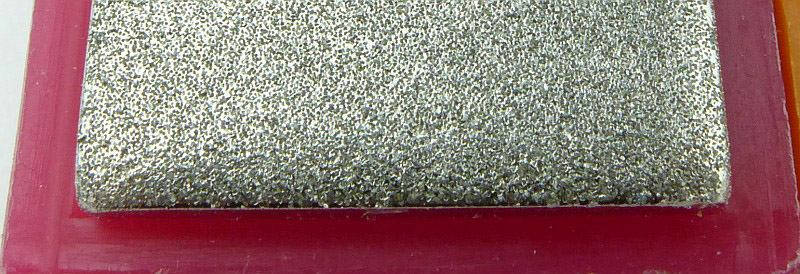
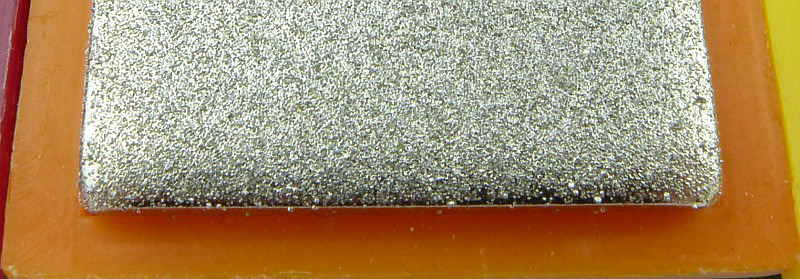
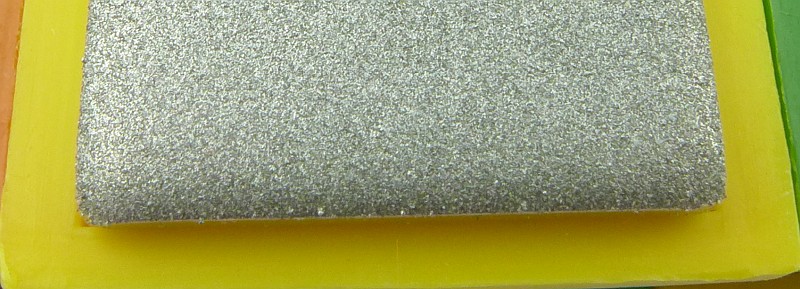
Altogether the Field and Sport has four grits, 100, 200, 400 and 600, and here I also have the 800/1000 stones. The following series of photos is intended to show how those grits compare from most coarse to least.
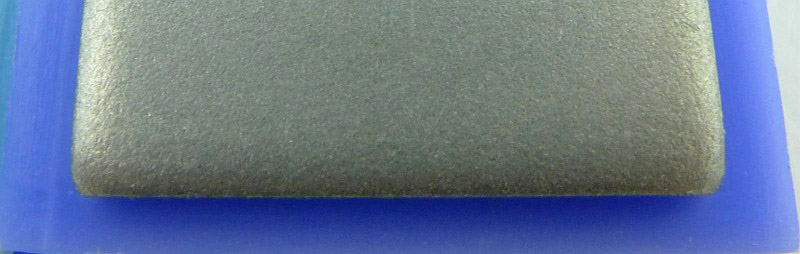
100
200
400
600

800
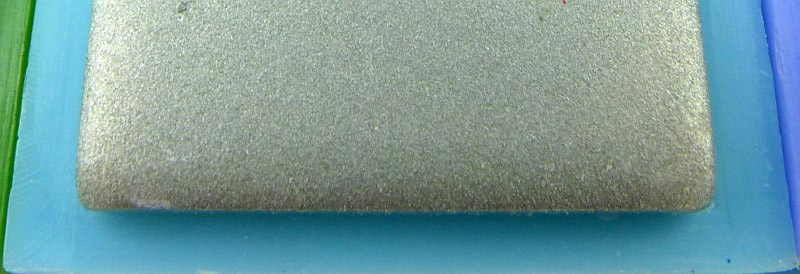
1000
What it is like to use?
This review has taken a while as even a ‘normal’ reviewer doesn’t sharpen knives at the same rate as a professional knife maker, or knife sharpener. What you will also find is that the Wicked Edge takes time to wear in and actually improves over time. Wicked Edge even recommend you start using it on a few ‘inexpensive knives’ first.
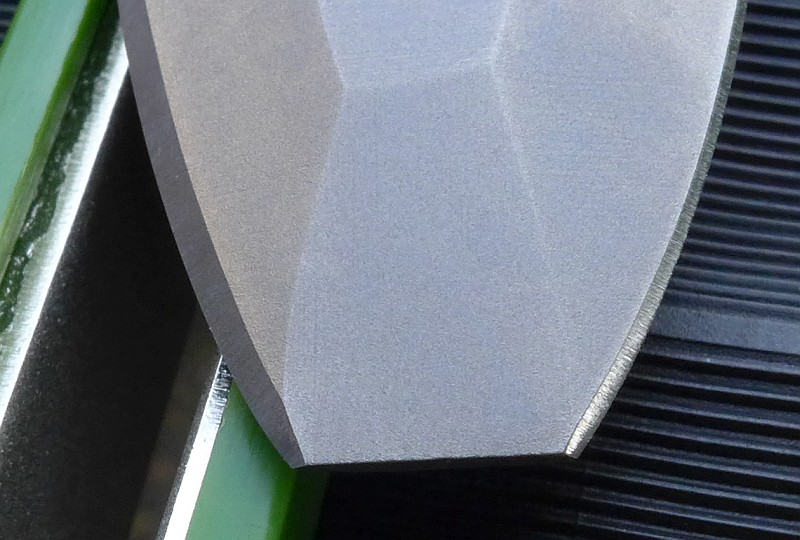
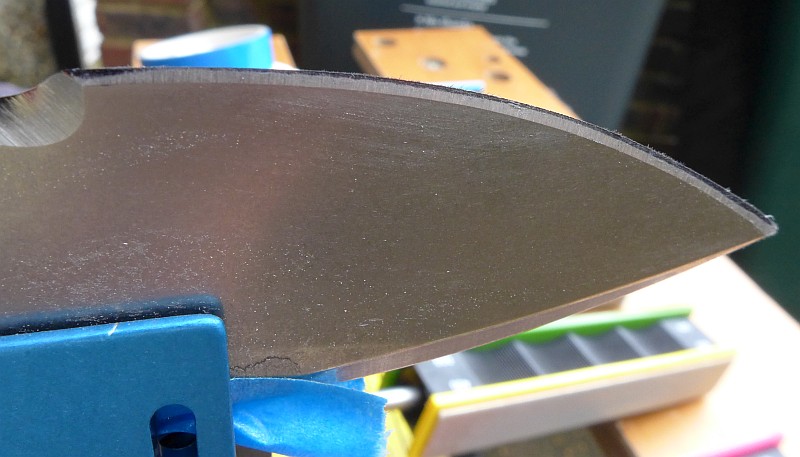
During the coarse of this review testing I’ve used the Wicked Edge on all sorts of blades, and in this next sequence is actually a titanium diving knife. Titanium is notoriously difficult to get a good edge on, but you would never know it, I didn’t do anything different and it was a super slicer at the end of this re-profile.
This blunt tip diving knife has had the left edge re-profiled and the right has not yet been done. We will step though the process…
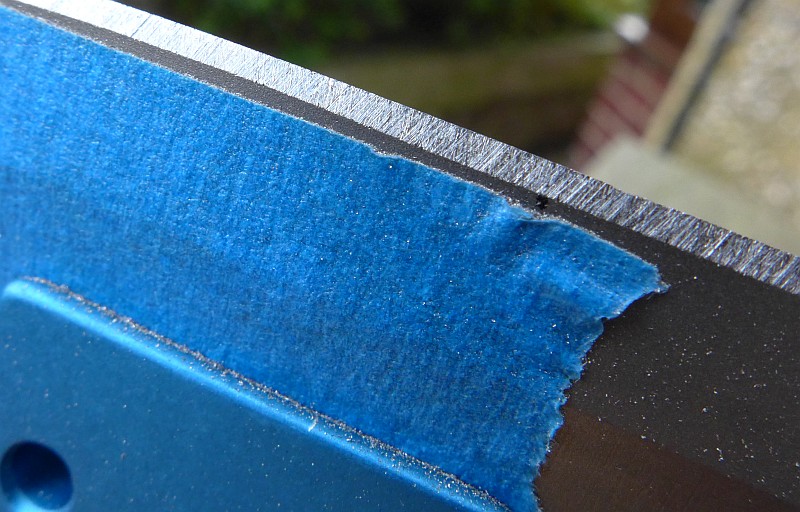
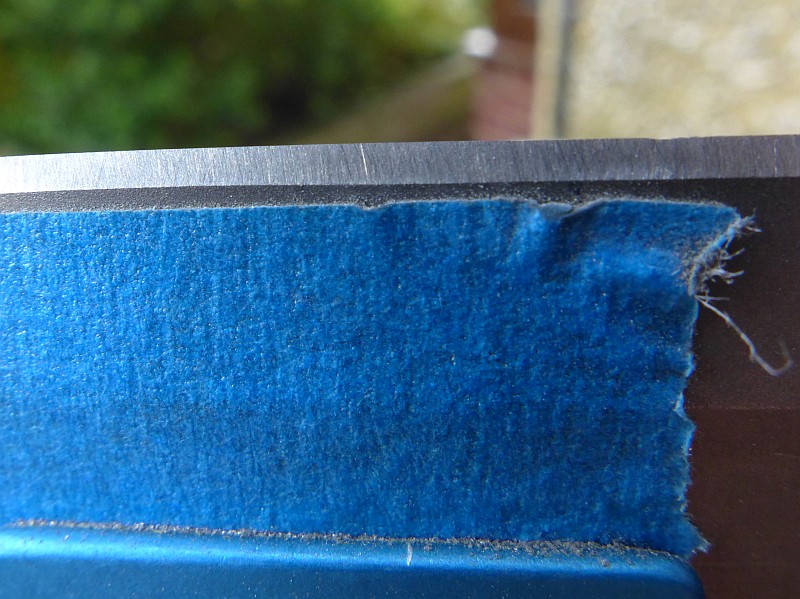
I’ve taken to putting masking tape onto the blade before fitting to the clamp to ensure there are no marks left. This can lead to some movement depending on how thick and soft the tape is, so be careful with the tape you choose and see if this works for you or not. For some blades I don’t do this.
There are plenty of videos showing the Wicked Edge sharpening action. It is a two handed process where you push the stones away from the edge and away from you stroking the entire edge, first one side, then the other. The speed you work will depend on how practiced you are, and how precisely you want to work (and how much material needs to be removed). I also worked the stones up and down when I had a lot of material to remove.
An interesting point to note is that unlike just about every other sharpening system, due to the ability to immediately alternate sides, when doing this, you won’t raise a wire edge. The only way to do this is to stop the alternating action and just work on one side at a time until you have achieved the burr/wire-edge, then swap to do the same for the other side before getting going with the alternating action and working through the grits.
The 100 grit leaves a very clear scratch pattern, and you can see I’ve worked it up and down here as the scratches are at two angles. This was a reprofile so needed a lot of work.
Starting to work out the 100grit scratches with the 200 grit, but some scratches are pretty deep. This is one of the ‘features’ of the new stones, they can have some hot spots which create deeper scratches. Only when really worn-in are these avoided.
Just keep refining through the grits. The precision of the guide system just makes a beautiful edge appear before your eyes. For this blade I did not want to polish the edge as I wanted some bite and micro-serrations, so stopped here at the 600 grit.

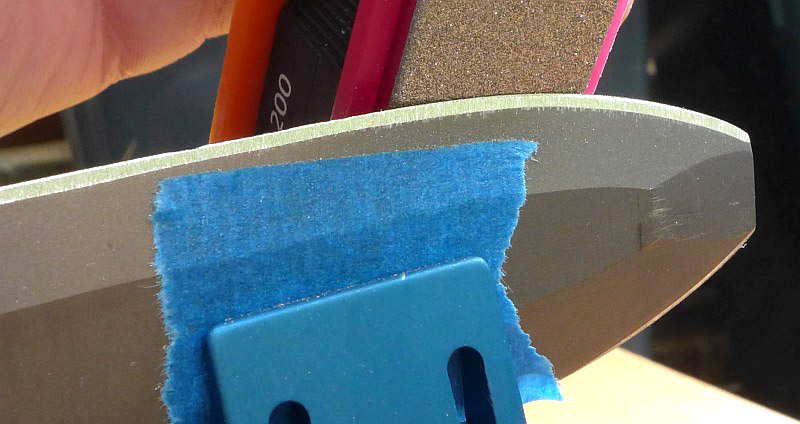
Now changing blades and onto a large CRKT folder which needed a re-profile. Here you can see how I’ve used the marker pen to blacken the original edge so I can see when I’ve completely removed it and achieved the angle I want.
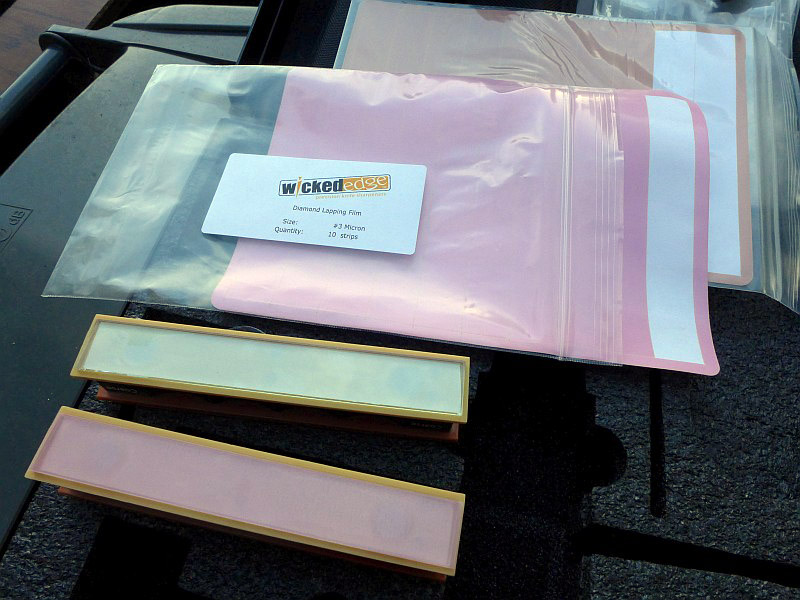
In this case the intention was to get to a polished edge…. just because, OK. So here we have the glass platens onto which you stick the diamond films.
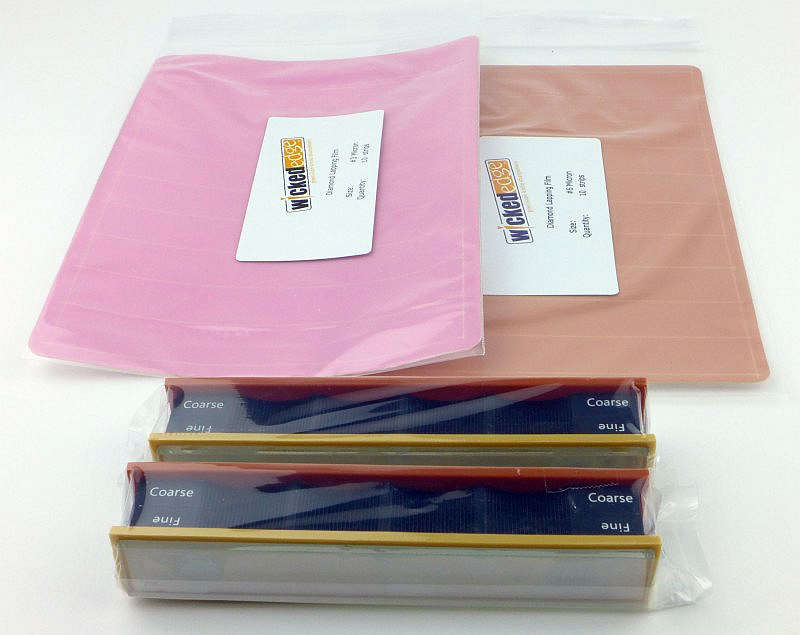
The platens have Fine and Coarse marked on them, but this is for your reference and to tell you which side to fit the different diamond grits, not because like this there is any difference.
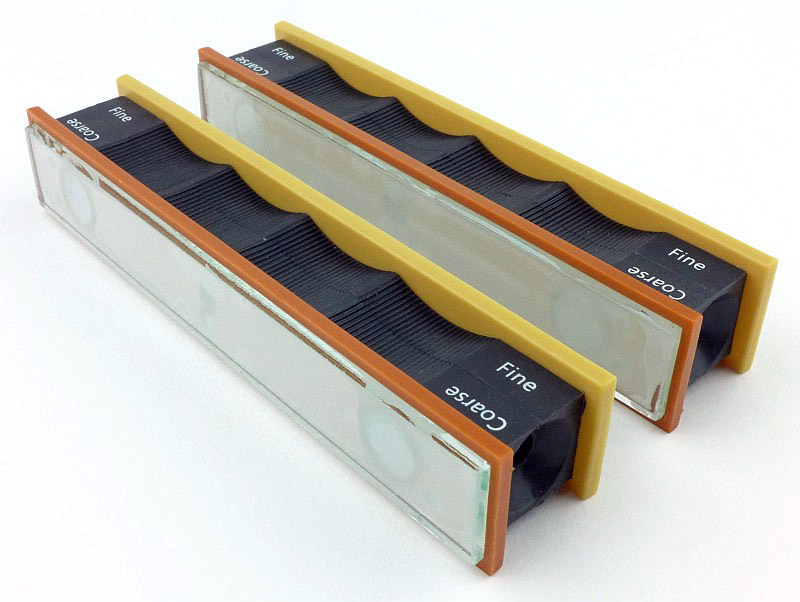
The Diamond films are simply peeled off the sheets and stuck onto the platens ready to be used as the final stage. These films cut fast and will get dirty pretty quickly. Kyle of Wicked Edge showed me a nice trick for cleaning these up with a bit of alcohol hand rub on some tissue which brought them back to life and gave them a new lease of life, so don’t give up on them too quickly.
NOTE, unlike the diamond stones which can be used onto or off the edge, you MUST use the diamond films OFF the edge otherwise the edge can bite into the film and ruin it – just like any other strop.
What becomes really obvious at this point are two aspects. The first is that the brand new stones make it much more difficult to properly work through the grits and remove the scratches from the coarser grits, and the second is that this will really show you up if you haven’t worked through the grits well enough!! Lessons get learnt.
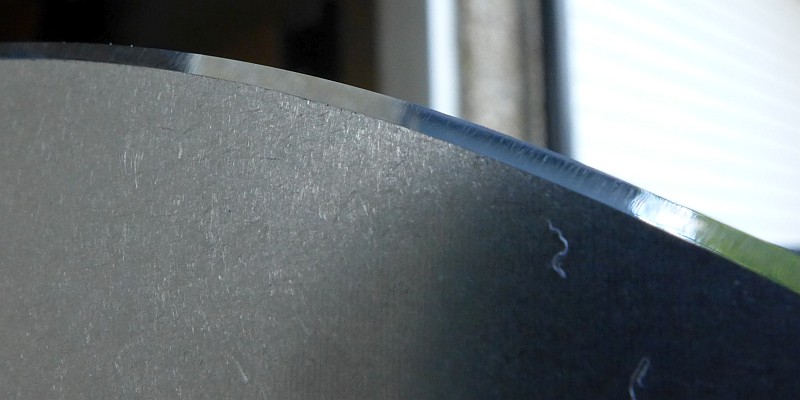
Ultimately we get there though, and the Wicked Edge precision mirror edge is mine – ALL MINE!
Review Summary
The views expressed in this summary table are from the point of view of the reviewer’s personal use. I am not a member of the armed forces and cannot comment on its use beyond a cutting tool or field/hunting knife.
Something that might be a ‘pro’ for one user can be a ‘con’ for another, so the comments are categorised based on my requirements. You should consider all points and if they could be beneficial to you.
| _______________________________________________ | _______________________________________________ |
| Things I like | What doesn’t work so well for me |
| _______________________________________________ | _______________________________________________ |
| Ultimate precision knife edge. | Can get expensive depending on options. |
| Fully adjustable for any angle. | Needs wearing-in for best results. |
| Completely repeatable (as long as you note down the settings). | It can get time consuming chasing perfection. |
| Minimal metal removal on repeated sharpening. | Addictive mirror edges. |
| Many options and kits available. |
Discussing the Review:
The ideal place to discuss this reviews is on a forum. If you started reading the shorter forum version of the review, but followed the link this full exclusive review, please return to that forum to discuss the review there.
If you read the review entirely on Tactical Reviews, please consider one of the following to join in any discussion.
EdgeMatters – Sponsored Reviews (UK based Forum for Knife Makers and Collectors)
BladeForums – Knife Reviews (US based Forum for Knife Discussion)
CandlePowerForums – Knife Reviews Section (Largest and Friendliest Flashlight Community Forum)