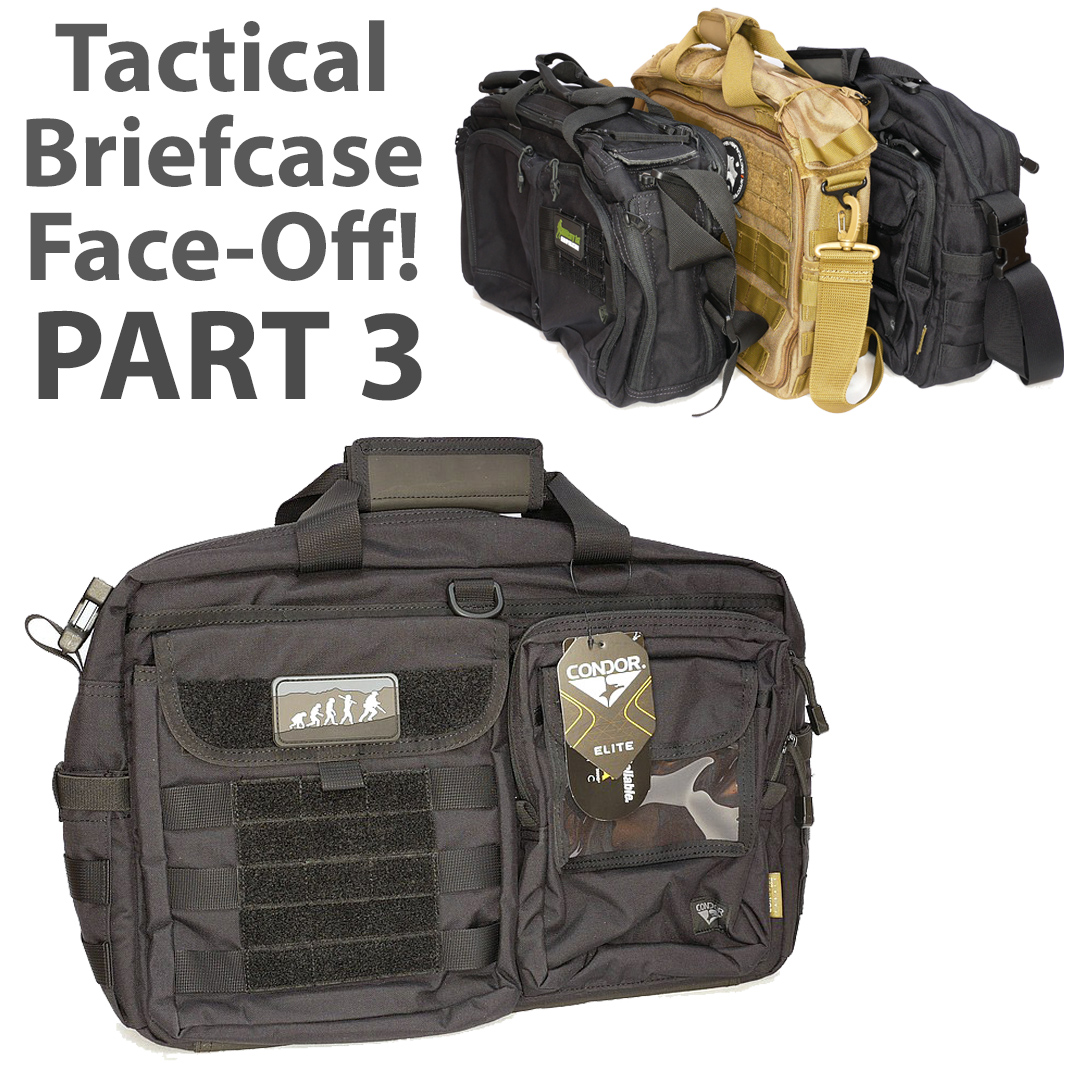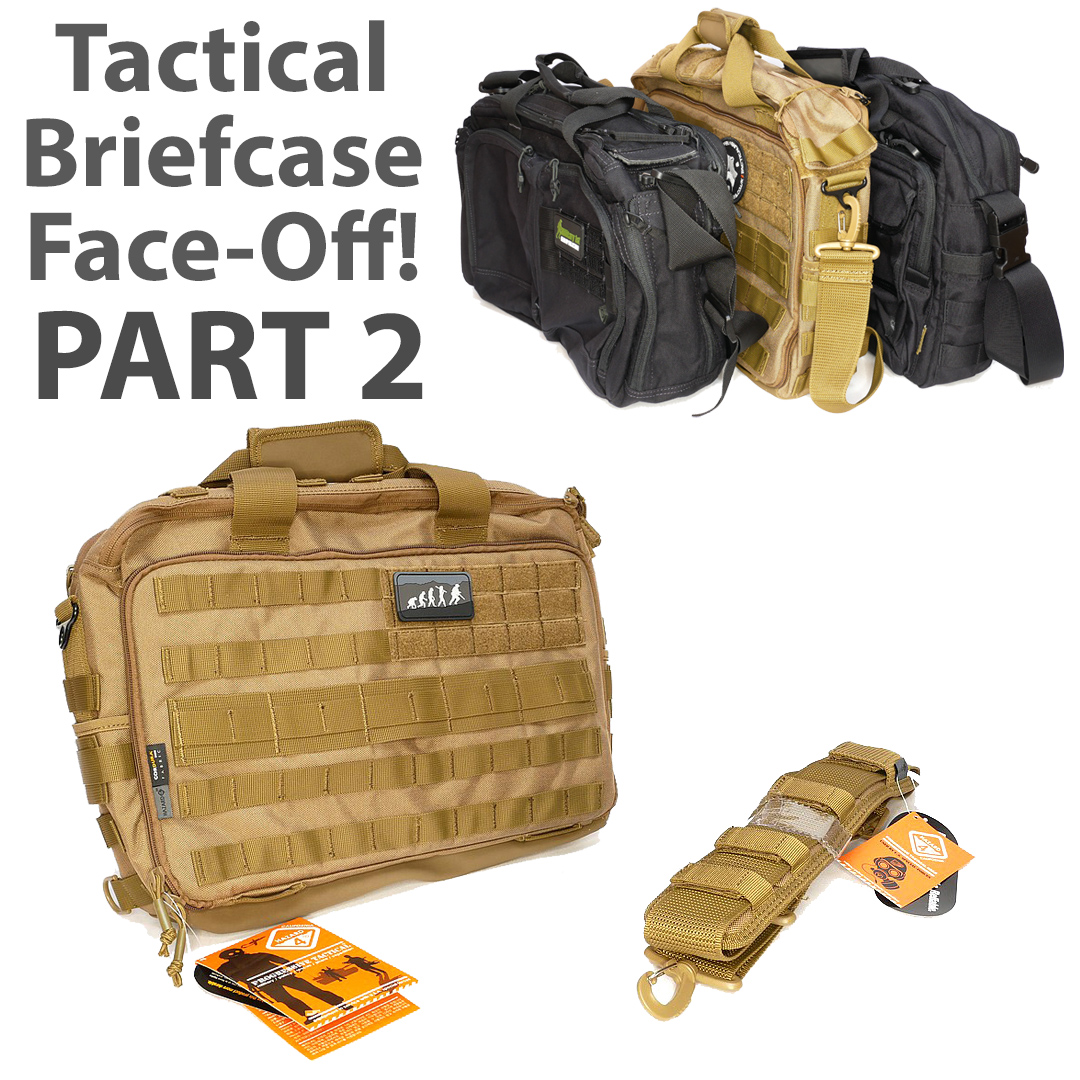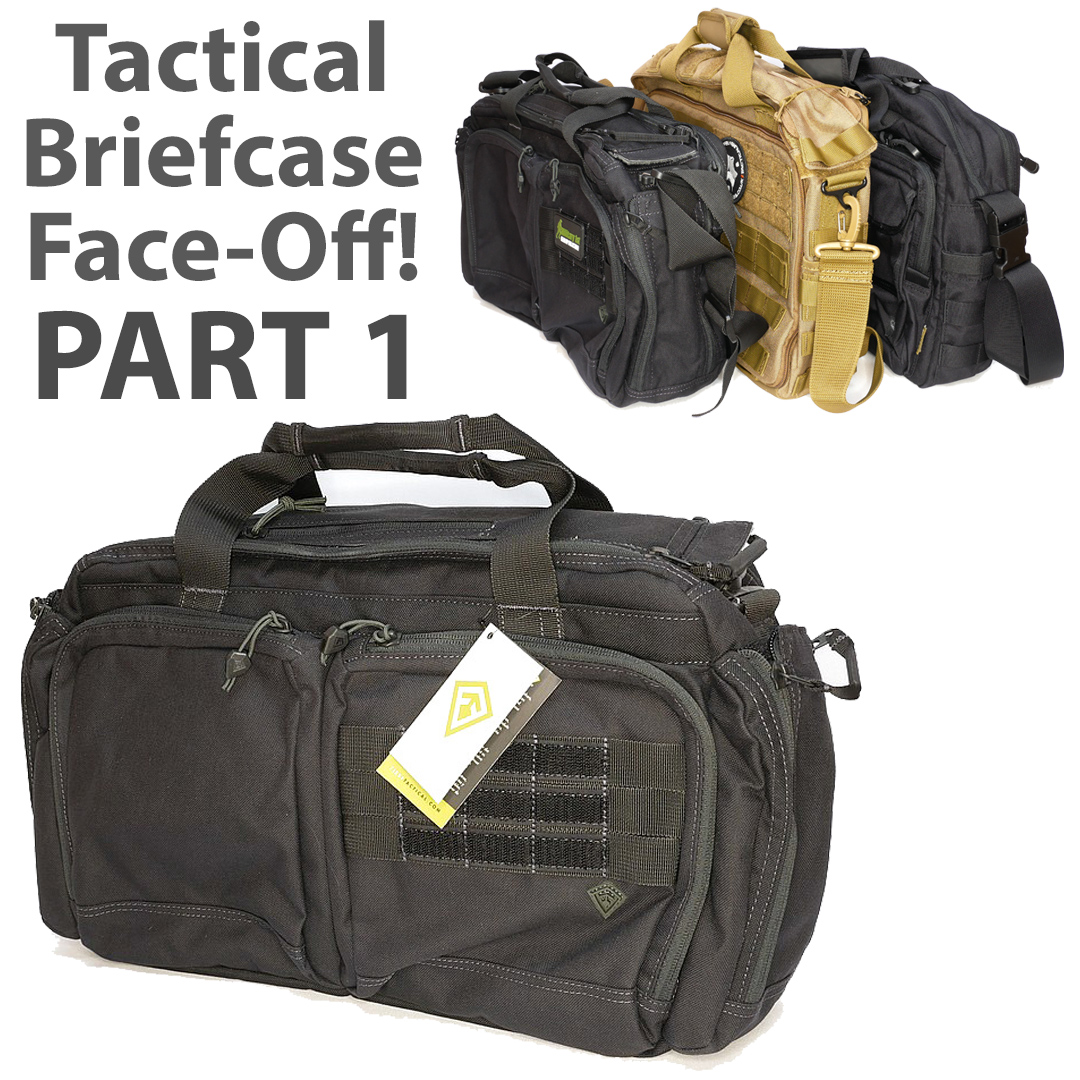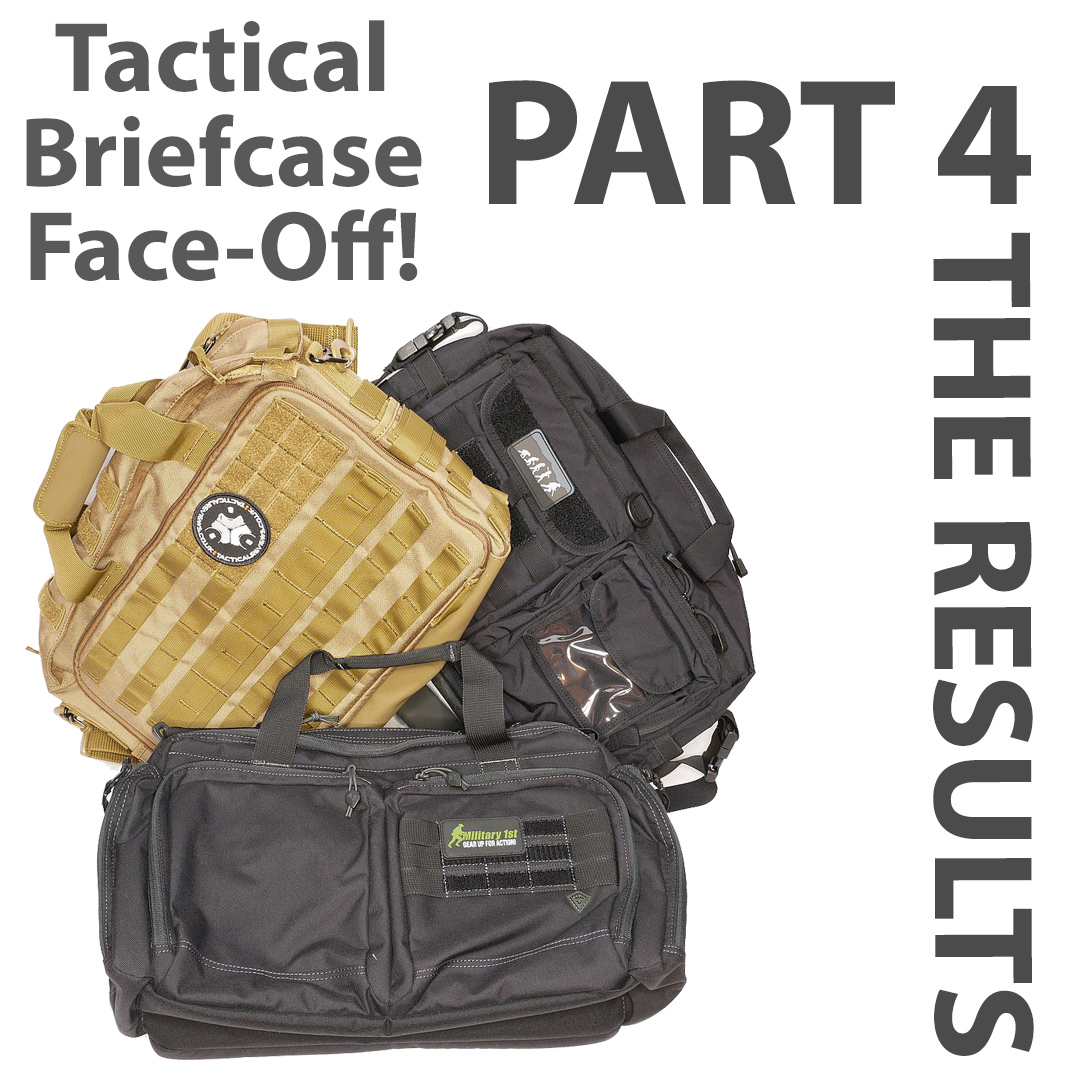
Part 4 of the Tactical Briefcase Face-Off is all about the results! All three Tactical Briefcases in the Tactical Briefcase Face-Off series came from Military 1st who I’ve been buying from for many years.
This series of reviews was originally planned to be a single group review, but has evolved into something much larger as I used each of them for EDC, lived with them, got to know them well, and more and more needed to be shown. In parts 1-3, each of the three Tactical Briefcases (First Tactical Executive Briefcase, Hazard 4 Ditch Bail Out Bag and Condor Metropolis Briefcase) has been shown in detail, and now in Part 4, it all comes together to explain how I got on with each one and their strengths and weaknesses.
Part 1, featuring the First Tactical Executive Briefcase can be seen here.
Part 2, featuring the Hazard 4 Ditch Bail Out Bag can be seen here.
Part 3, featuring the Condor Metropolis Briefcase can be seen here.
The video tour of all three Tactical Briefcases:
In case you haven’t seen the video overview on Tactical Review’s youtube channel, here it is. This video covers all three of the bags.
Part 1 – The First Tactical Executive Briefcase:
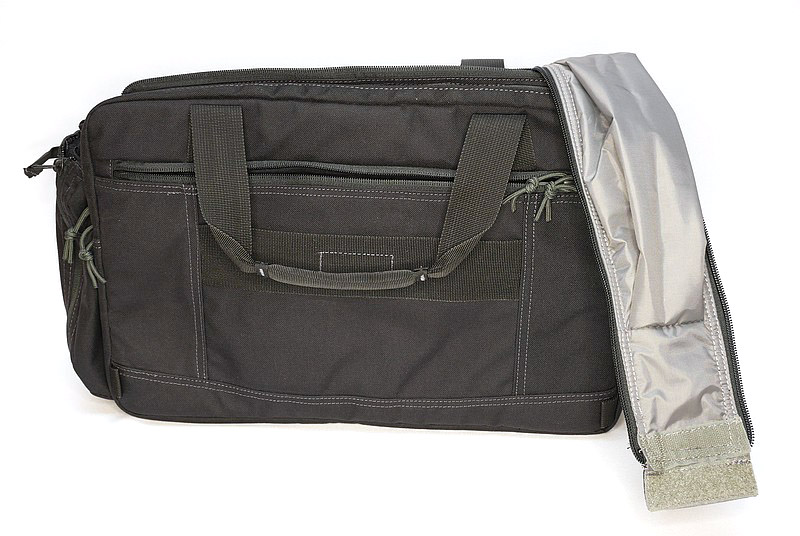
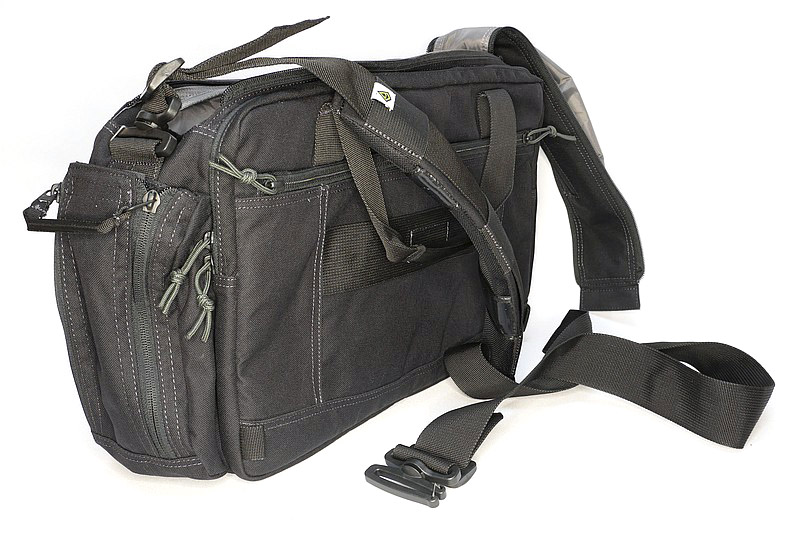
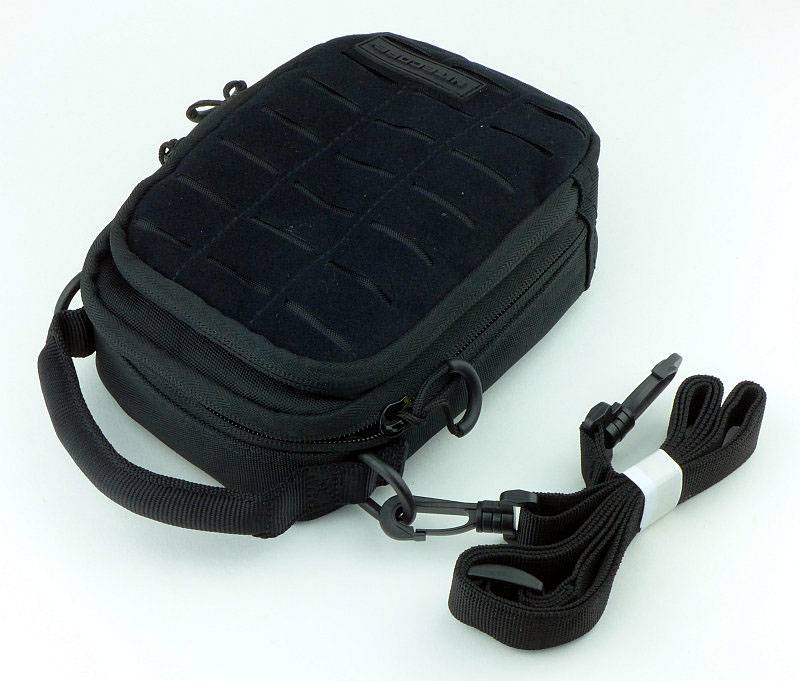
The story of this Tactical Briefcase Face-Off series of tests starts with the bag in Part 1, the First Tactical Executive Briefcase.
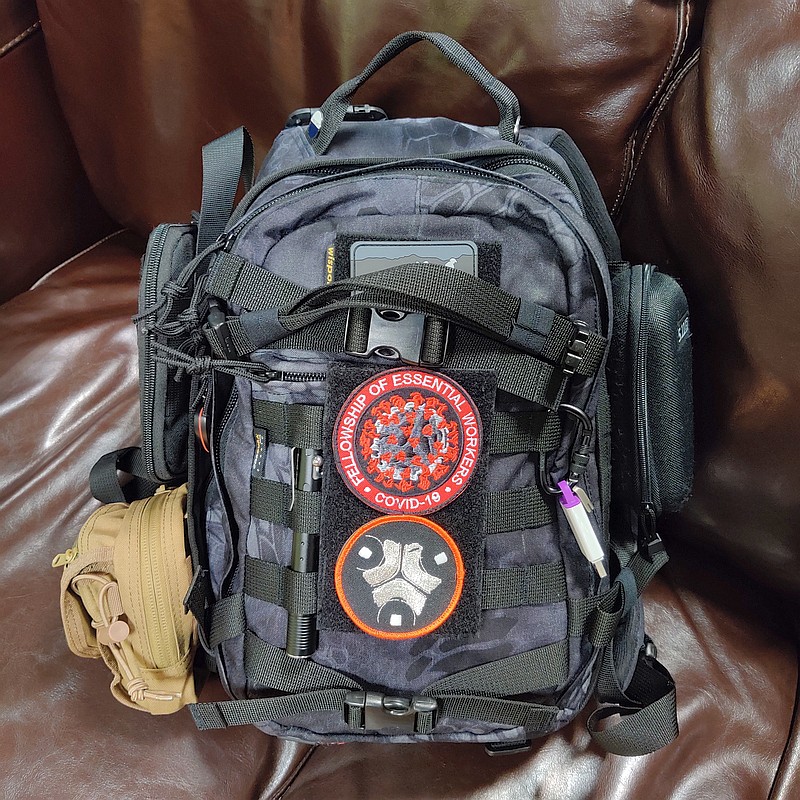
These briefcases all have to follow in the footsteps of my established 20l EDC backpack. Over the years, this 20l class of backpack has fitted in nicely with my EDC needs, and the most recent of these being the Wisport Sparrow 20 (also reviewed here).
Taking this as my optimum starting point, all the Tactical Briefcases would need to measure up in terms of capacity, storage and function.
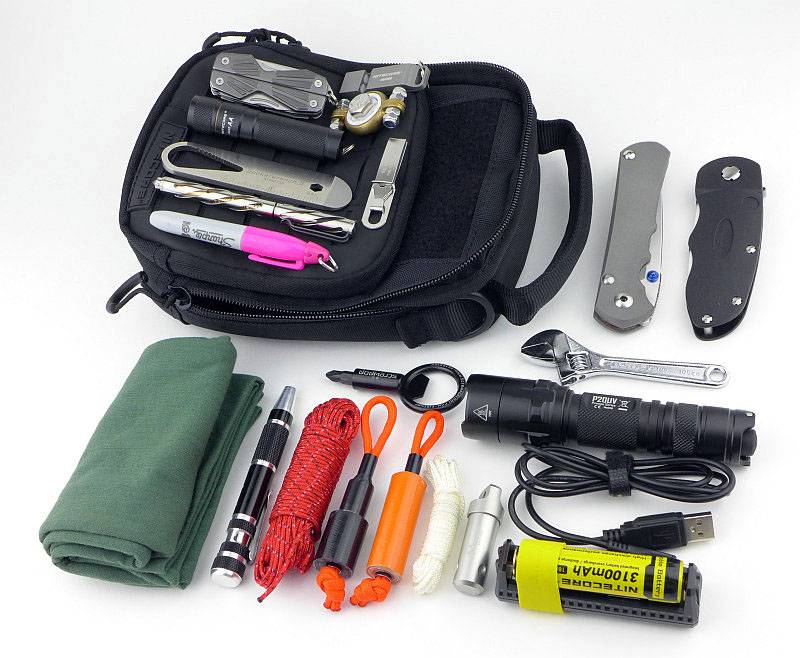
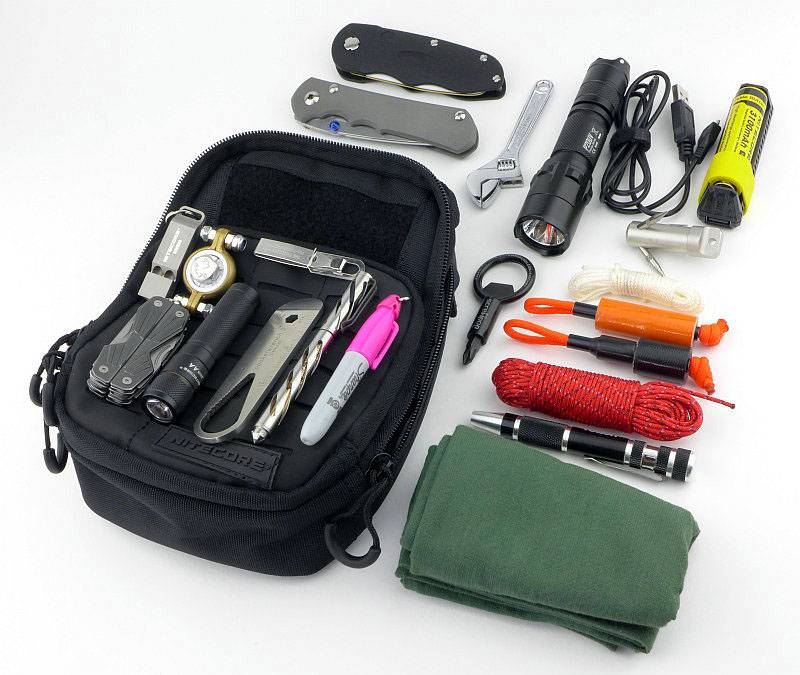
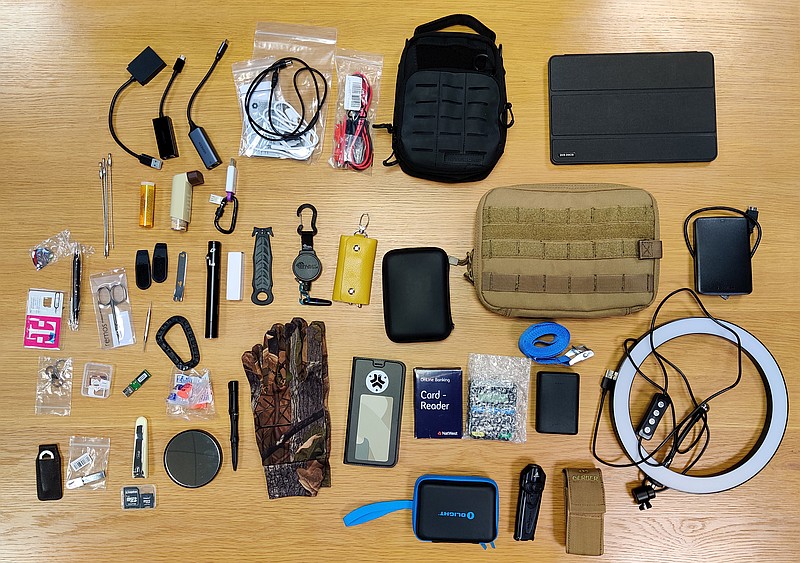
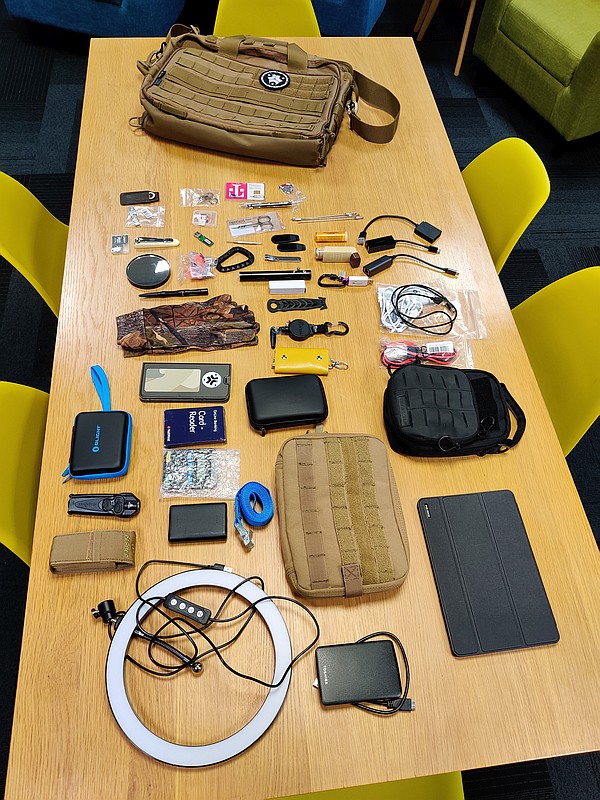
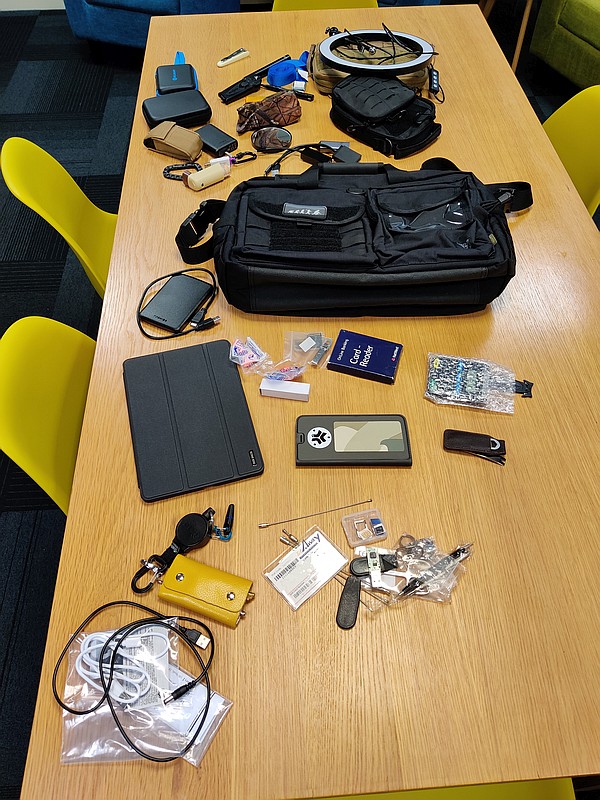
We all carry a variety of gear, and I just went with what I actually do EDC rather then contriving a test. Laying it all out ready to move over to the First Tactical bag, this is what I currently carry, and I’m not even going into the contents of the two organiser pouches in there.
So it’s all moved over, and there is room to spare, an easy and straightforward bag move; immediately feeling comfortable and reassured the bag will stand up to use.
Then I EDCed this bag for two weeks before considering a swap to the next.
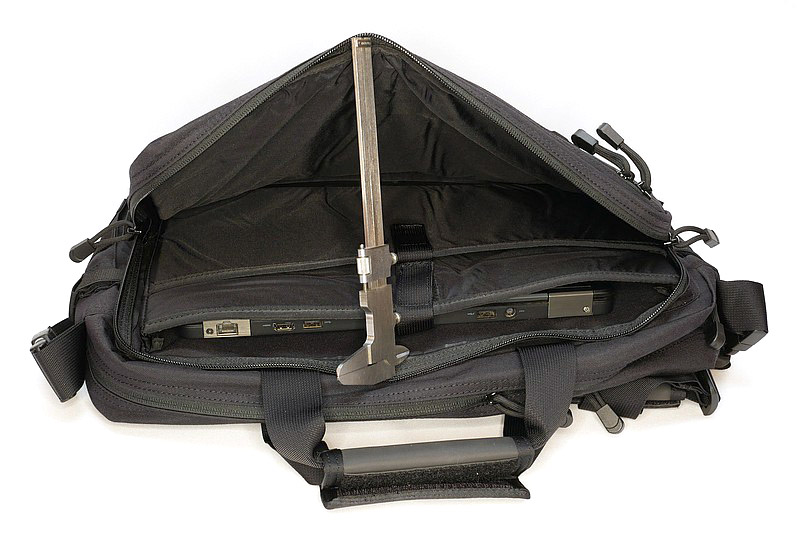
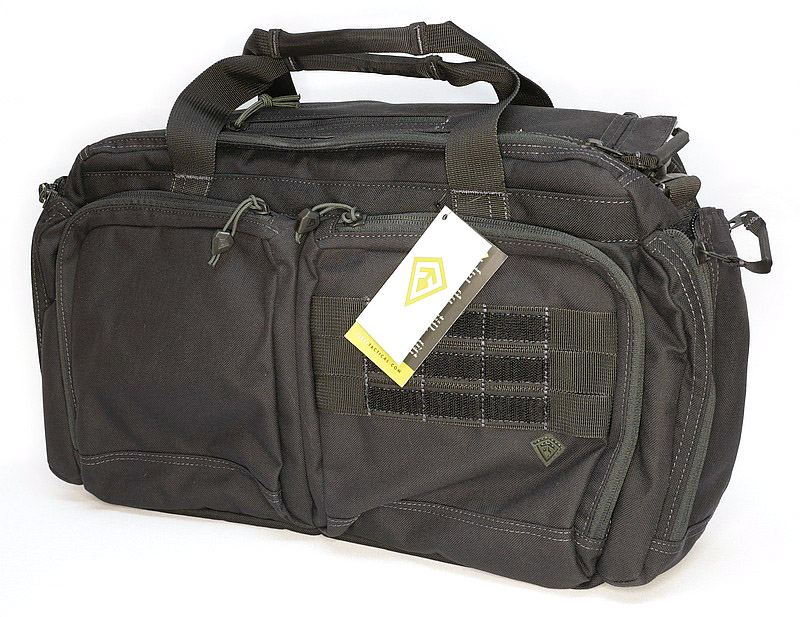
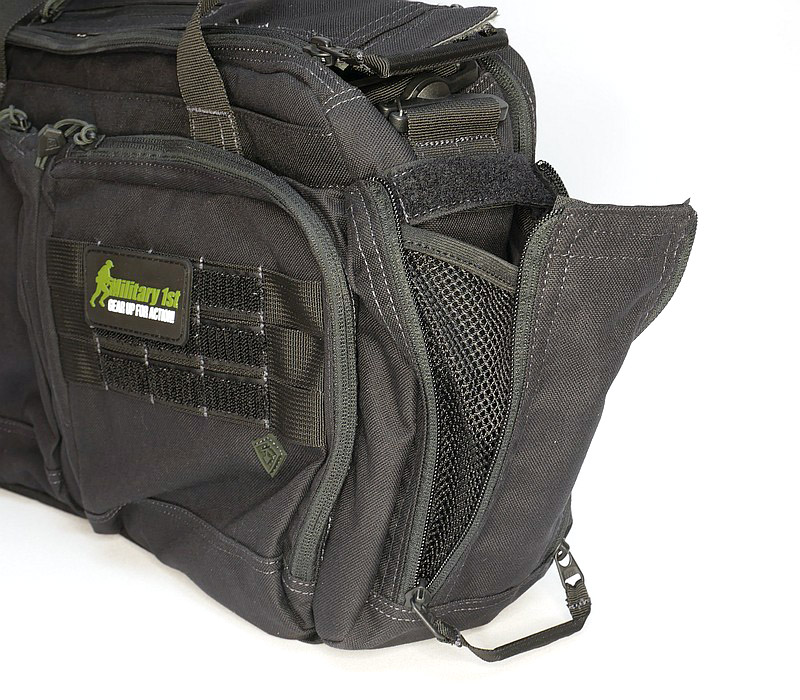
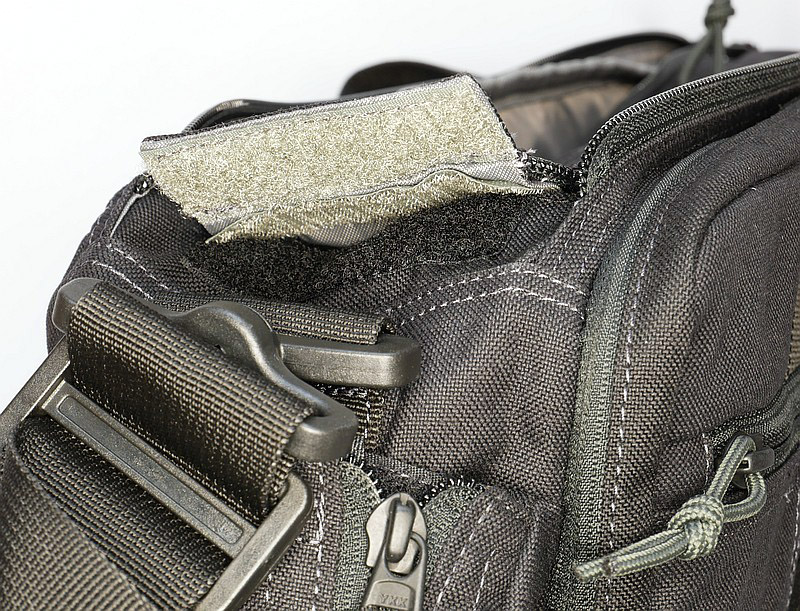
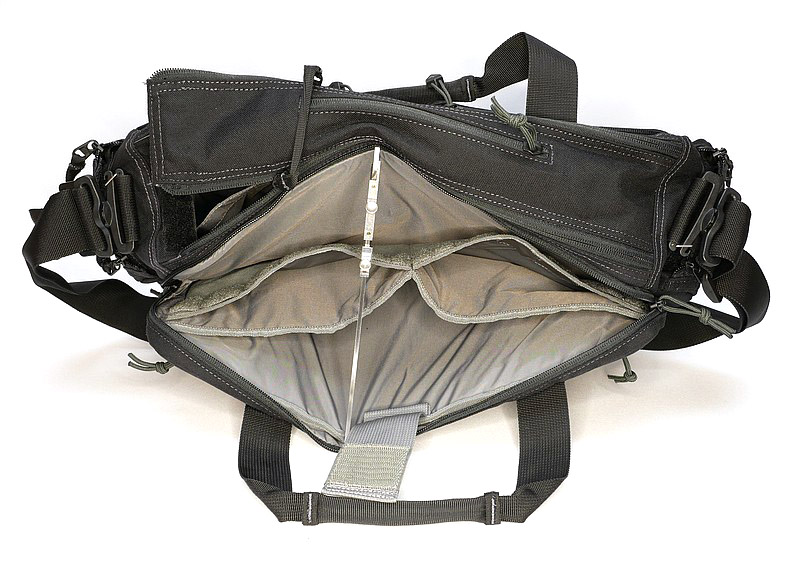
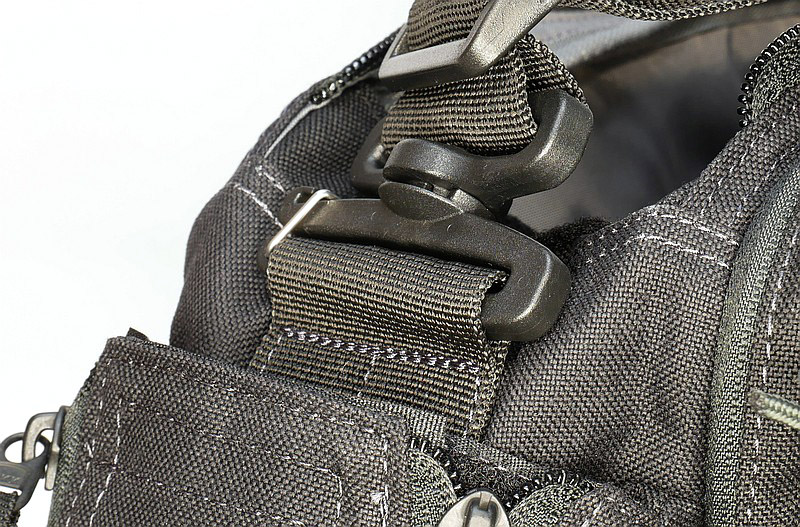
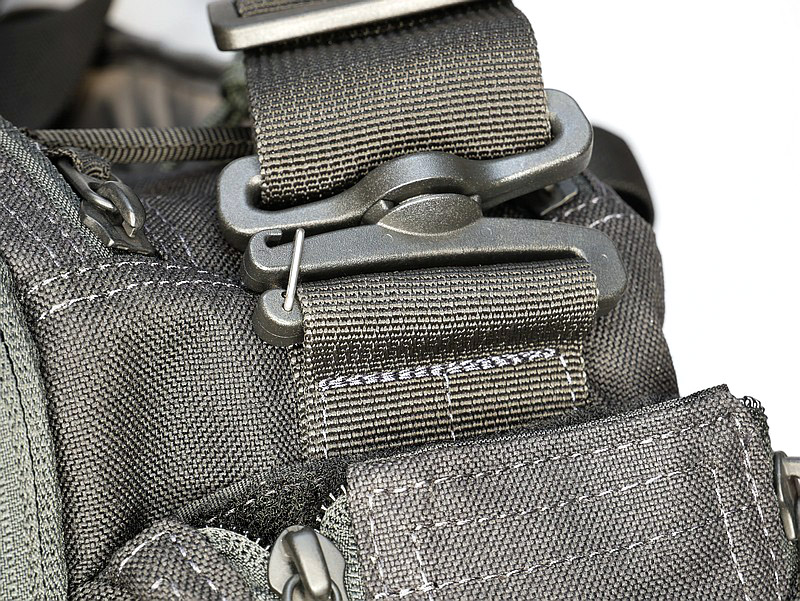
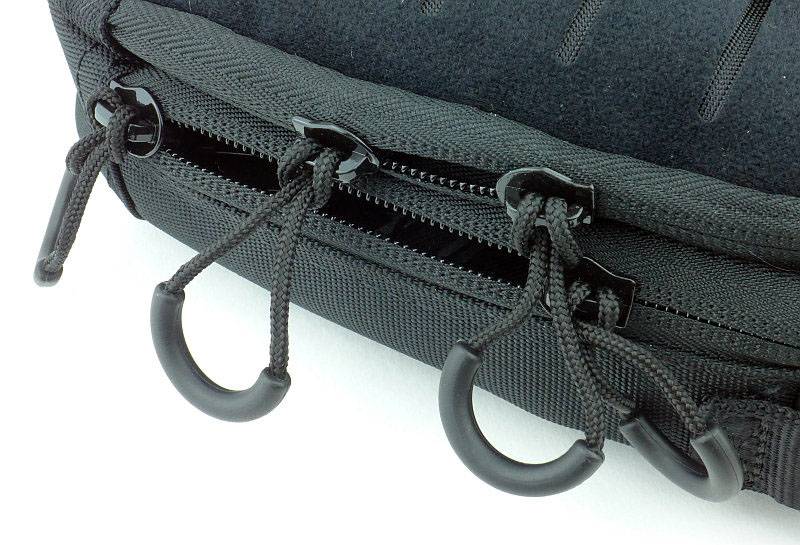
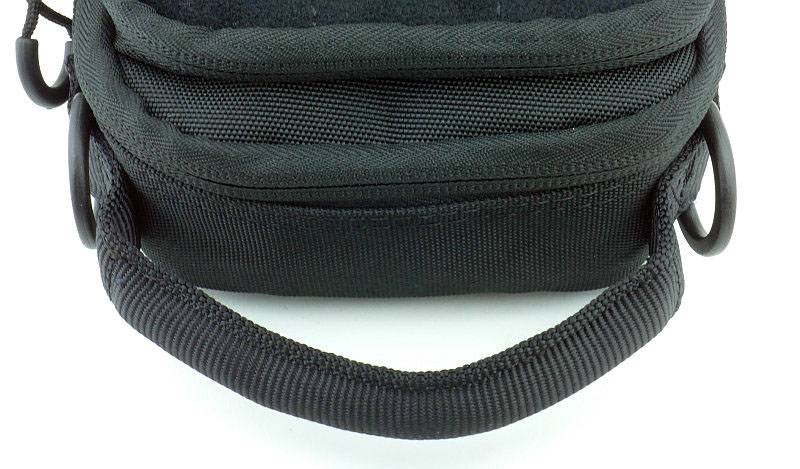
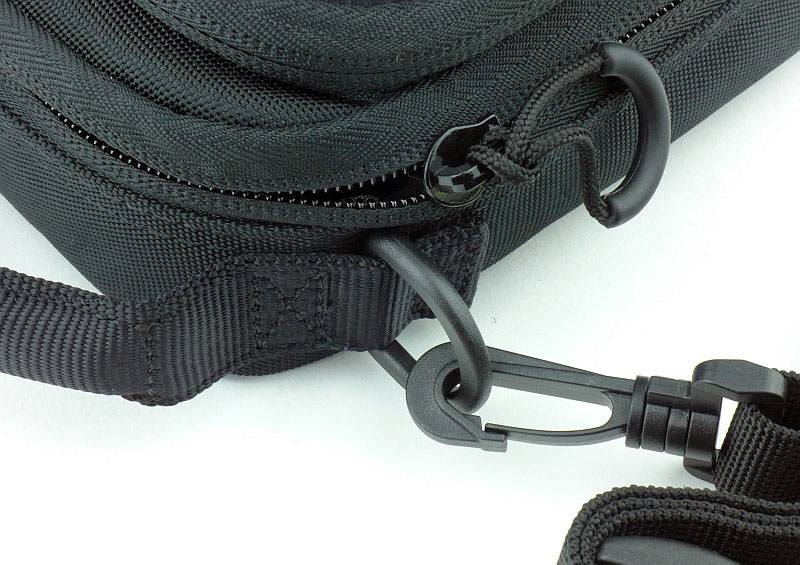
At this stage where I didn’t have any comparison of using the other bags, I could only consider the first impressions of this one on its own. Sturdy and comfortable would be the words that come to mind. The well padded strap made carrying it very easy despite now having only a single strap compared to a backpack with two. The strap is also super stable, and doesn’t slip off the shoulder thanks to the rubberised grip-strips on the strap pad. On the floor it is nice and stable in the upright position, and the double-zipped top flap makes for very easy access to the main compartment, just make sure you put the most needed items near the front of the compartment.
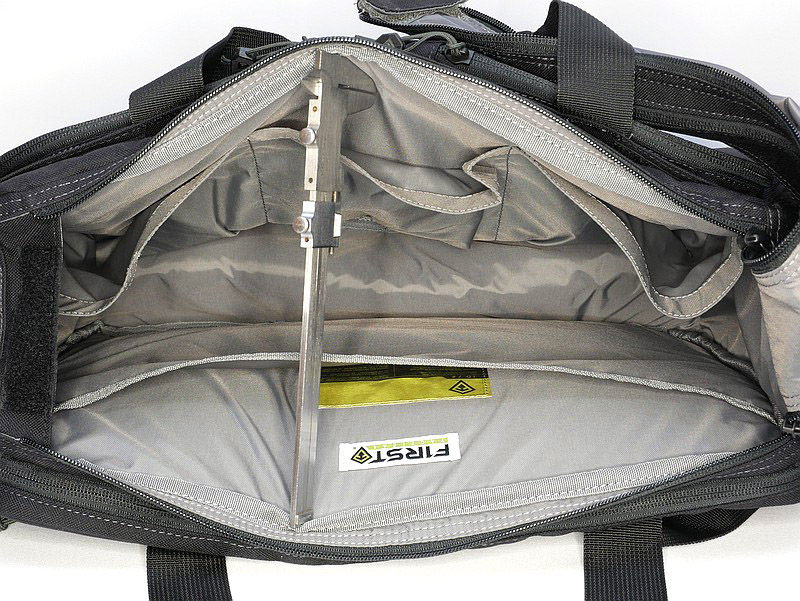
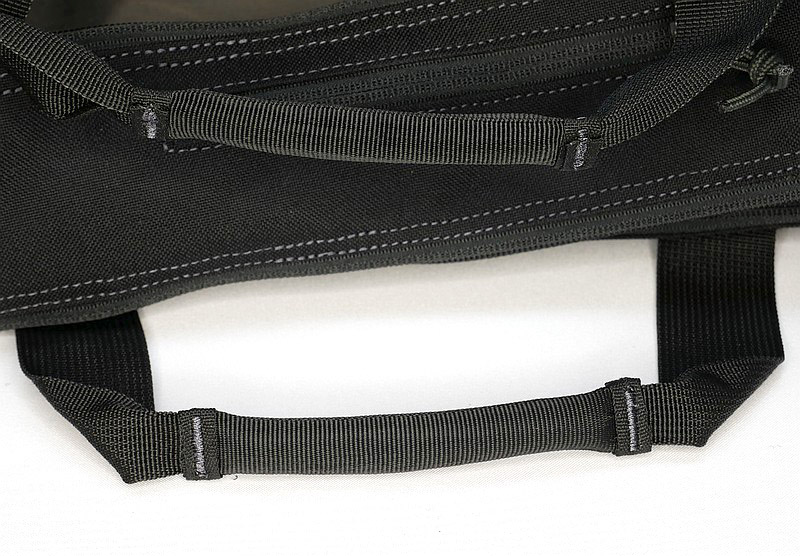
The well made handles also add to the sturdy feel of the bag and when carrying with the handles they feel very strong. I keep a 10″ tablet in the laptop section rather than a laptop, and this only needs one side of the padded section, easily accessible with the twin zip.
With all the compartments using zip closures, noise levels are low when getting bits and pieces out, although when carrying it is prone to a bit of strap buckle squeaking from the swivels.
A strong start to the face-off series.
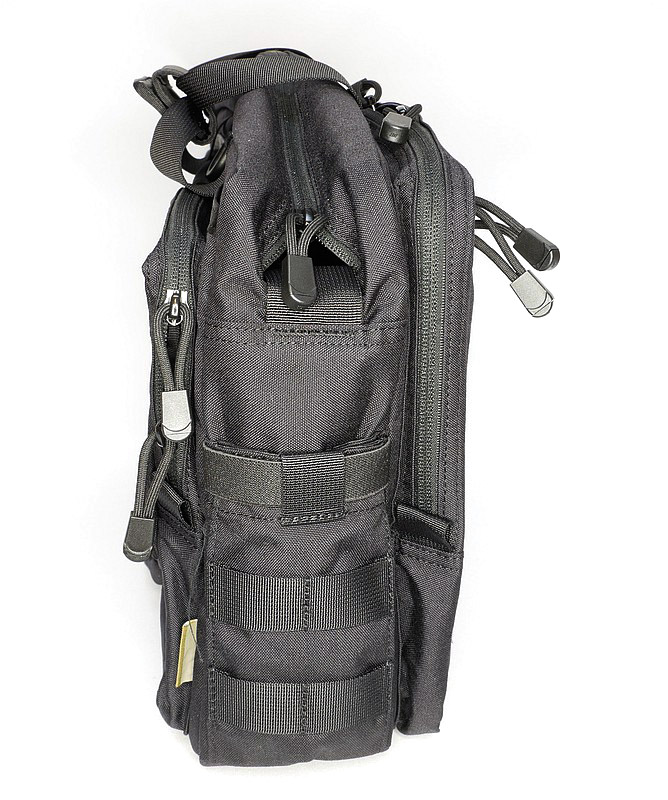
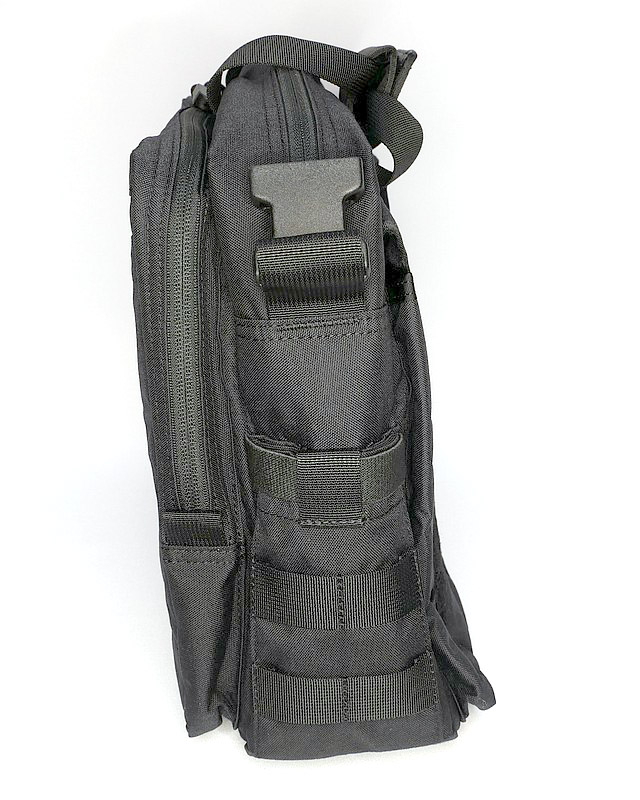
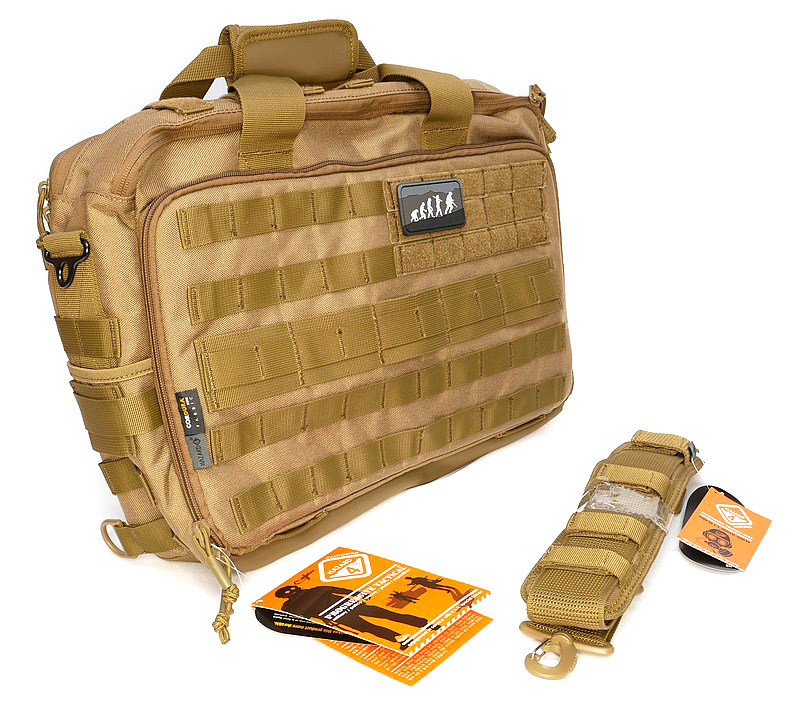
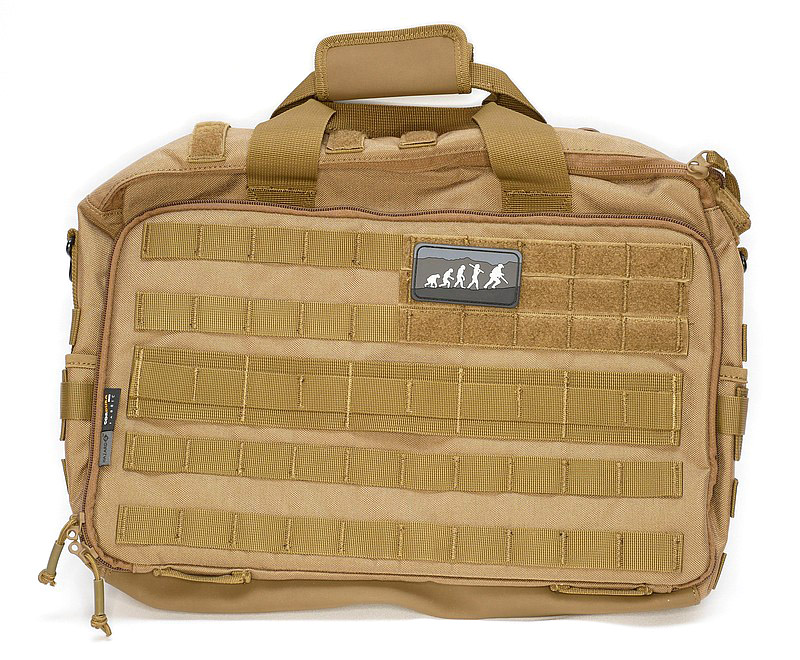
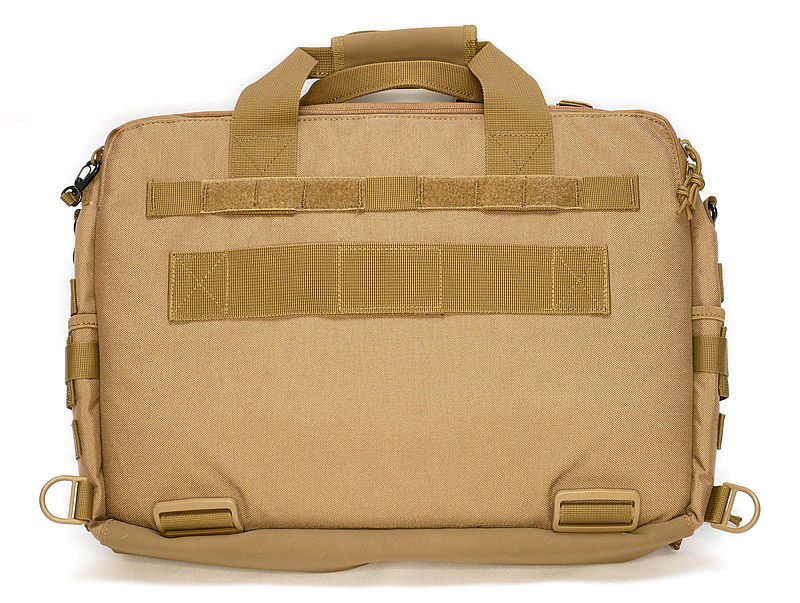
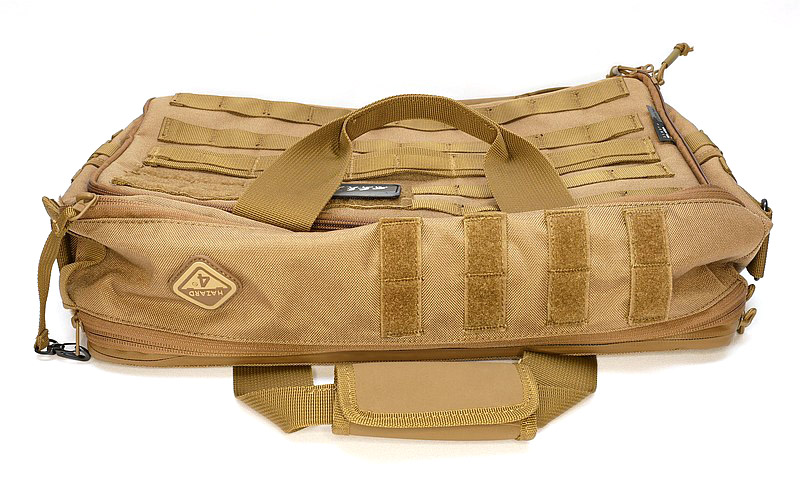
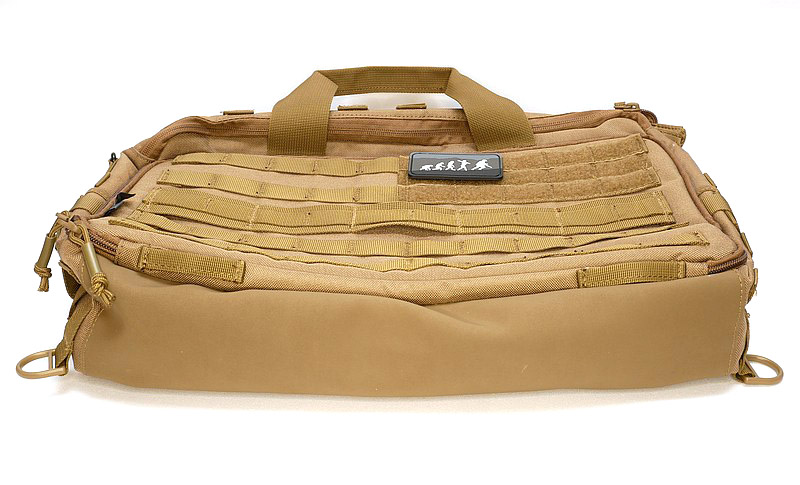
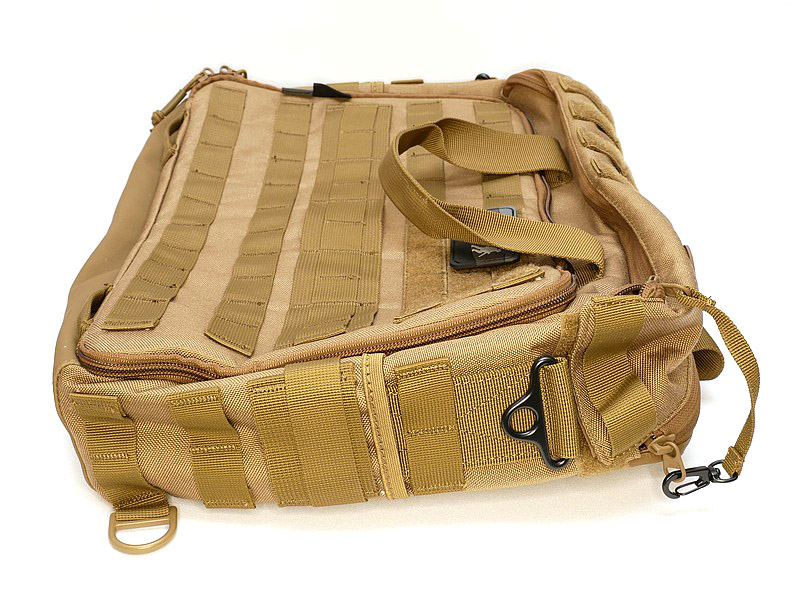
Part 2 – The Hazard 4 Ditch Bail Out Bag:
Hazard 4, oh Hazard 4, I do like Hazard 4 quality, so wanted this to be my favourite. I always try not to allow any bias into my assessment of gear, so had to have strong words with myself on how I was going to view this one.
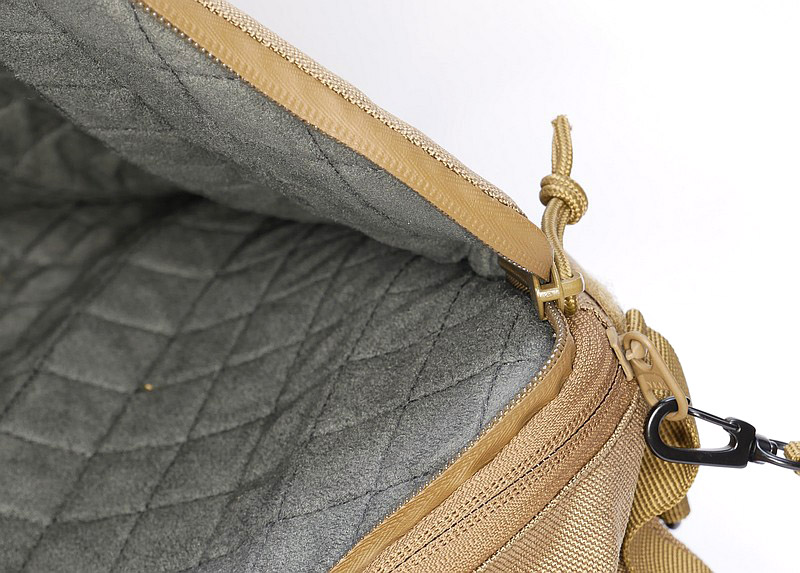
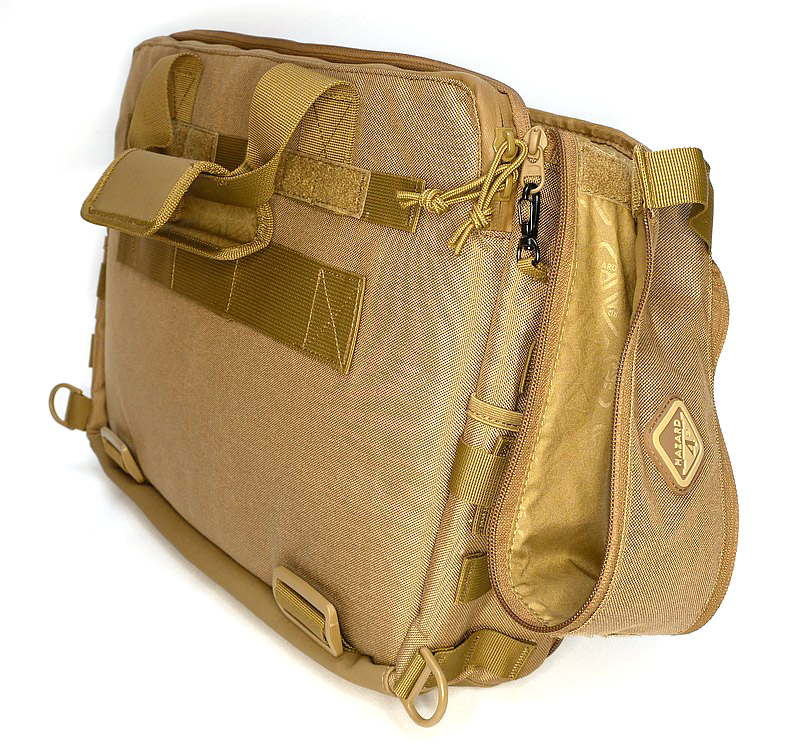
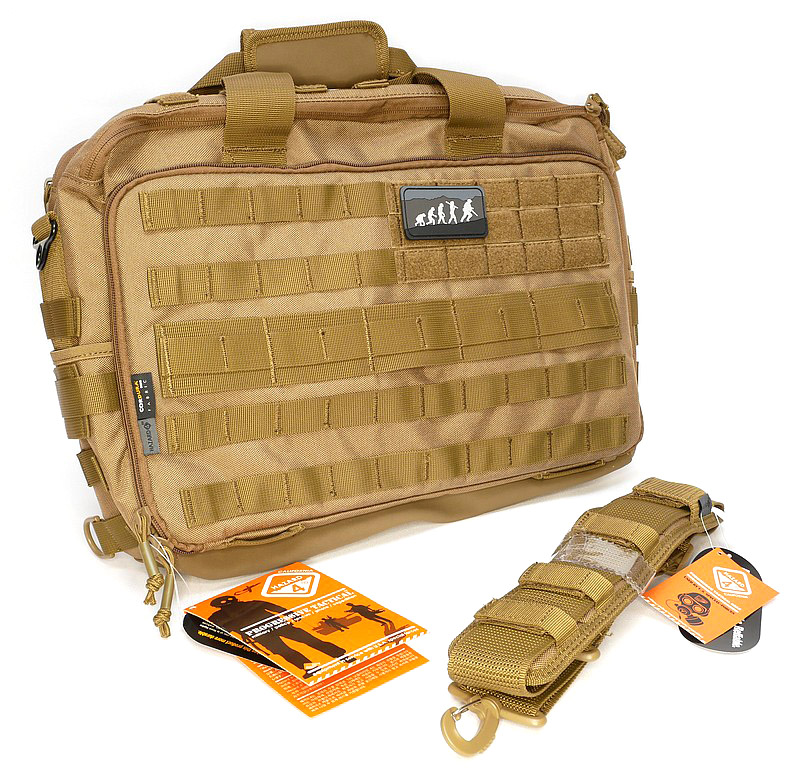
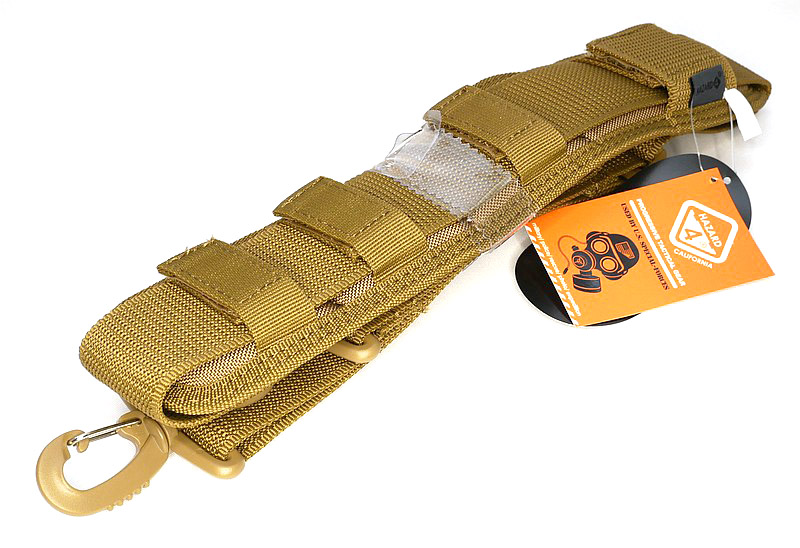
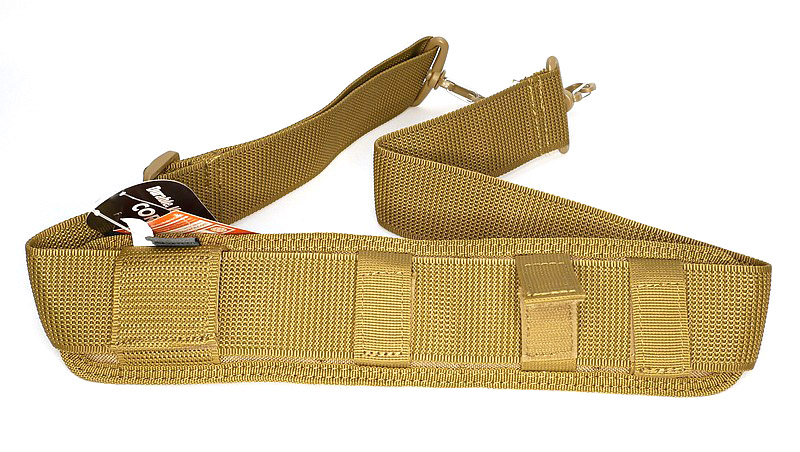
Of the three, the Hazard 4 was the only one not to come with a shoulder strap. I understand why, but actually don’t think it is right that it doesn’t, considering the price point. There isn’t much choice in matching shoulder straps, really only two, the one on test, and a version with additional stabilisation strap that clips onto another loop on the bag. As a separate item, the strap is however of a quality that justifies it being an item itself, and not something made to fit within the overall pricing.
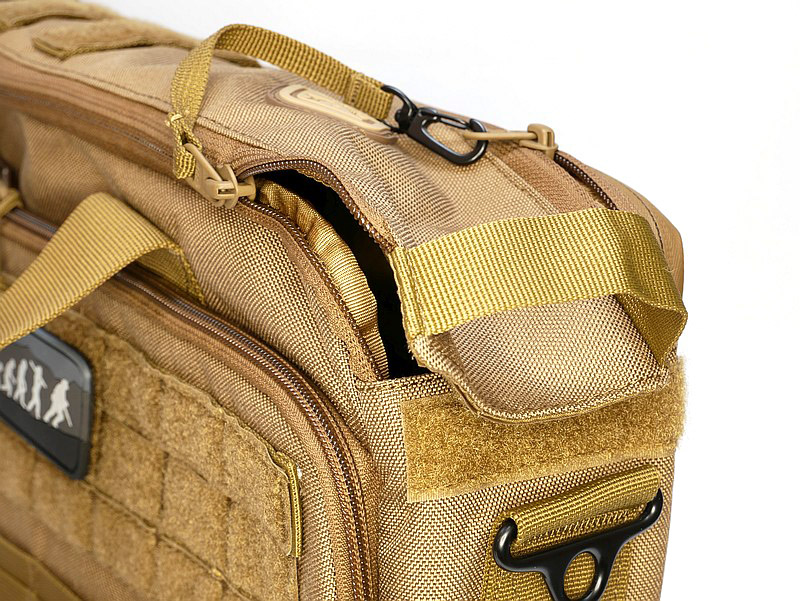
The use of a different fabric on the bottom that is waterproof and wipeable is a great touch and gives the impression this bag will definitely go on and on.
On swap-over day; laying out everything ready to move it over.
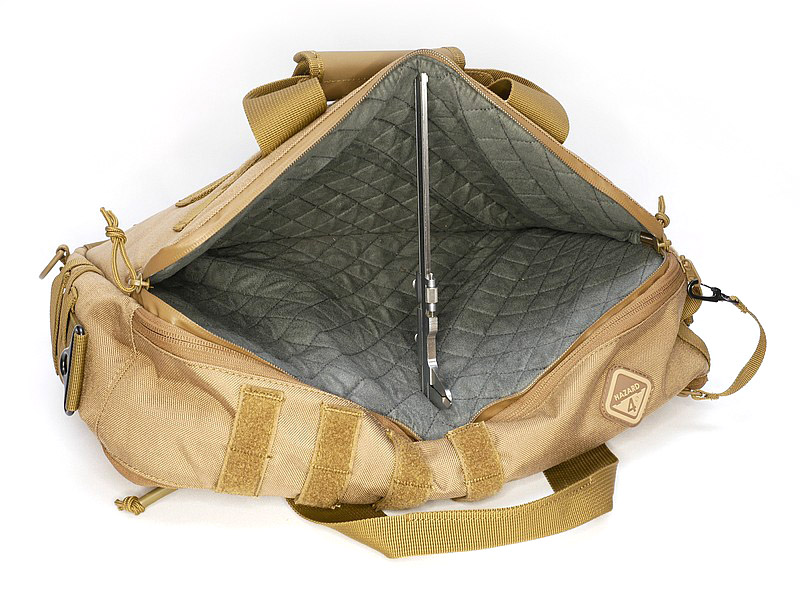
Slightly surprisingly, it was a bit more of a challenge to fit everything in, with the bag developing a bulge on the admin panel side. This, combined with the padded laptop compartment on the opposite side being quite rigid and stiff, gave the bag an imbalance and it seems to want to topple over rather than sit upright. This tendency continued throughout the fortnight it was in the EDC rotation, and was somewhat annoying. It was as if the laptop section was a bit too big for the side of the bag, which also impacts on the carrying capacity.
Reliability was never in question, and the strap made it comfortable to carry. Both because the contents seemed to fill it more, and the lack of capacity to take any top-up EDC items, made it appear smaller than the First Tactical bag. This was also noticeable while carrying it; I did not knock into door frames or walls with it (as much), so carry was easier, and more streamlined.
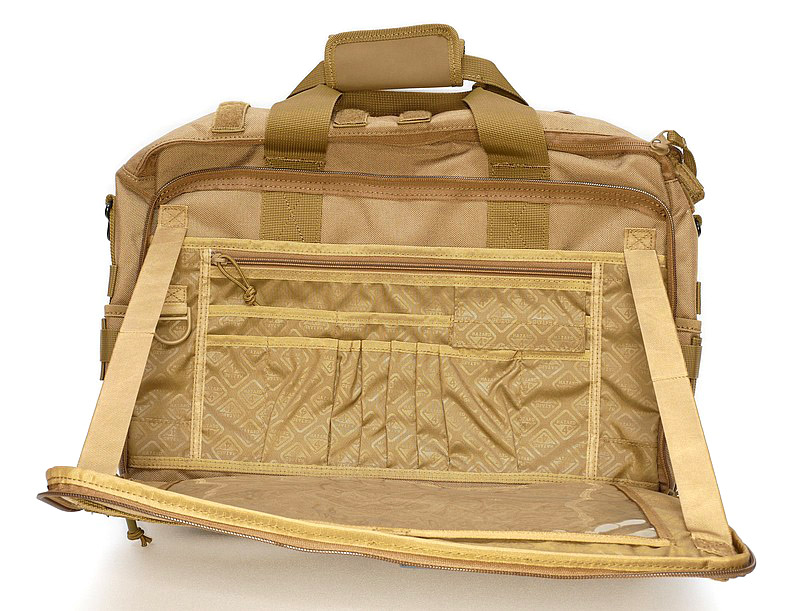
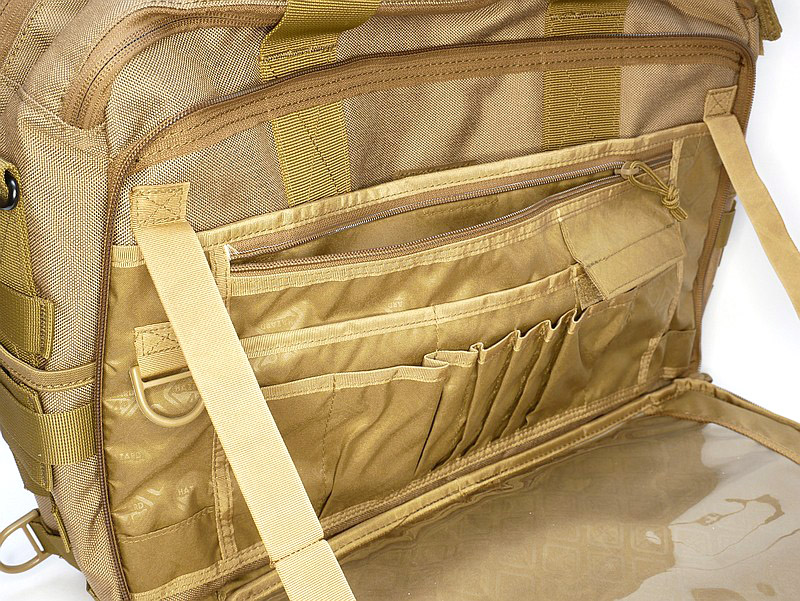
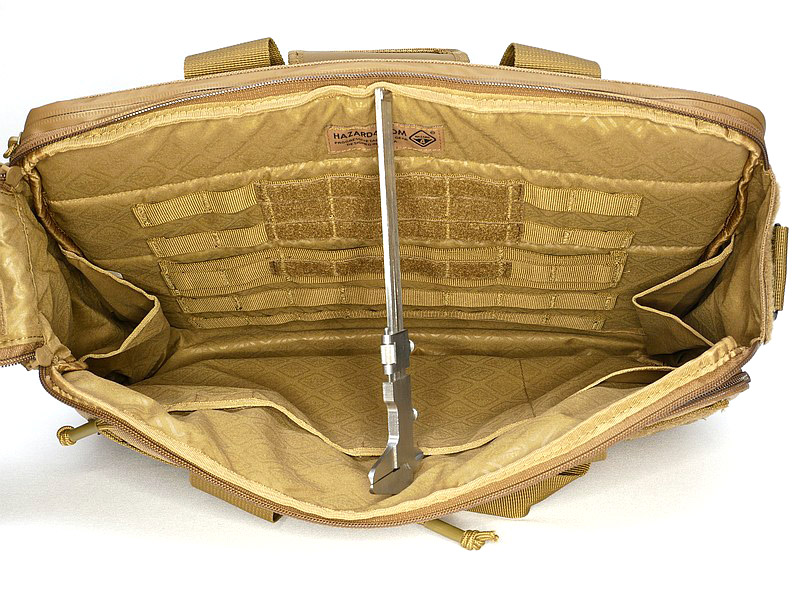
With the admin panel being the whole side, instead of a couple of smaller pockets, it was not as easy or convenient taking out a few bits a pieces. It would be more suited to a kit of items where you need to see them all at once to pick the one you want.
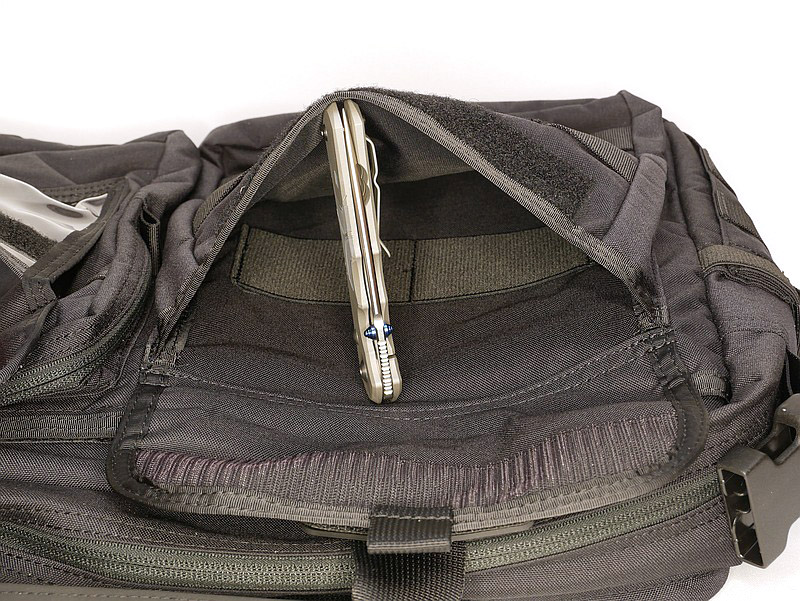
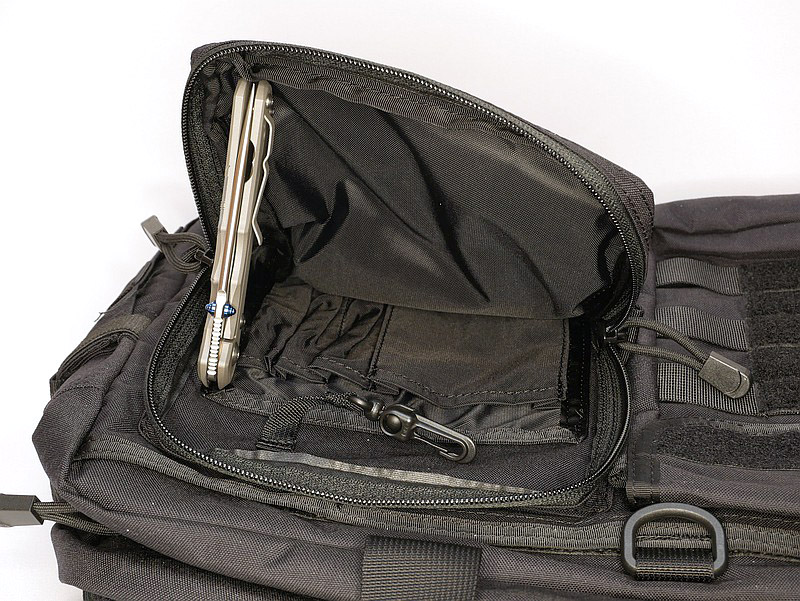
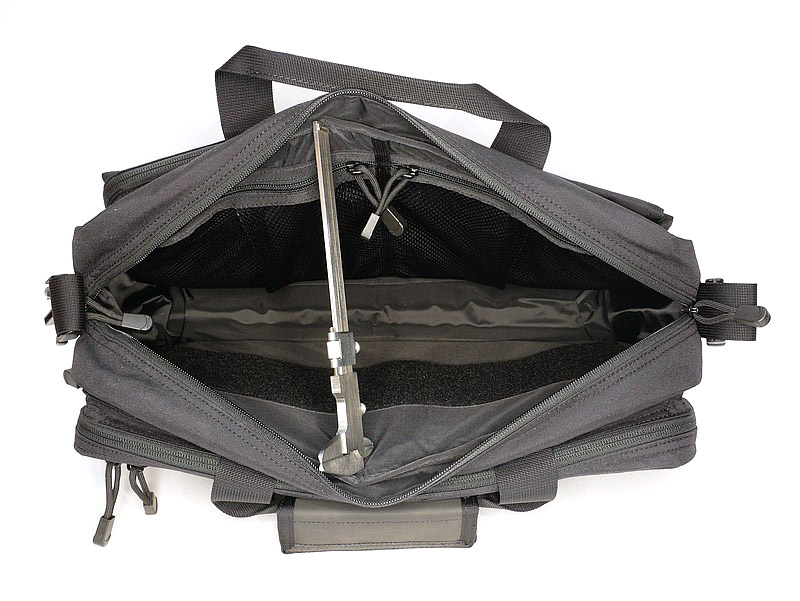
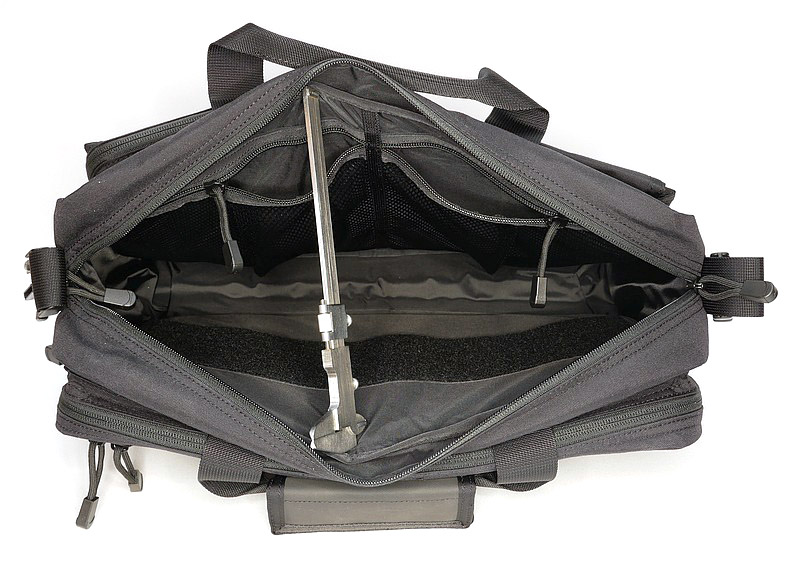
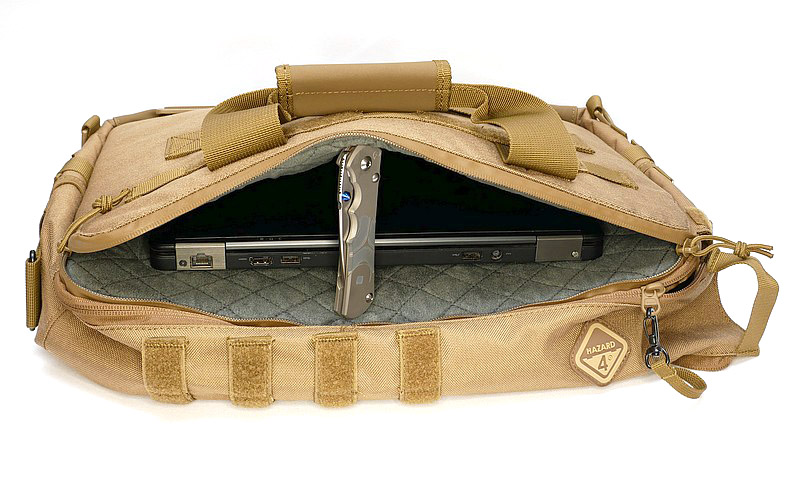
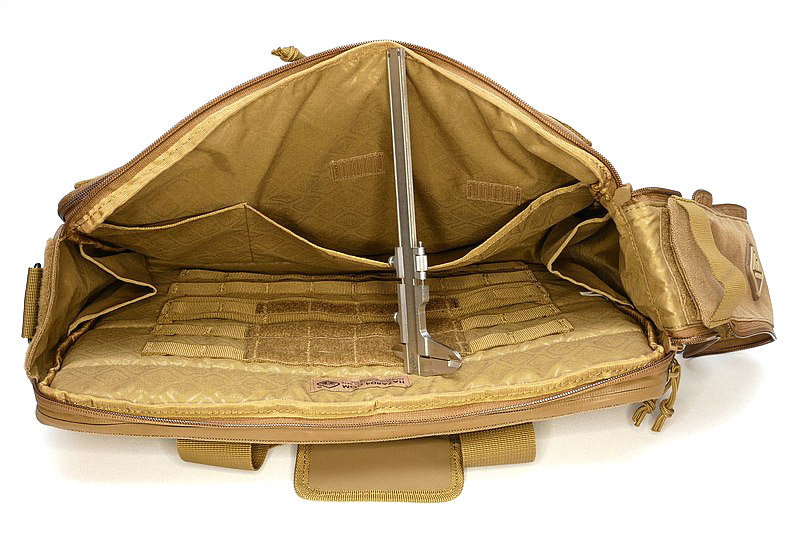
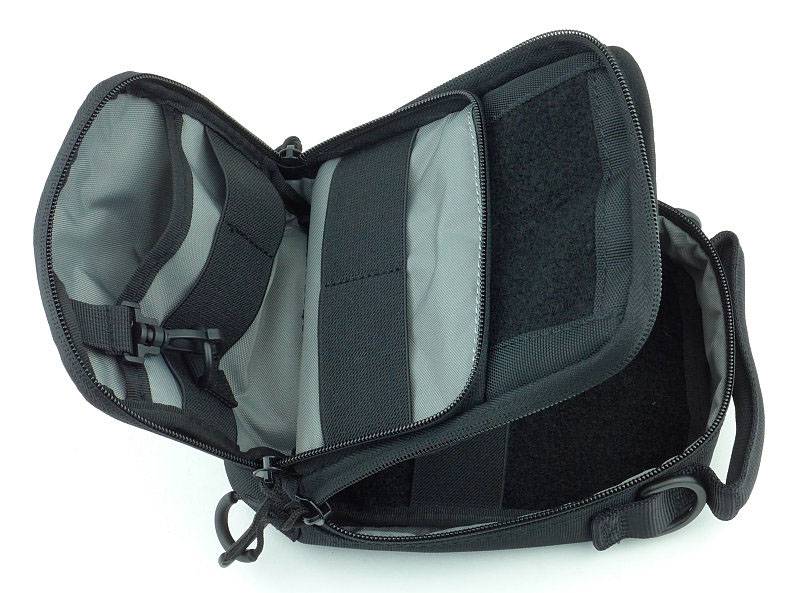
The main compartment however was very usable, with the internal end pockets, pockets on one side and a versatile webbing panel on the other. Access is quick and easy with the lightweight double-zip flap top.
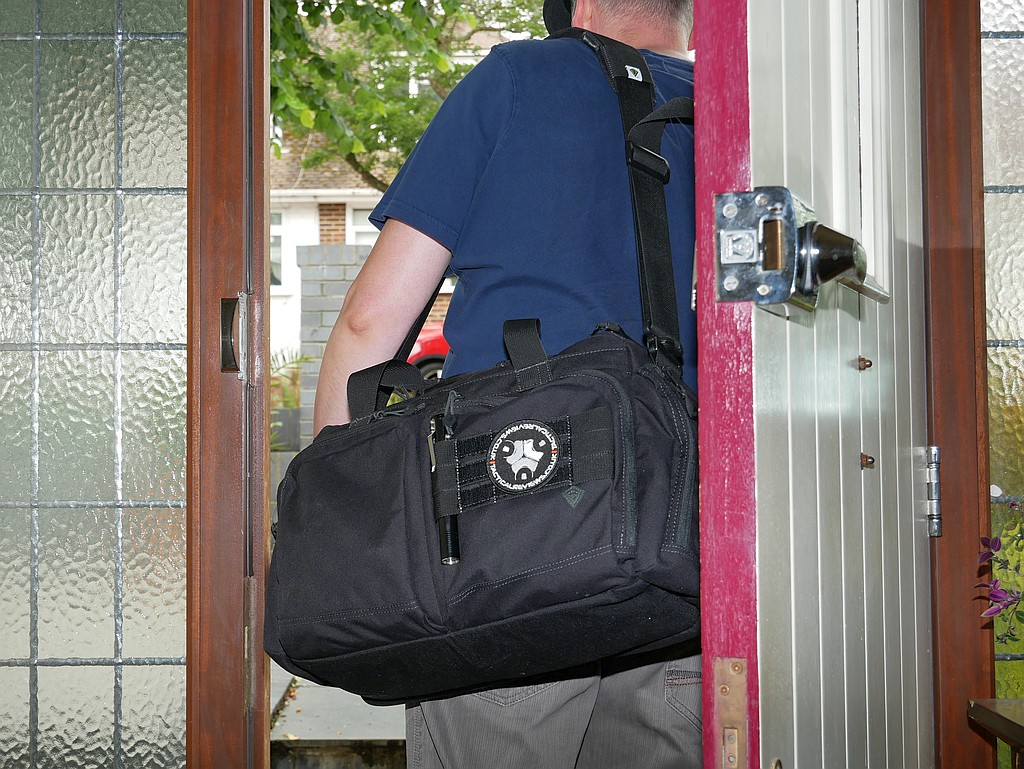
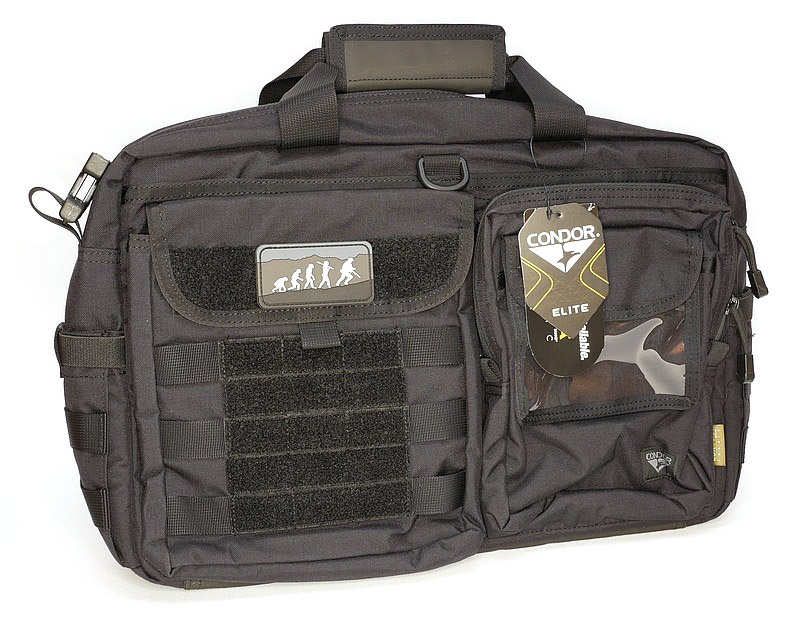
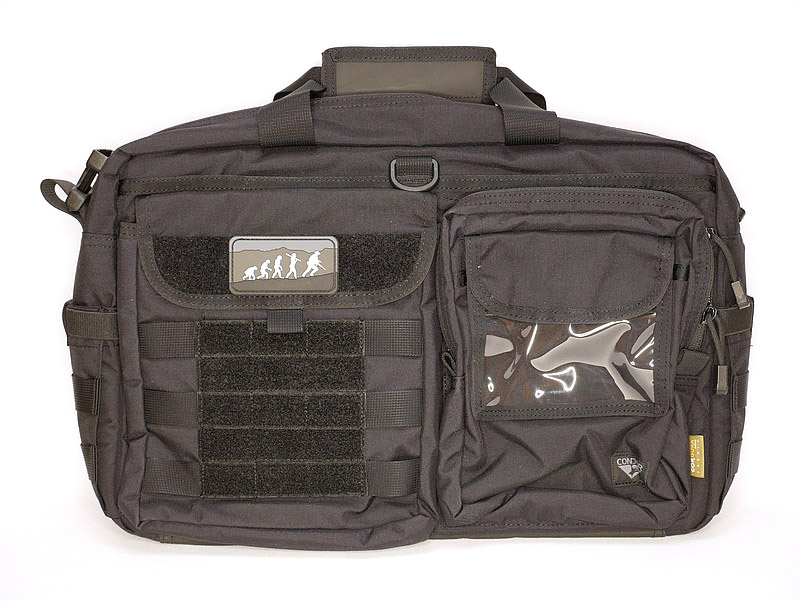
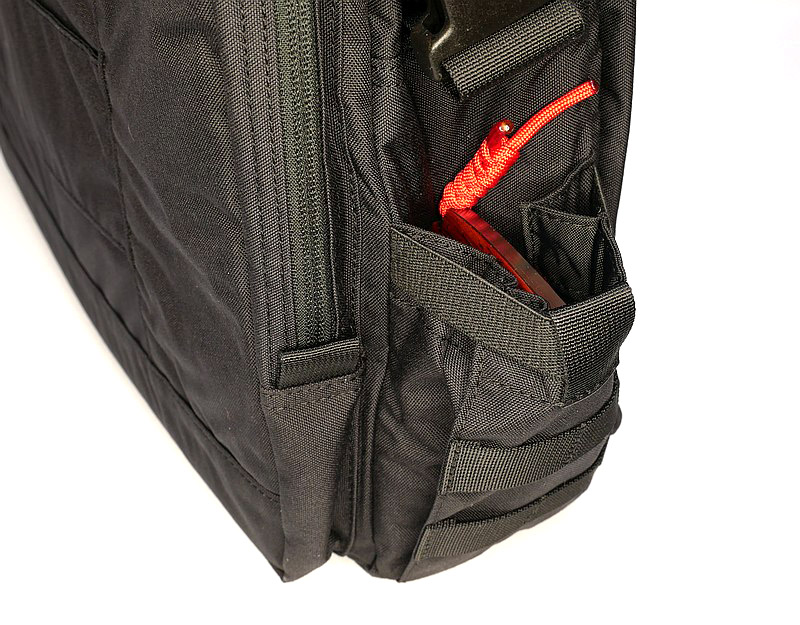
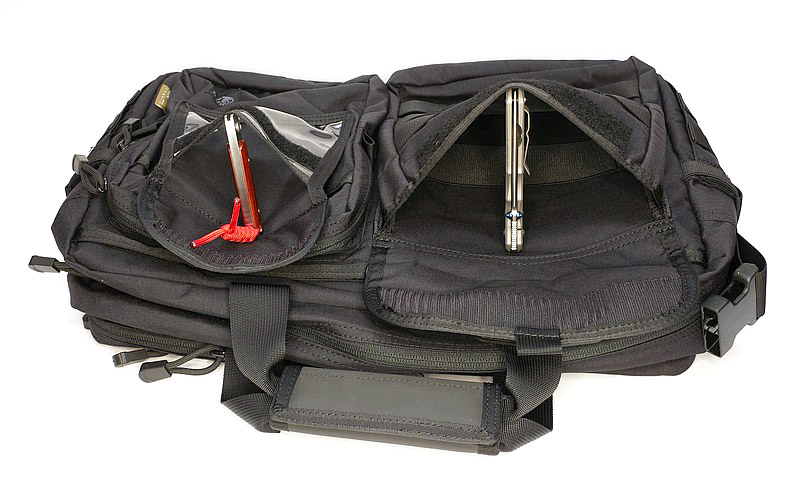
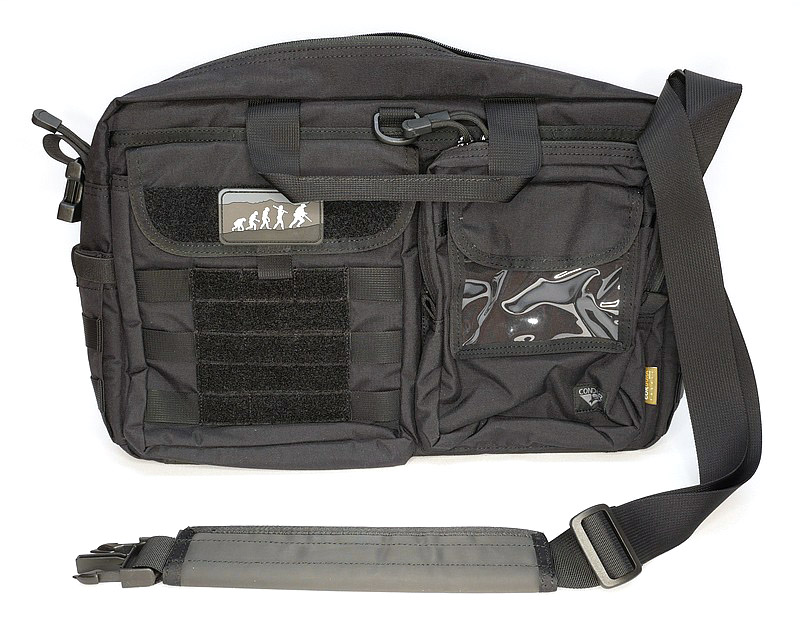
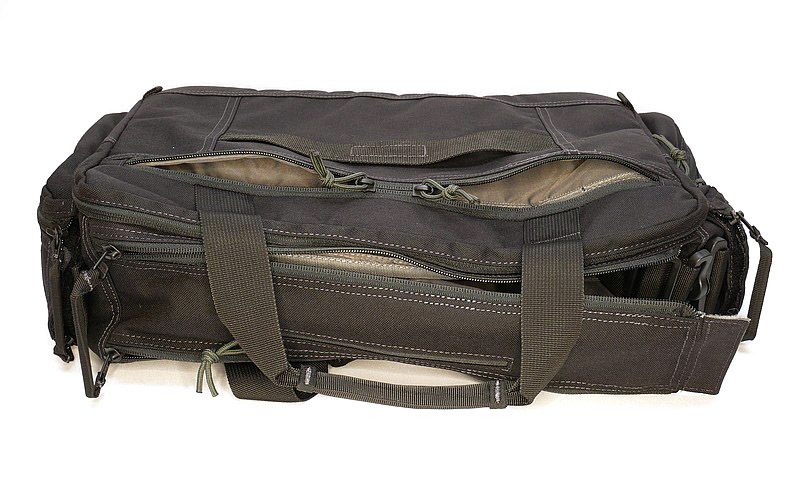
Part 3 – The Condor Metropolis Briefcase:
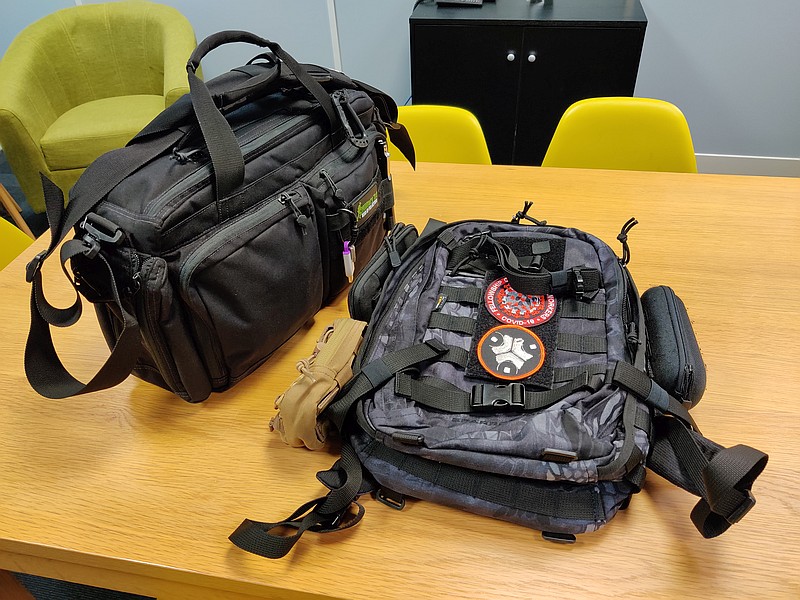
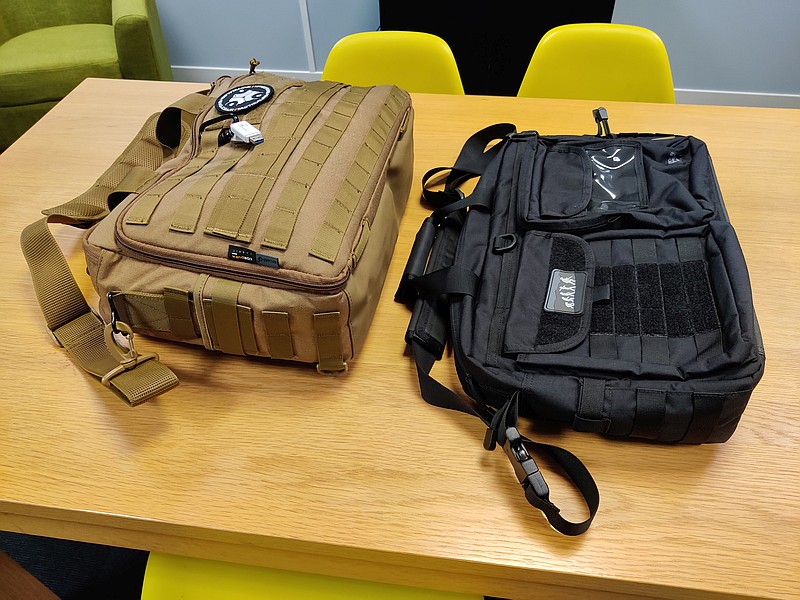
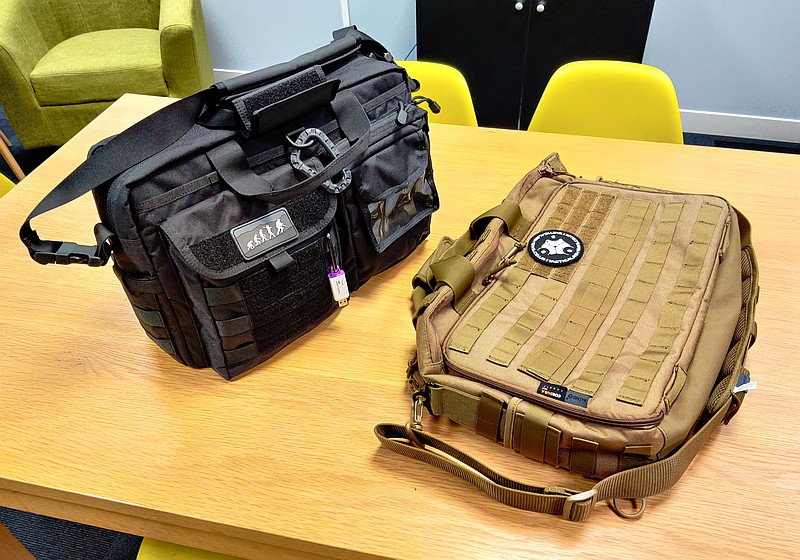
And the transfer day for the last bag in this series after two weeks with the Hazard 4 – the Condor Metropolis Briefcase. A quick pre-transfer comparison, with the Condor looking like it might be quite similar in capacity to the Hazard 4.
Ready to start packing everything away to get it to all fit in the right way for my regular needs. By this stage I was finding that it is quite a challenge to keep reorganising gear you use all the time after having just got more or less used to where it was in the previous bag. The different pouches, pockets, sections make you rethink where things need to go.
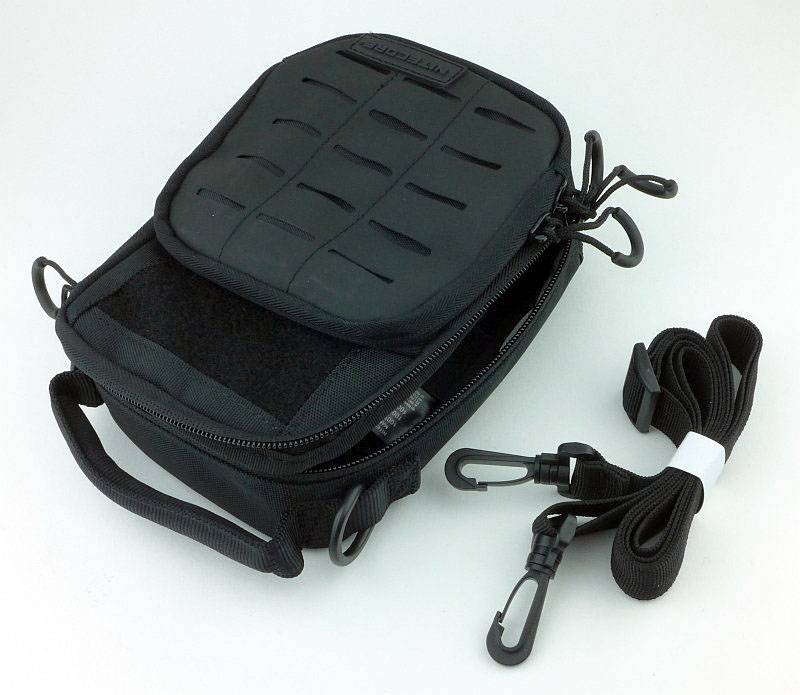
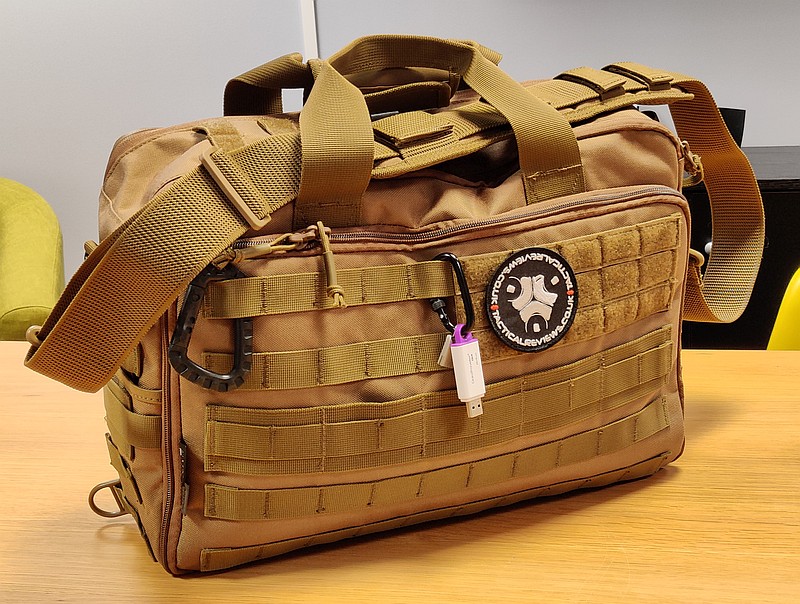
The Condor had no issues accommodating everything without bulges or struggling at all and it is sits upright happily on the floor. The sharp eyed might have spotted in the bag contents there is a large admin pouch in coyote, and this is a Condor too.
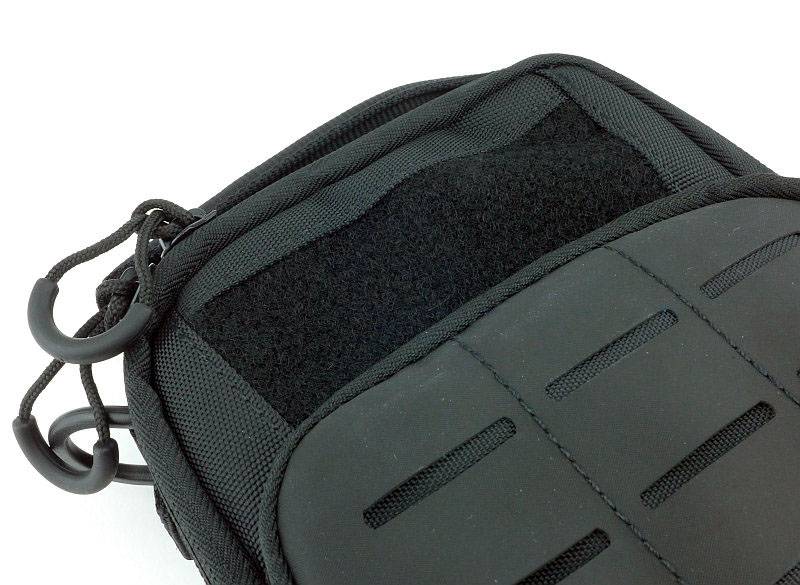
In this bag, more Velcro closures are used than the previous two. When in the workplace, ripping these open does make quite a bit of noise and attracts attention. Velcro also has the tendency that once you take one thing out, if the flap falls closed by itself, you then have to rip it open yet again to get item two out. One of the front pockets does have a zip for part of its compartment, but then Velcro for the other part, and the second front pocket is fully Velcro.
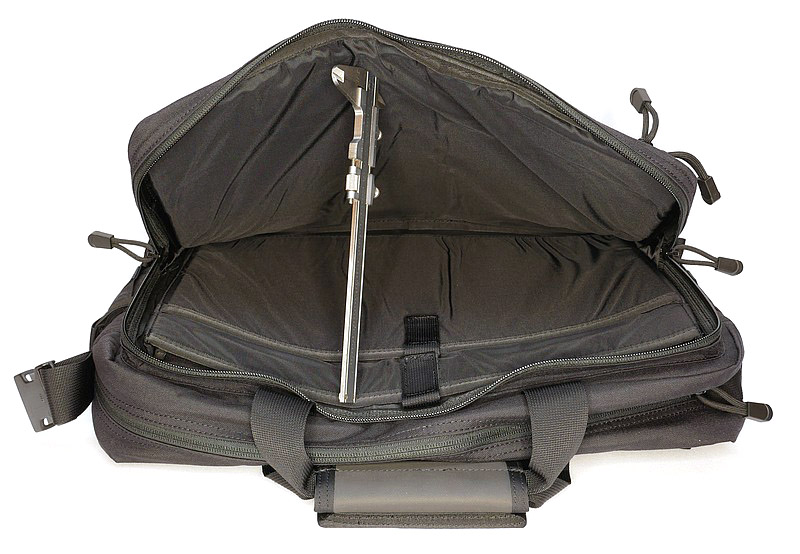
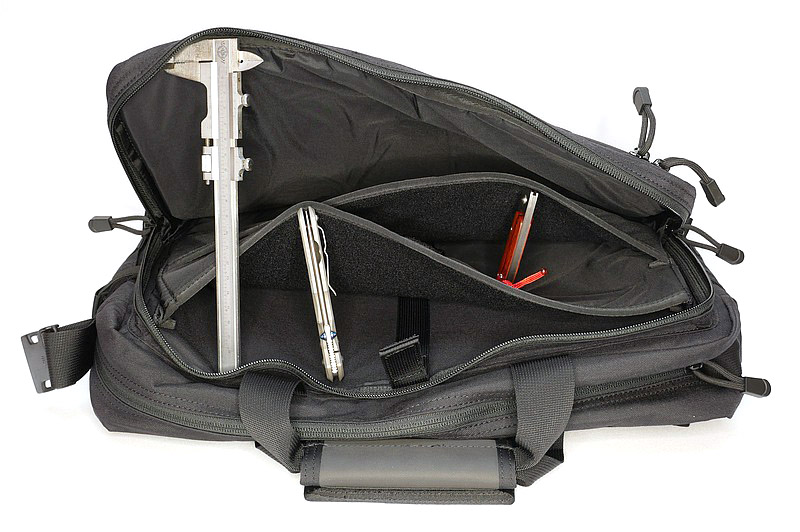
Access to the main compartment in this bag is via a single zip requiring you to ‘dig’ a bit more to find things as the compartment is not as openly presented as those with a double-zip flap opening.
The main compartment having only two mesh pockets is simple in structure. Mesh pockets don’t provide much protection for what is in them, or what is on the main compartment, but the mesh does mean it is really easy to see what is in which pocket without a rummage. It really depends on what you carry for how well they suit your needs. In my case I have several items that partially poke through the mesh if I’m not careful.
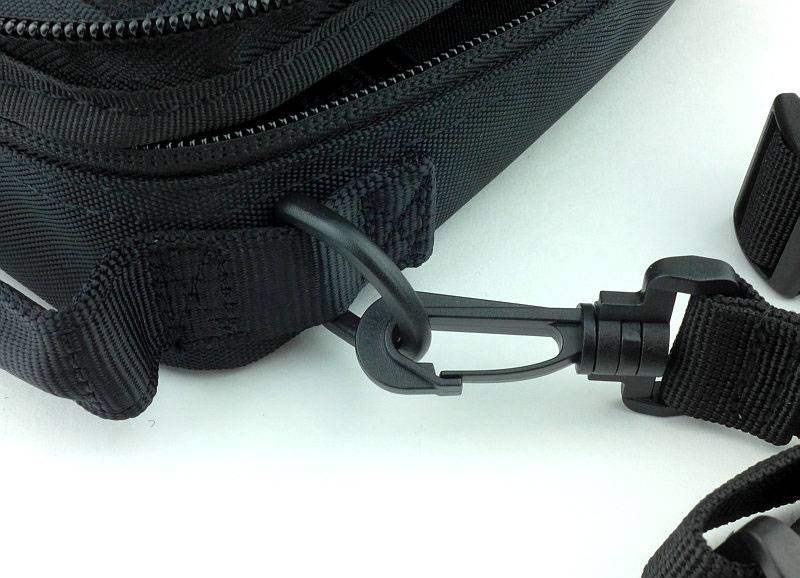
For the first time in this series, I noticed some discomfort with the shoulder strap, but remember I do have this loaded up and the pouches I carry contain many tools, so can be pushing 10kg. With a slightly lighter load this would not be an issue.
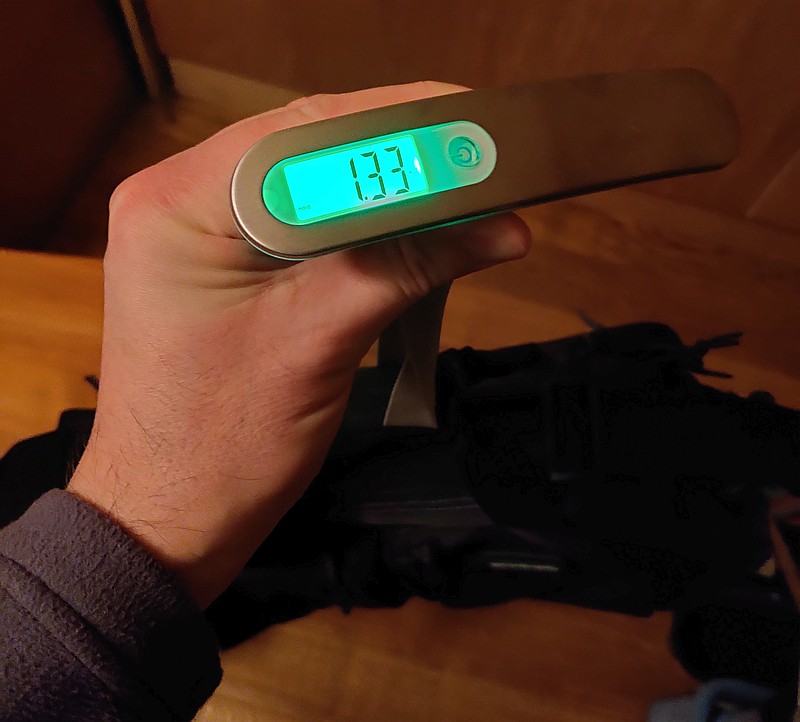
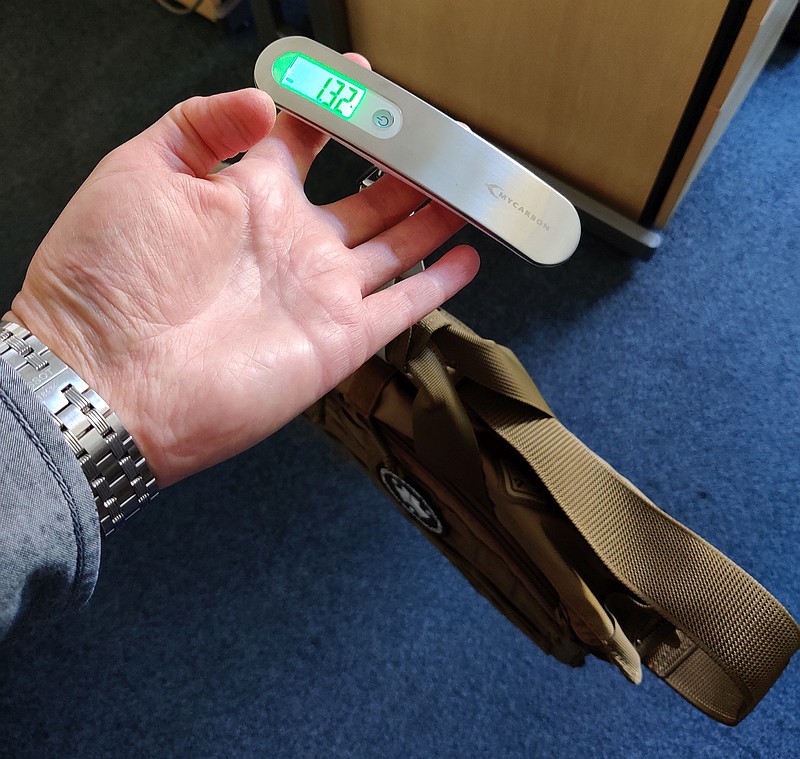
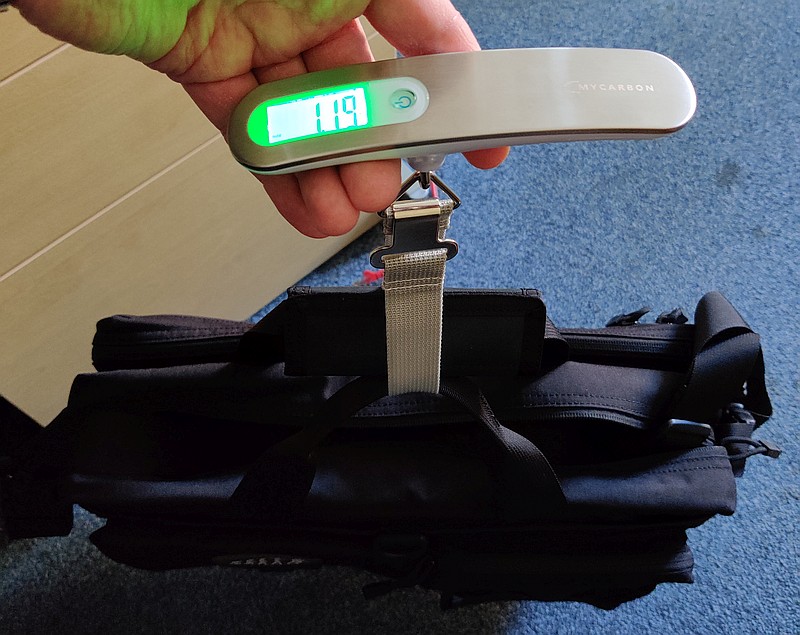
And I was wrong:
After using all three bags, I was convinced that there was a big difference in their empty weight. I was clearly wrong, with this quick gallery of using luggage scales to weigh all of them. So it was purely an impression based on structure, build and materials. (These are in the same order as the previous parts, so it is the Condor that is a touch lighter.)
Review Summary
And here we are now, where having used each of these three bags for a minimum of two weeks EDC, and looked at them in detail, I can come to a conclusion. The conclusion I can come to is only for my own EDC, as our choice of EDC is entirely personal.
On the way to reaching this point I hope to have given you enough information to find one that would suit your needs, with the video tour, individual detailed feature reviews, and the comments and impressions I’ve described earlier in this part of the face-off.
The views expressed in this summary table are from the point of view of the reviewer’s personal use. I am not a member of the armed forces and cannot comment on its use beyond that covered in the review.
Something that might be a ‘pro’ for one user can be a ‘con’ for another, so the comments are categorised based on my requirements. You should consider all points and if they could be beneficial to you.
_______________________________________________
What doesn’t work so well for me
_______________________________________________
First Tactical – Can seem a bit big.
First Tactical – Strap squeaks a little when walking if heavily loaded.
Hazard 4 – A bit unbalanced and tending to topple over on the floor.
Hazard 4 – Strap needs to be purchased separately.
Condor – Main compartment access restricted by single zip opening.
Condor – Strap has less padding so is not as comfortable with heavy load.
_______________________________________________
Things I like
_______________________________________________
First Tactical – Easily has room for additional top-up items.
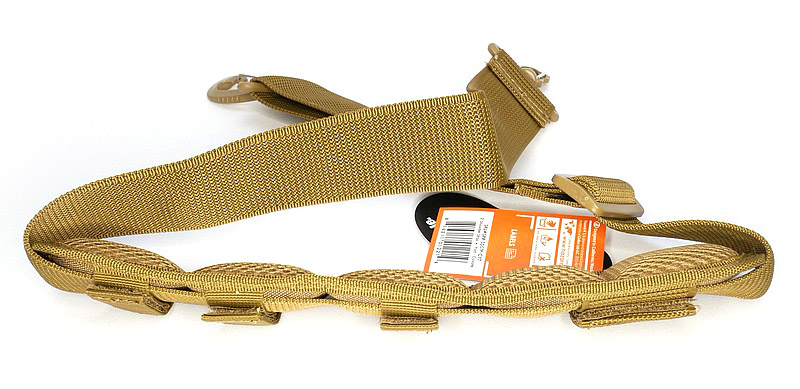
First Tactical – The most comfortable and stable strap.
First Tactical – Comprehensive pockets, pouches, all with easy access.
Hazard 4 – Super build quality (the others are great, but I’d put this ahead on build).
Hazard 4 – Lots of versatile webbing.
Hazard 4 – Large admin panel packed with features.
Condor – Great all-rounder with simplified main compartment.
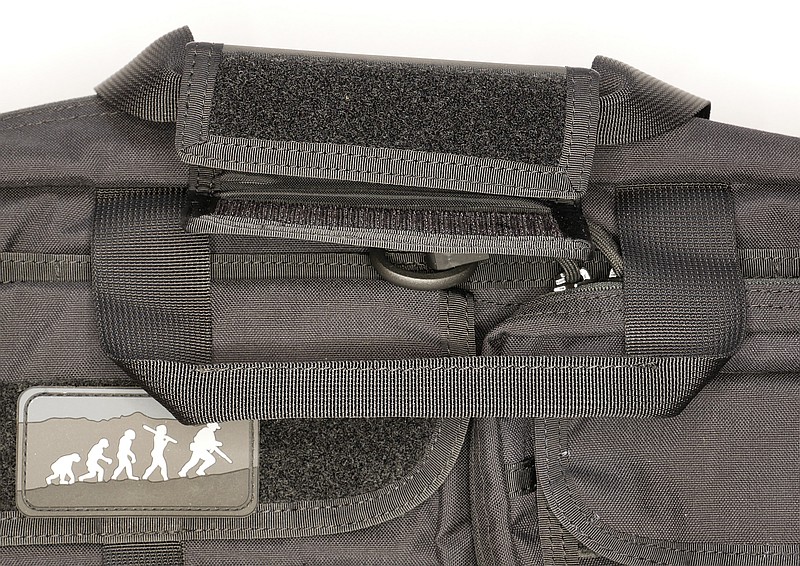
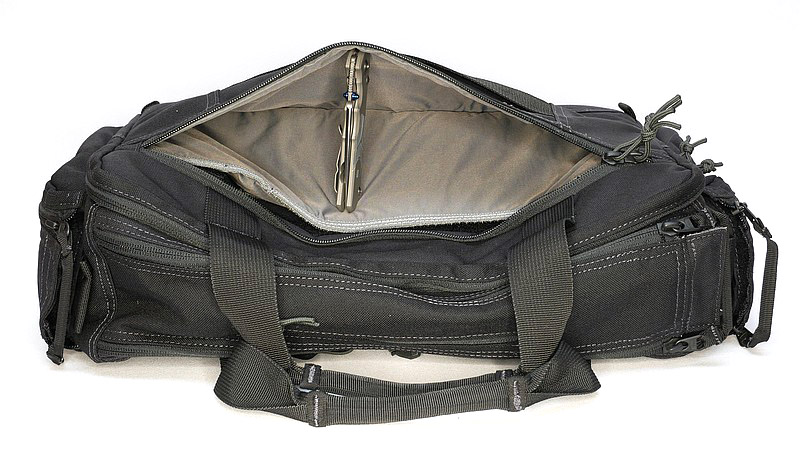
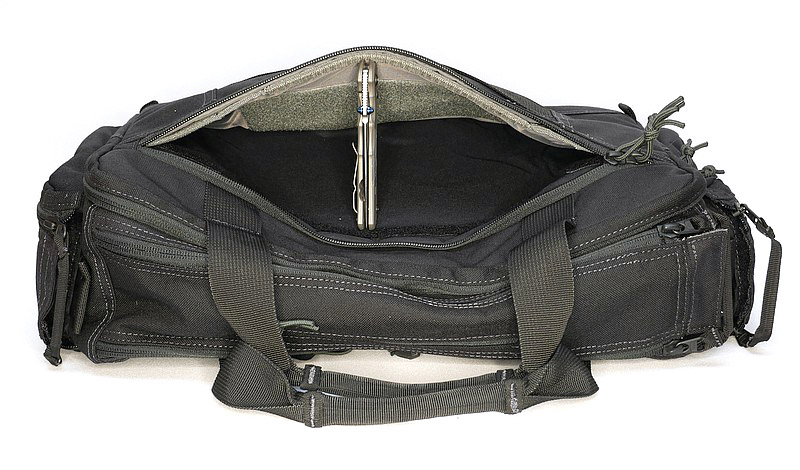
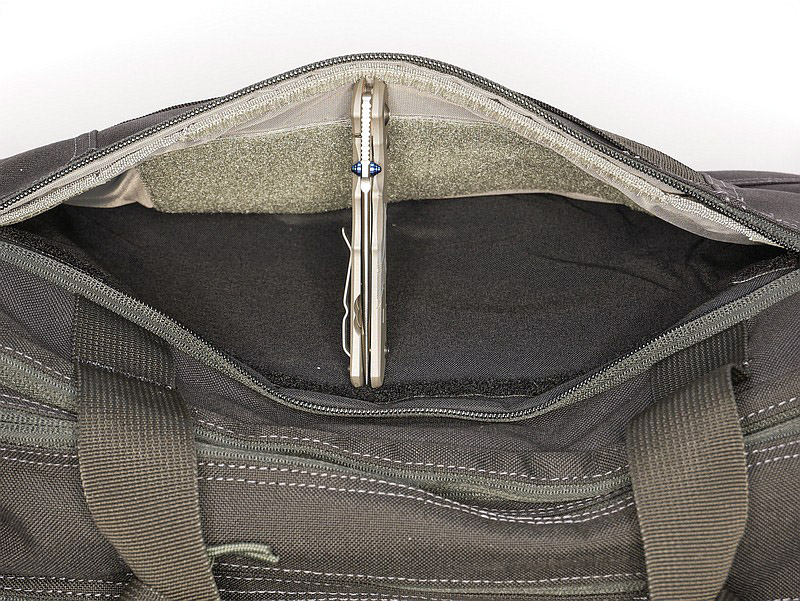
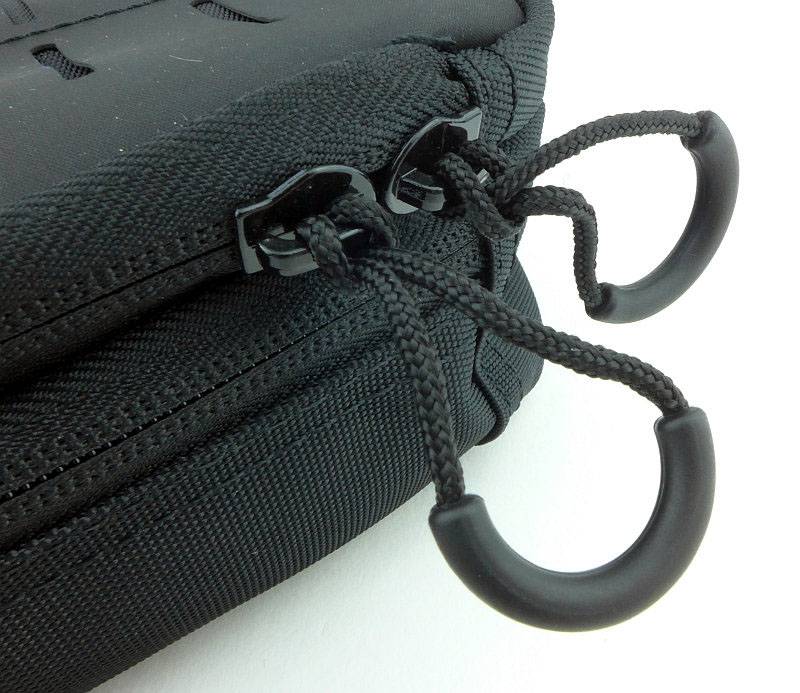
Condor – Concealed compartment (easily accessed by pulling the front D-loop).
Condor – Drainage holes in elasticated end pockets in case of leaks.
In short, all of these Tactical Briefcases stand on their own merits. If I had purchased any one of them on its own, it would have done the job, and I would have been happy. You won’t go wrong with any of them, but if you have any specific requirements, take a look back over the details to see which would be the better fit.
For my uses, and the gear I EDC, one of them was a better fit, and is currently serving as my EDC bag…