For me, finally, the long awaited arrival of an Acebeam L35. In fact, for this test sample I had given up all hope and written it off as lost, but amazingly it did arrive, only five months late! (courier issue, not Acebeam) Clearly it was meant to be (eventually), and as with all Acebeam lights I have tested, immediately showed its mettle. Join me in this belated review of the Acebeam L35, a 5000 Lumen tactical flashlight.
First Look Video:
This is a first look Review of the Acebeam L35 5000 Lumen Tactical Flashlight. ‘First look’ as at this point I had not carried out the full technical testing and output traces.
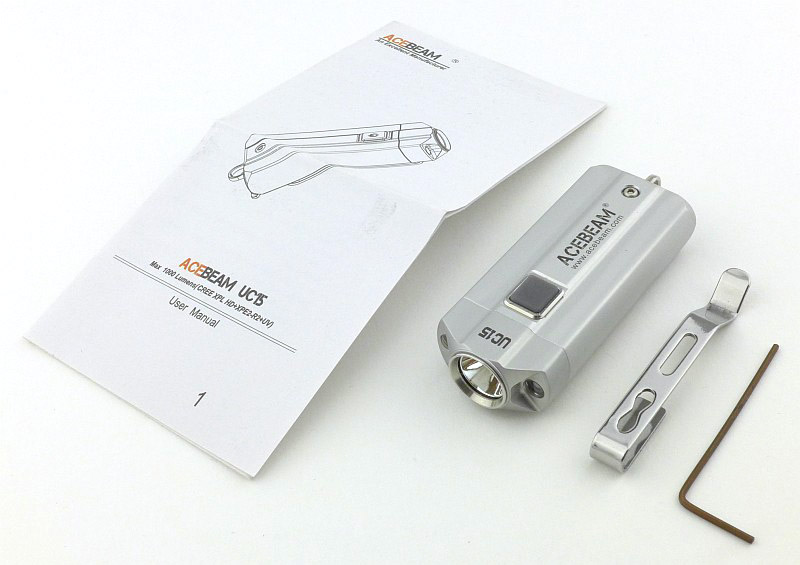
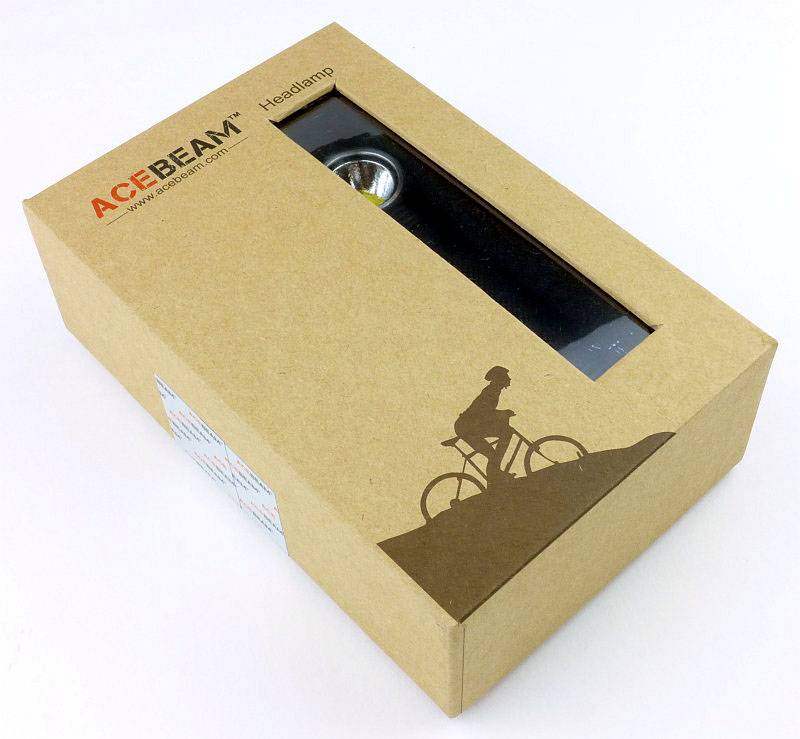
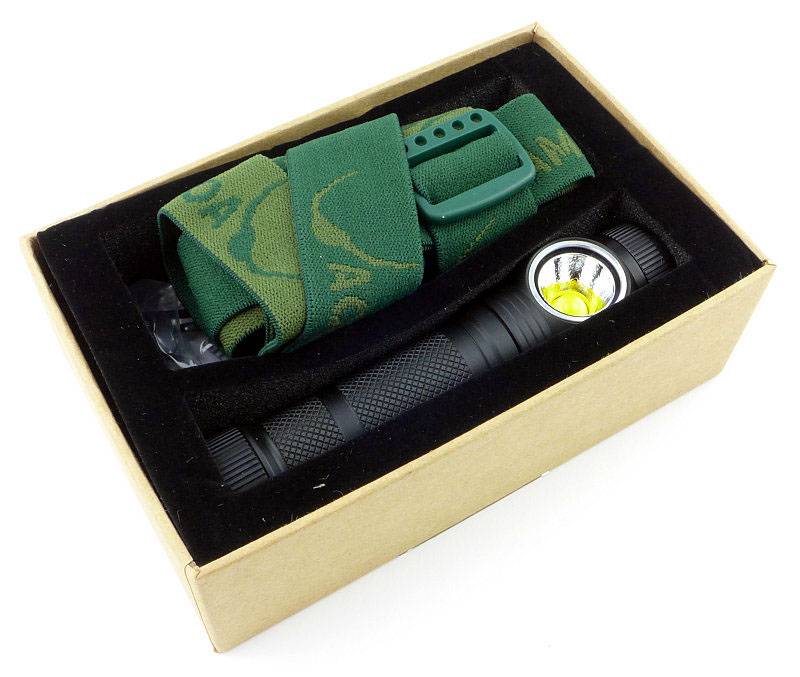
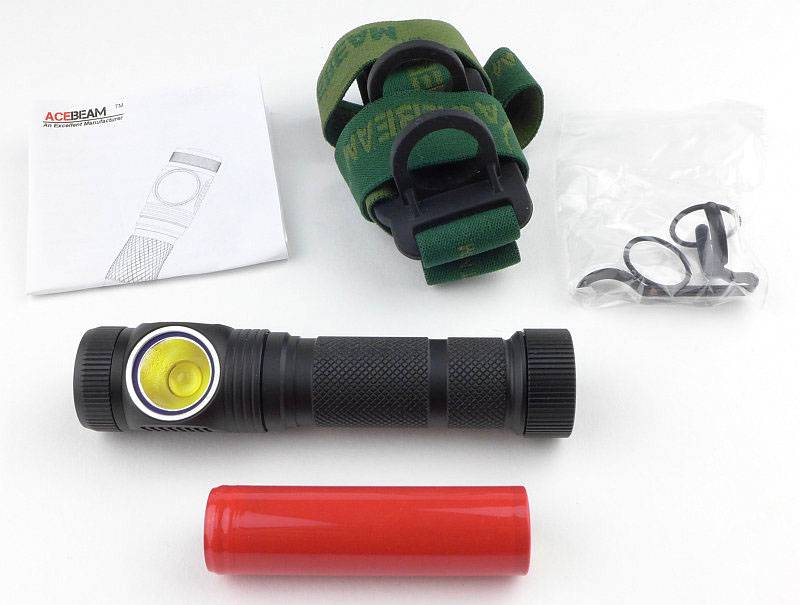
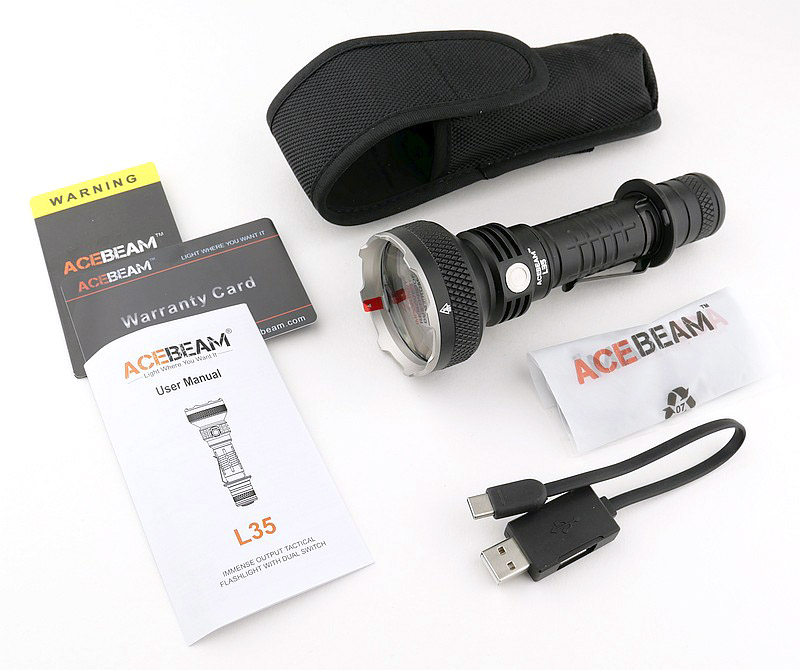
With the box being destroyed in transit, it is not shown. This is what was in the package when it arrived.
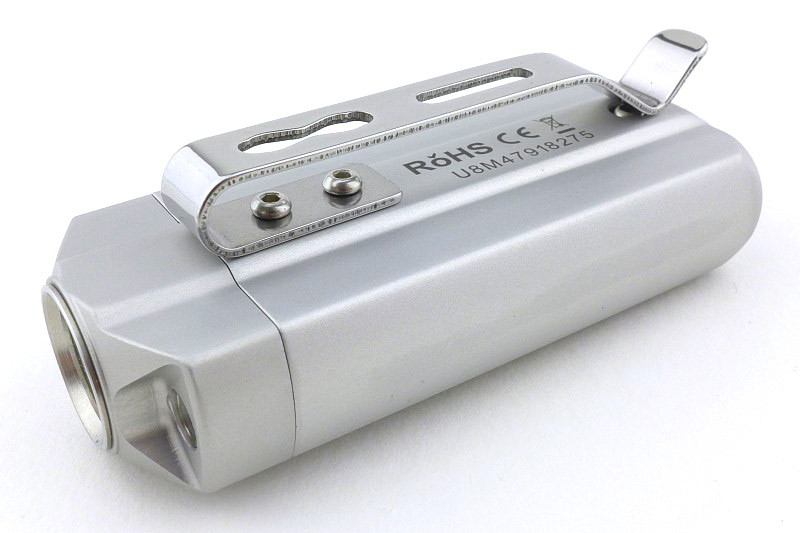
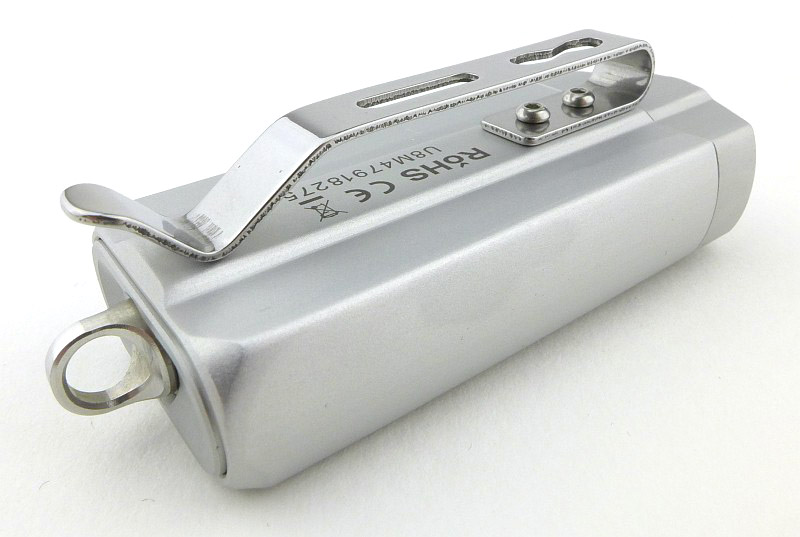
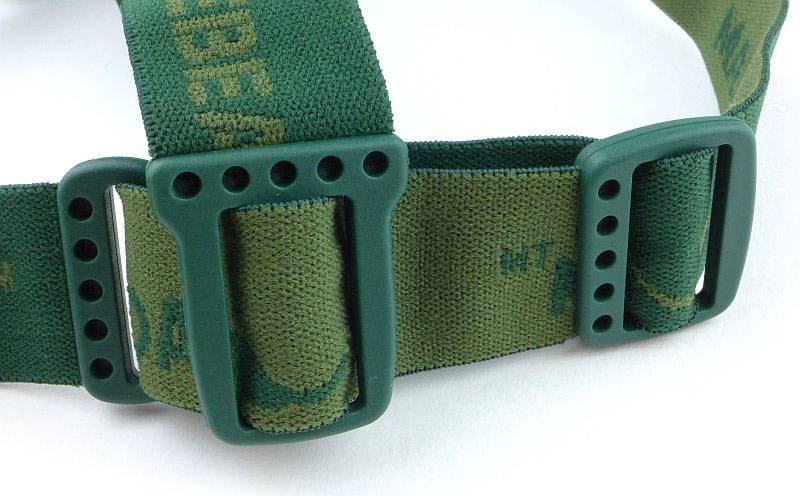
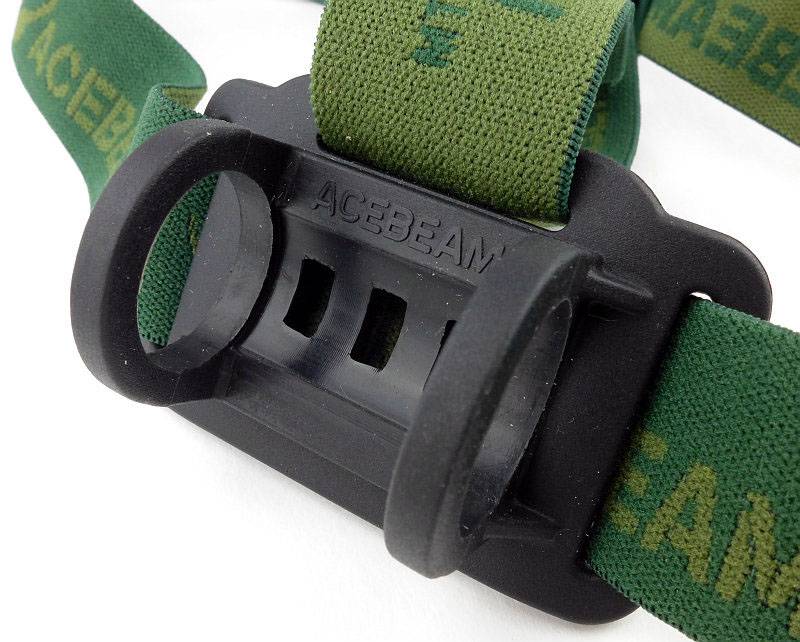
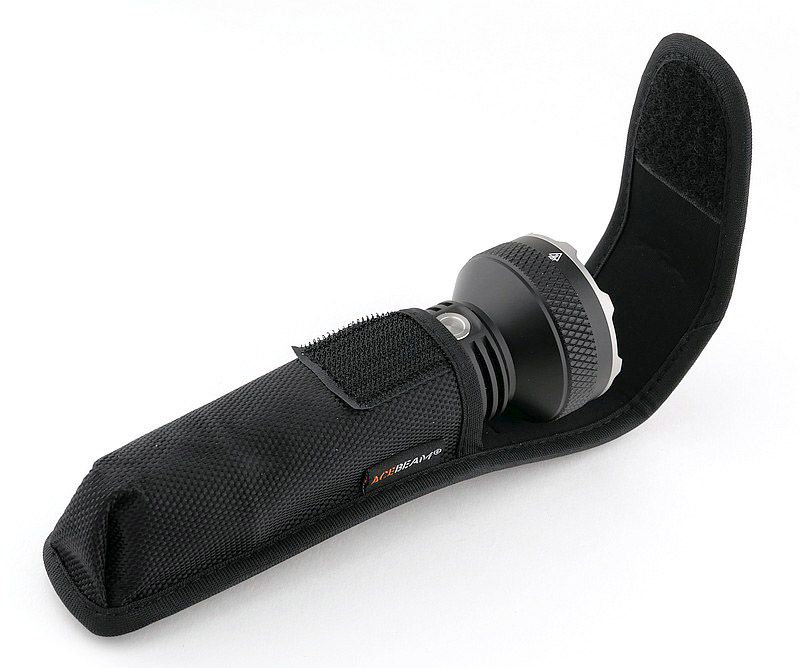
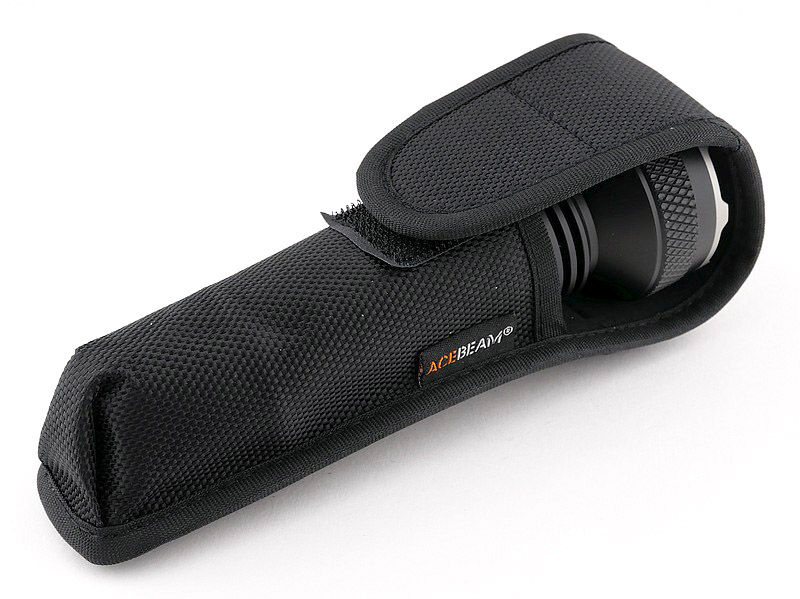
A run round the holster:
A quick run round the L35’s supplied belt holster.


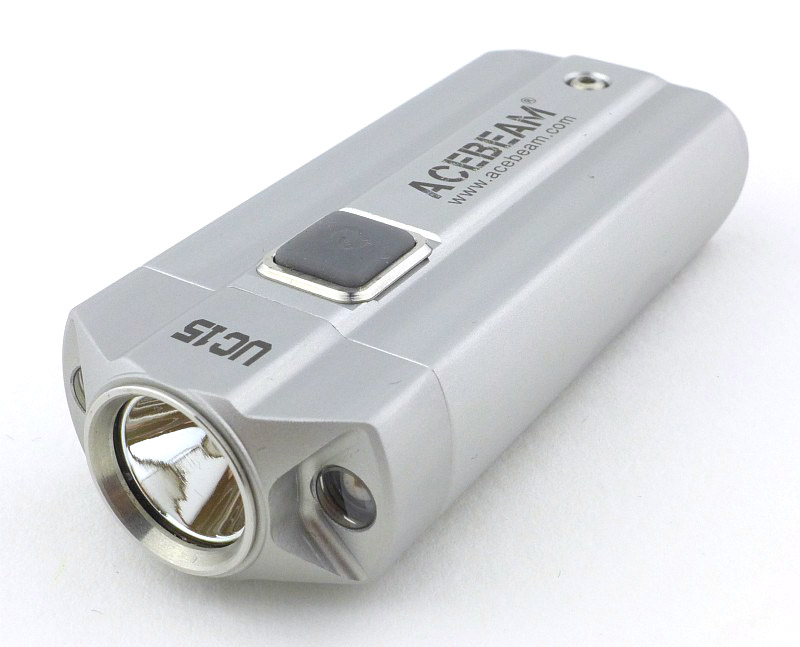
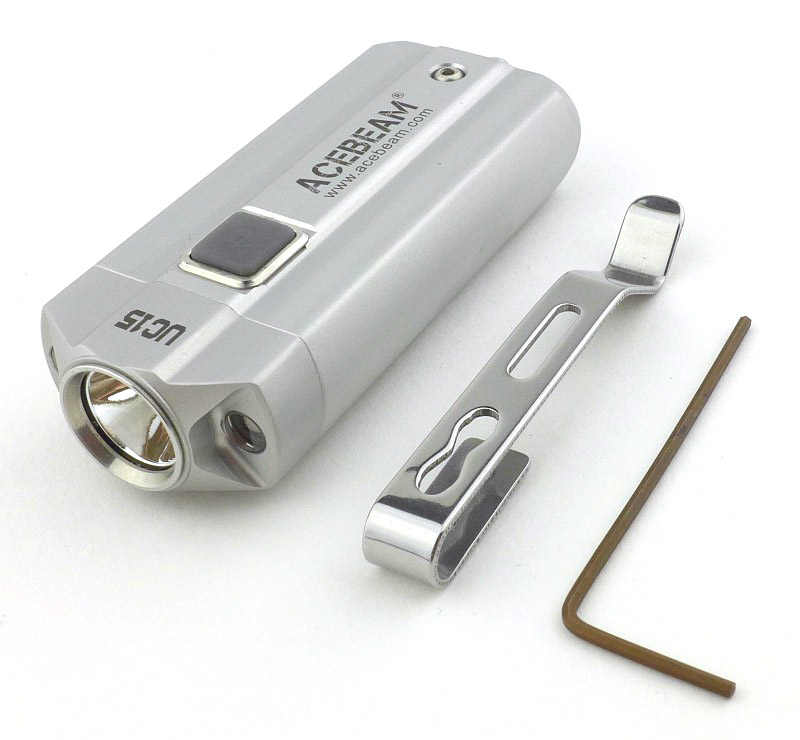
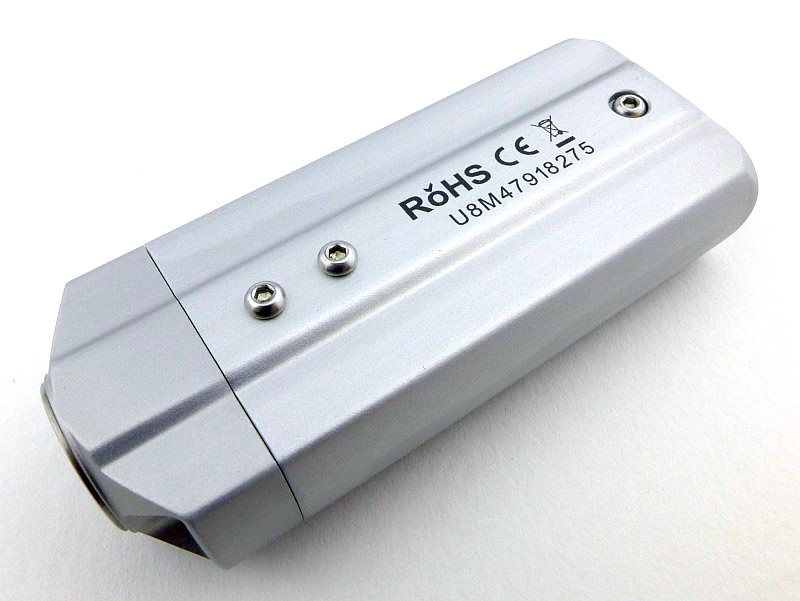
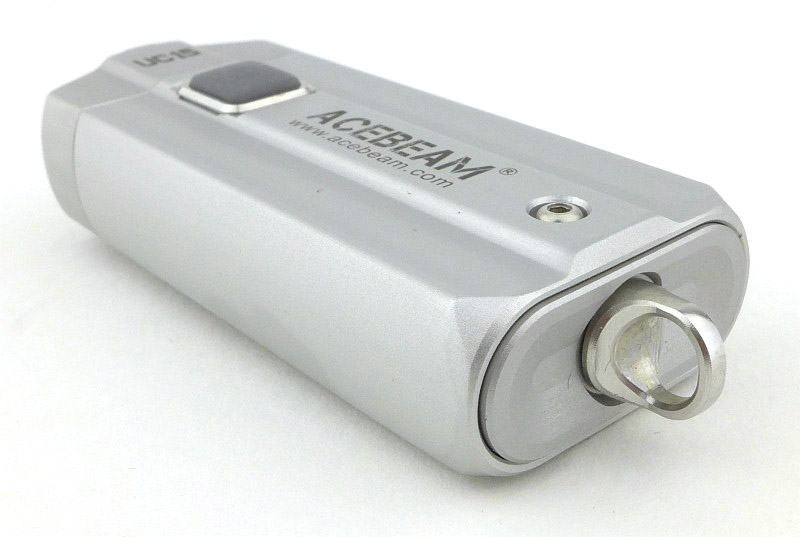
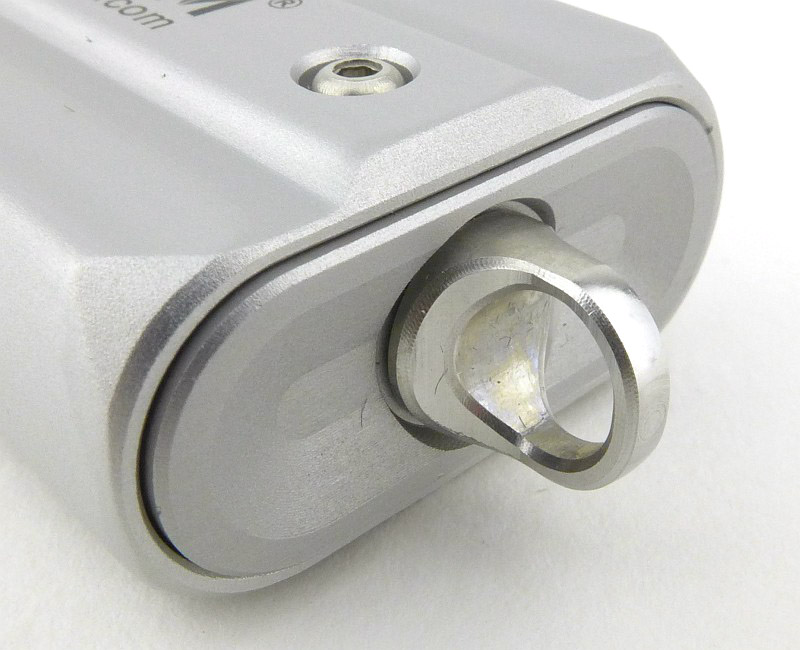
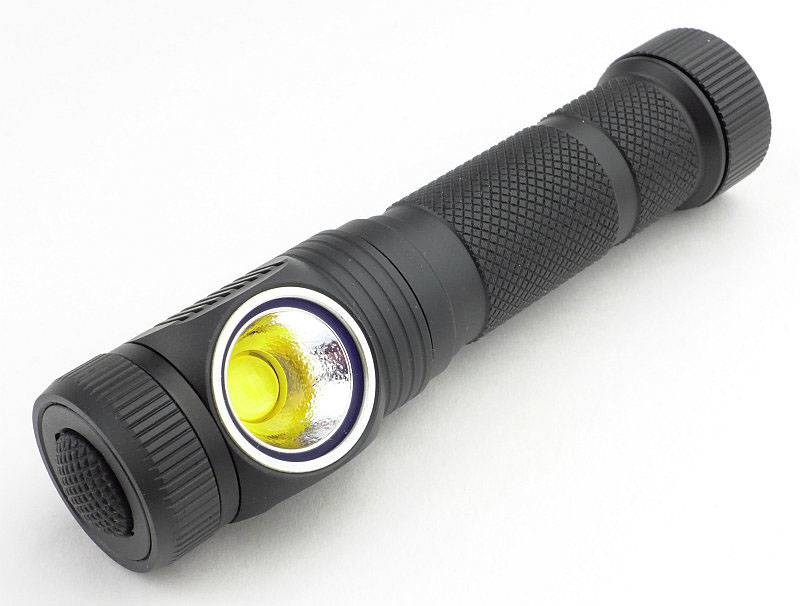
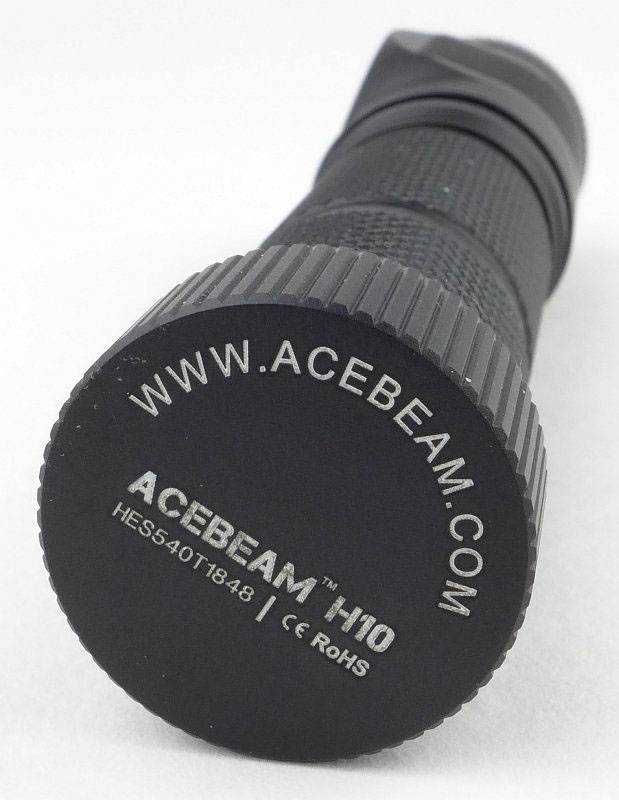
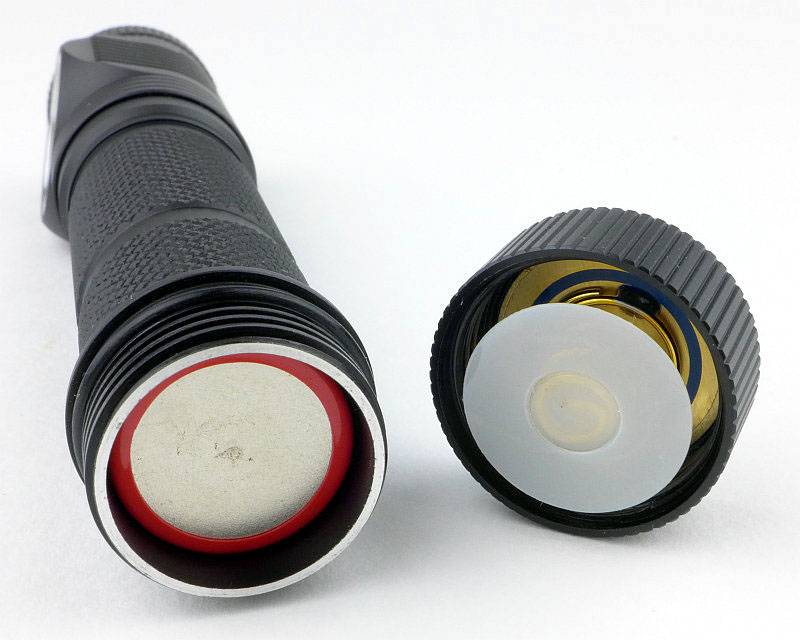
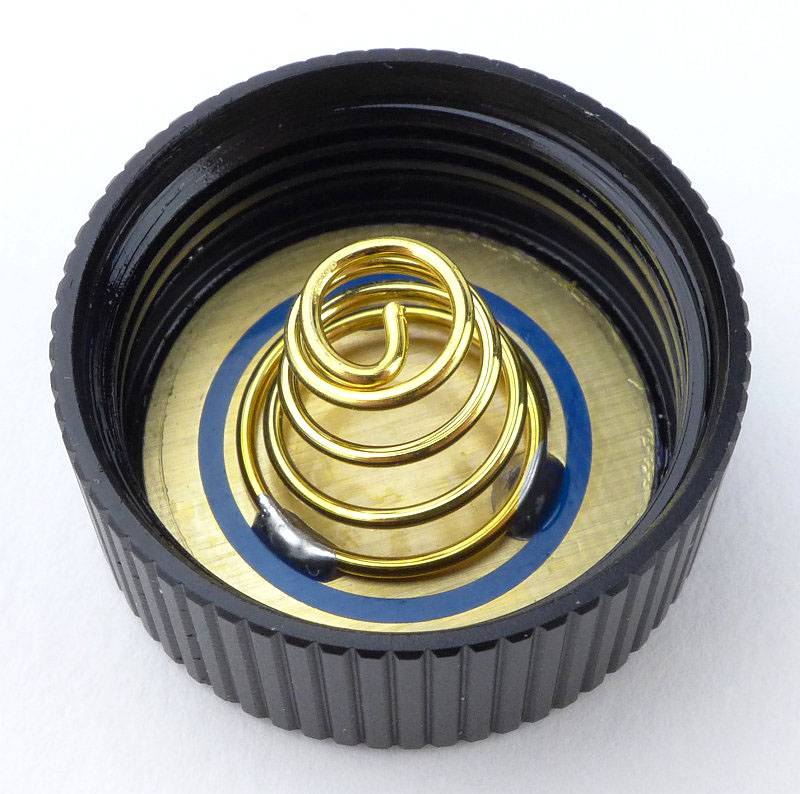
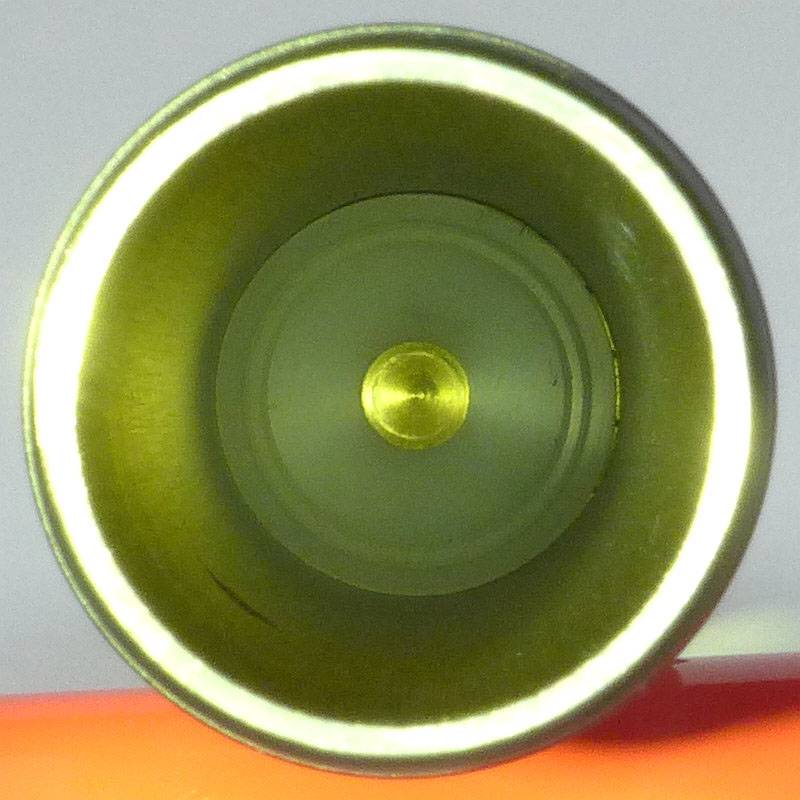
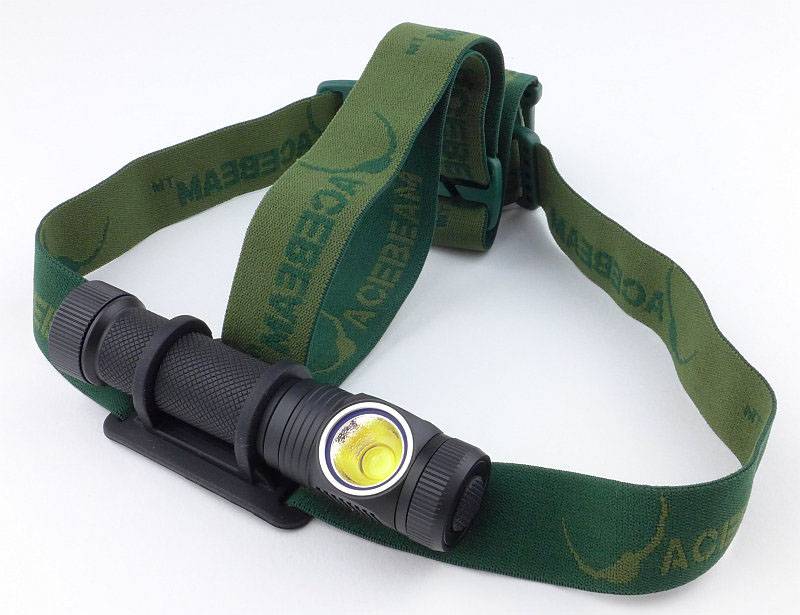
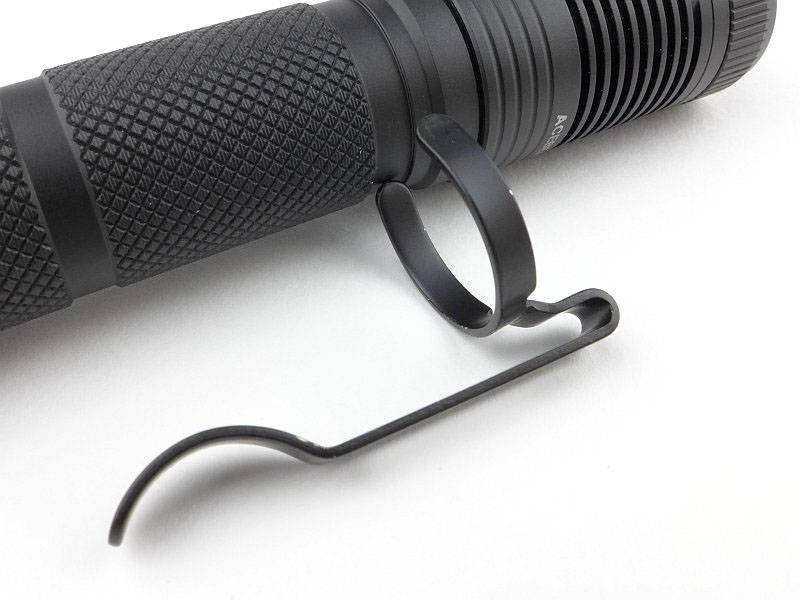
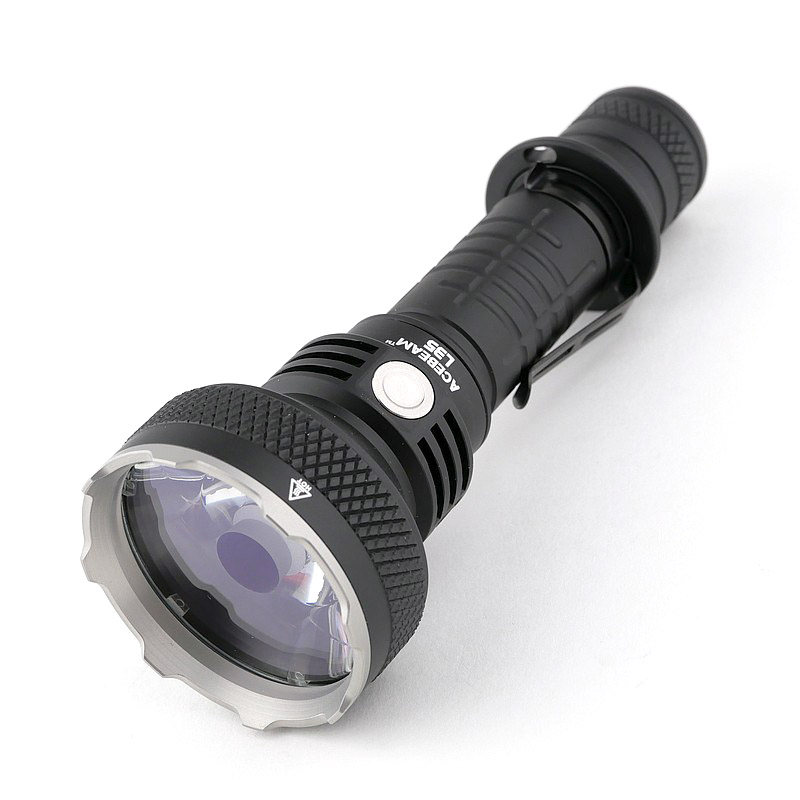
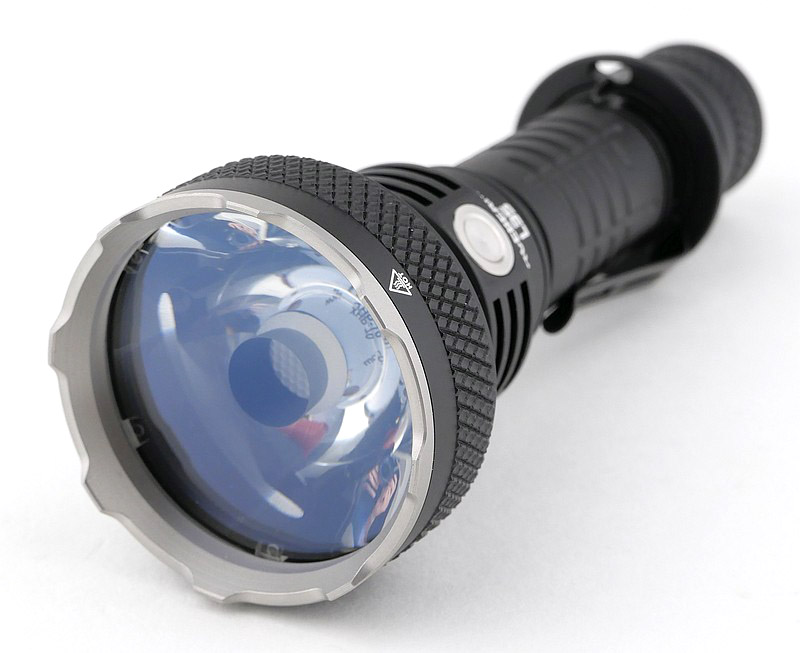
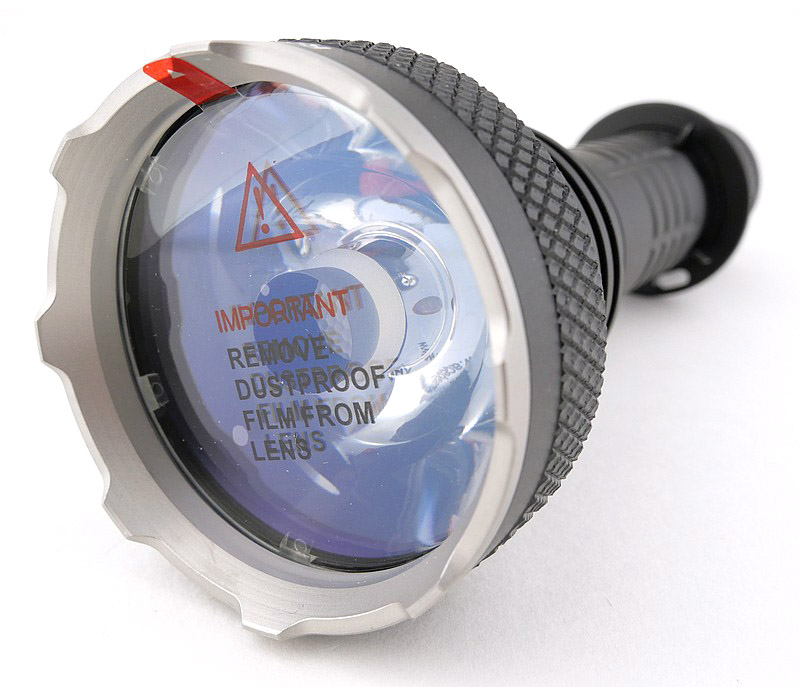
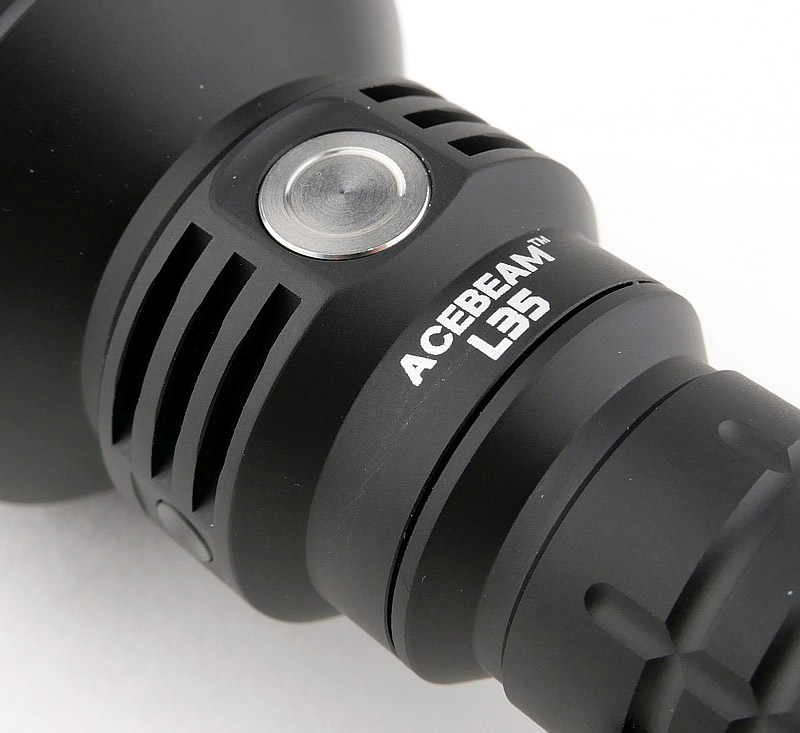
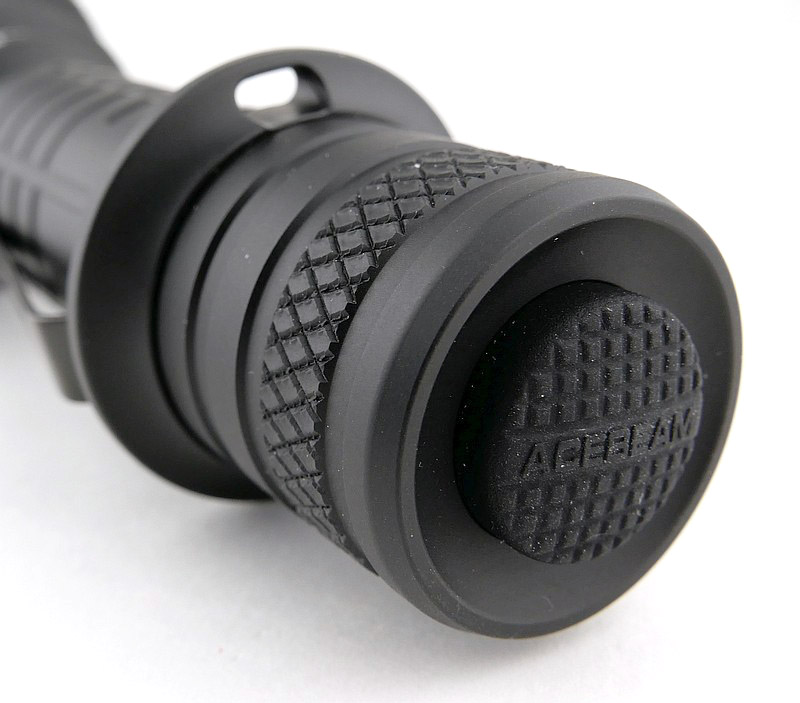
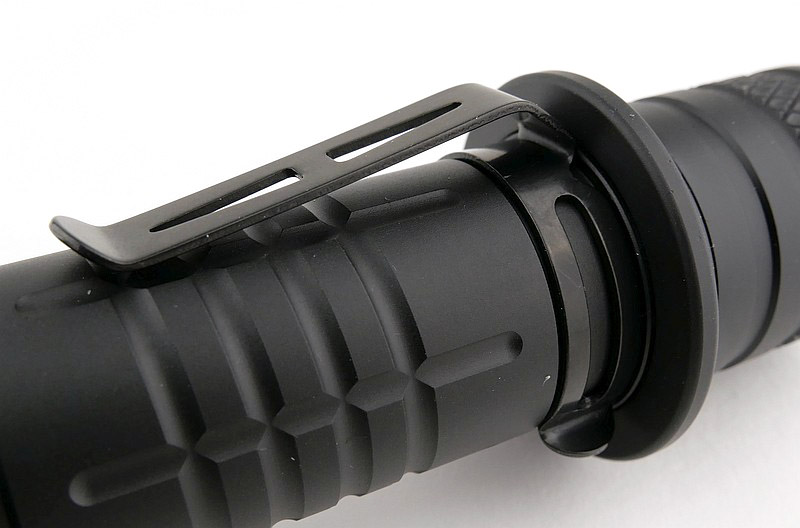
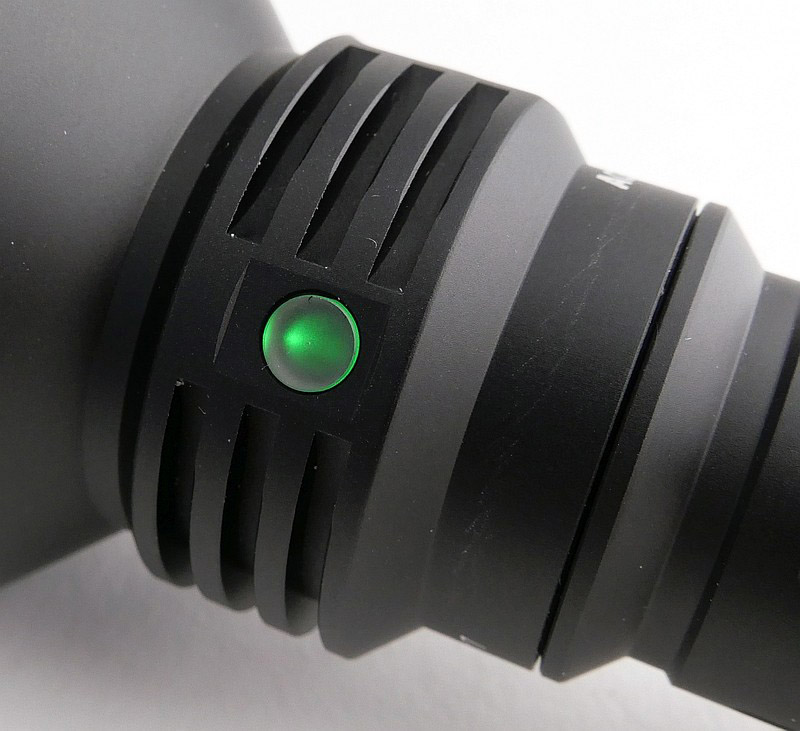
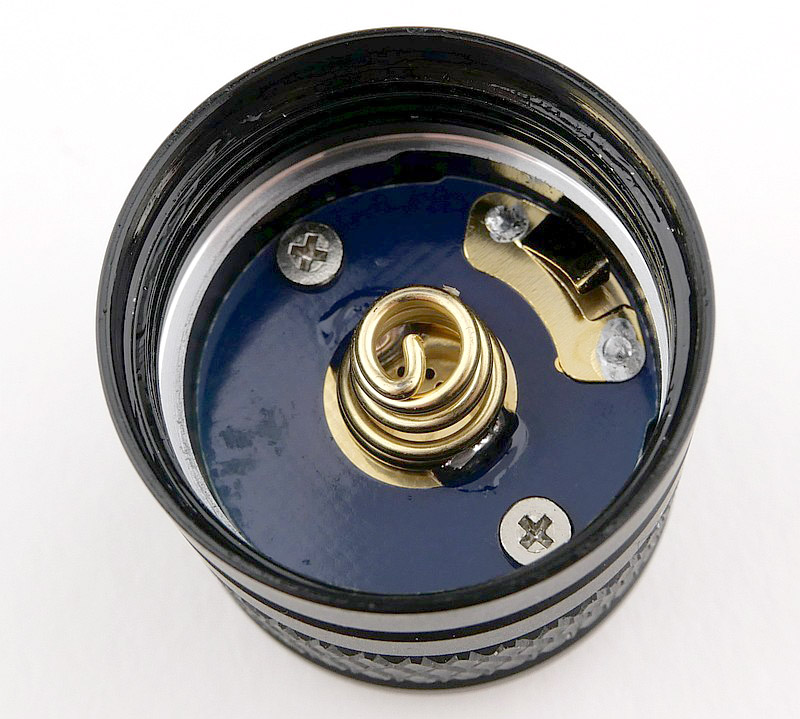
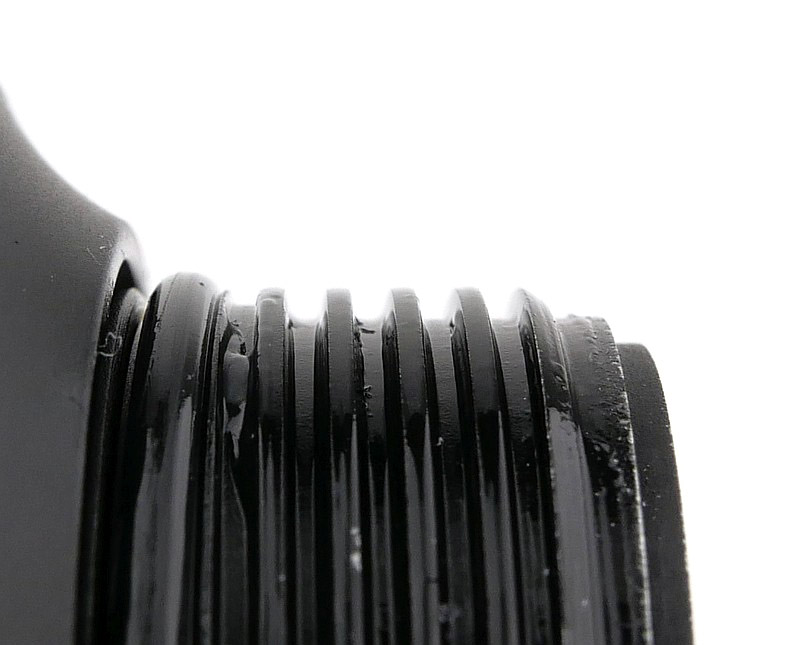
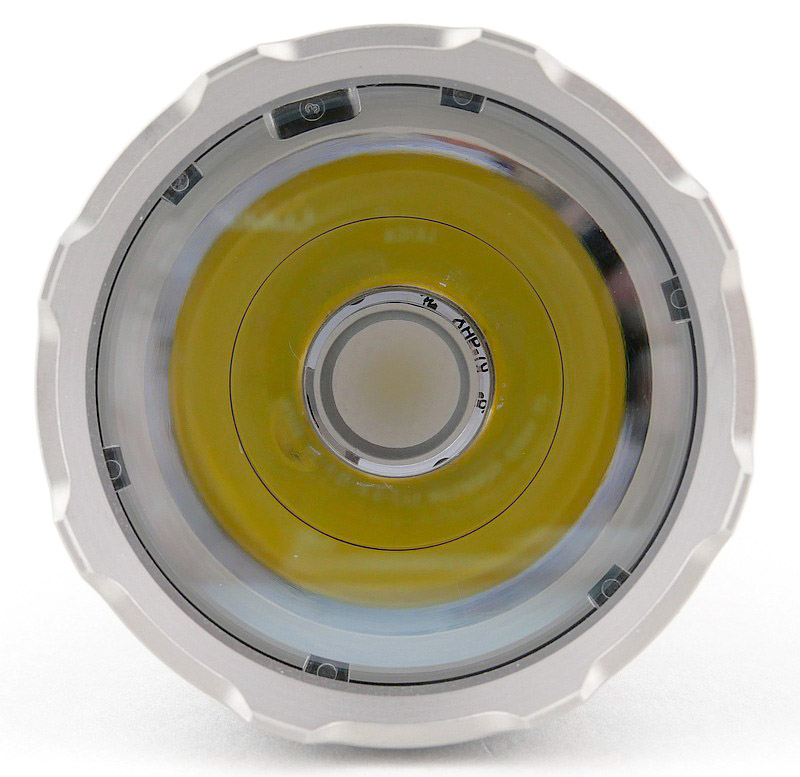
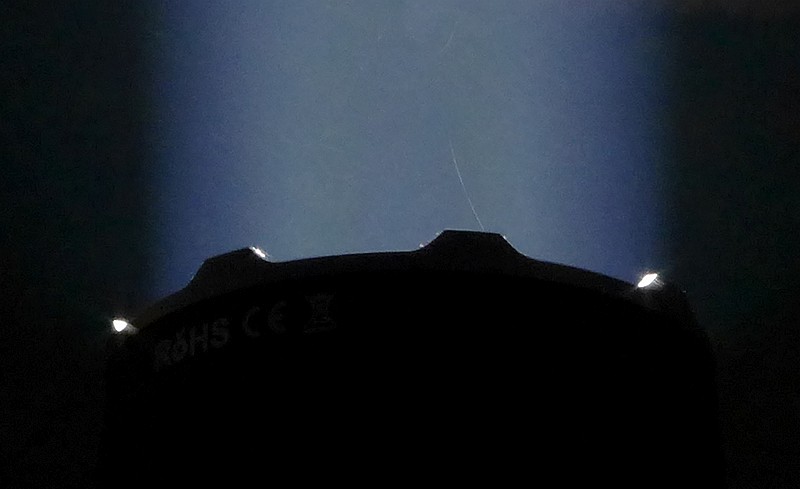
Details of the L35 – Things to look out for here are:
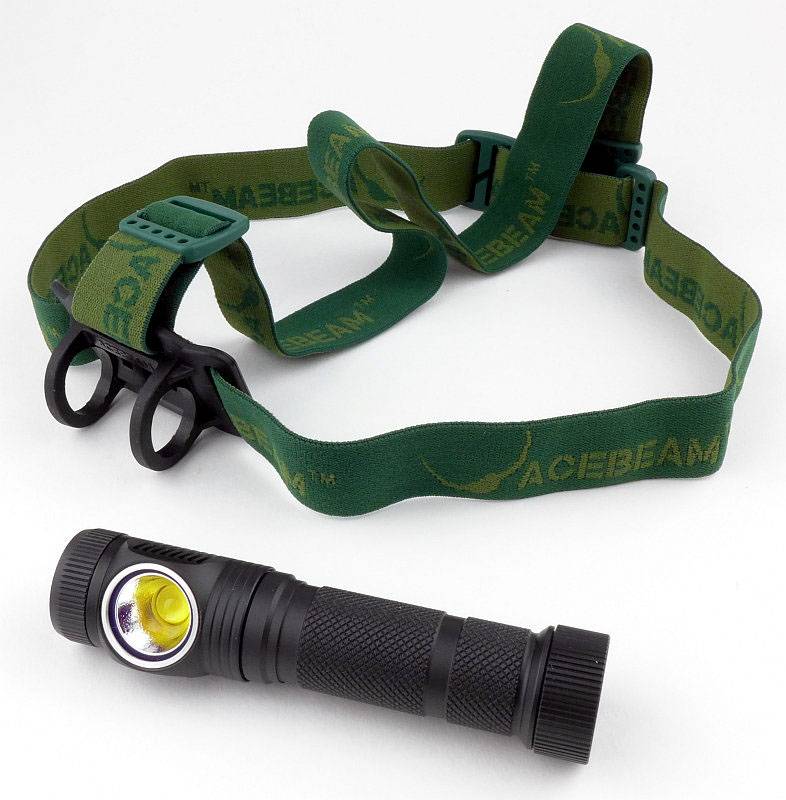
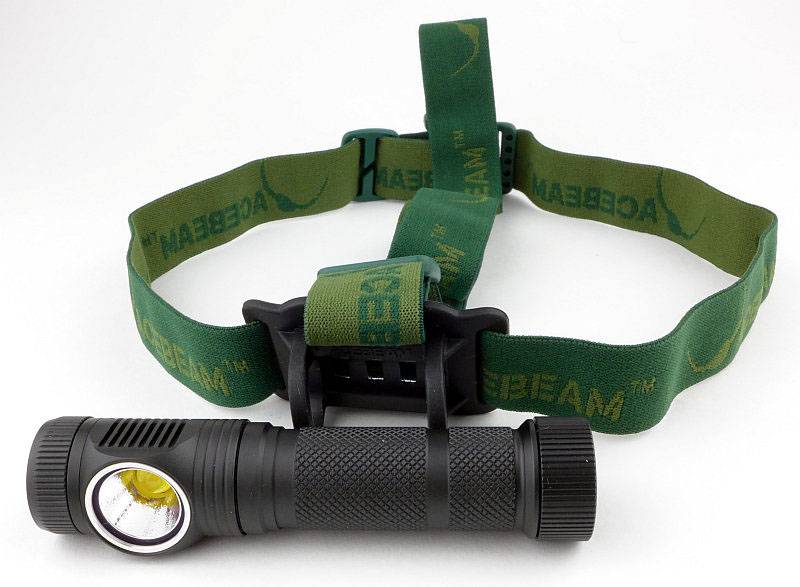
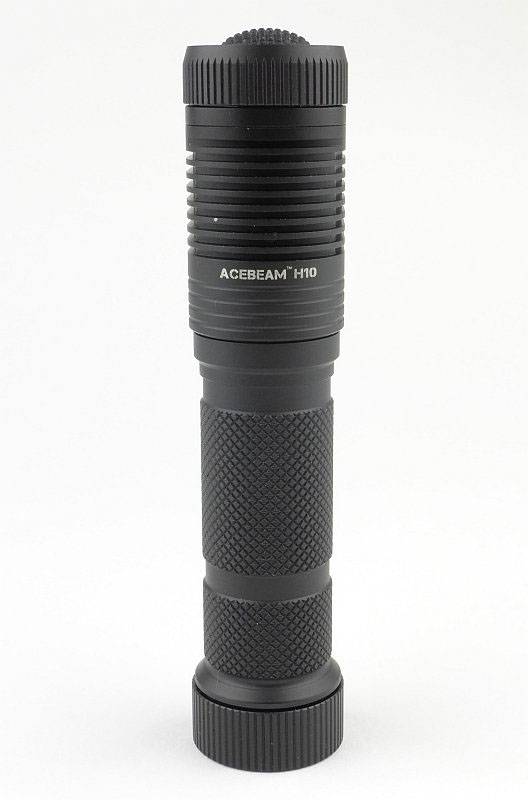
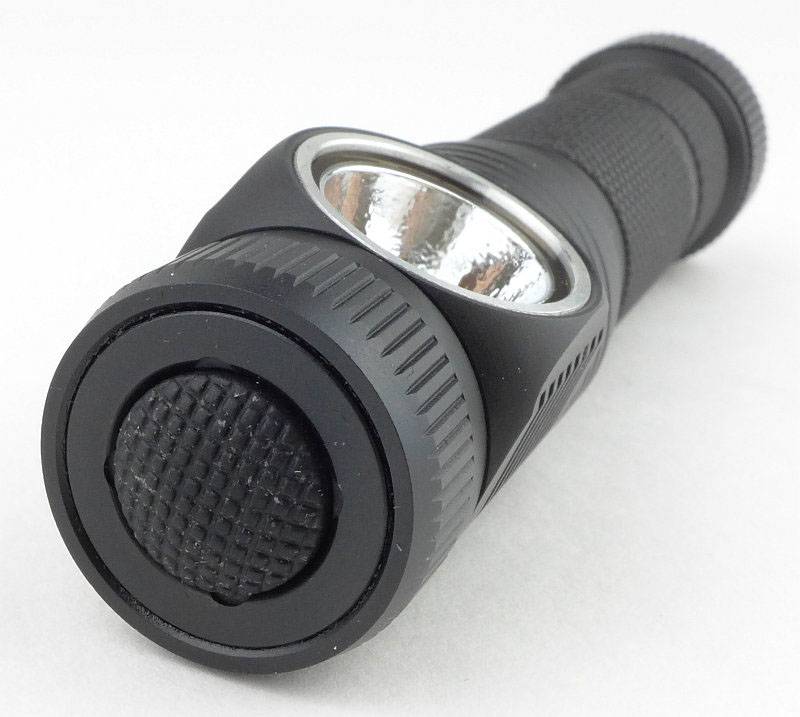
The L35 has a nice large head which really aids the handling, an interesting spiral pattern grip on the tube, tail and side switches, plus a double-walled battery tube to provide an extra control signal connection.


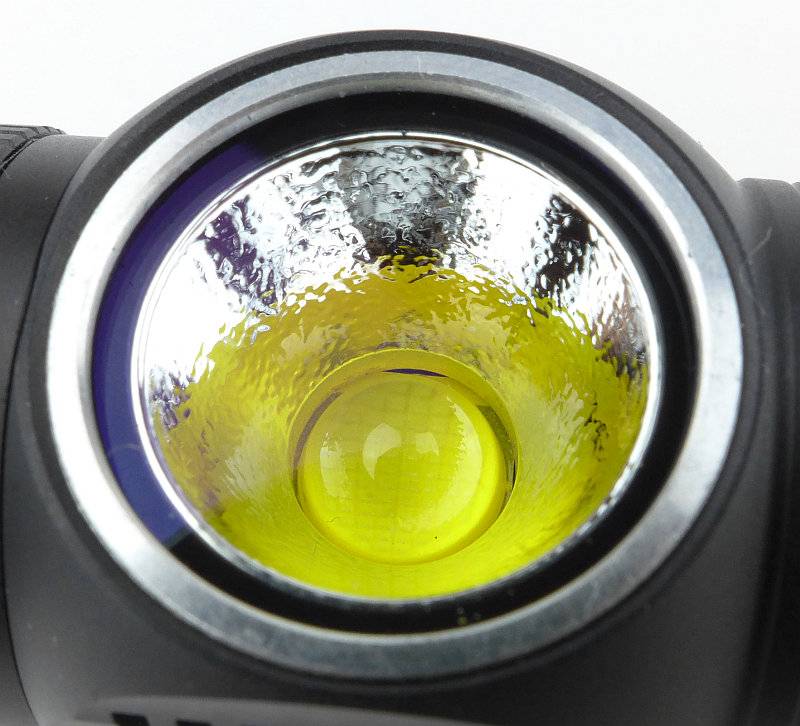
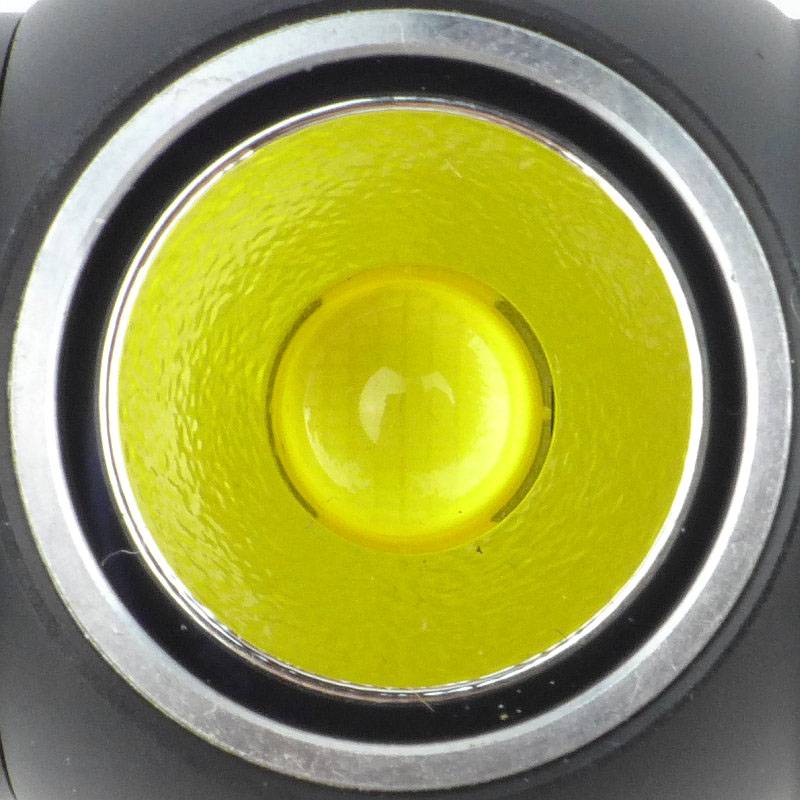
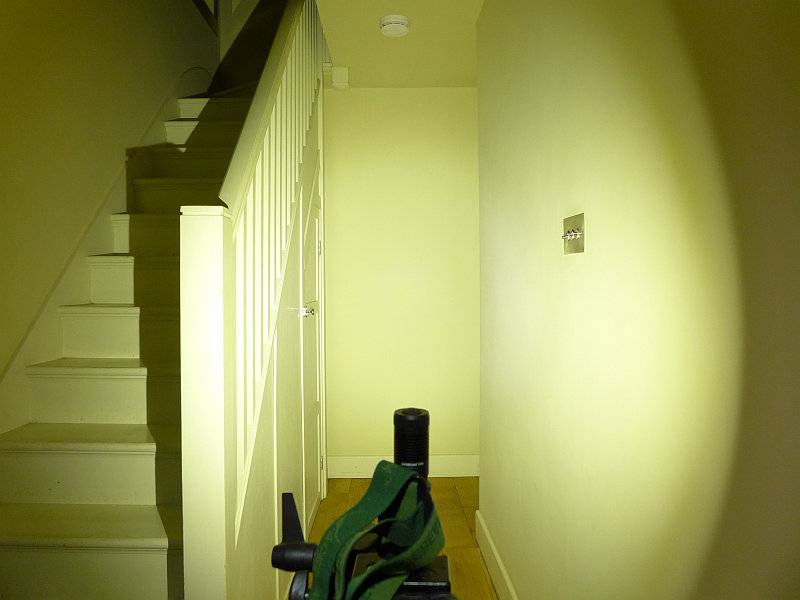
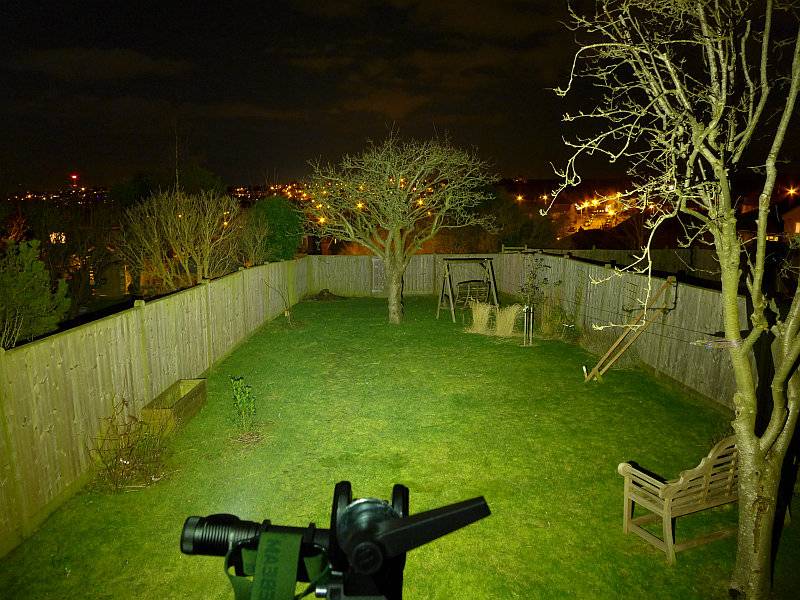
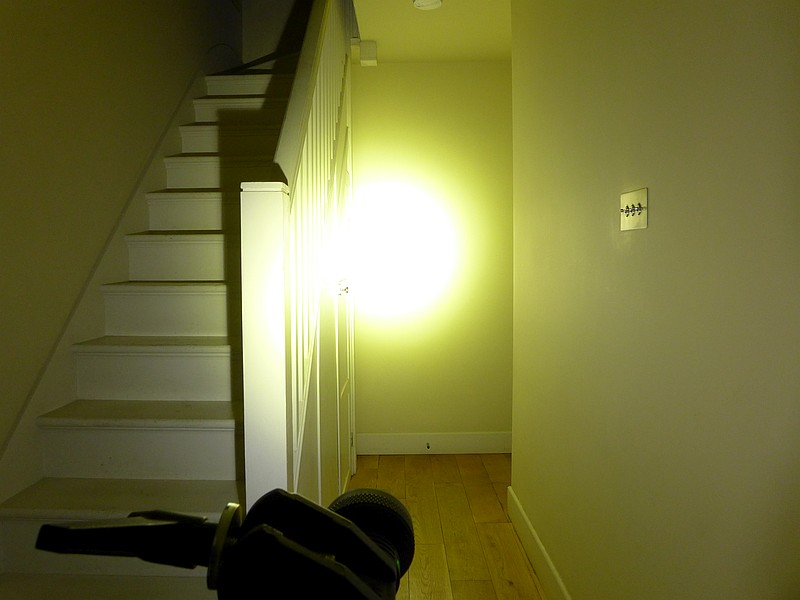
The beam
Please be careful not to judge tint based on images you see on a computer screen. Unless properly calibrated, the screen itself will change the perceived tint.
The indoor beamshot is intended to give an idea of the beam shape/quality rather than tint. All beamshots are taken using daylight white balance. The woodwork (stairs and skirting) are painted Farrow & Ball “Off-White”, and the walls are a light sandy colour called ‘String’ again by Farrow & Ball. I don’t actually have a ‘white wall’ in the house to use for this, and my wife won’t have one!
Even though not a LEP light, the raw power of the 5000lm output does create a visibly projected beam.


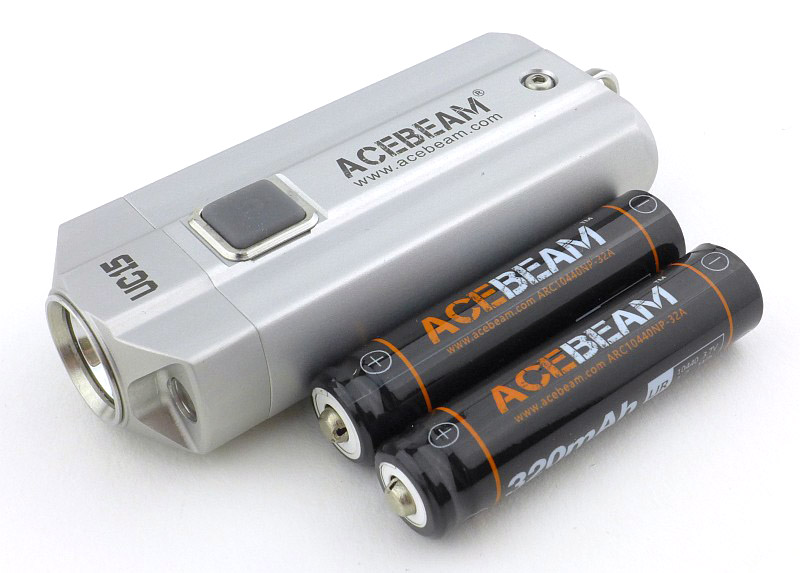
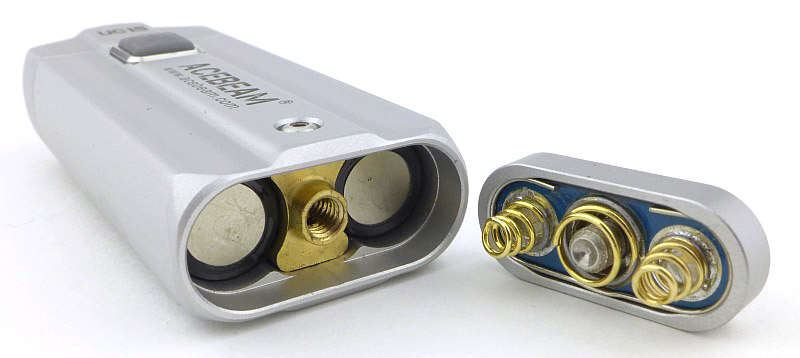
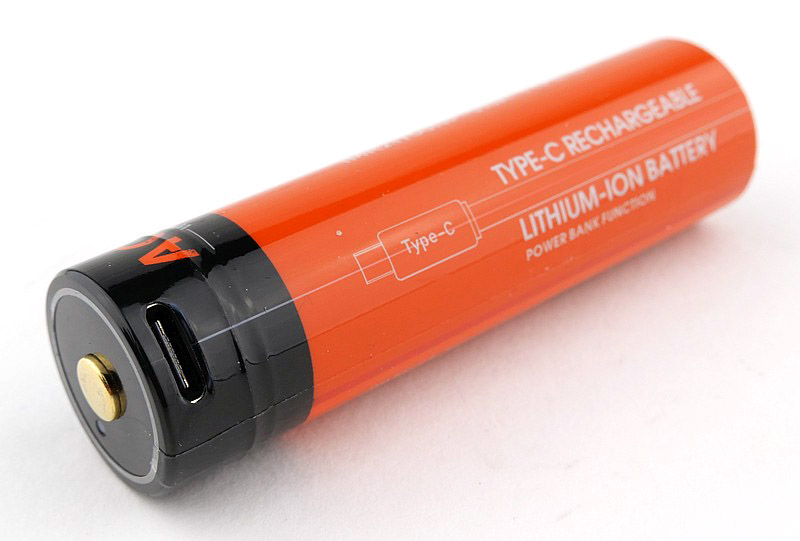
Batteries and output:
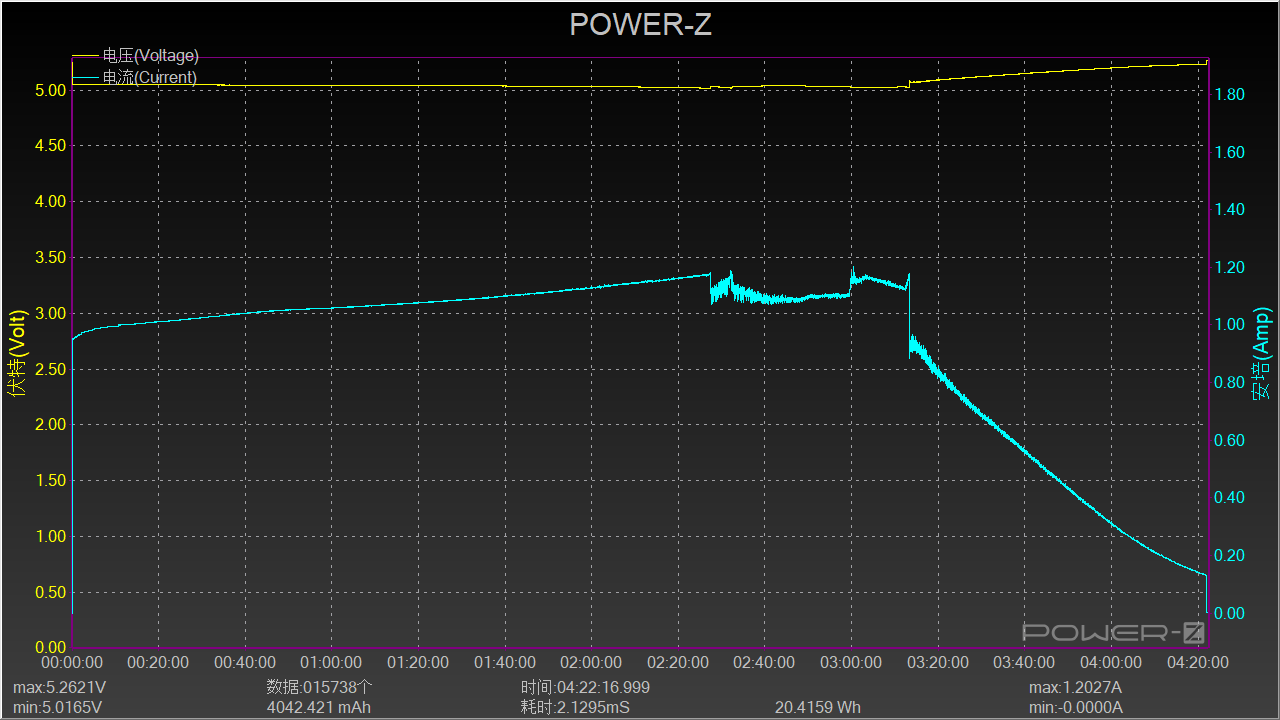
The L35 runs on a USB-C re-chargeable 21700 5100mAh cell provided with the light.
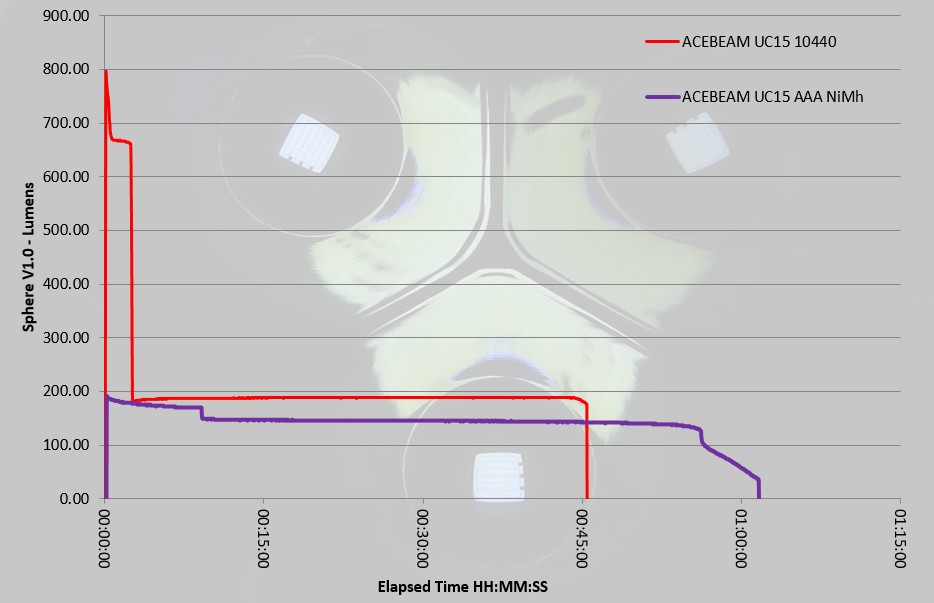
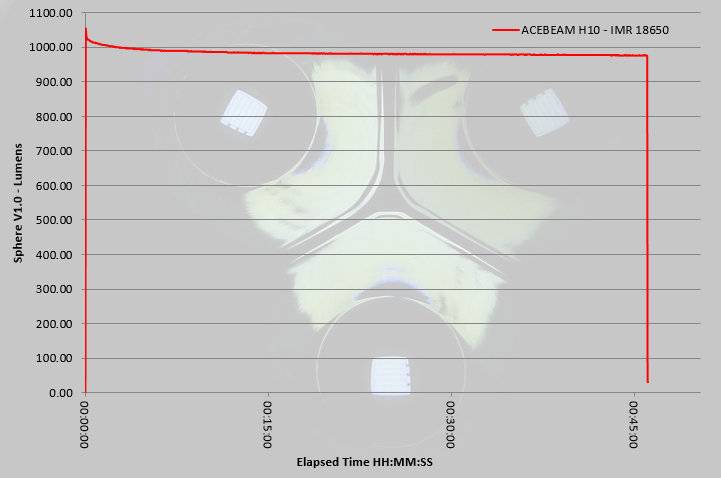
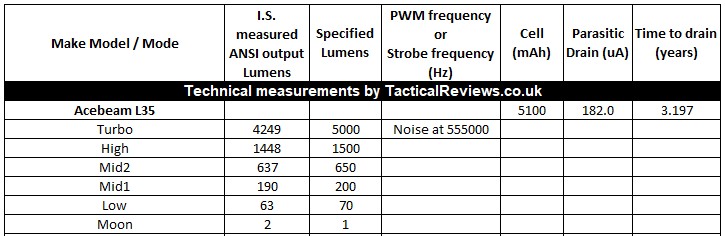
Please note, all quoted lumen figures are from a DIY integrating sphere, and according to ANSI standards. Although every effort is made to give as accurate a result as possible, they should be taken as an estimate only. The results can be used to compare outputs in this review and others I have published.
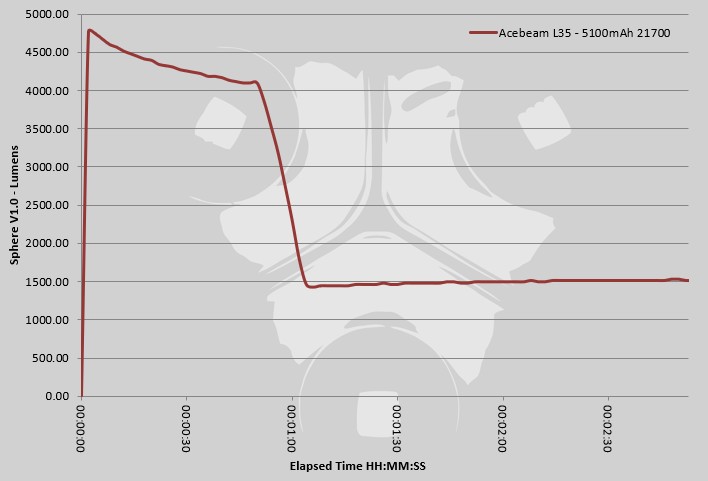
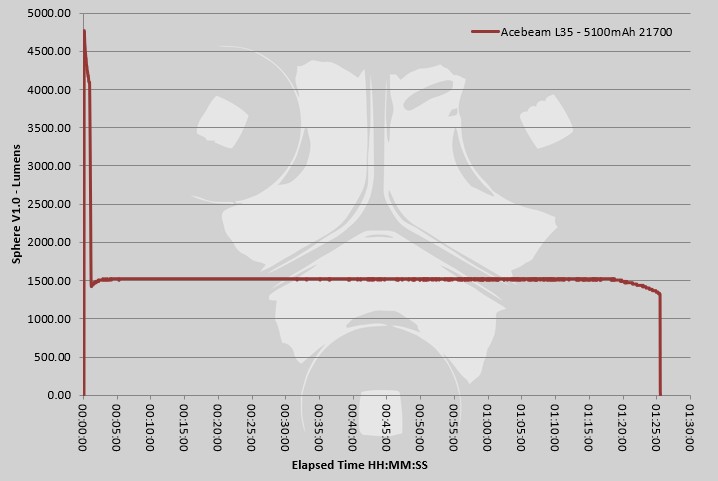
Also included here is a charging trace for the 21700 cell and a zoomed in runtime trace to show the first part in detail.
The L35 in use
We are all very used to tactical lights being based on the single 18650 / 2x CR123 framework, so the L35 might seem to be going in the wrong direction. For me that is not at all the case. The body is very comfortable to hold, the larger head give the L35 some presence and a stable front end to stand it on.
The ‘Ace’ delivered here is also the function provided by a tail and side switch. Making the tail-switch a dedicated maximum output switch, provides the true ‘tactical’ simple high output. The side-switch then delivers the rest – the more usable set of modes and ergonomic handling, for low stress situations. A really usable combination of modes and controls.
In an ideal world, the ‘moon’ mode could be a little dimmer. It’s not blinding with dark adapted eyes, but it is a little more disturbing for anyone you want to leave sleeping peacefully.
Talk about blinding – maximum output. Instant access to over 4000 lm from a small light (4769 lm at switch-on), it certainly is impressive and overwhelming at close range. But look at the runtime graph and you see that output (as is typical) dropping immediately, and by 60s from turn on you have 1500lm. So the headline figure is short lived and mainly available as an instantaneous blast.
There is nothing wrong with this as you have to manage significant heat output and the L35 is not a big light, so there is not much thermal ballast, the 5000lm figure is always going to be in short bursts. Despite this, it is a solid performer and you will soon realise that you actually rarely want that much light when you are also right there next to it.
With the side switch, and output level memory, the L35 also becomes a superb every day light. Pick you favourite output mode and a single tap to access it. I know many swear by tail-switches, and they have their place, but for every day tasks, the side switch gives you a more natural way to hold it.
Although the L35 can’t tail-stand, it has enough leakage due to the bezel crenellations, when head-standing that you have a gentle background light. I’ve found myself using this quite a bit, but being careful not to use anything other than moon, low or mid1 just in case it heats the desk too much.
It is a bit bigger than my typical EDC light, but moving to a new phrase I’m coining, it is an excellent EDU (Every day use) light, and I’ve made space for it.
Review Summary
The views expressed in this summary table are from the point of view of the reviewer’s personal use. I am not a member of the armed forces and cannot comment on its use beyond that covered in the review.
Something that might be a ‘pro’ for one user can be a ‘con’ for another, so the comments are categorised based on my requirements. You should consider all points and if they could be beneficial to you.
_______________________________________________
What doesn’t work so well for me
_______________________________________________
Moon mode is a bit bright.
Not quite 5000lm output.
Output drops to 1500lm after 1 minute.
No anti-roll.
_______________________________________________
Things I like
_______________________________________________
Great ergonomics.
Side and tail switches.
21700 cell with 5100mAh for power.
4769 lm output at switch-on.
Very usable interface.
Includes holster.
Large head provides smooth beam and stable head-standing.
If you found this review helpful and would like to support further reviews, please use this link to Acebeam should you decide to buy one.
Discussing the Review:
The ideal place to discuss this review is on the Tactical Reviews Facebook Page ![]()
Please visit there and start/join the conversation.
As well as the Tactical Reviews Facebook Page, please consider visiting one of the following to start/join in any discussion.