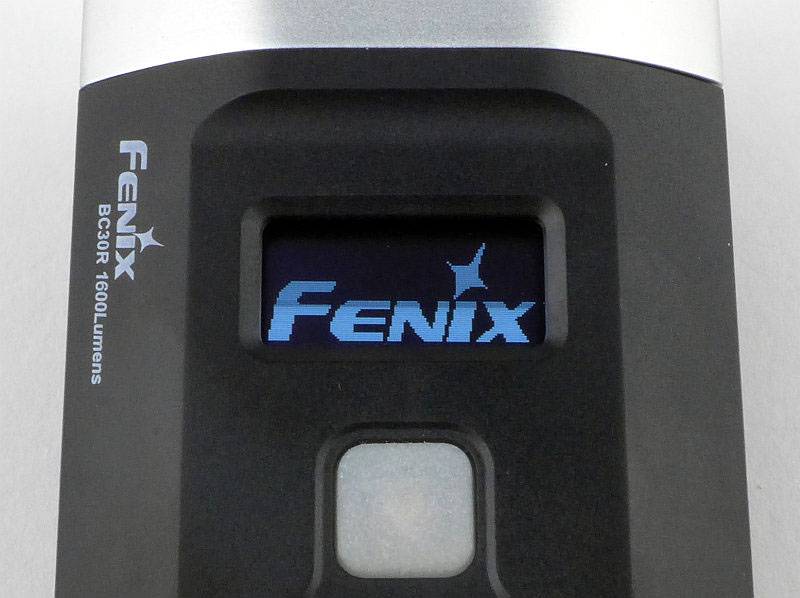
Winner of several awards on its release in 2015, the BC30R from Fenix continues to impress. The first light from Fenix to incorporate an OLED digital display, I’m hoping it won’t be the last, as this feature makes a great product outstanding.
Tactical Reviews takes a closer look and makes comparisons to the previously reviewed BC30.
Taking a more detailed look:
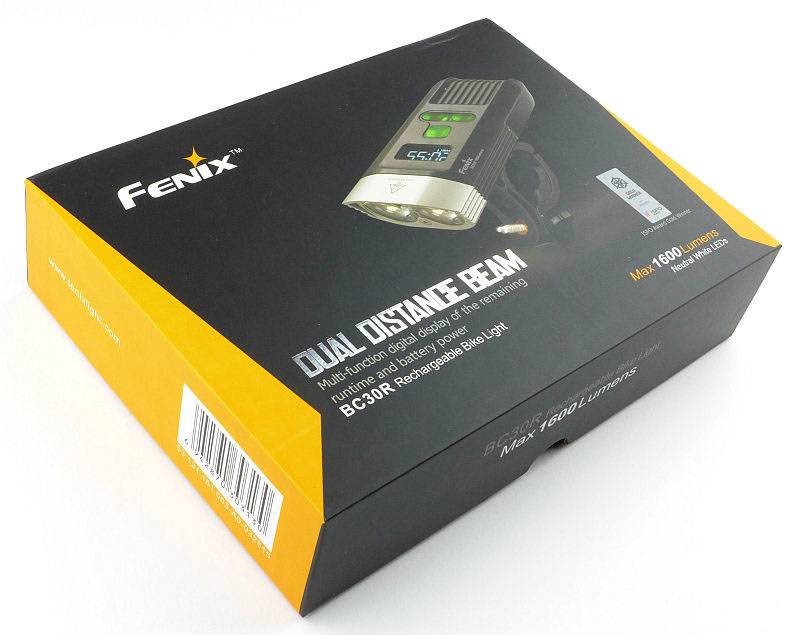
As with the other Fenix Bike lights I’ve had, the BC30R arrives in a presentation box.
The light unit and accessories are held in shaped cutouts in the foam liner.
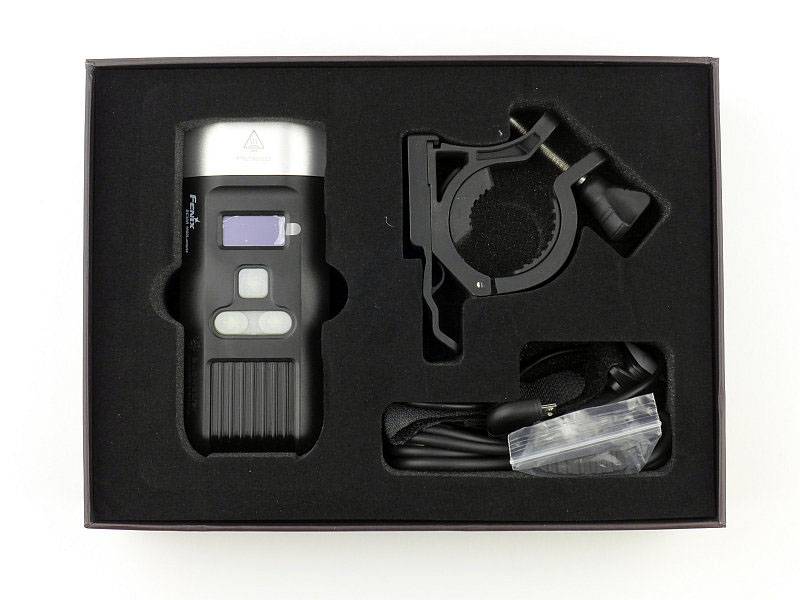
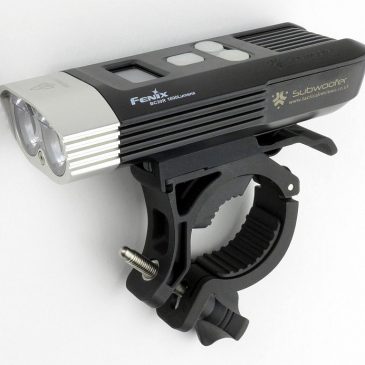
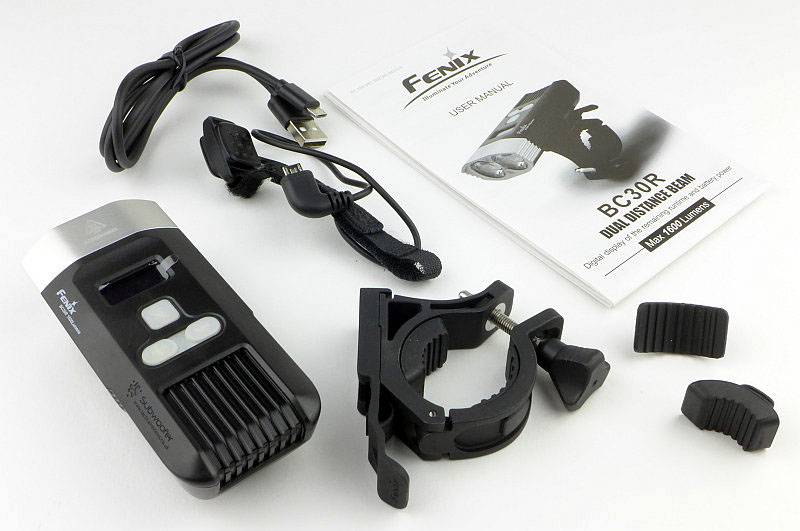
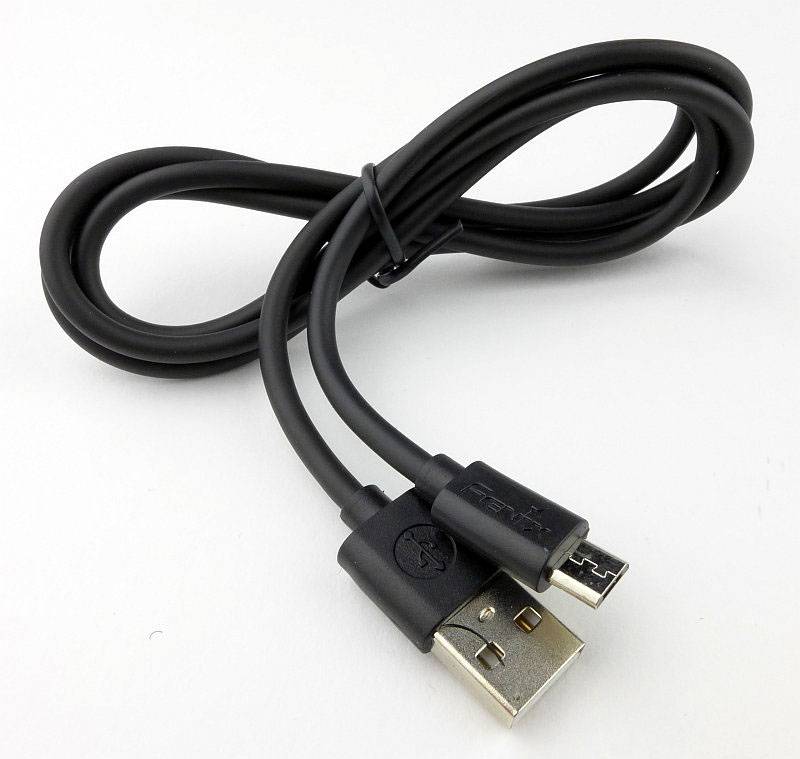
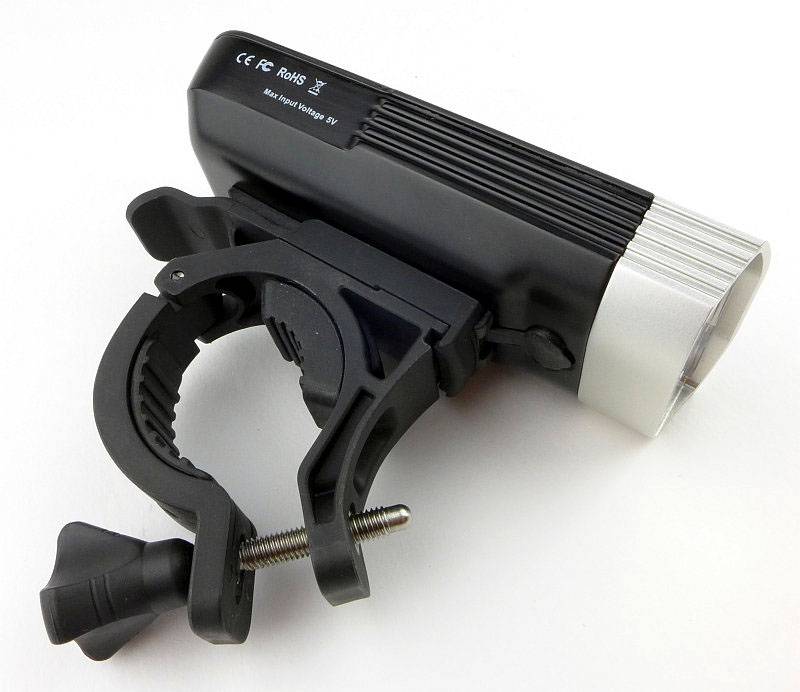
Included with the BC30R is a quick-release mount with rubber spacers (for different size handlebars), a remote switch for Burst mode, a USB charging cable and the instructions.
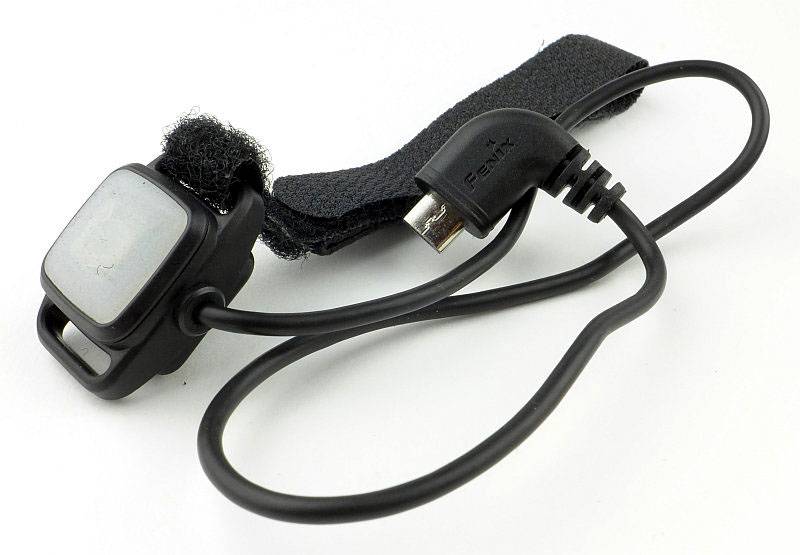
The burst switch has a micro-USB plug to connect to the BC30R, and a Velcro strap for fitting to the handlebar. The button has the Fenix logo moulded into it, but this has proven virtually undetectable in the photographs.
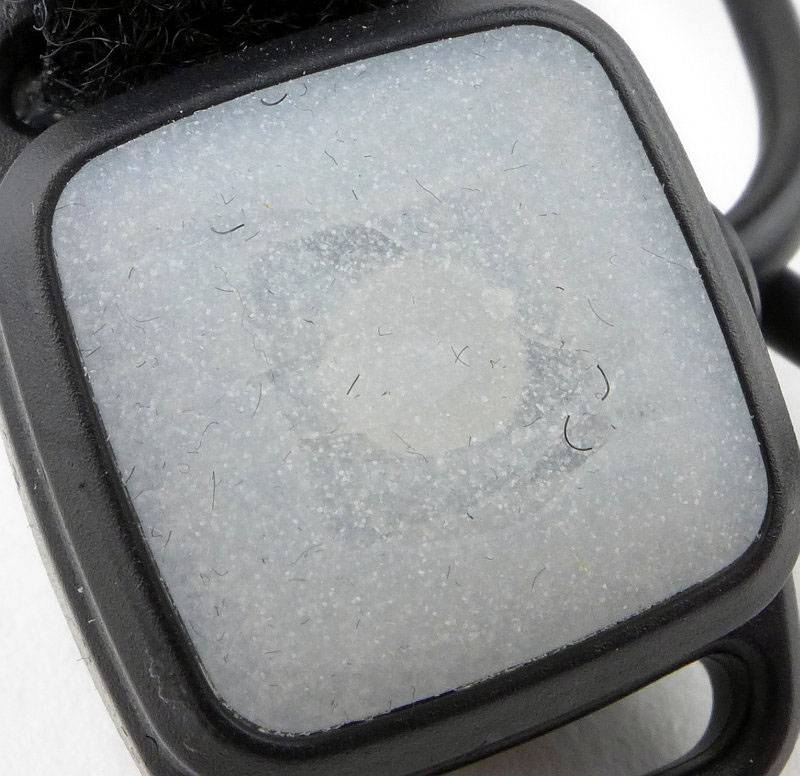
Looking even closer, you can still not really make out the Fenix logo. The switch material is a GITD rubber.
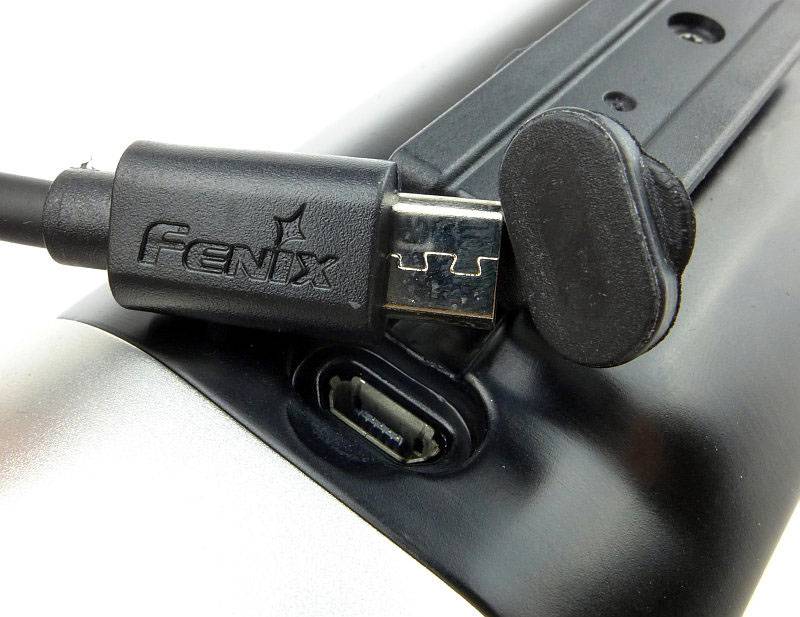
A well made micro-USB cable is included and is branded as Fenix.
The mount is very sturdy and easy to use. In this photograph the top of the mount has been angled to show the adjustment available to the user.

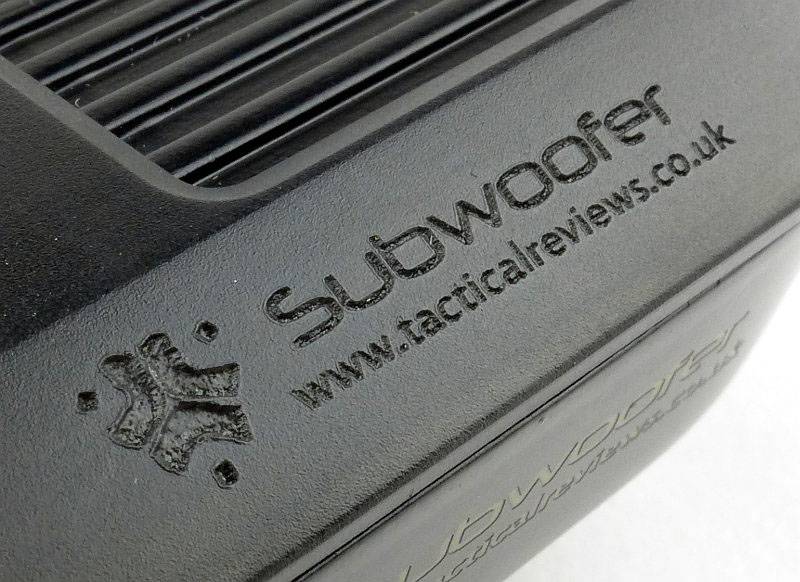
MyFenix have Laser engraved the Tactical Reviews logo onto the upper casing (plastic) and the lower casing (aluminium) giving two very different finishes.
On the metal casing the engraving has taken off the paint to show a slightly golden-brown metal surface.
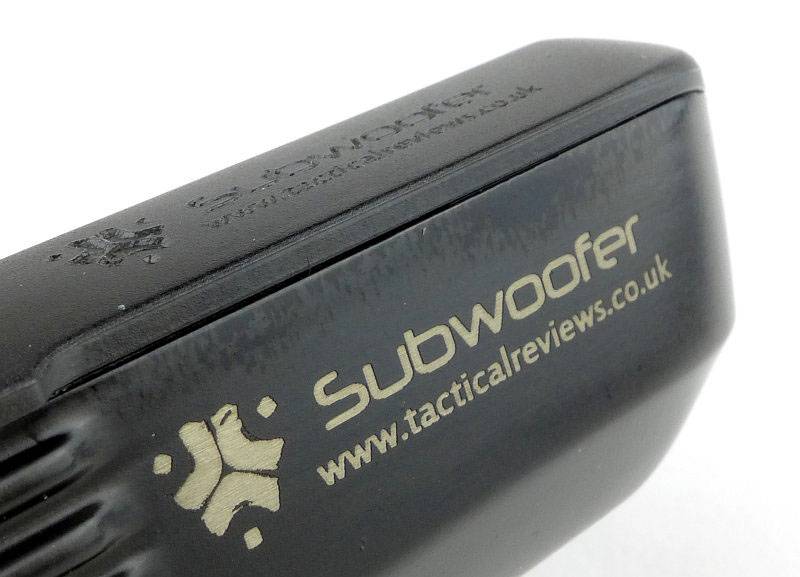
On the plastic casing the engraving looks quite different. Both engraving effects are very appealing.
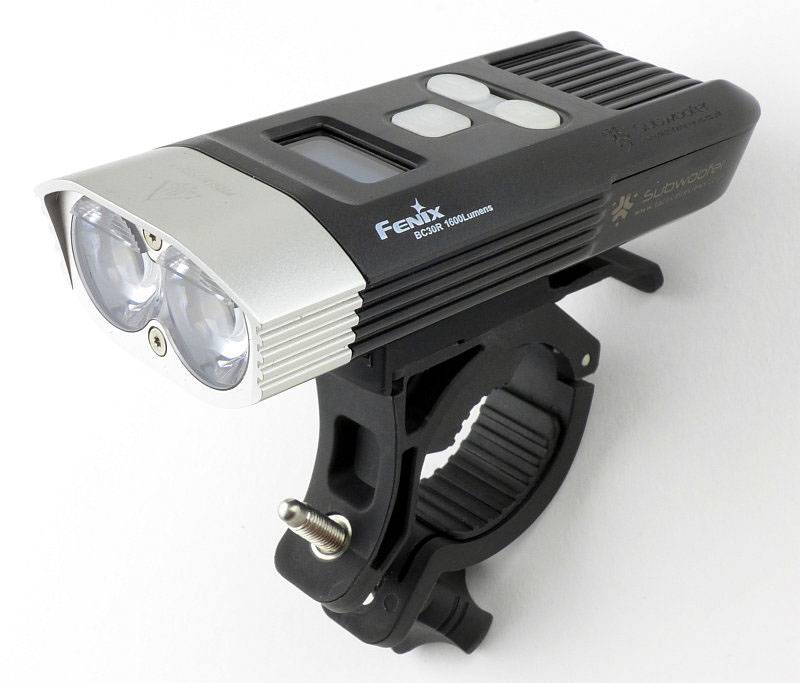
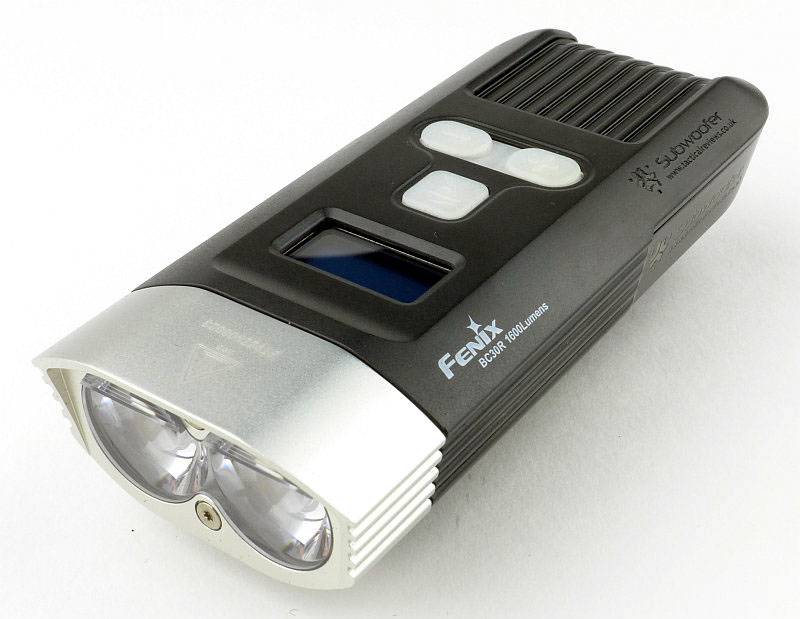
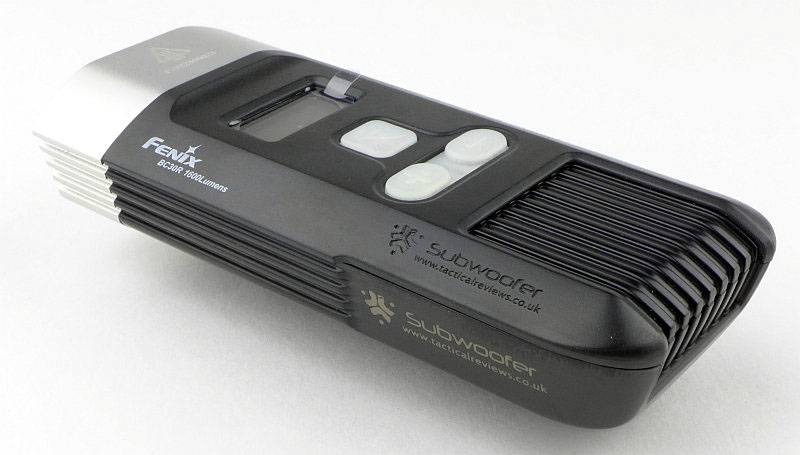
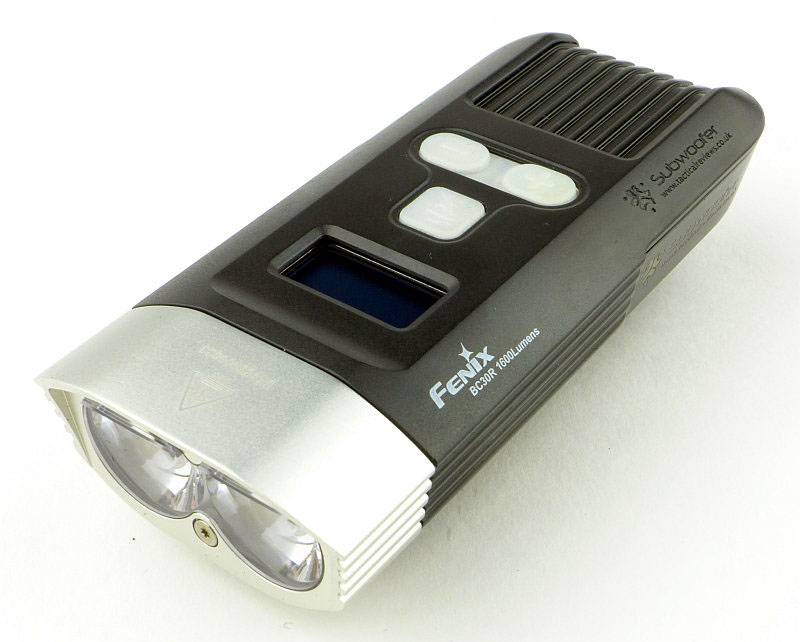
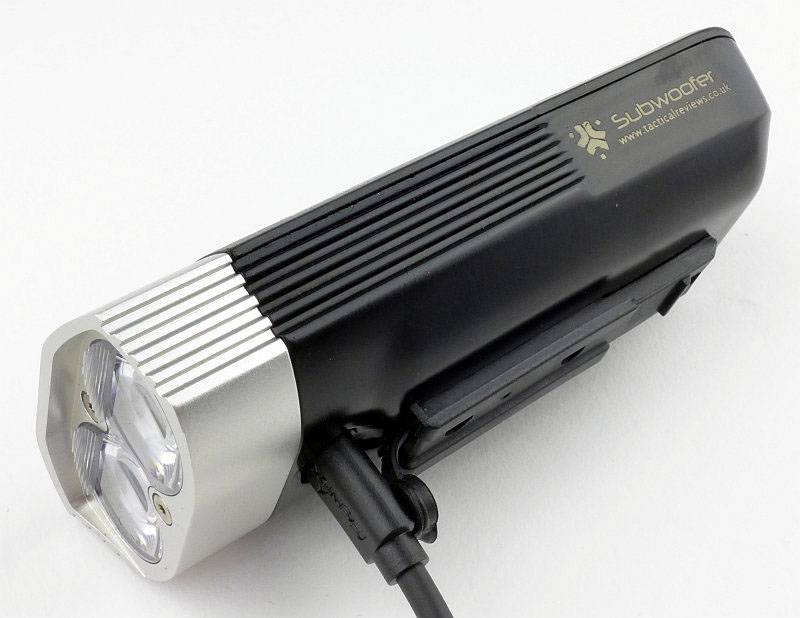
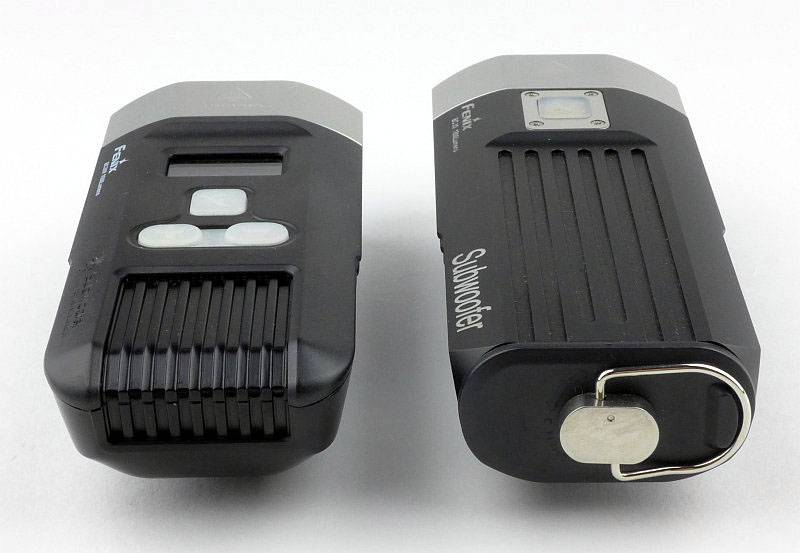
On the top of the BC30R are the three control buttons and the OLED display.
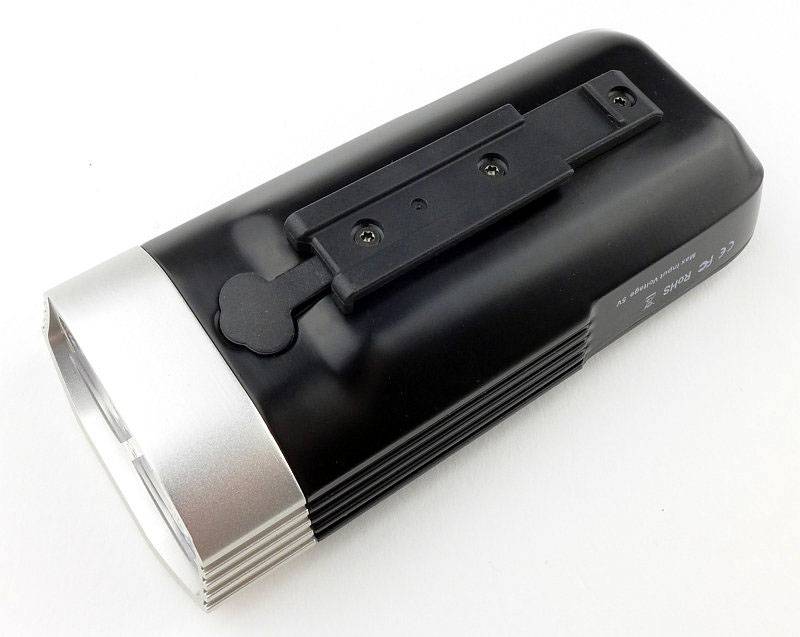
Flipping it over there is the quick-release mounting rail and the USB port cover.
Lifting up the cover reveals the micro-USB port.
The BC30R slides onto the mount from the front, locking into place. The tab at the rear of the BC30R is pushed down to release the unit and allow it to slide forwards.
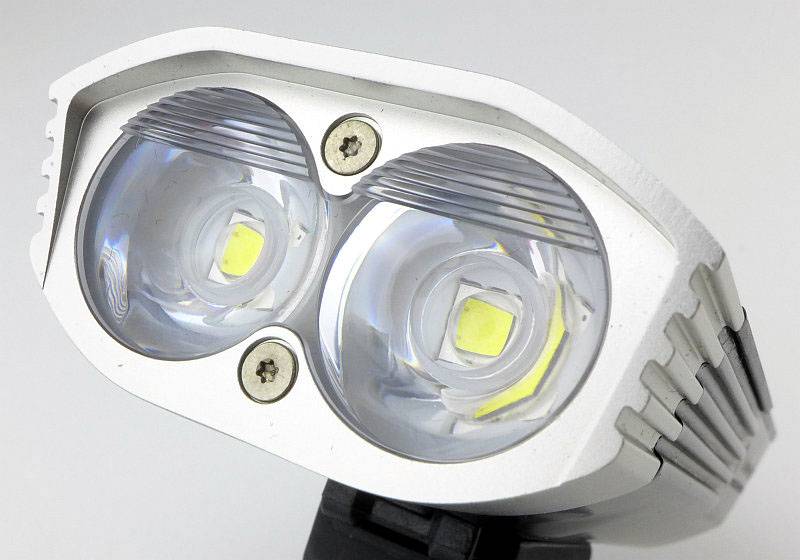
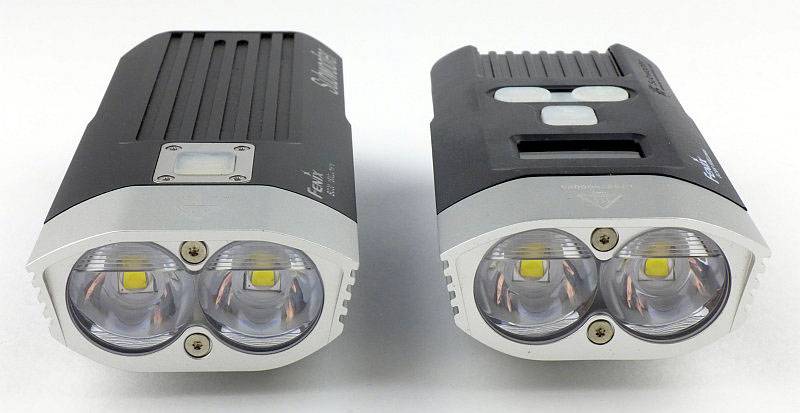
Two XM-L2 LEDs are used with specially designed optics the produce a reduced glare beam (reduced glare for oncoming traffic).
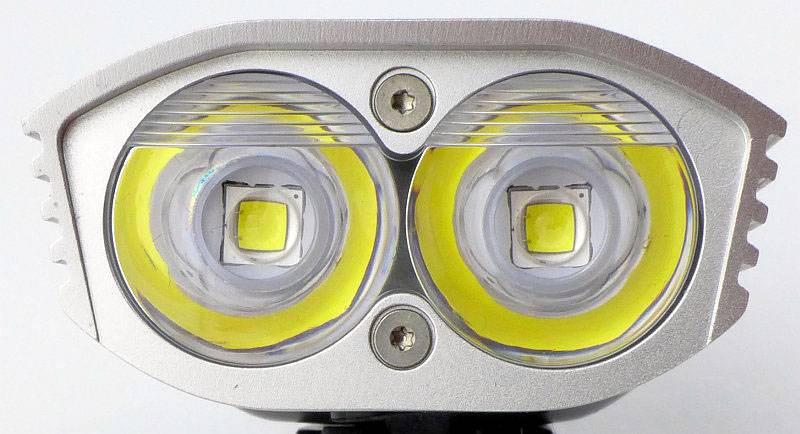
The top section of the optic is responsible for directing light that would otherwise be wasted upwards (and cause glare to other people) down onto the ground where it is useful.
To charge, simply connect up the USB cable. The BC30R will charge from any suitable USB port/charger with only the charge time varying. I did not measure more than 1.2A draw across various high power chargers.
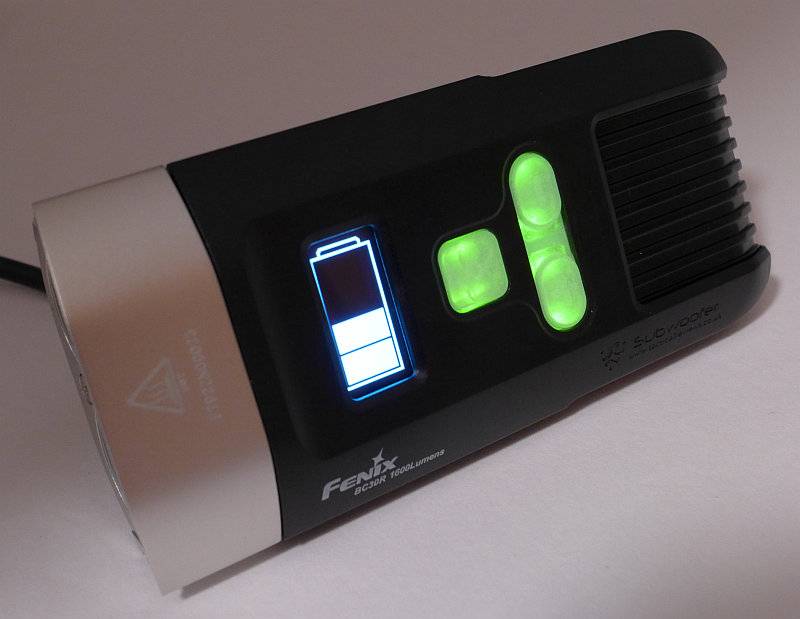
During charging the buttons are lit green, and the OLED display shows the approximate charge level.
There is an almost direct comparison with another Fenix model, the BC30. The BC30 is a simpler version without the OLED display, but with user-changeable cells. Then next three photographs show how they compare in size.
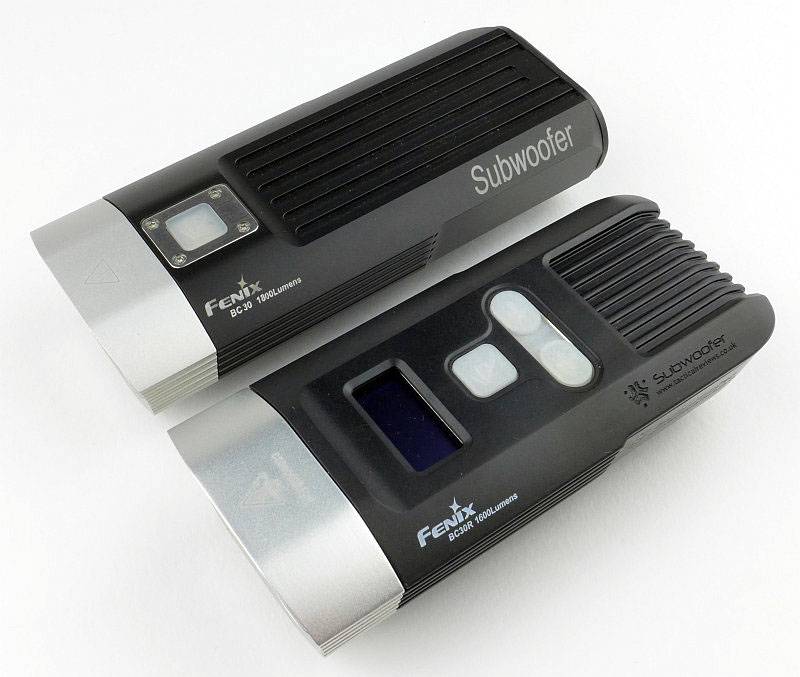
If you look dead on from the front (lower than the view in this photo) you would be pushed to tell the difference as the bezel, optics and LEDs are the same.
With its changeable cells, the BC30 has a lever to open the battery compartment on the back.
The beam
Please be careful not to judge tint based on images you see on a computer screen. Unless properly calibrated, the screen itself will change the perceived tint.
The indoor beamshot is intended to give an idea of the beam shape/quality rather than tint. All beamshots are taken using daylight white balance. The woodwork (stairs and skirting) are painted Farrow & Ball “Off-White”, and the walls are a light sandy colour called ‘String’ again by Farrow & Ball. I don’t actually have a ‘white wall’ in the house to use for this, and the wife won’t have one!
Fenix have concentrated on what makes a real difference to riders. Neutral white emitters are used to help with colour recognition and making the rider’s view clearer. The effects of the optic are not that obvious in this scenario.
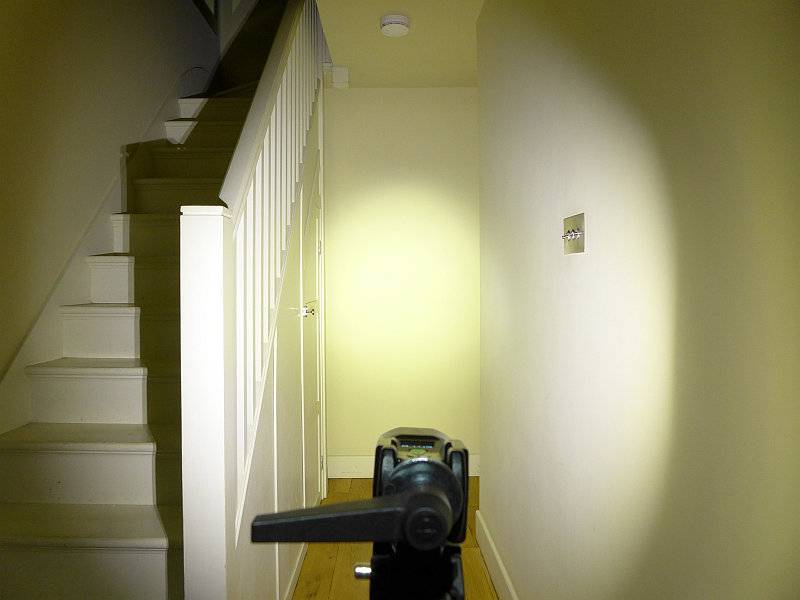
Taking Tactical Review’s standard outdoor shot, the area is well lit right up to the camera. The optic has directed light down to the area directly in front of the user.
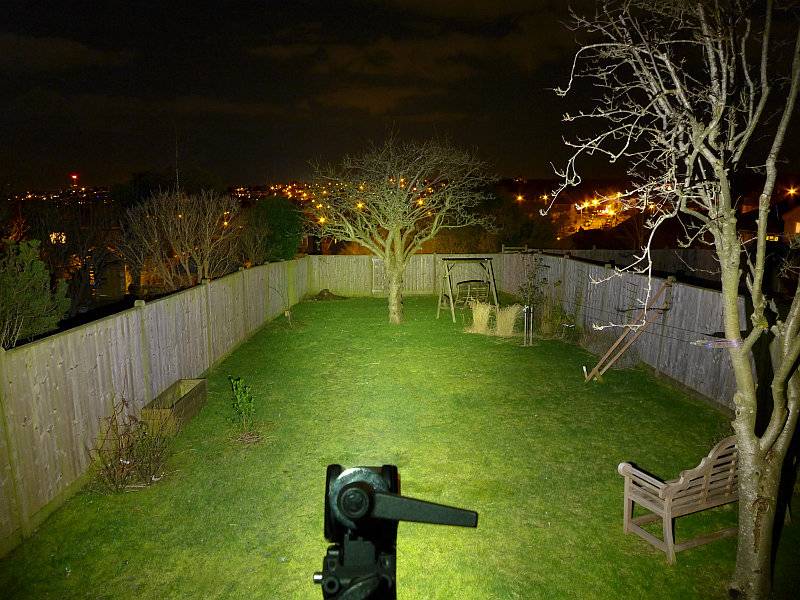
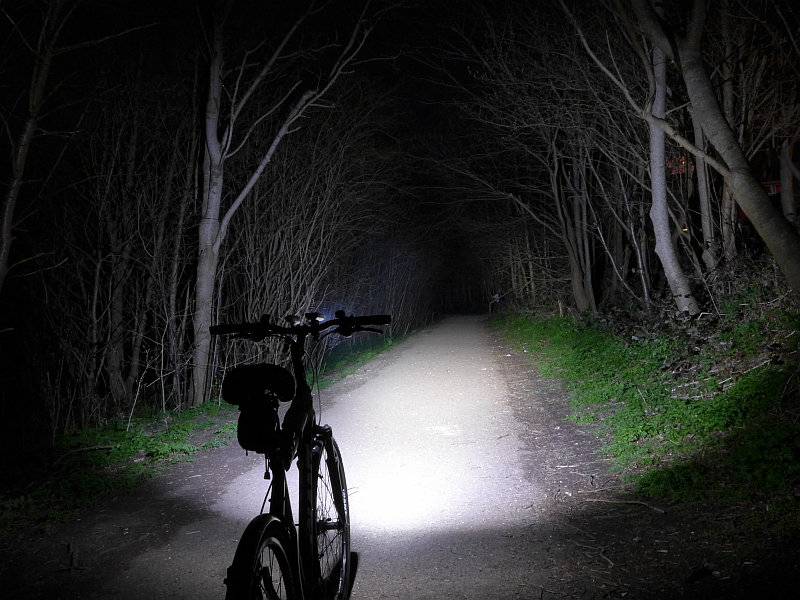
The effect is shown more clearly on the bike trail with the BC30R mounted level, additional light is directed to the area in front of the bike so you can see what you are about to ride over, not just what is well ahead of you.
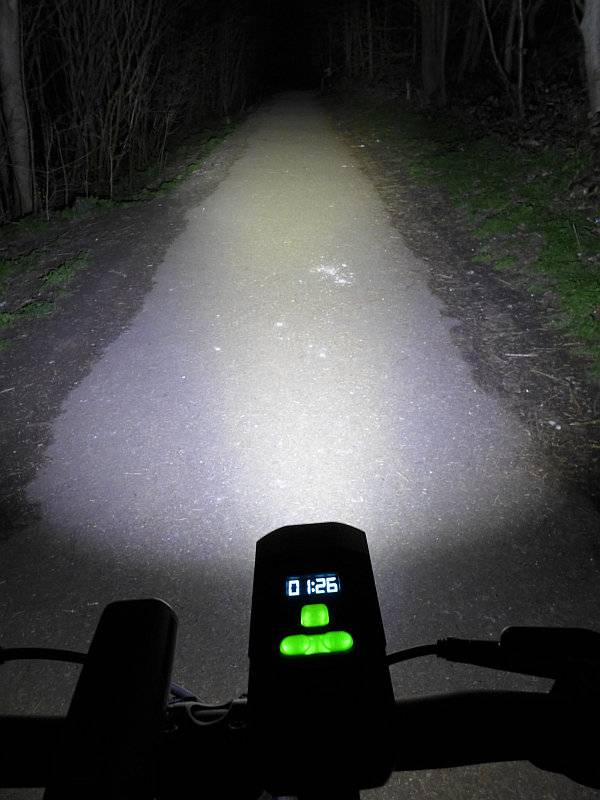
A rider’s eye view looking down onto the BC30R. Remaining runtime is clearly shown, and the buttons are lit green to make them easy to find. Unlike other illuminated switches I’ve tested this is not distracting or too bright.
Modes and User Interface:
A significant differentiator for the BC30R is its OLED display which becomes an outstanding feature of the user interface.
There are three buttons which are used to control the output, the main power switch and a ‘+’ and ‘-‘ button to go up and down output levels. Also included is a remote switch button which only controls the Burst mode.
You can choose from Burst (using remote switch), High, Medium, Low and Eco plus a flashing mode.
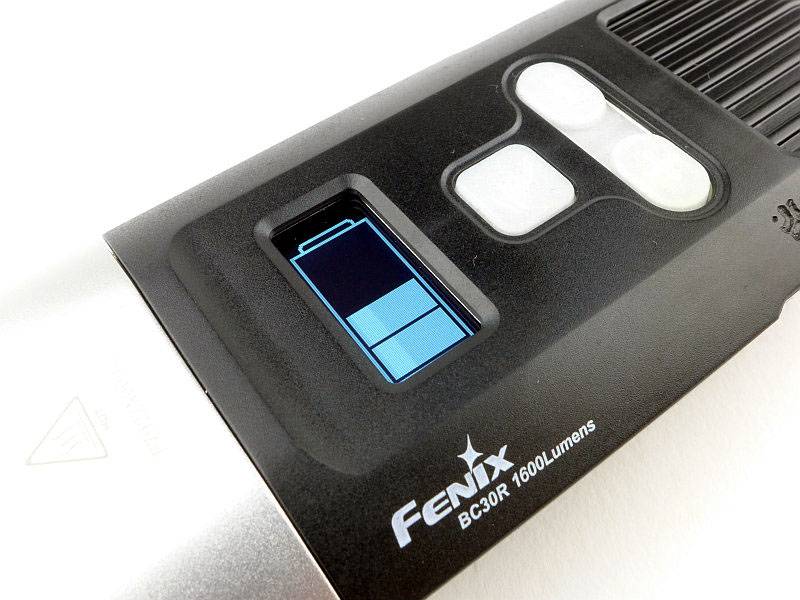
To check the current state of charge of the battery, from OFF, briefly press the power switch and a battery symbol will be displayed on the OLED screen. In this case the cell is between 50% and 75% charged. During charging this charge indicator is also shown.
To switch onto Burst, from OFF or ON any mode, press the remote switch.
From OFF press and hold the power button for 1s to turn ON to the last used steady mode.
When ON use the ‘+’ and ‘-‘ buttons to increase or reduce the output. Once you reach the lowest output pressing the ‘-‘ button again does nothing, and the same is true when going the other way.
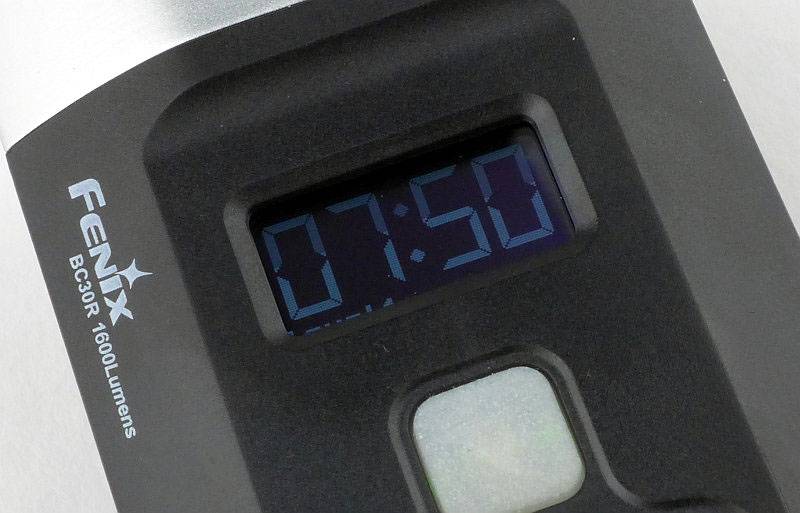
During normal use, the OLED display on the BC30R will show the remaining runtime (an excellent feature) for that mode. When you turn the BC30R ON, its display initially shows the level and the ‘hours’ part of the remaining runtime and then it calculates the ‘minute’ part. Here the remaining runtime for the level 7h50m. If you change mode, this is recalculated and an updated value displayed.
The reason the numbers look dim is due to the display using a raster effect. The shutter speed used has not captured the full display at maximum brightness. To the eye it looks clear and bright.
For flashing mode, from ON, double-click the power button. A lightning bolt is shown flashing on the OLED display and no runtime is shown. To exit flashing mode press the power button once.
To switch OFF, press and hold the power button for 1s.
Batteries and output:
The runs on a built in battery pack.
To measure actual output, I built an integrating sphere. See here for more detail. The sensor registers visible light only (so Infra-Red and Ultra-Violet will not be measured).
Please note, all quoted lumen figures are from a DIY integrating sphere, and according to ANSI standards. Although every effort is made to give as accurate a result as possible, they should be taken as an estimate only. The results can be used to compare outputs in this review and others I have published.
| ___________________________________________ | ________________________________ | ________________________________ |
| BC30R using built in battery pack | I.S. measured ANSI output Lumens | PWM frequency or Strobe frequency (Hz) |
| ___________________________________________ | ________________________________ | ________________________________ |
| Burst – Only 20s run on Burst | 1883 | 0 |
| High | 1000 | 0 |
| Mid | 597 | 0 |
| Low | 255 | 0 |
| Eco | 130 | 0 |
* Beacon and Strobe output measurements are only estimates as the brief flashes make it difficult to capture the actual output value.
Peak Beam intensity measured 3600 lx @1m giving a beam range of 120 m.
There will be parasitic drain but it cannot be measured as the unit is sealed.
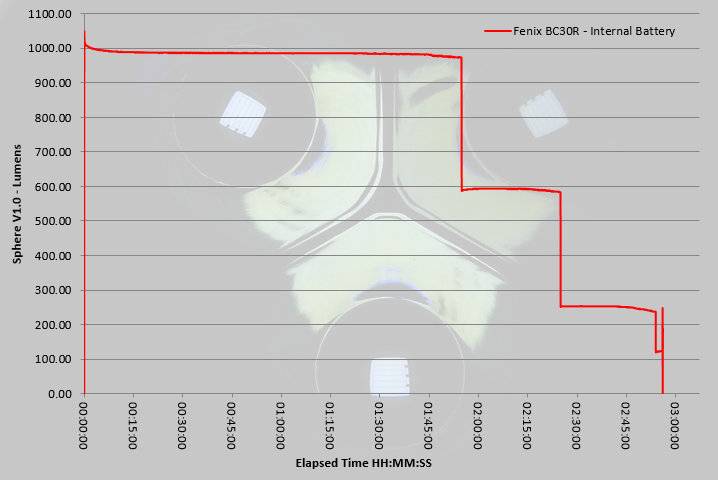
A very predictable runtime profile with a nicely consistent output on High for nearly 2 hours, then stepping down to Medium for around 30 minutes then Low for 30 minutes with a last short time on Eco.
Troubleshooting
This section is included to mention any minor niggles I come across during testing, in case the information helps anyone else.
No issues were encountered during testing.
As per the description of this section, this information is provided in case anyone else finds a similar ‘issue’ that might be fixed in the same way.
The BC30R in use
If you do a lot of night time riding, the BC30R is something you will really appreciate. Apart from the great beam, it is the OLED display and the information it shows which will make you wonder how you ever did without it.
Having a clear ‘remaining runtime’ showing on the display allows you to plan your ride and ensure you get home without losing light. If you are a bit late and the runtime is not long enough, drop down a level and see if you now have enough light to get back. If not drop down a level again.
Although other lights may have battery low indications, generally once they show up you really have to stop and change the batteries or risk losing light while moving. Though usually not a serious issue, you just don’t get any clearer than the count-down of the actual runtime remaining.
One could argue that as the BC30R has a built-in rechargeable battery pack, that this is then a necessary feature as you can’t swap the batteries if they run out. Before testing it, I might have agreed, but with this information, planning is so easy and you can adjust the output based on your needs at the time. Part of the route might need ‘High’ for you to see by, but other parts might only need ‘Eco’ for you to be seen by. Swapping between these on a standard light will mean any guess you might make for remaining runtime will be wildly inaccurate, especially if spanning a few rides. You will then end up charging the batteries more often than needed just to be safe.
With just the basic charge level indicator, you can quickly see if it is worth a top-up before your ride, then during the ride have the peace of mind it will run for as long as it shows on the display.
Back to the beam, and prior to getting the BC30R, the BC30 had taken over as my primary bike light thanks to its excellent beam shape, power and colour. Despite having a built-in battery, the BC30R has superseded the BC30 (now relegated to a backup light) as my primary light.
The more you come across other riders with LED lights, the more you realise the glare reduction feature is something all bike lights should have. Knowing that you are creating far less glare than a standard reflector or optic gives you a better feeling when you want to turn up the power. This is not just a benefit for other road users but for pedestrians as well. The trails I ride often have dog walkers on them, and some lights I’ve tested have them shielding their eyes, but not the BC30R.
As a right-hander, I have the BC30R mounted to the right of the stem. This places the ‘-‘ button closest to my thumb. Generally my requirement for a quick adjustment in output is to turn it down, so this fits in nicely when coming across other riders or pedestrians on the bike trails.
The first few times I went out with the BC30R I used the remote switch, but more recently I’ve not bothered with it. It is useful to be able to flash up to maximum output (though only for 20s) but less so than I originally thought. The main annoyance is that you have to unplug the cable when taking the BC30R off your bike, and if you are leaving the bike locked up outside you may want to take the switch off too. After doing this a few times, I found the benefits were outweighed by the bother of connecting the switch as you have to do it before sliding into the mount. For a fixed off-road rig where you don’t have any security issues, I would use it, but commuting or rides with stops that require the bike to be locked up, it loses its attraction.
One particular part of a trail I ride regularly has an old very broken-up tarmac section which is very harsh on lights and their mounts. Most light end up shaking round the handlebar or wobbling violently. Like the BC30, which uses the same mount, the BC30R takes this in it stride and doesn’t budge or vibrate.
When fitting the clamp, the screw is very powerful and does cause the mount to rotate around the bar slightly as it gets tighter. Getting it to be in the right final position took a couple of attempts, but once fully tightened in the correct position it is not going anywhere.
It has surprised me how easily the BC30R has overcome my general dislike of lights with built-in batteries, but that OLED display has made all the difference.
Review Summary
| _______________________________________________ | _______________________________________________ |
| Things I like | What doesn’t work so well for me |
| _______________________________________________ | _______________________________________________ |
| OLED display showing remaining runtime. | Built-in battery. |
| Shaped beam. | Remote switch can become a nuisance to fit and remove. |
| Neutral white beam tint. | USB port cover rubs off black marks |
| USB charging. | ‘+’ and ‘-‘ symbols difficult to see. |
| Solid, Quick-Release, bar mount. | |
| Low glare. | |
| 1000lm continuous output. |
Discussing the Review:
Please feel free to add comments to the review, but the ideal place to freely discuss these reviews is on a forum. If you started reading the shorter forum version of the review, but followed the link this full exclusive review, please return to that forum to discuss the review there.
If you read the review entirely on Tactical Reviews, please consider one of the following to join in any discussion.
CandlePowerForums – Flashlight Reviews Section (Largest and Friendliest Flashlight Community Forum)
EdgeMatters – Sponsored Reviews (UK based Forum for Knife Makers and Collectors)