The H10 is ACEBEAM’s most powerful Headlamp with an impressive 2000lm burst mode (using an IMR 18650) and uses the high power MT-G2 LED array.
Taking a more detailed look:
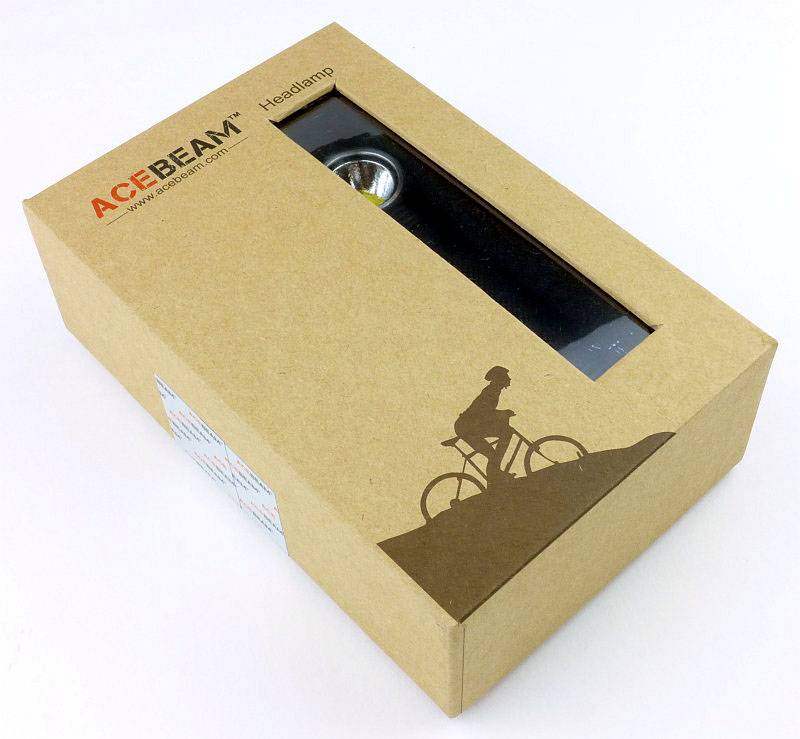
Presentation is good with the ACEBEAM packaging. The box is sealed with a tamper evident tape.
Inside there is a foam liner holding the contents in place.
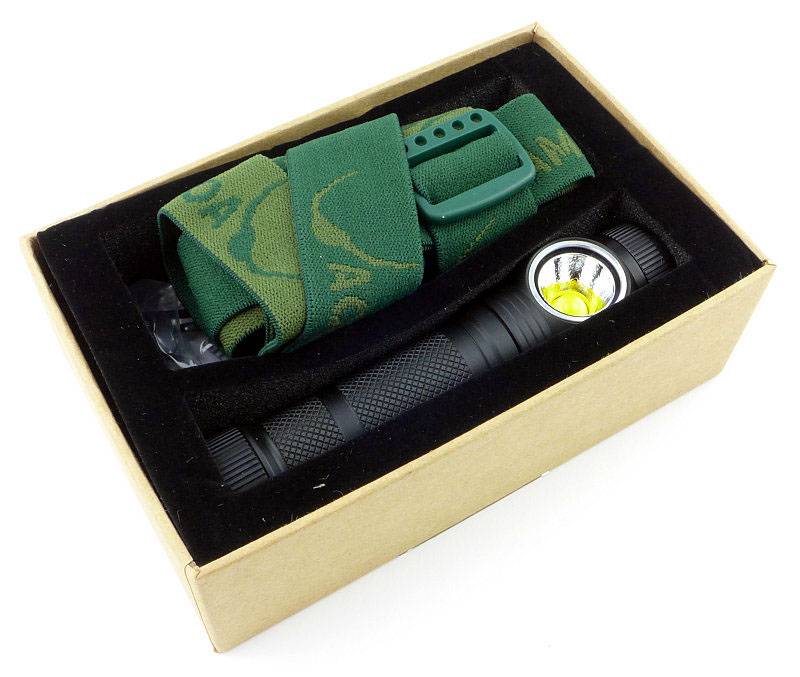
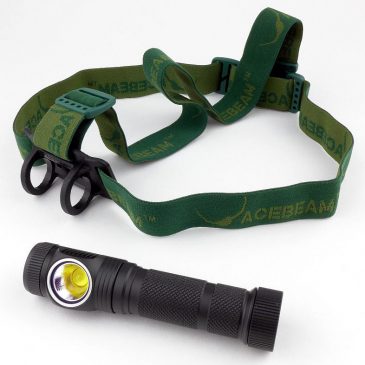
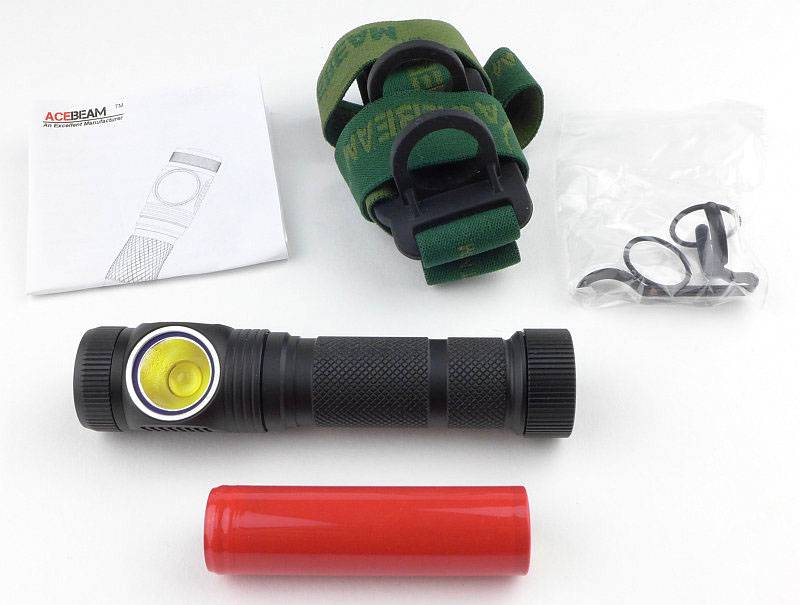
In the box there is the H10 (with unlabelled 18650 inside it), spare O-rings, pocket clip, headband and mount, plus the instructions.
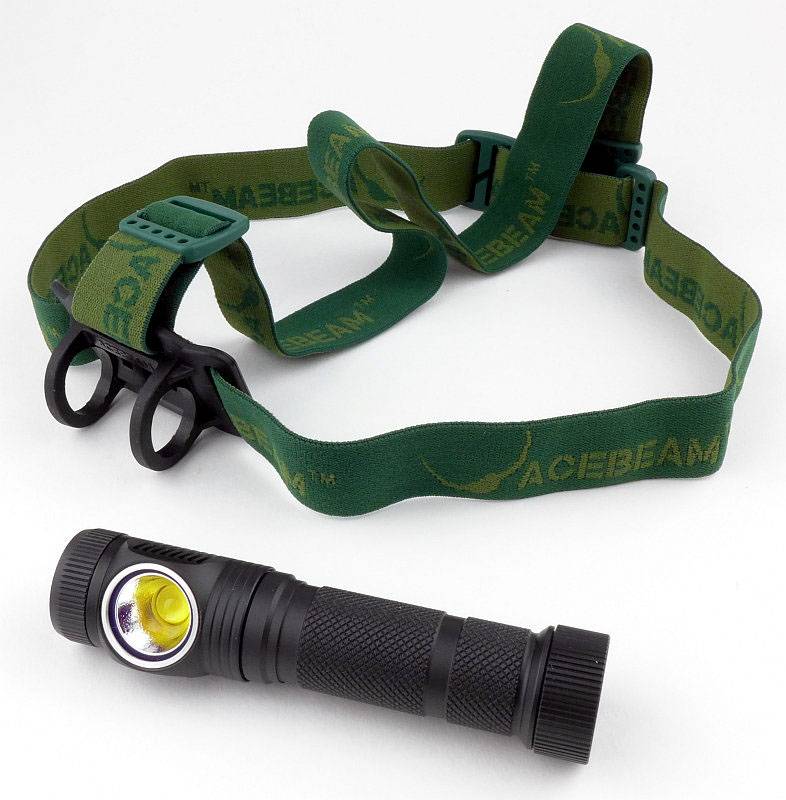
The headband is fully assembled and opens out like this.
The headband mount has two retaining rings that line up with grooves in the body of the H10.
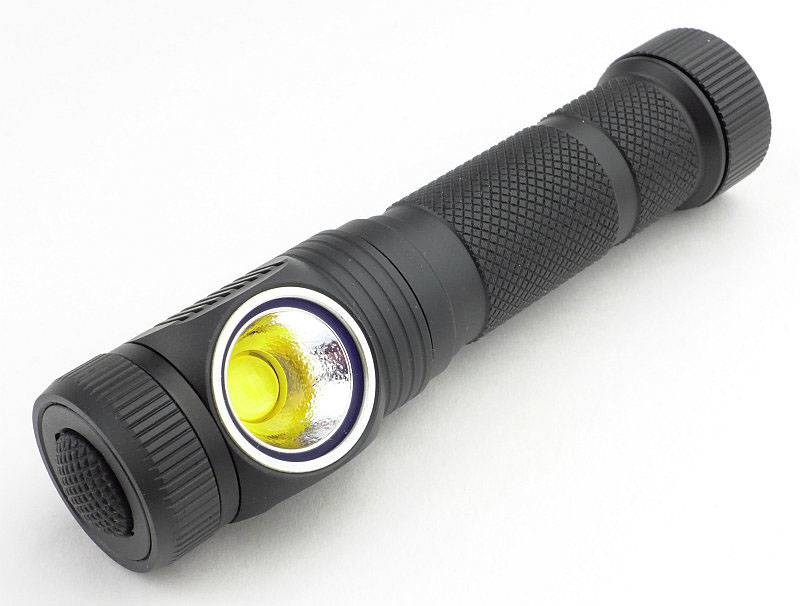
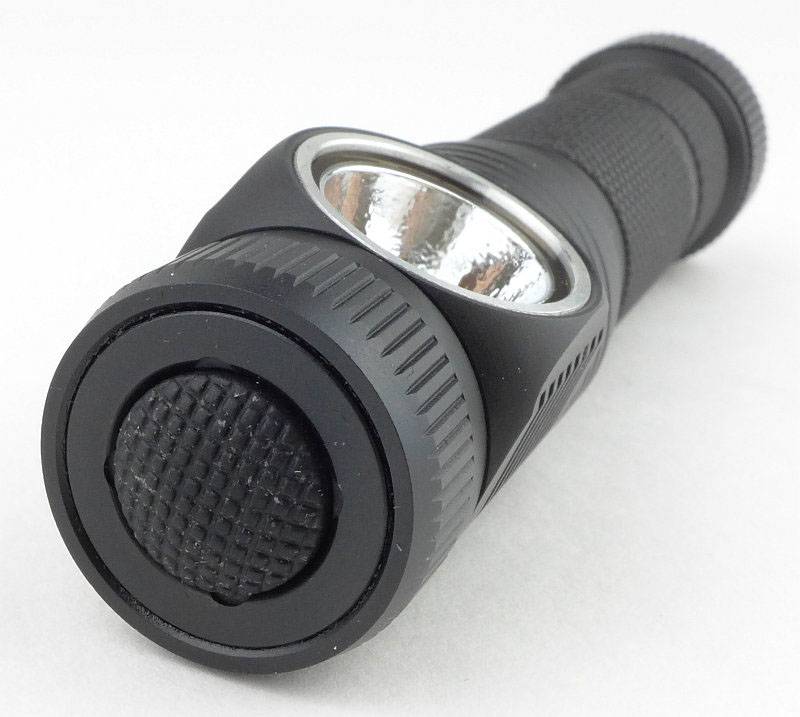
Looking at the back of the H10 you can see the shallow heat sink fins on the head, and the domed switch on top.
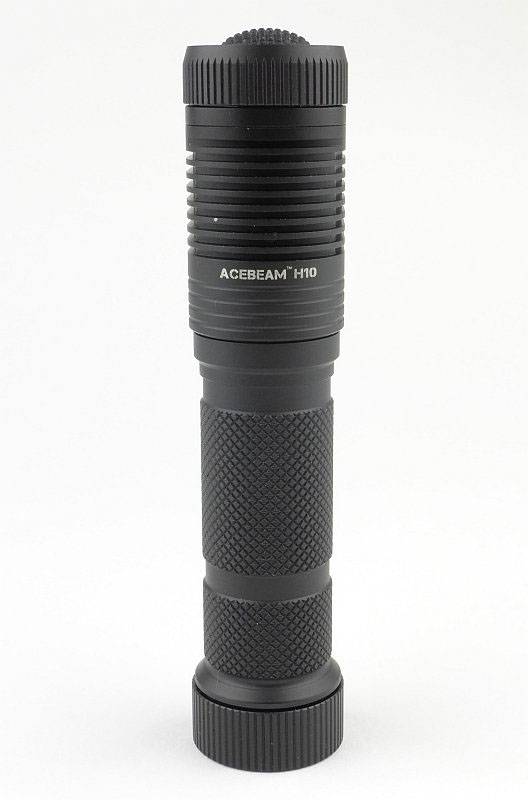
Surrounding the domed switch button is a rotating selector ring.
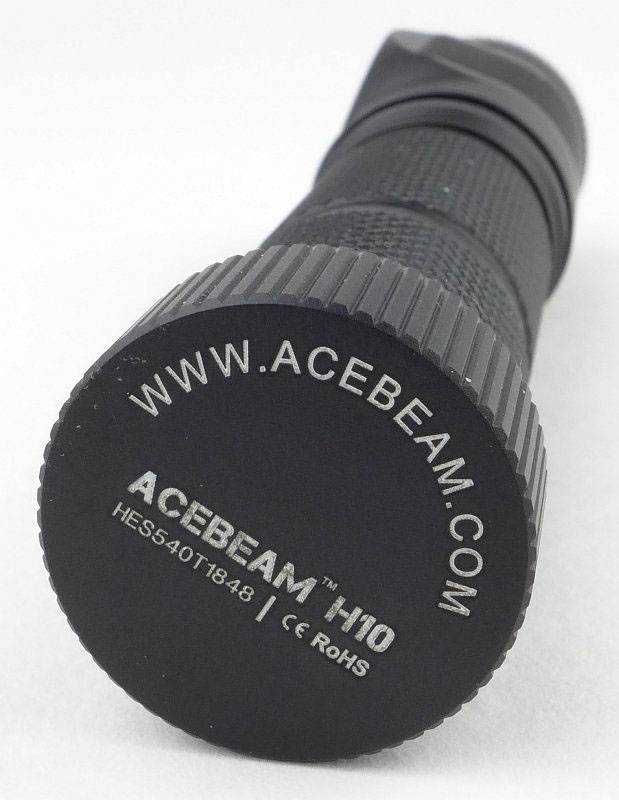
On the battery tube cap, the make, model and serial number are engraved.
As we will see further on, there is parasitic drain, so for transit (and to prevent accidental activation) as the supplied 18650 is fitted inside the H10, an insulating disc is included to break the circuit and lock-out the H10. You need to discard that white plastic disc to use the H10.
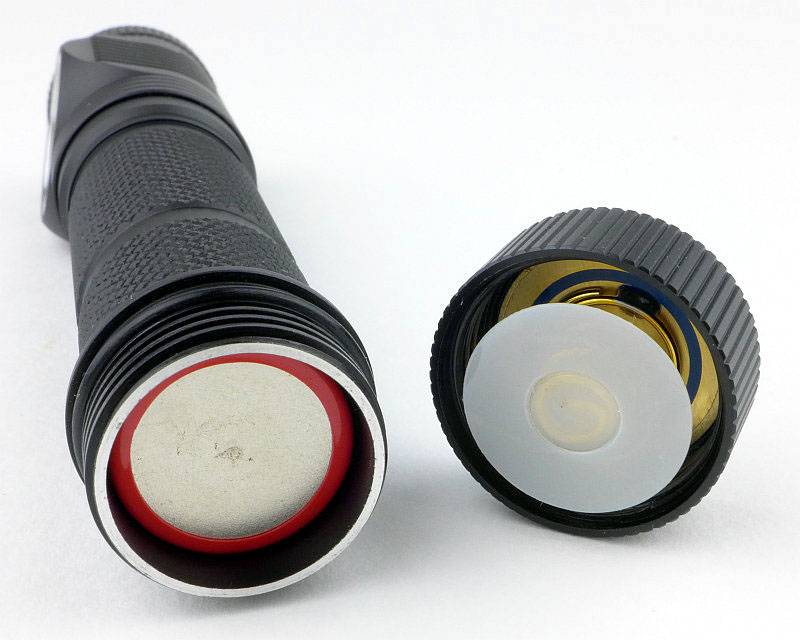
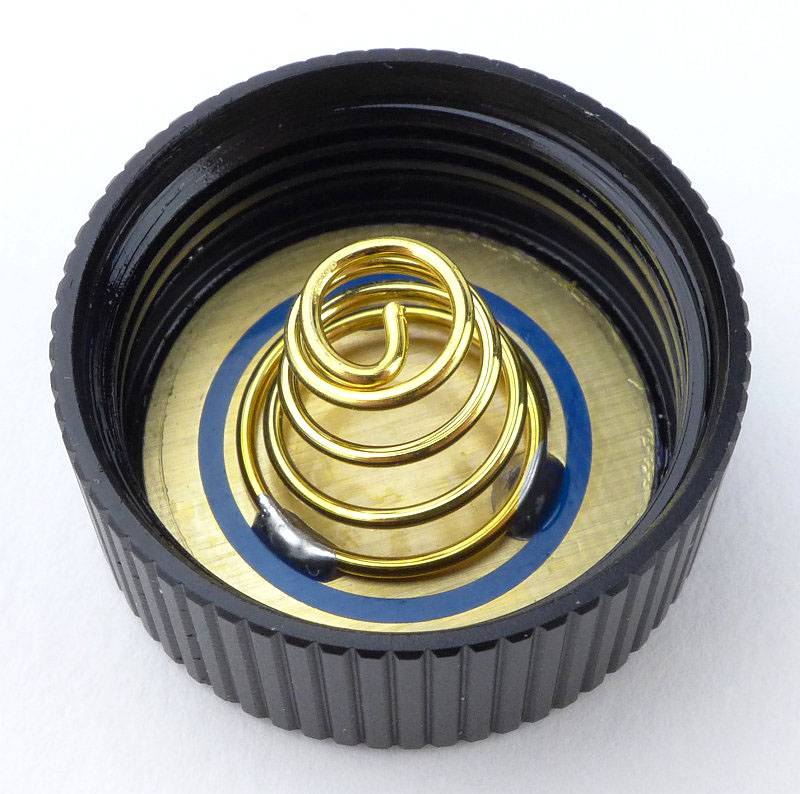
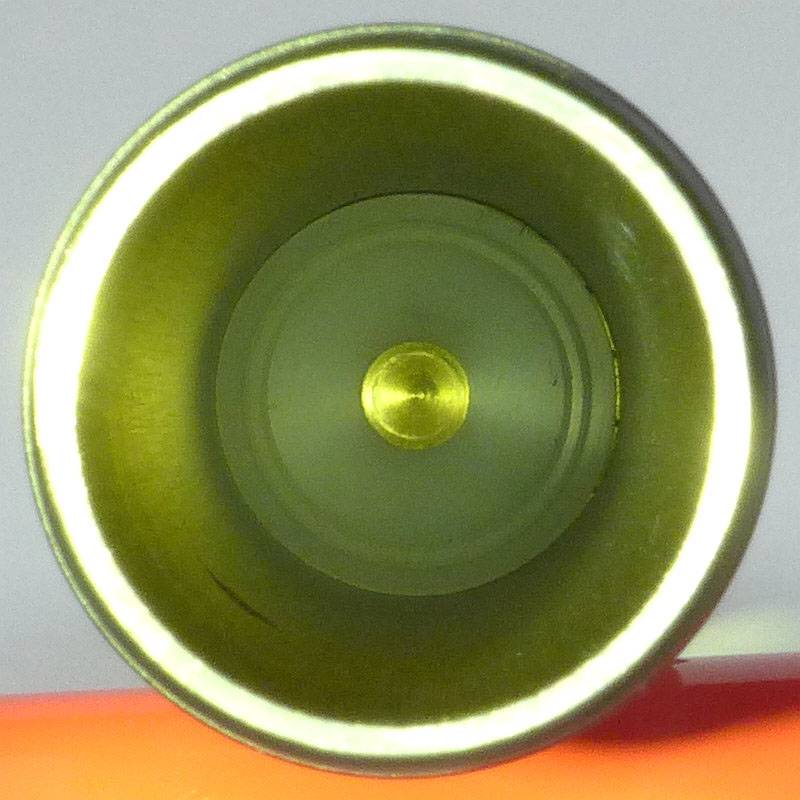
Inside the tail-cap the negative terminal is a spring. The top edge of the battery tube makes contact with the gold ring-terminal on the circuit board.
Peering inside the battery tube there is a simple positive terminal surrounded by a plastic insulator.
The threads are almost square, perfectly cut, fully anodised and well lubricated.

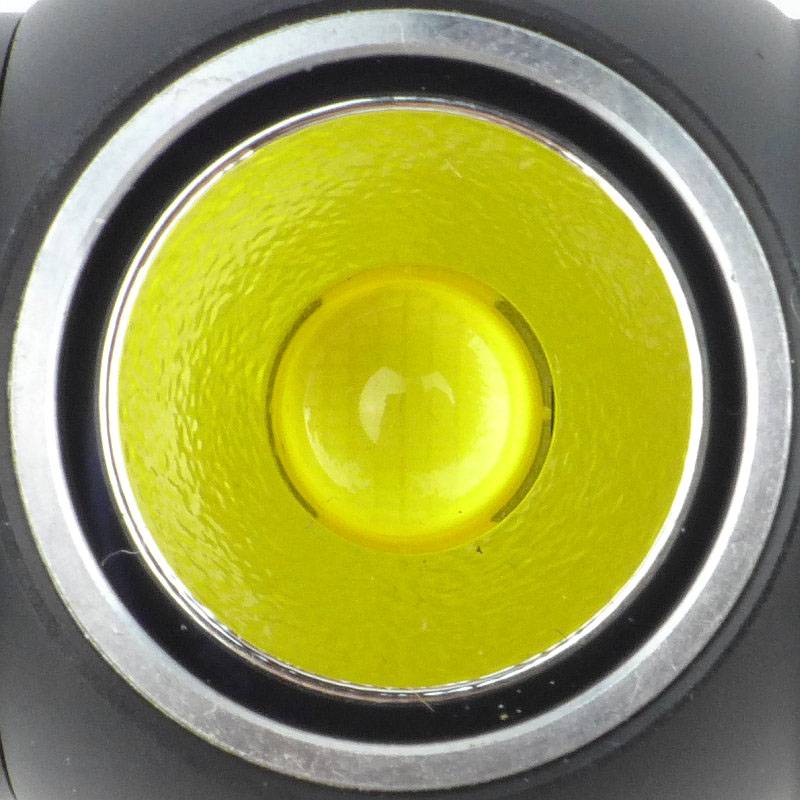
With a large MT-G2 LED the reflector is relatively small and is textured to further smooth the beam.
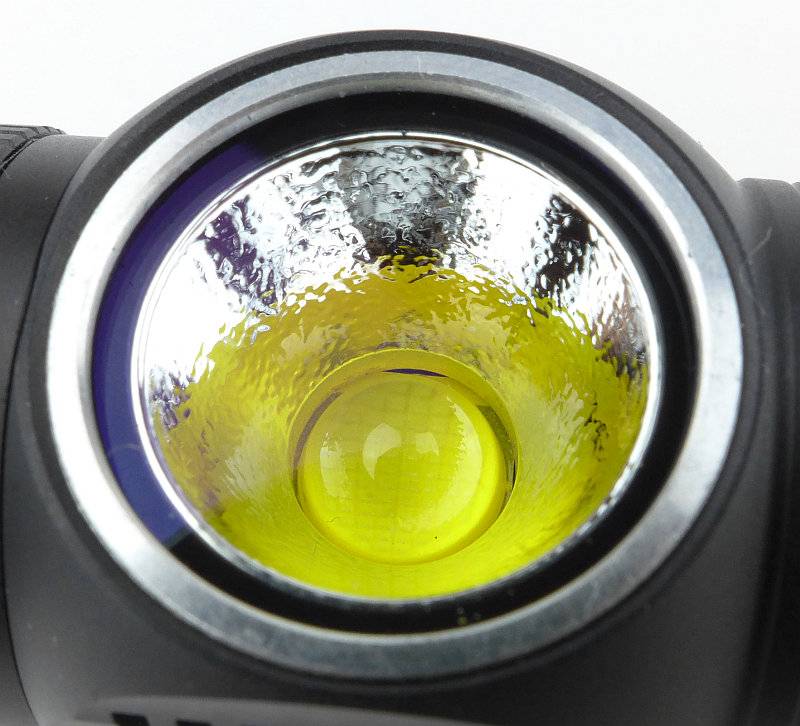
Looking straight at the MT-G2 LED.
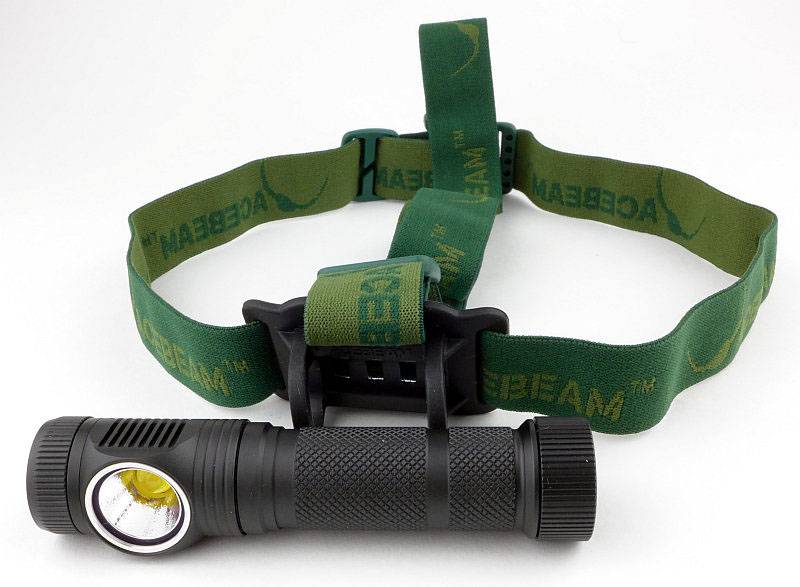
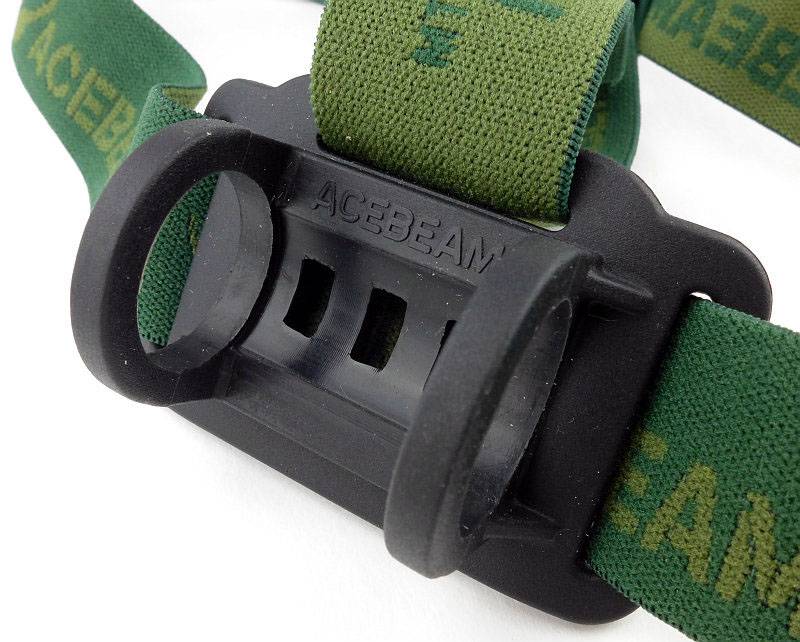
Of course the H10 can be used as a right-angle light, but it is intended as a headlamp. Here it is fitted in the headband mount.
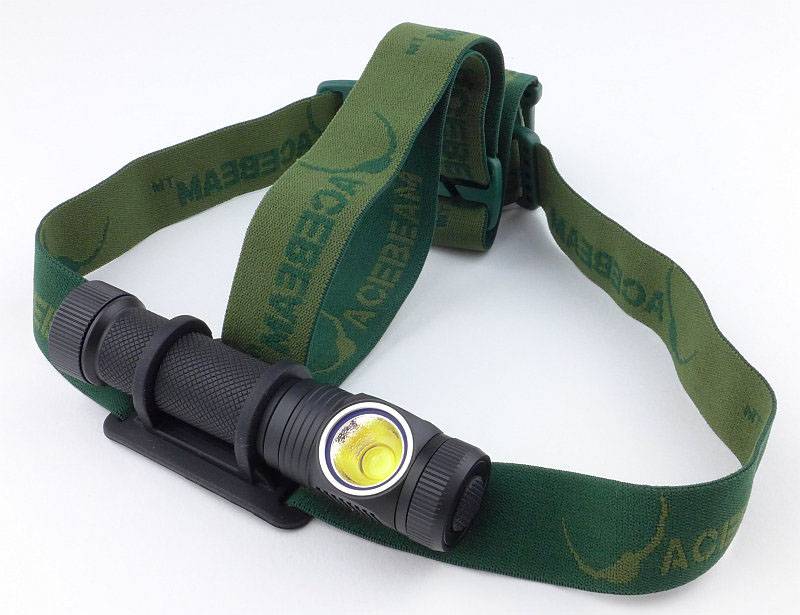
At the back, the top strap fits into the headband adjustment loop to help keep it centred.
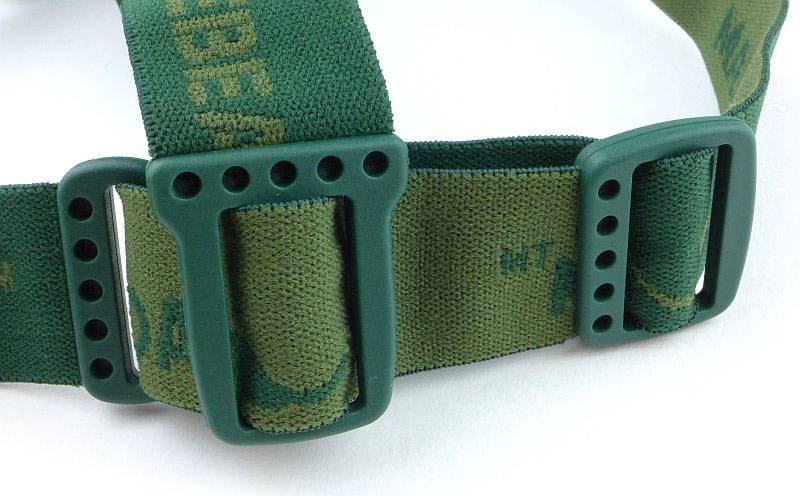
Though the mount is a soft rubber, the strap is threaded through the mount to keep the elastic strap itself against the user’s head. This provides maximum comfort.

Some of the detail in the rubber mount’s moulding.
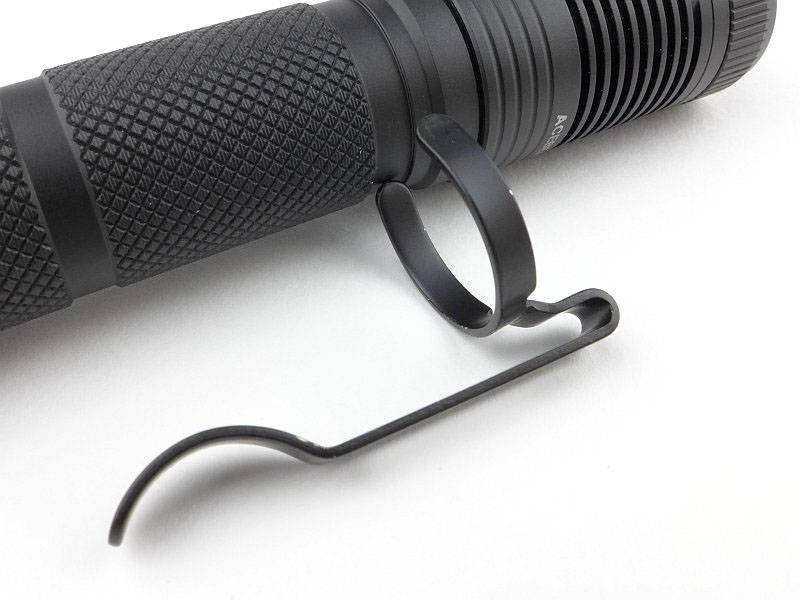
A pocket clip is provided for when the H10 is used out of the headband mount. It clips into either one of the grooves that are used for the headband mount. You cannot leave the clip on and fit it back into the headband mount properly. The clip is stiff to fit and has already marked the anodising.
The beam
Please be careful not to judge tint based on images you see on a computer screen. Unless properly calibrated, the screen itself will change the perceived tint.
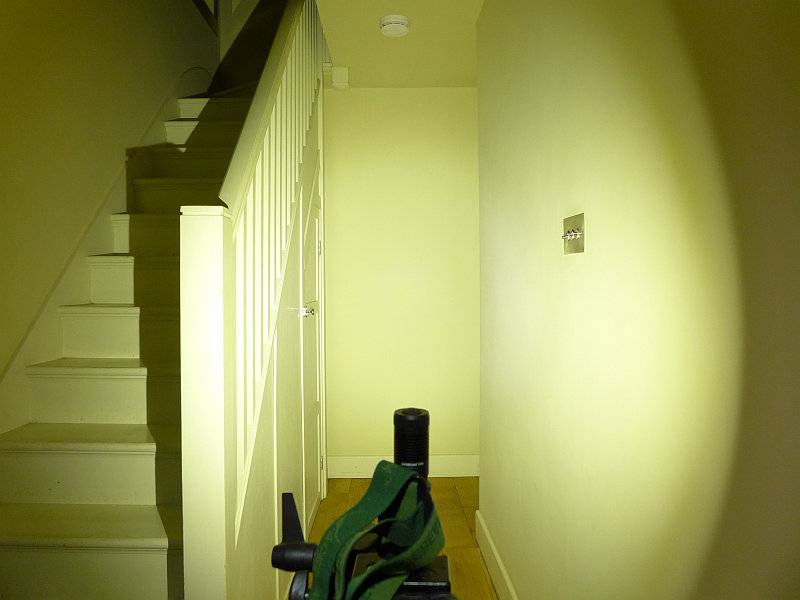
The indoor beamshot is intended to give an idea of the beam shape/quality rather than tint. All beamshots are taken using daylight white balance. The woodwork (stairs and skirting) are painted Farrow & Ball “Off-White”, and the walls are a light sandy colour called ‘String’ again by Farrow & Ball. I don’t actually have a ‘white wall’ in the house to use for this, and the wife won’t have one!
For most purposes, a headlamp benefits from a flood beam, as it is generally used as task light. The H10, with its large LED and small reflector doesn’t disappoint, with a wide and even flood beam.
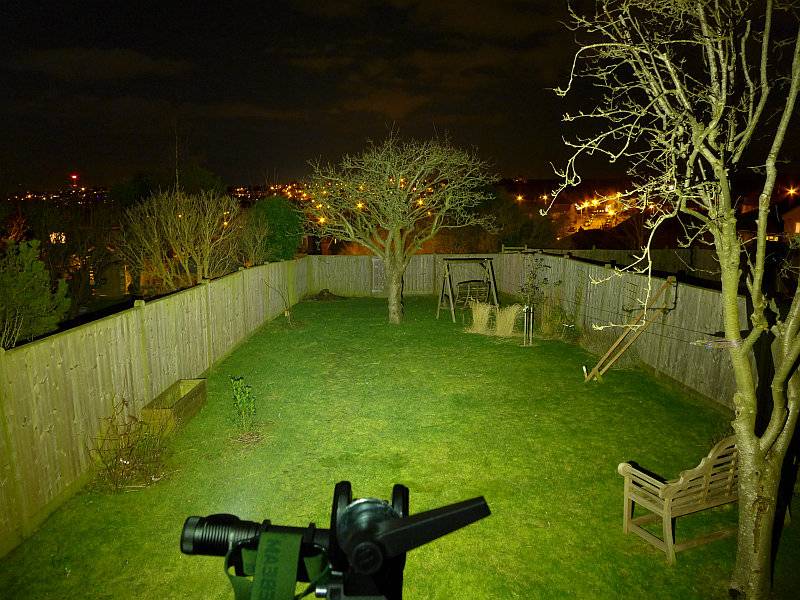
Moving outdoors, this headlamp does have enough power to give it some range despite the flood beam and the area is evenly lit.
Modes and User Interface:
The H10 has a two-stage domed button switch, and surrounding this a selector ring. The selector ring has four tactile stops for the four normal modes (1000lm, 500lm, 200lm, 30lm).
At any time (either from OFF or from any normal mode) a full press of the button gives you the maximum output 2000 lm Burst mode. When the button is released, the H10 returns to the previous state (either from OFF or any normal mode).
To turn onto a normal mode, half-press the button and hold for 2s. The H10 will then come onto the mode set by the selector ring. The mode can be pre-selected before turning on, or selected once the H10 is on.
To turn OFF, half-press the button and hold for 2s.
Batteries and output:
The runs on a supplied LG18650HE2 20A 2500mAh IMR 18650 cell, but can use any button top 18650 or 2xCR123, both of which will limit the maximum output.
To measure actual output, I built an integrating sphere. See here for more detail. The sensor registers visible light only (so Infra-Red and Ultra-Violet will not be measured).
Please note, all quoted lumen figures are from a DIY integrating sphere, and according to ANSI standards. Although every effort is made to give as accurate a result as possible, they should be taken as an estimate only. The results can be used to compare outputs in this review and others I have published.
| ___________________________________________ | ________________________________ | ________________________________ |
| ACEBEAM H10 using supplied 20A IMR cell | I.S. measured ANSI output Lumens | PWM frequency or Strobe frequency (Hz) |
| ___________________________________________ | ________________________________ | ________________________________ |
| Burst | 1940 | 0 |
| High | 998 | 0 |
| Medium | 481 | 0 |
| Low | 211 | 0 |
| Firefly | 31 | 0 |
Peak Beam intensity measured 6800 lx @1m giving a beam range of 165 m.
There is parasitic drain at and average of approximately 62uA (it varies between 32 and 93uA) which would mean a fully charged 2500mAh cell will take 4.6 years to drain.
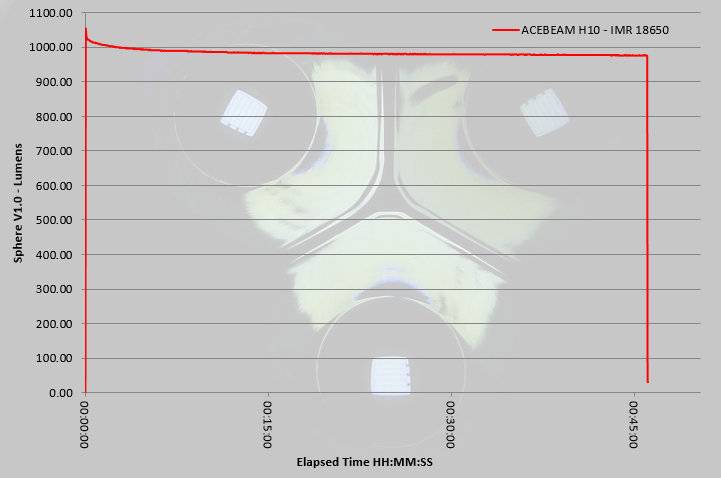
Due to the extreme nature of the 2000lm Burst mode and the requirement to keep the button pressed, the runtime was not measured for this output level. Instead the runtime was for the highest constant output level the 1000lm high mode. This 1000lm output is well regulated for as long as the cell can maintain it; a very good performance.
Troubleshooting
This section is included to mention any minor niggles I come across during testing, in case the information helps anyone else.
No issues were encountered during testing.
As per the description of this section, this information is provided in case anyone else finds a similar ‘issue’ that might be fixed in the same way.
The ACEBEAM H10 in use
Two highlights of the H10 are its lovely smooth flood beam and the neutral/warm tint of the MT-G2 LED. These features allow you to focus entirely on the task you are doing and not even think about the headlamp.
A single 18650 makes for a comfortable weight to have head mounted, and thanks to the use of a top-strap as well, you don’t need to have the headband very tight for it to stay securely in place. A top-strap really does improve comfort. With the strap routed through the mount so that it is the strap itself that is against your forehead, again comfort is very good.
What I don’t like are interfaces that make you wait for the light to come on or go off, and unfortunately, the H10 requires a half-press, wait, and 2s later the light comes on (with the same for off). If you fully press the button by mistake you get the full 2000lm burst output, which is not a nice surprise, and you have to try again to get the H10 to come on. For every day use, I’d much prefer the on/off to be controlled by a simple click, and the burst to require a longer hold, but perhaps only 1s before it activates.
With gloves on, or with cold hands, I found the half-press unreliable, or at least my ability to find the half-press position. 2000lm when you wanted 30lm is not good.
Still, that beam is worth the wait when you are not rushing to do anything, and once on and running, the H10 melts away and you just have light.
Depending on how many lights you use, you might also not hit the right mode first time. There are no marks on the selector ring to indicate which mode you have chosen. A few simple marks would make the pre-selection of modes so much easier. If this was your main light you would quickly learn the positions, and there is a stop at each end of the selections, so you can simply turn it all the way one way until it stops, then count the clicks back to the mode you want.
Parasitic drain is acceptable, but with fully anodised threads you can lock-out the H10 easily.
The optional clip can be fitted into either groove on the body to give up or down positioning. Fitting is very stiff and does mark the anodising, so depending on if this bothers you, you may choose to make it a dedicated right-angle light or leave it as a headlamp. Swapping between the two will scratch the H10.
The H10 gives its specified outputs effortlessly including the impressive 2000lm burst mode (as long as you use IMR), and has not had any issues with heat. In normal use and for indoor jobs, I find the 1000 lm output too high so use it on 500lm or below. When outdoors I have ramped up to the 1000 lm mode but the added airflow seems to cope with the extra heat easily.
The lowest mode is named ‘firefly’…I would not want to meet the firefly that provides 31 lm! that 31 lm output with the flood beam is a great mode, and one I use a lot, but I’d prefer it if there was a 1lm or lower mode as a true firefly level.
Review Summary
| _______________________________________________ | _______________________________________________ |
| Things I like | What doesn’t work so well for me |
| _______________________________________________ | _______________________________________________ |
| 2000 lm Burst mode. | Half-Press-and-Hold for 2s to turn on and off. |
| Smooth flood beam. | ‘Firefly’ mode a bit bright at 31 lm. |
| Secure and comfortable to wear. | Mode selector ring has no markings. |
| Well regulated output. | Pocket clip scratches the anodising. |
| Nice tint from the MT-G2 LED. | Needs IMR for best performance. |
| 20A IMR cell supplied. | |
| Well spaced modes. |
See ACEBEAM’s Website for more of the manufacturer’s specifications
Discussing the Review:
Please feel free to add comments to the review, but the ideal place to freely discuss these reviews is on a forum. If you started reading the shorter forum version of the review, but followed the link this full exclusive review, please return to that forum to discuss the review there.
If you read the review entirely on Tactical Reviews, please consider one of the following to join in any discussion.
CandlePowerForums – Flashlight Reviews Section (Largest and Friendliest Flashlight Community Forum)
EdgeMatters – Sponsored Reviews (UK based Forum for Knife Makers and Collectors)
