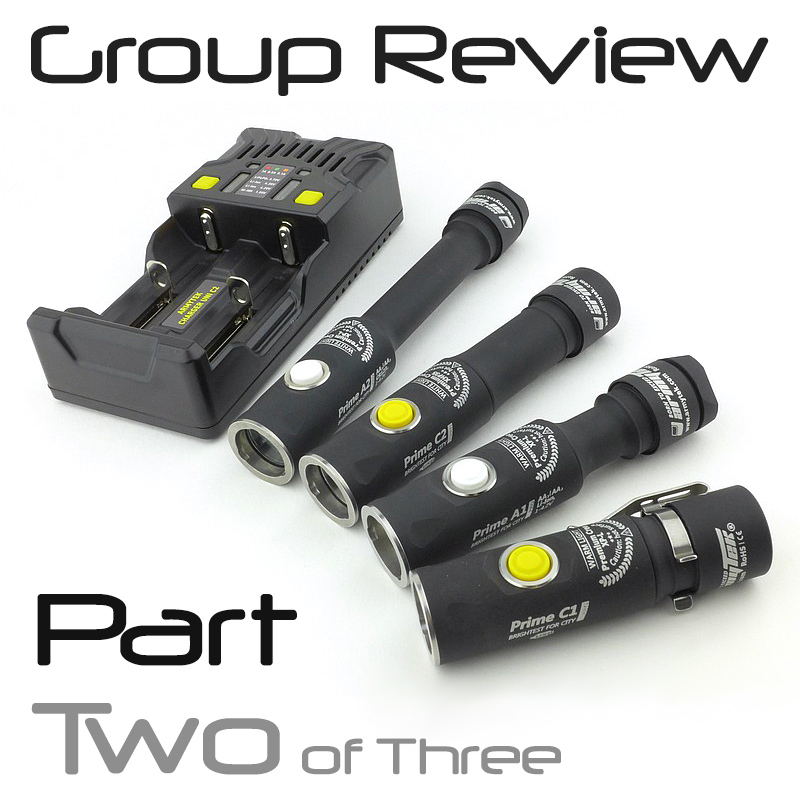
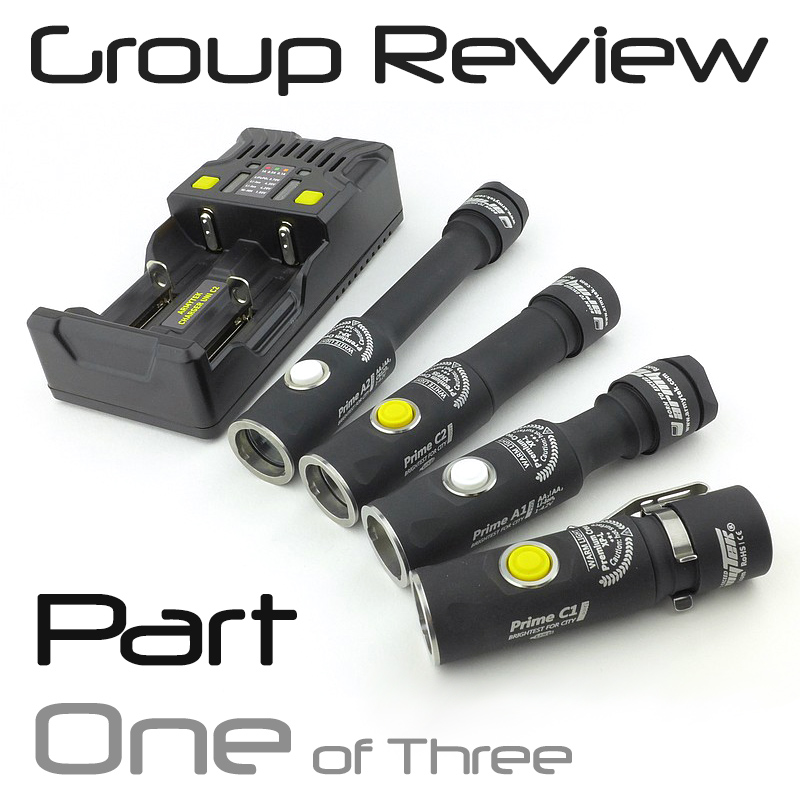
In ‘Part Three’ we get to see how these lights really perform, what the beams look like, their output figures and insights into what they are really like to use. – This is Part Three of a group review of four models of Armytek’s ‘Prime Pro’ range of lights (plus the Armytek Uni C2 charger). When embarking upon this review I had not expected to generate quite so much content, so have had to split the review into three parts to make it more manageable. You will find links to these as each part becomes available.
Index:
Each title here will become an active link once it has been published.
Part One – A Detailed look at the Prime Pro Magnet USB C1 and C2.
Part Two – A Detailed look at the Prime Pro A1, A2 and Uni C2 Charger.
Part Three – Beamshots, Technical Testing and What they are like to use.
The beam
Please be careful not to judge tint based on images you see on a computer screen. Unless properly calibrated, the screen itself will change the perceived tint.
The indoor beamshot is intended to give an idea of the beam shape/quality rather than tint. All beamshots are taken using daylight white balance. The woodwork (stairs and skirting) are painted Farrow & Ball “Off-White”, and the walls are a light sandy colour called ‘String’ again by Farrow & Ball. I don’t actually have a ‘white wall’ in the house to use for this, and my wife won’t have one!
There are a couple of key things to mention before you dive in and look at the beamshots. It is possible to make lights look very bright or very dim, regardless of their actual output, by adjusting exposure. So when you look at these don’t be swayed by the ‘apparent brightness’ instead concentrate on the beam quality. the intention is to show how the beam looks, not how bright it is. that is shown definitively in the next section.
This gallery also contains firefly comparison beamshots, and uses the original Predator V1.2 as a reference. These Prime Pro lights have Excellent firefly output.


Batteries and output:
To measure actual output, I built an integrating sphere. See here for more detail. The sensor registers visible light only (so Infra-Red and Ultra-Violet will not be measured).
Please note, all quoted lumen figures are from a DIY integrating sphere, and according to ANSI standards. Although every effort is made to give as accurate a result as possible, they should be taken as an estimate only. The results can be used to compare outputs in this review and others I have published.
The runtime graphs contain a lot of detail. One clear aspect of the control systems of these lights is that they maintain a constant output level as long as they can before stepping down to another level.
The gallery also contains the tables of output figures. Note that when I have ‘0’ for the output on firefly modes, this is actually below the threshold of measurement for the equipment I have and is clearly not actually 0. The Prime Pro A1 is measured with AA and 14500.


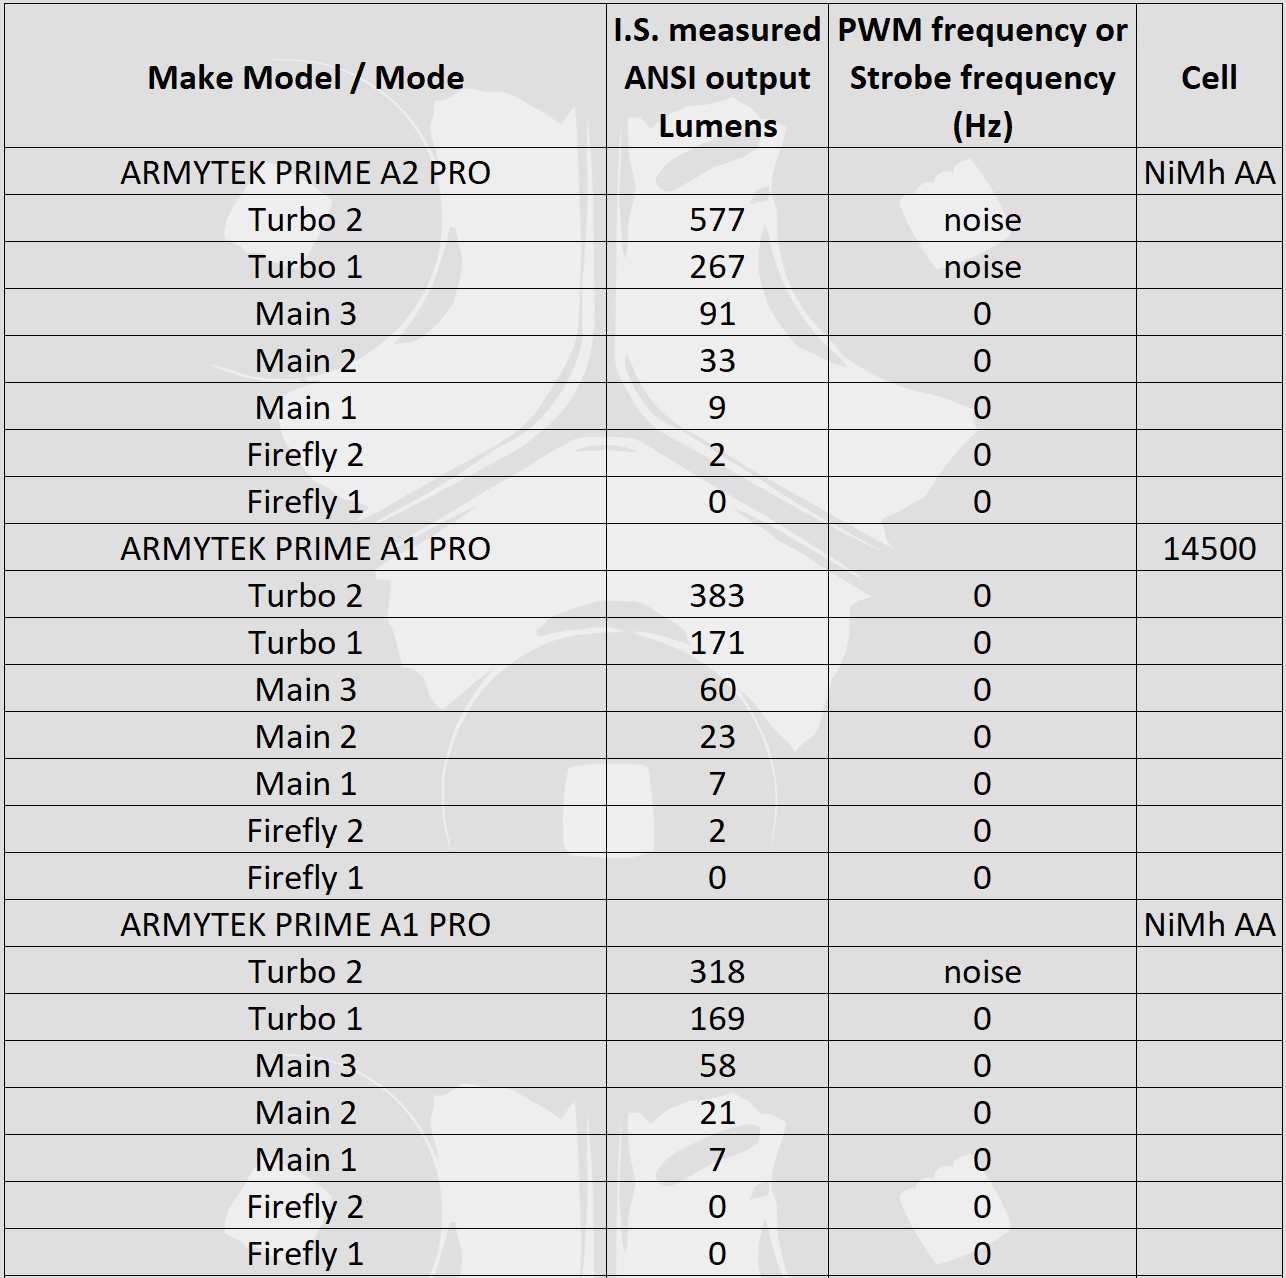
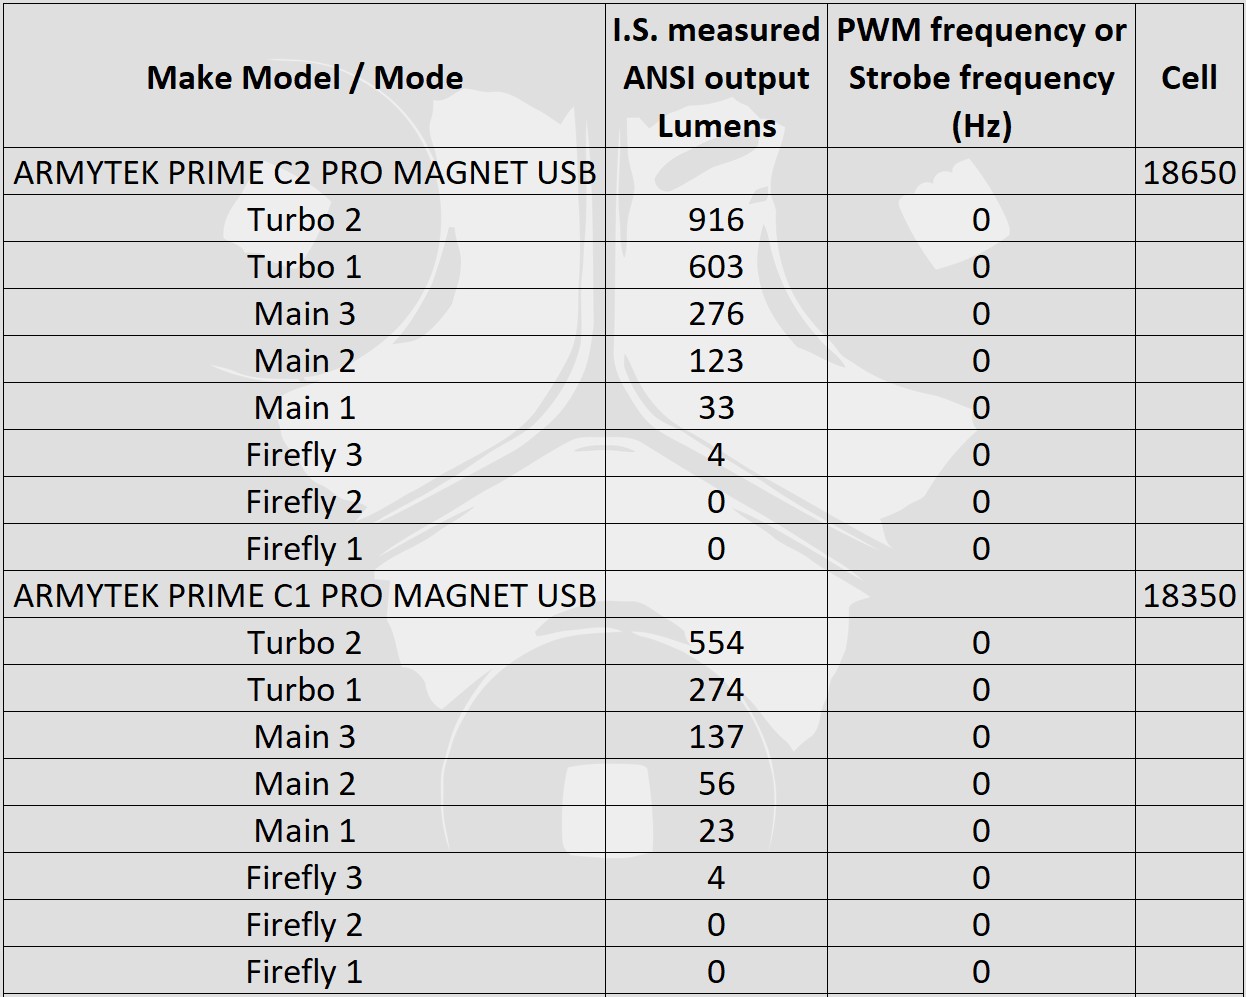
* Beacon and Strobe output measurements are only estimates as the brief flashes make it difficult to capture the actual output value.
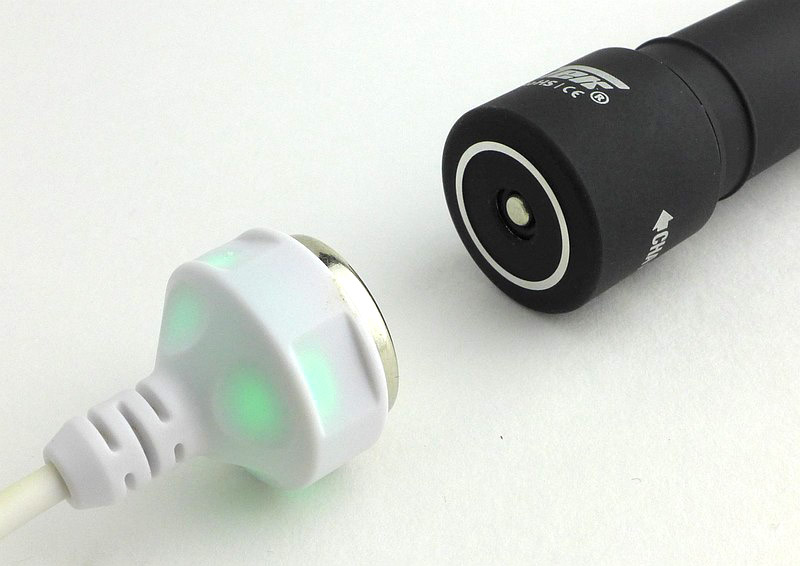
Charging results were a little bit unexpected for a couple of reasons. When checking the cells in the C1 and C2 after the included chargers indicated a full charge gave the following measurements:
C2 – 4.13V
C1 – 4.06V
Both seem low, but when checking these cells with a ZTS loading tester they both indicated 100% charge.
The C1 and C2 USB chargers are interchangeable so I tried them both on the C1.
With the charger that came with the C2, after a full charge the result was:
C1 – 4.15V
Using the Uni C2 charger the cells measured 4.16V once taken off the charger.
There is parasitic drain but is incredibly low in all models. The following list the drain in uA and how many years it would take to drain the cell(s).
Armytek Prime C1 Pro – 1×18350 – 2.8uA – 36.67 years
Armytek Prime C2 Pro – 1×18650 – 6.5uA – 56.16 years
Armytek Prime A1 Pro – 1xAA – 3.9uA – 55.58 years
Armytek Prime A1 Pro – 1×14500 – 3.8uA – 22.52 years
Armytek Prime A2 Pro – 2xAA 2S1P – 2.3uA – 94.24 years
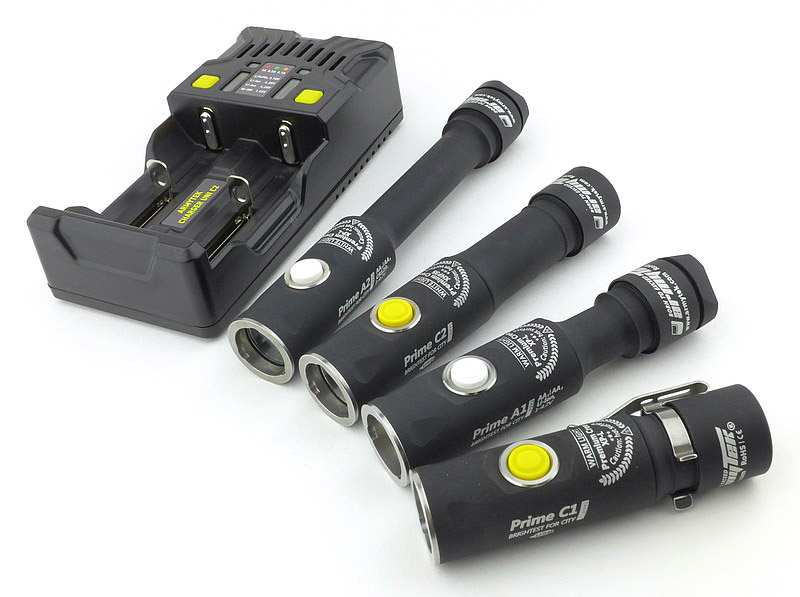
The Prime Pro models in use:
I don’t want to come across biased, but I really do love these Armytek Prime Pro lights! If you give me a side-switch, choice of warm or cool output, no-PWM and properly-low firefly/moon modes, you will make me happy. So for these lights that is ‘check’, ‘check’, ‘check’, ‘check’ – bingo.
In terms of form-factor, AA lights have always been a favourite of mine. Now, with the NiMh cell becoming a preferred option for power (thanks to LSD cell technology, high output current, and inherent safety), with the added benefit of easy to find backup cells, the Prime Pro A1 and A2 become solid choices.
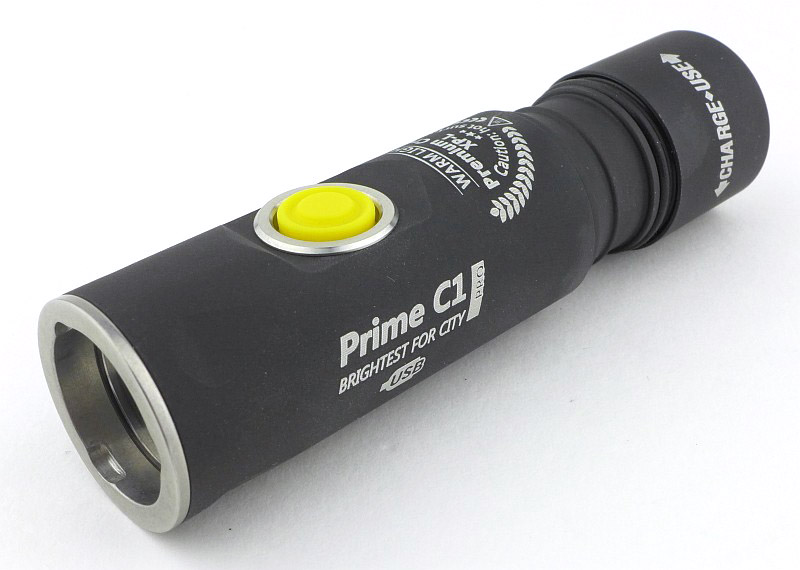
For that extra level of output power (thanks to li-ion power) and in-light charging convenience, the C1 and C2 step up.

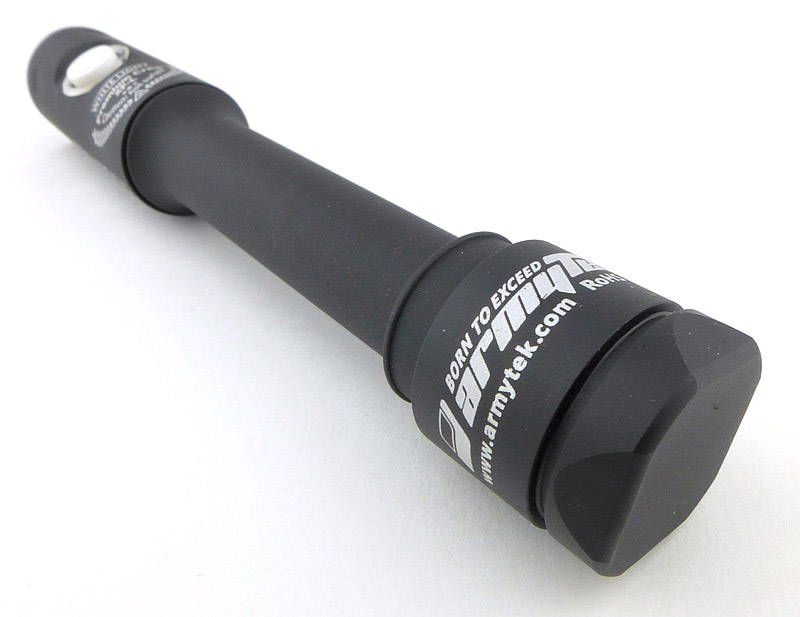
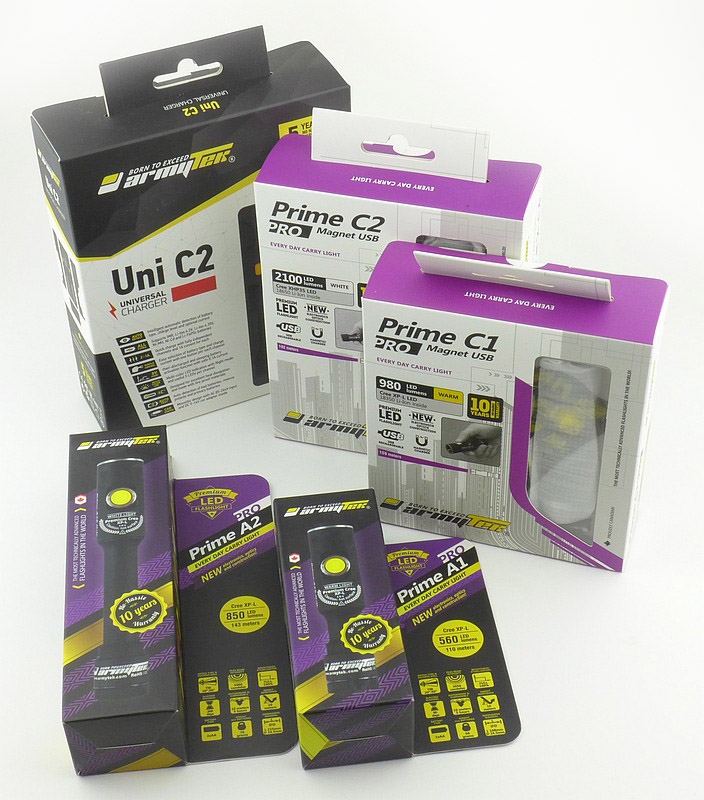
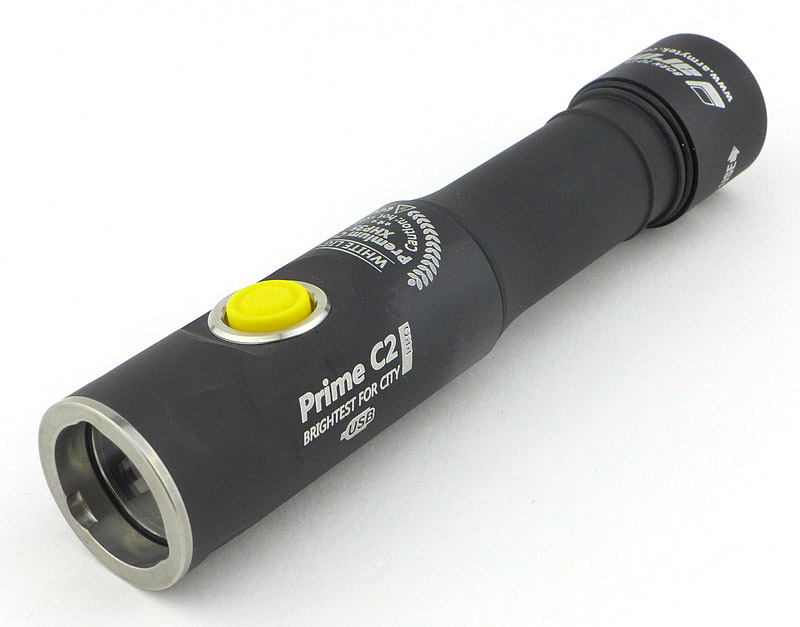
To see how each of these compares in size, this is the full line-up together and then individual profile photos. Bear in mind for those individual shots that the head is the same diameter in each.


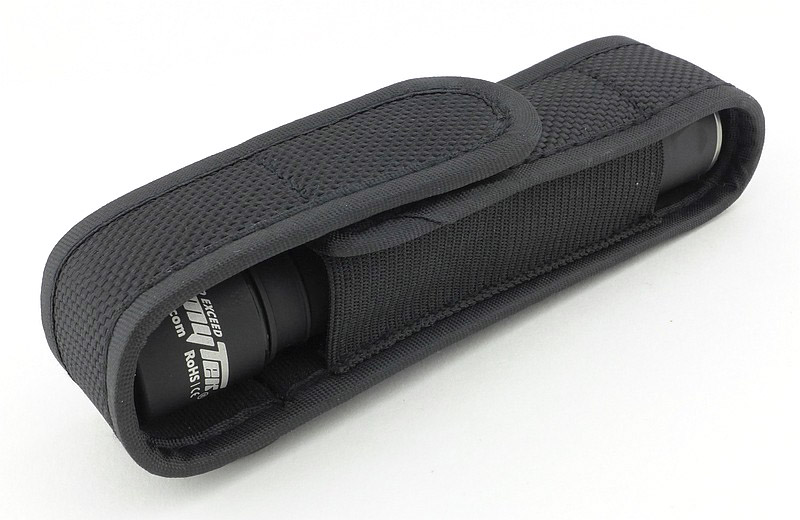
Normally I tend not to use the clips on lights, and often don’t fit them at all. All of these Prime Pro models seemed to be particularly ‘rolly’, wanting to find the lowest point of anywhere I put them down by rolling to it. So in this case, the clip has proven essential to stop them going wandering off and I’ve fitted it to all four lights. Although I am not particularly using the clip for clipping it to anything, as well as preventing them rolling, having the clip also provides indexing to make getting onto the switch quicker, and has been perfectly comfortable to have on the light. In this case I’d thoroughly recommend fitting the clip.
You can certainly get smaller EDC lights, but both the C1 and A1 are perfectly acceptable sizes to carry and not being too small, are comfortable and easy to use. For EDC, the C2 is pushing things a bit for me, and the A2 is for a larger bag. In terms of handling though, the A2 is a winner with the universally good handling 2xAA form-factor.
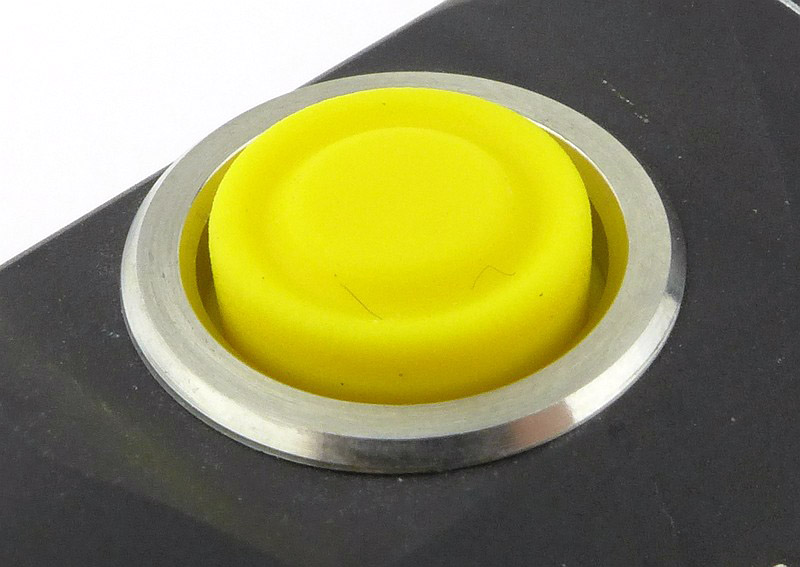
All these lights have an illuminated switch, and this illumination provides battery level information and a location function for the C1 and C2. For me the only time this switch illumination has slightly interfered is with the firefly modes. The instructions say the switch does not flash in firefly modes, but actually it does flash a couple of times when you first switch it on, and the flashes are about as bright as the firefly output itself. So when using these lights with dark adapted eyes, I find the need to keep the switch fully covered with my thumb for the first 10s or so until the switch flashes stop.
The programmability of these lights means you can change whether the location function is on or not (for the C1 and C2). When on, this uses the switch flashes all the time whether the light is on or not, allowing you to find it in a dark place. It does also mean that these switch flashes keep going all the time even in Firefly mode so the previous paragraph becomes more significant for firefly mode users. With Armytek’s low current circuit design you can leave this on permanently and not worry about draining the battery.
Also including a real Tactical monetary mode really adds another dimension. Make sure you correctly pre-select the mode you want to use, as in Tactical mode you can’t change level. Then to activate, from OFF, unscrew the tailcap slightly, press and hold the switch, and tighten the tailcap – you are now in Tactical mode. To get out of Tactical mode is not done the same way – you have to press and hold the switch (so it comes ON), then loosen the tailcap, then let go of the switch. Now when you tighten the tailcap again it will come ON, but be back in normal mode. If you don’t remember the difference of turning this mode on and off you can get stuck in Tactical mode.


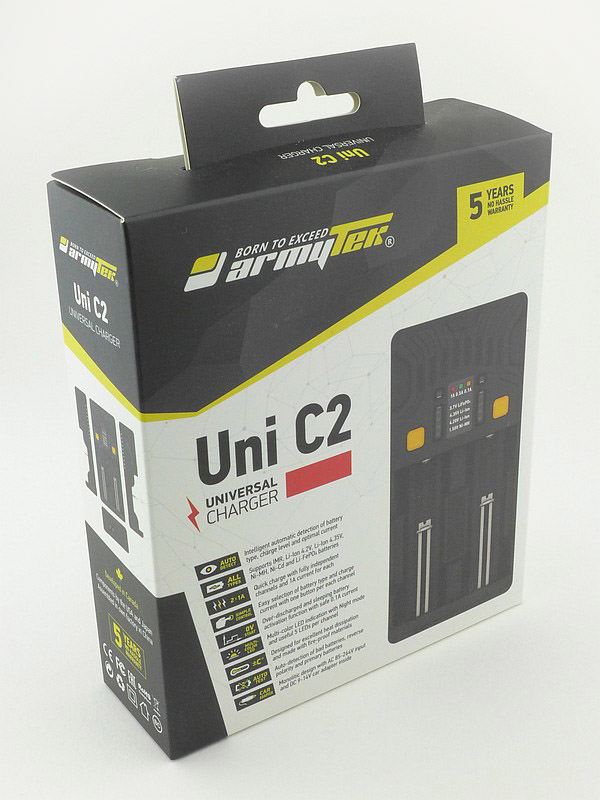
A quick word on the in-light charging and the Uni C2 charger. In all cases the li-ion cell has not been taken up to a ‘full’ 4.20V, yet the discharge results have been good. For the health of the cells themselves it is actually good to not take them to an absolute 100% each time. So for every day use and frequent topping up, the Uni C2 won’t overwork your cells. Its memory means that if charging LiFePO4 cells and a power cut were to happen, it will safely continue the charging cycle for these cells – this is a detail often not included.
Magnetic abilities are a mixed bag for me. I’ve never been keen on the metal-to-metal contact these magnetic holding systems tend to use, plus their tendency to grab onto anything magnetic in bags and pockets. There are times a magnet holding your light is massively helpful though, so with the A1 and A2, their removable magnet is the perfect solution as you have a choice – thank you Armytek! With the C1 and C2 models on test here, you don’t have that choice due to the charger; but if you like magnetic tails on your lights then it is ideal.
With their feature packed user interface, you get great versatility. However, despite the single side-switch, these are not lights to give to non-technical people. With the variety of input clicks and wide variation in output levels, I can see those who are unfamiliar with multi-mode lights getting in a muddle.
Armytek’s interfaces are cleverly designed to give you great flexibility and functionality, I certainly appreciate the attention to detail.
Review Summary
_______________________________________________
Things I like
_______________________________________________
Side Switch.
True ‘Firefly’ low level output.
Warm or Cool tint versions.
No PWM.
Great UI with plenty of modes.
A1 and A2 have a removable magnet.
C1 and C2 have in-light USB charging.
_______________________________________________
What doesn’t work so well for me
_______________________________________________
Completely round design, so tend to roll if the clip is not fitted.
Proprietary USB charger.
Charger termination voltage seems a little low.
Discussing the Review:
The ideal place to discuss this reviews is on a forum. If you started reading the shorter forum version of the review, but followed the link this full exclusive review, please return to that forum to discuss the review there.
If you read the review entirely on Tactical Reviews, please consider one of the following to join in, or start, a discussion.
CandlePowerForums – Flashlight Reviews Section (Largest and Friendliest Flashlight Community Forum)


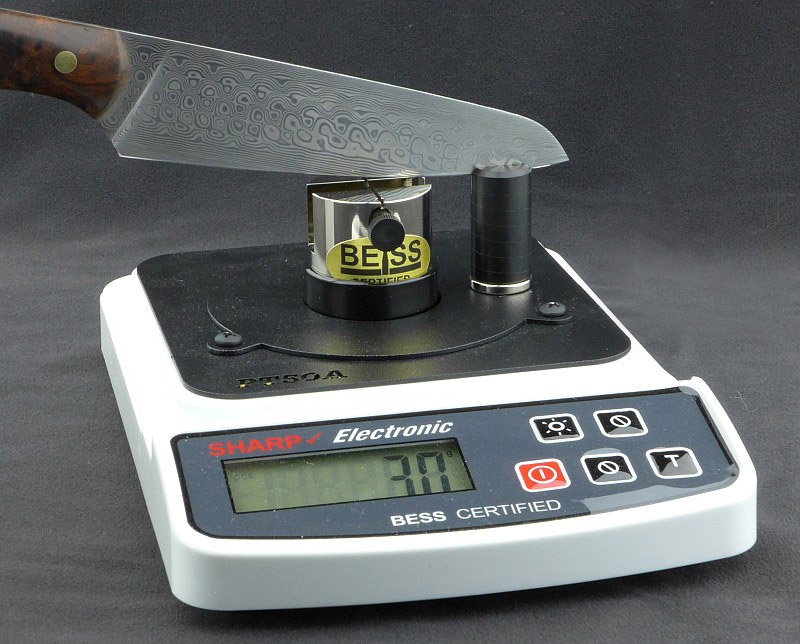


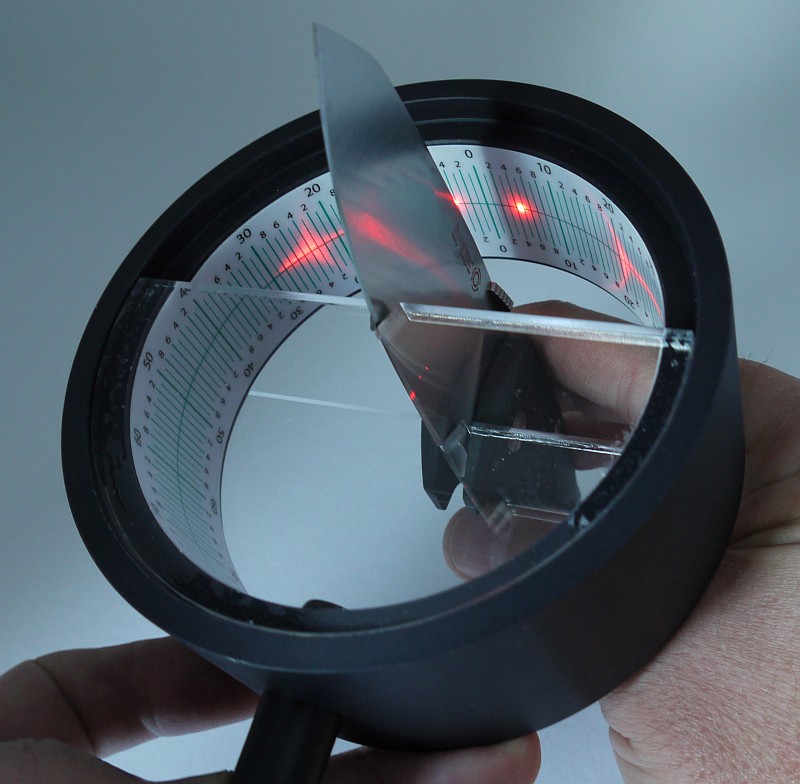

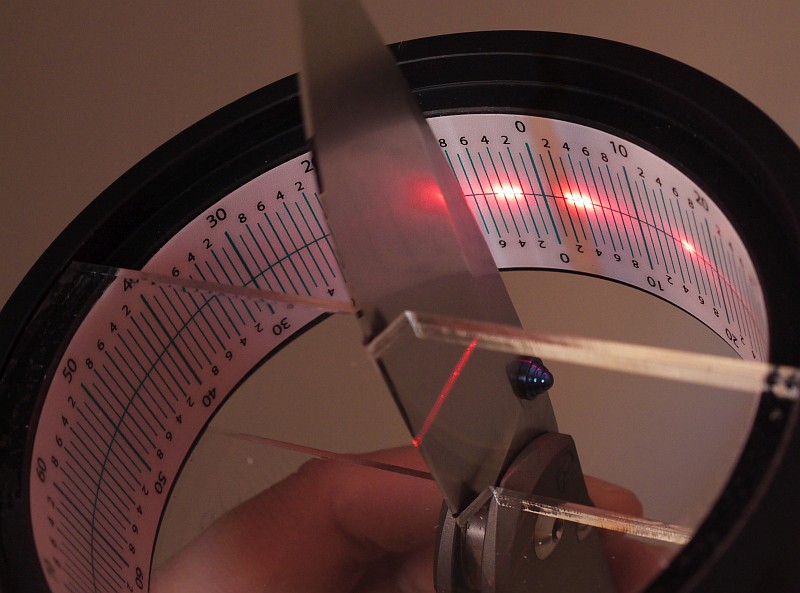


. A precise load (the white tac on the platform is used to adjust the load) applies pressure to an 'impactor'.")