This detailed review of the Nitecore EMR05 and EMR06 portable mosquito repellers, includes all aspects of their performance and function.
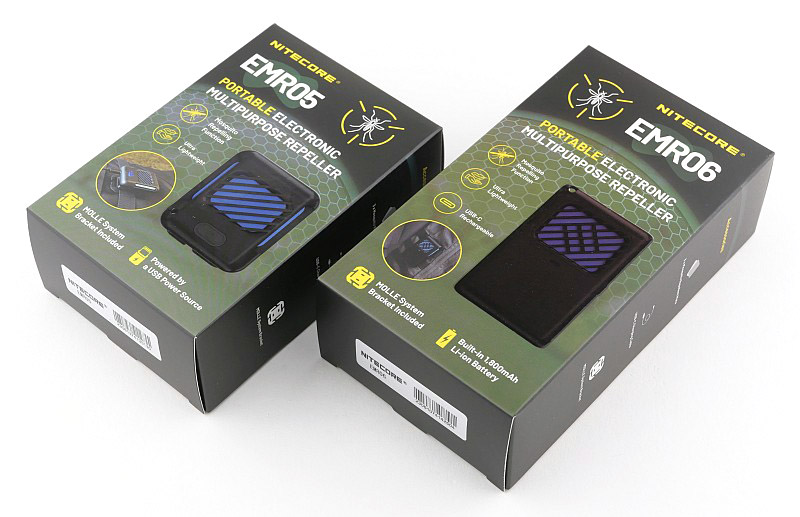
The EMR05 and EMR06 are two new devices from Nitecore giving you ultra-portable insect repellers with the lowest weight-cost possible.
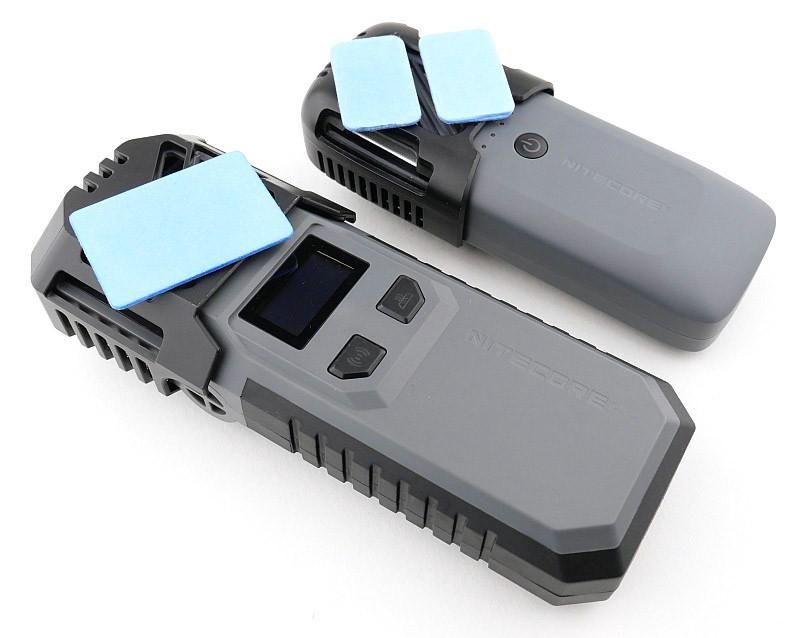
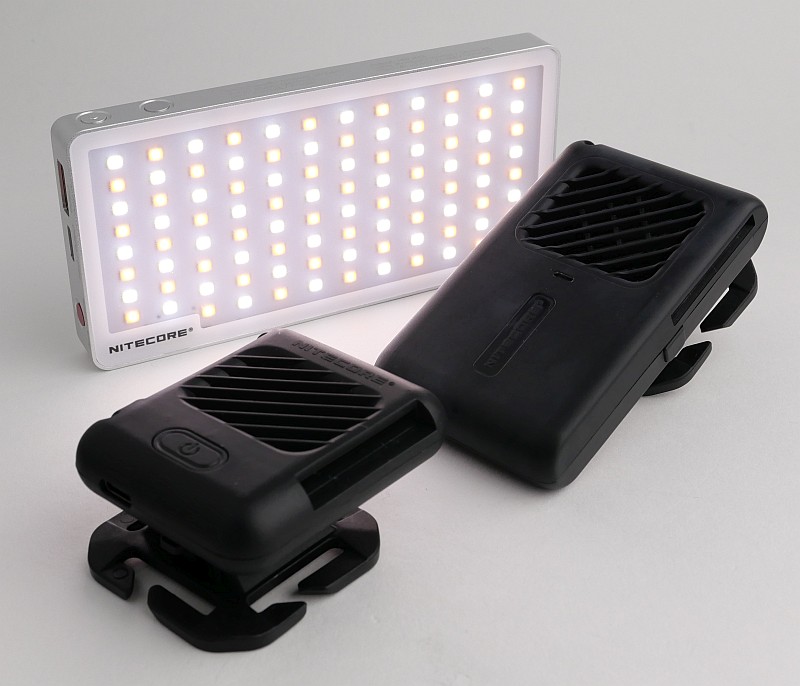
The EMR06 has a built-in battery, so is self-powered, and the EMR05 is smaller still, as it needs external power from a power bank.
If, like me, you protect everyone else from mosquito bites, by being the one the mosquitoes make a beeline for, then you may be as pleased as I am to find the new Nitecore EMR05 and EMR06 portable insect repeller devices.
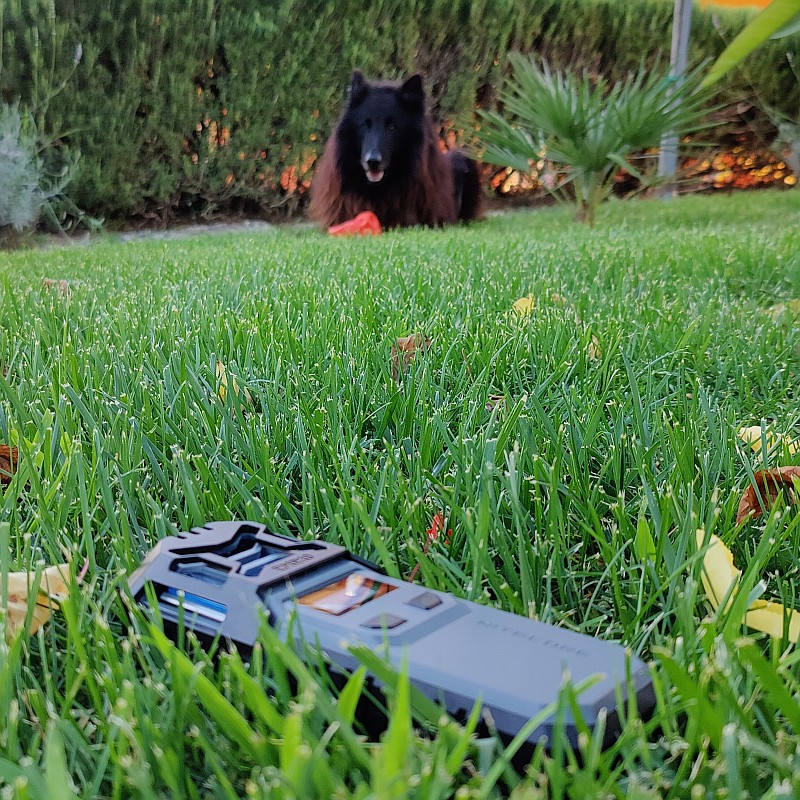
Making his second appearance below is “Stoppo”, Tactical Reviews’ “don’t do that” guardian. Mosquitos beware, armed with the EMR units Stoppo says NO!
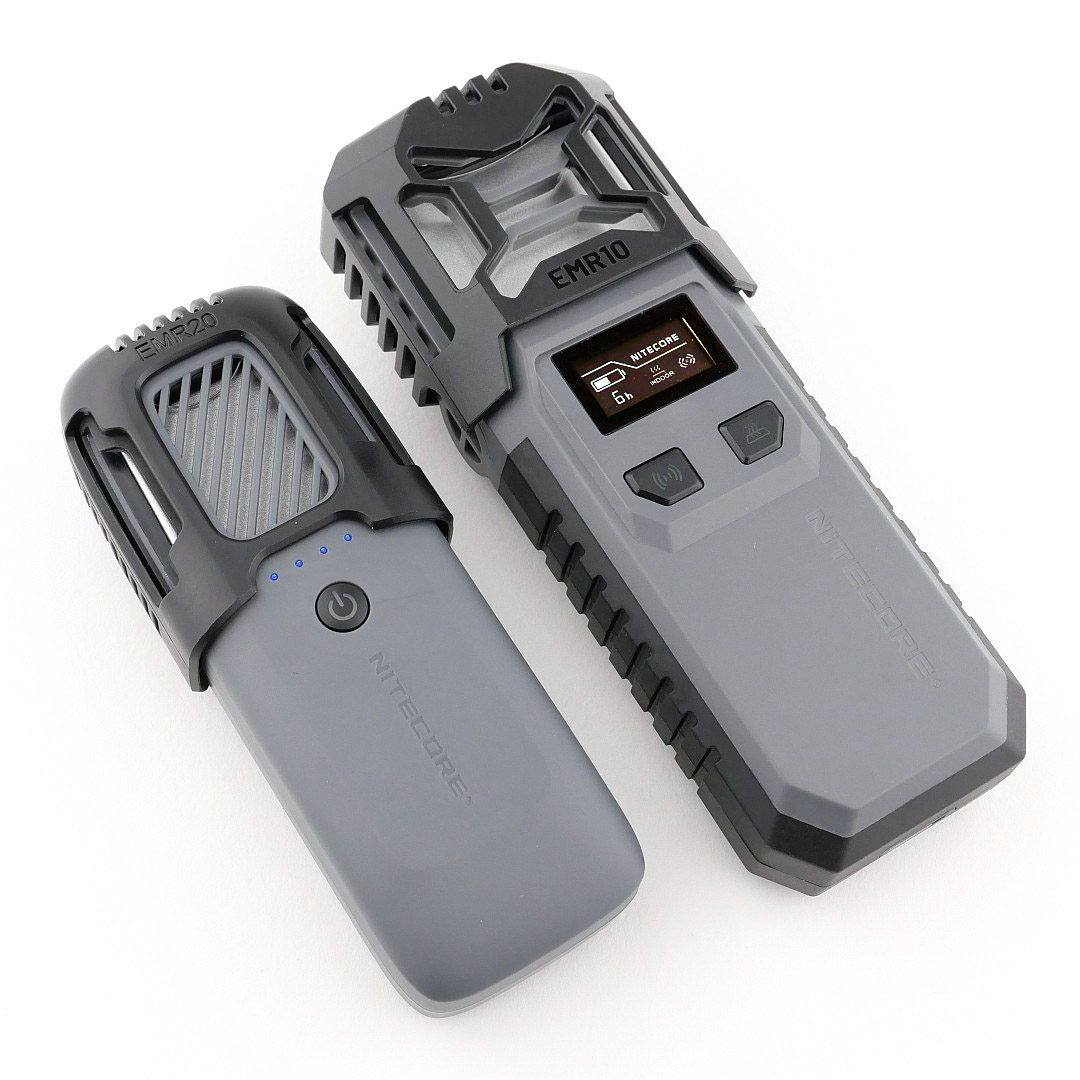
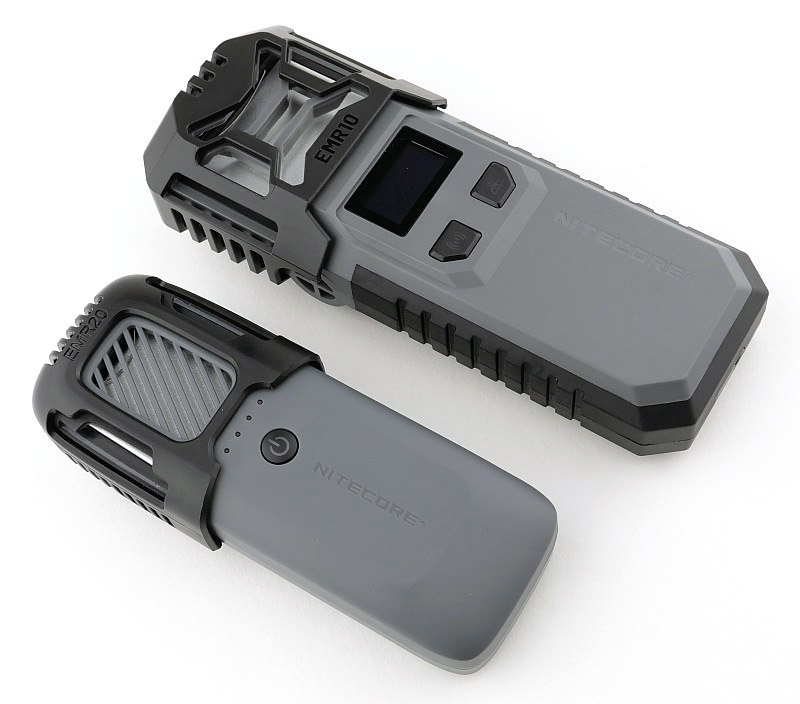
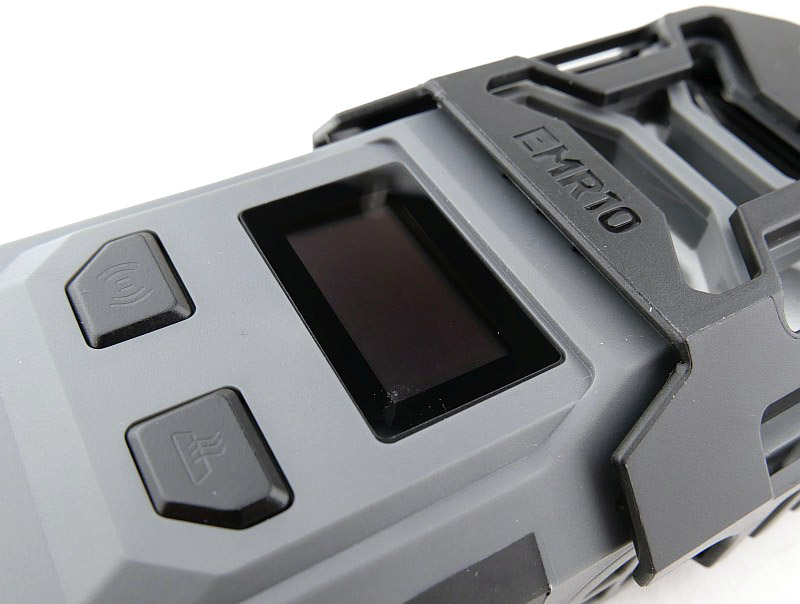
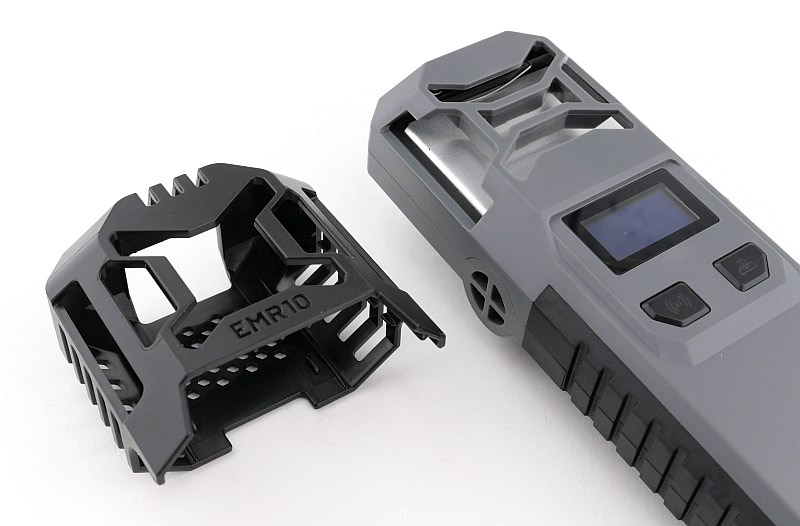
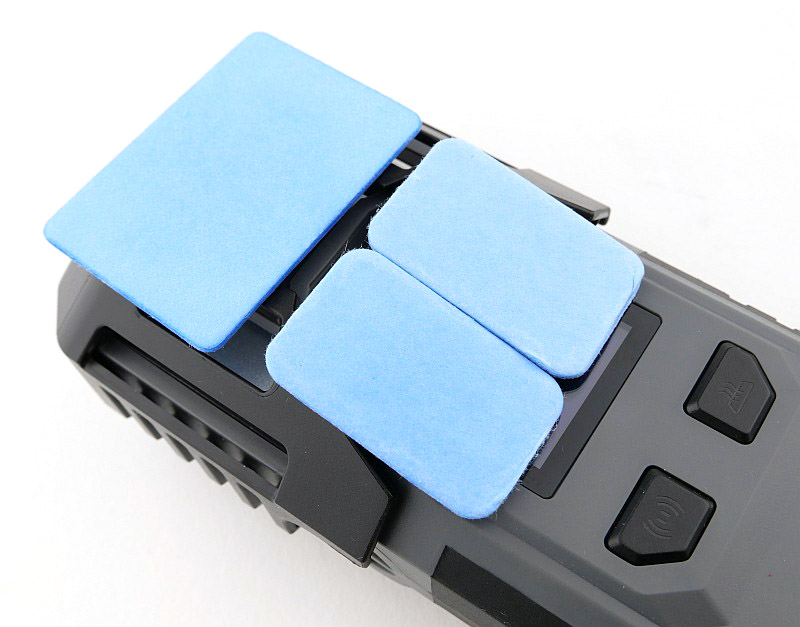
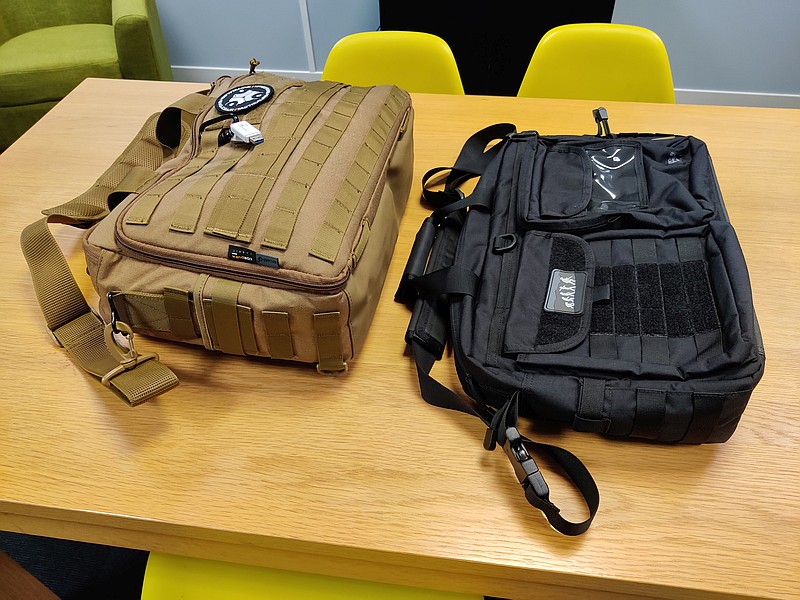
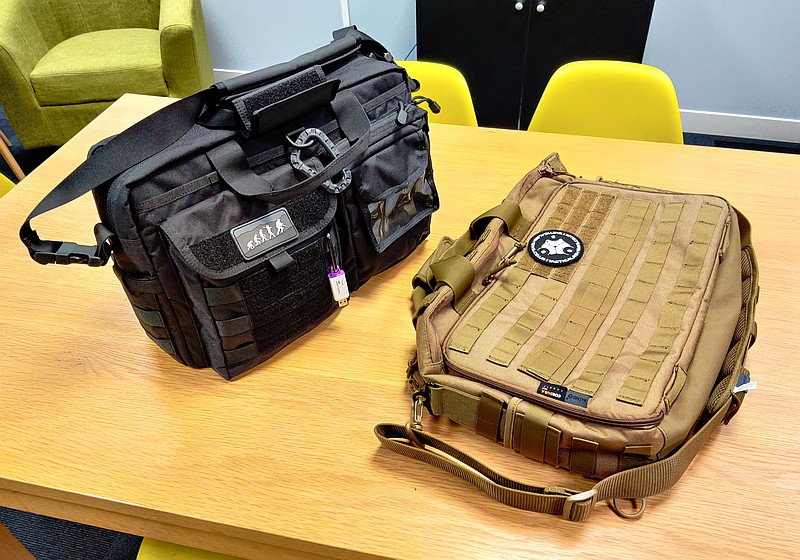
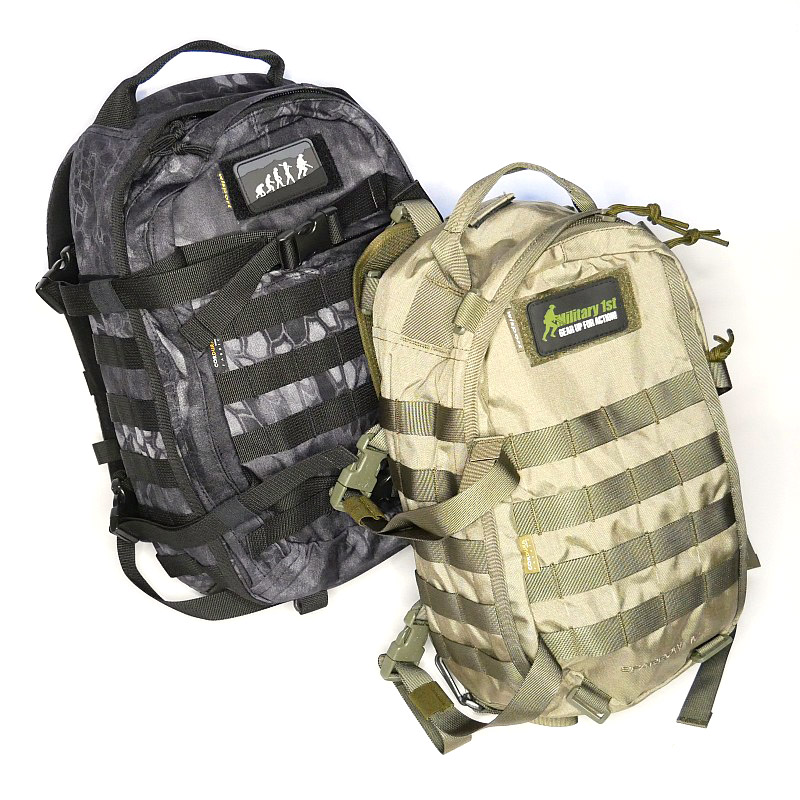
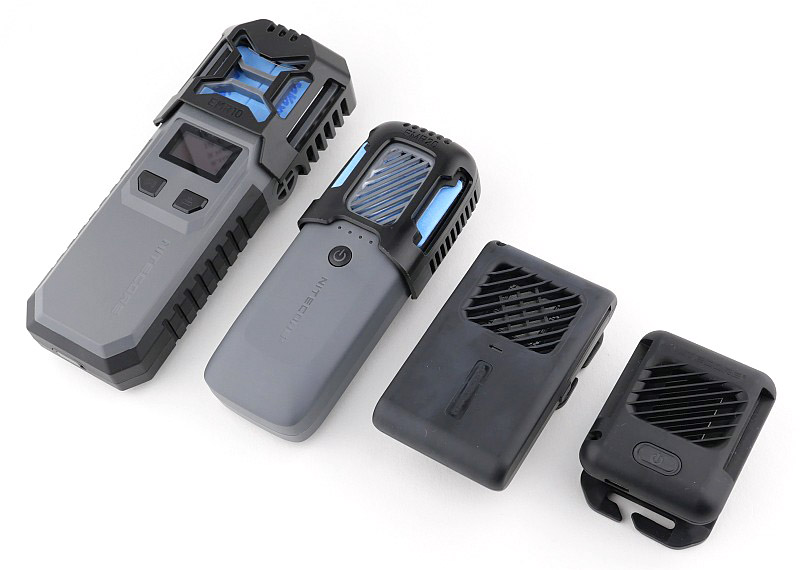
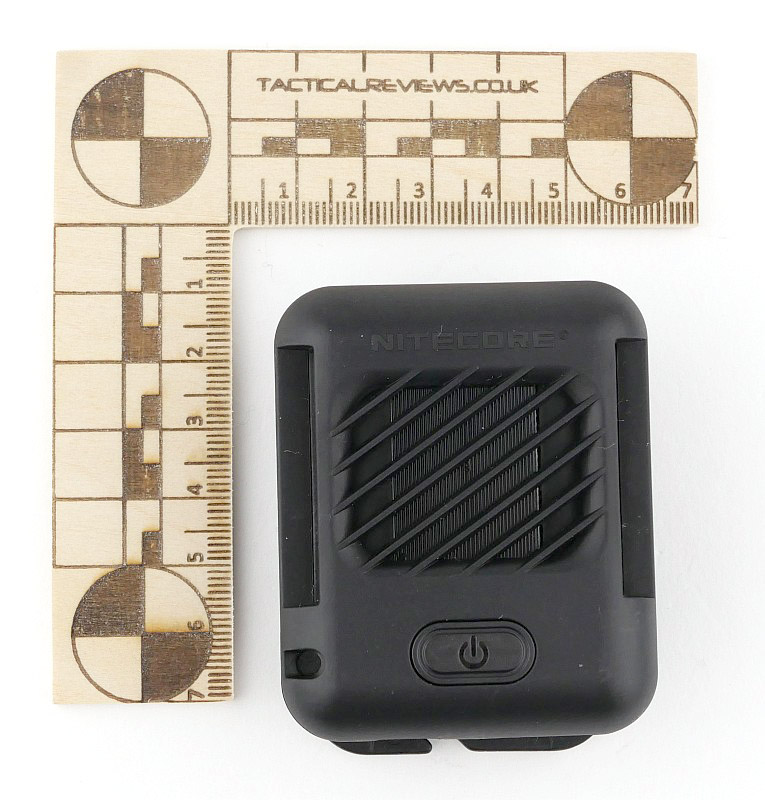
With the EMR05 and EMR06 bringing you ultra-portable versions of insect repellers, you can see just how much smaller they are compared to the EMR10 and EMR20.
Review Videos
Starting with a short format sixty second review:
Onto a full video review covering many more details:
A few more details:
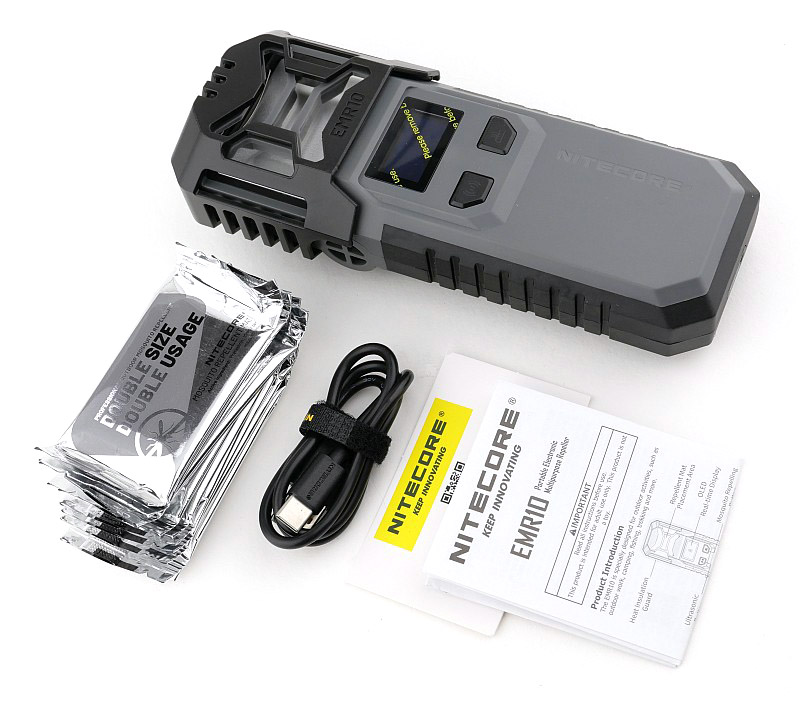
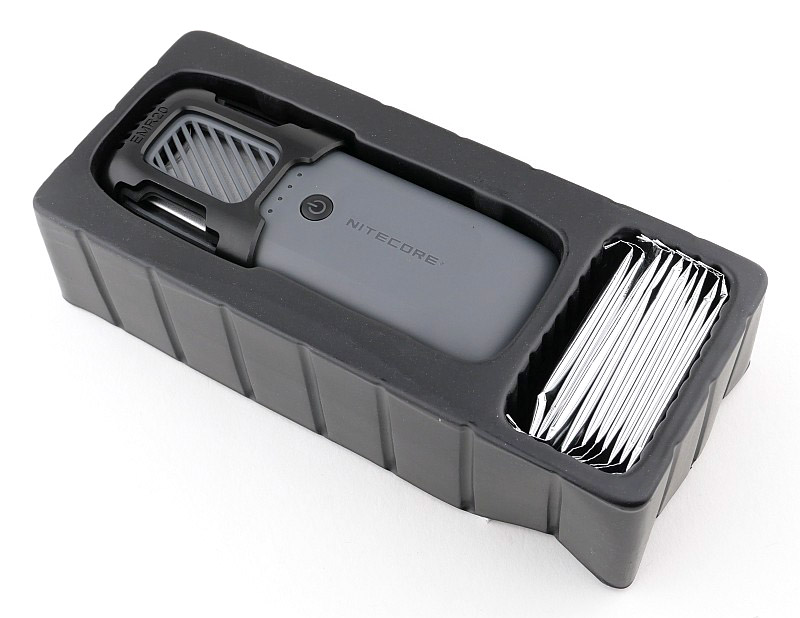
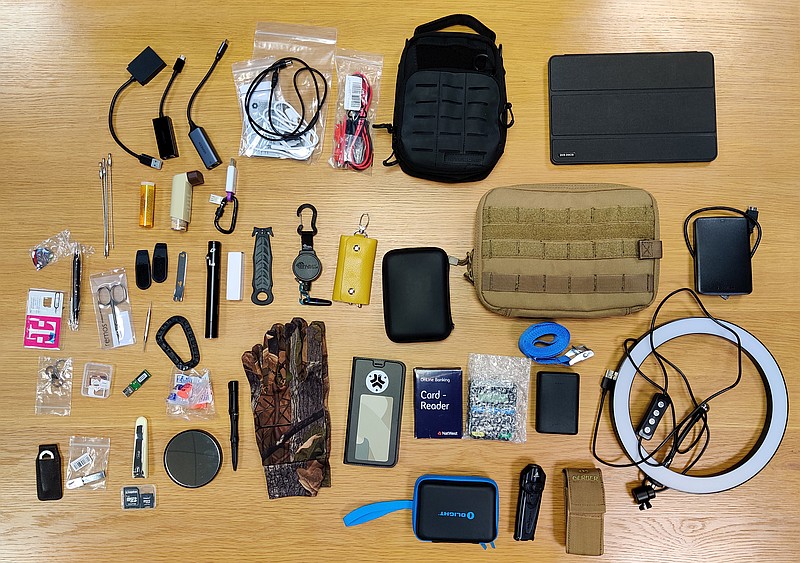
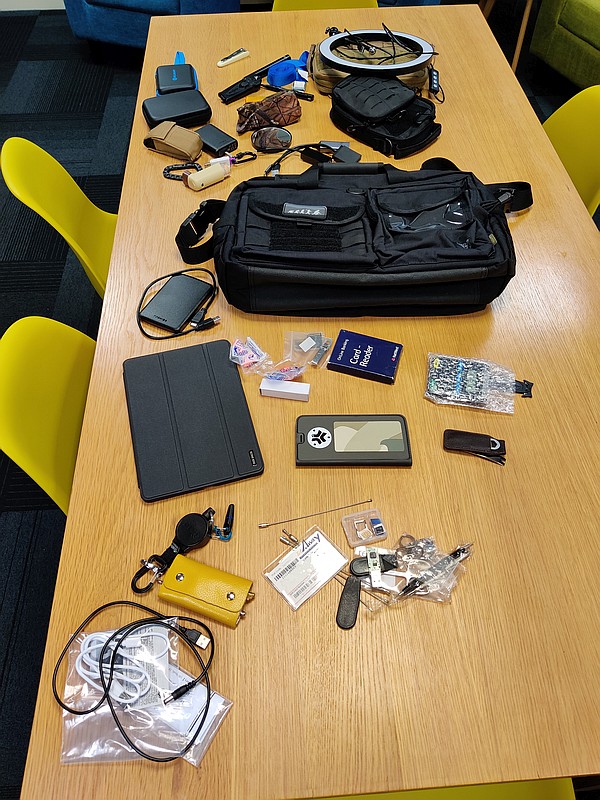
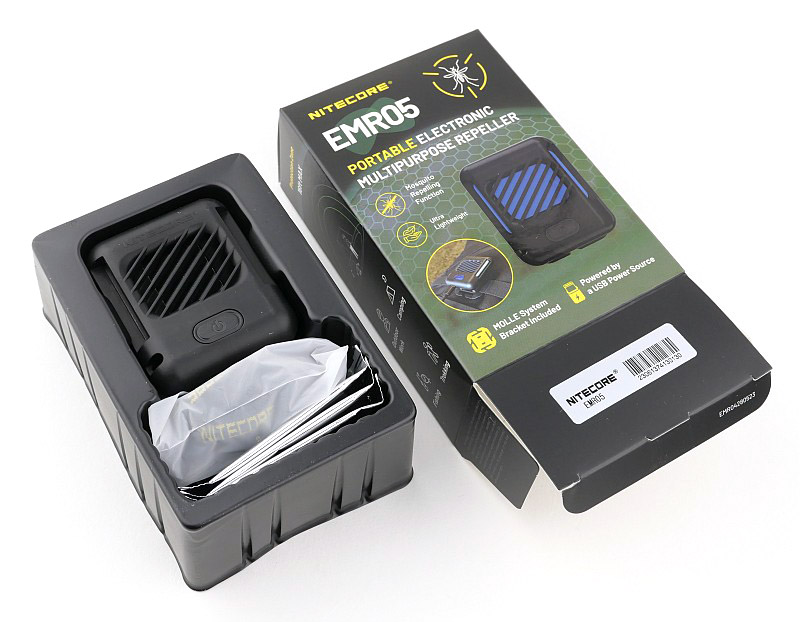
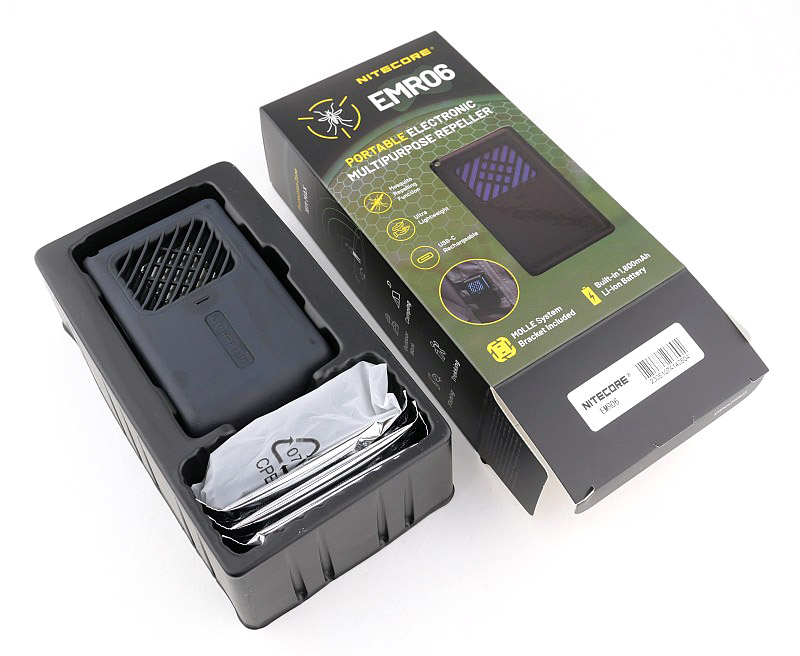
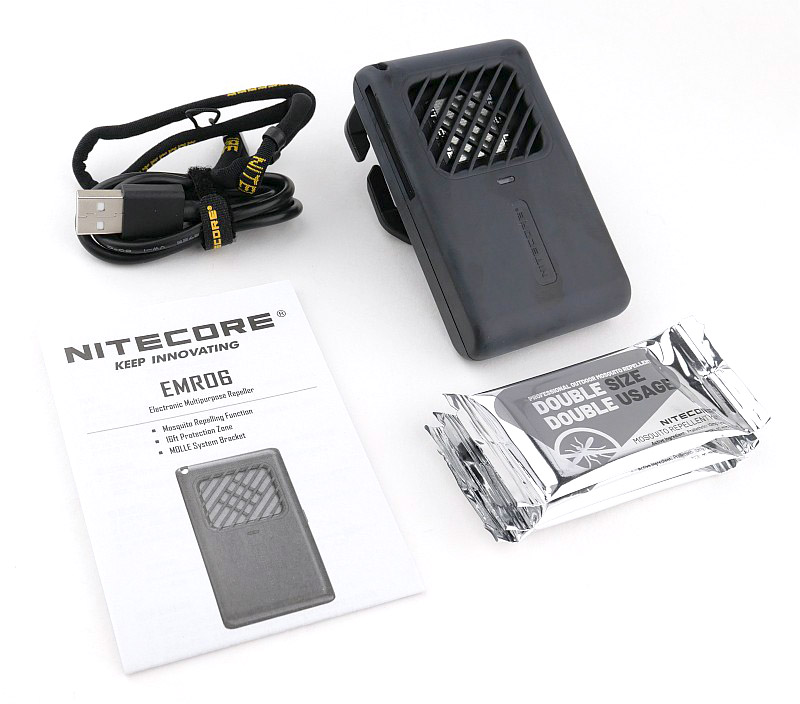
What’s in the box?:
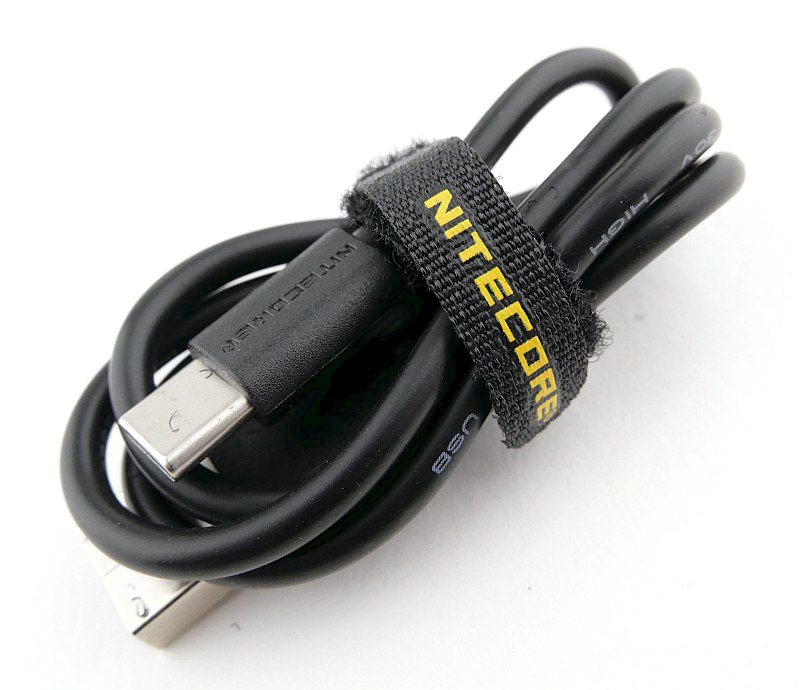
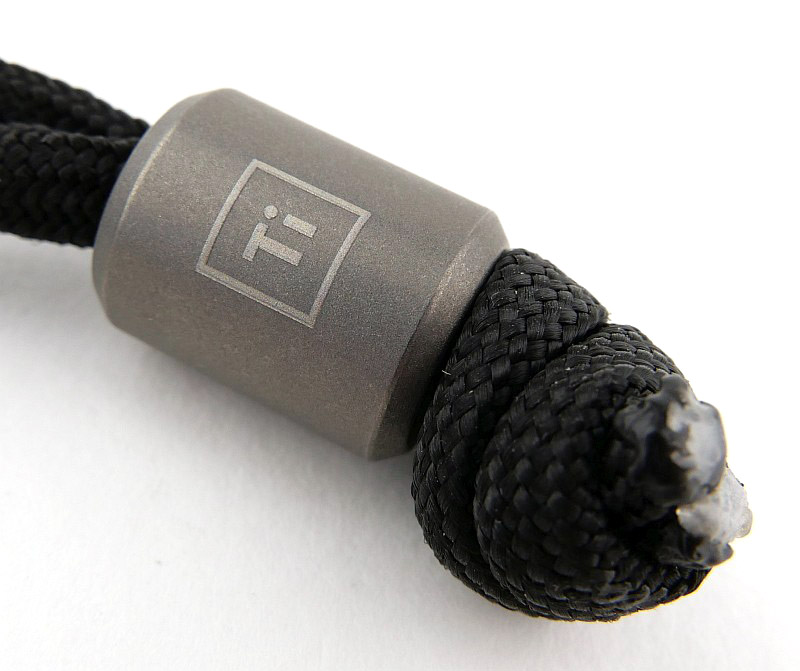
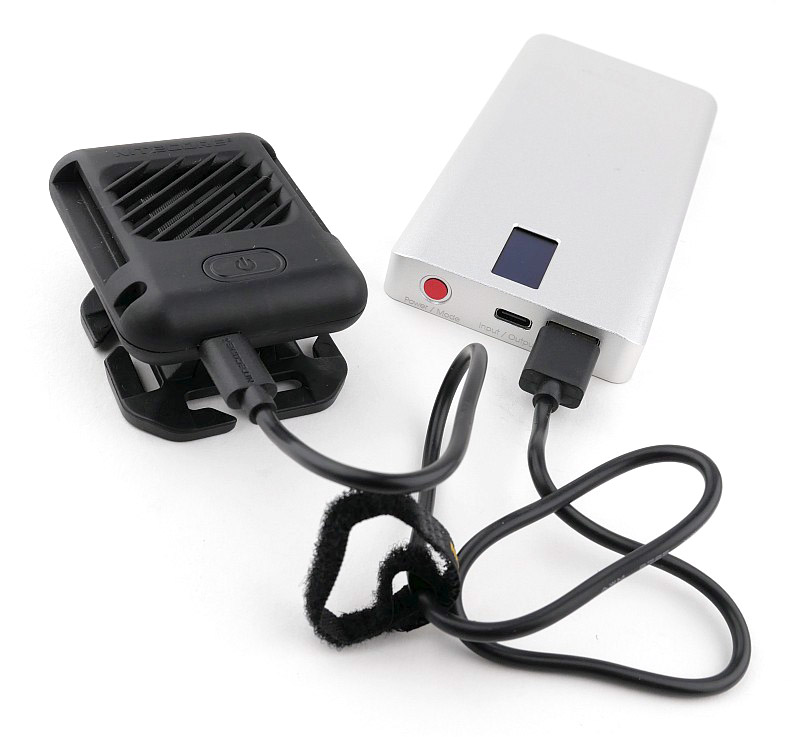
Both the EMR05 and EMR06 are covered here. Each has a USB-C cable, wrist lanyard, and some repellent mats.
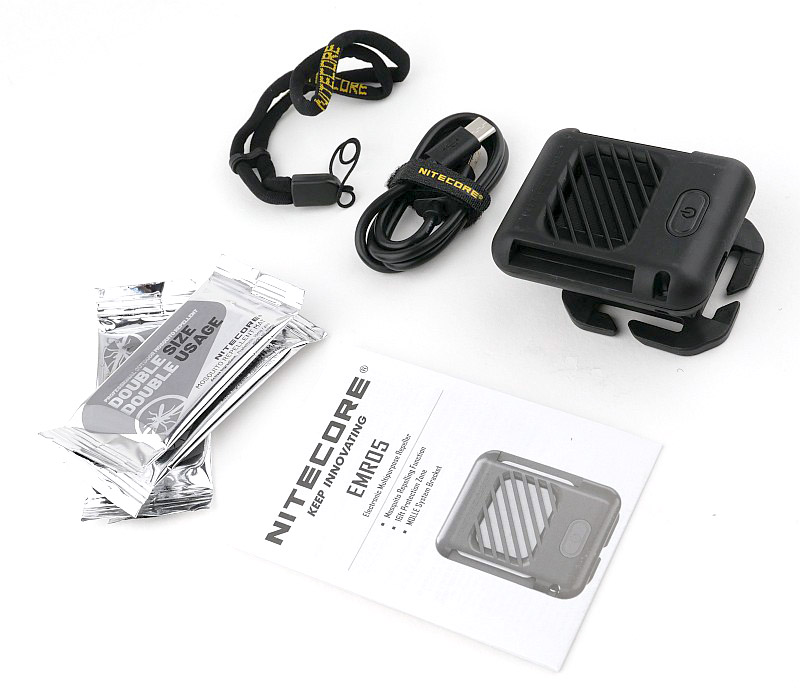
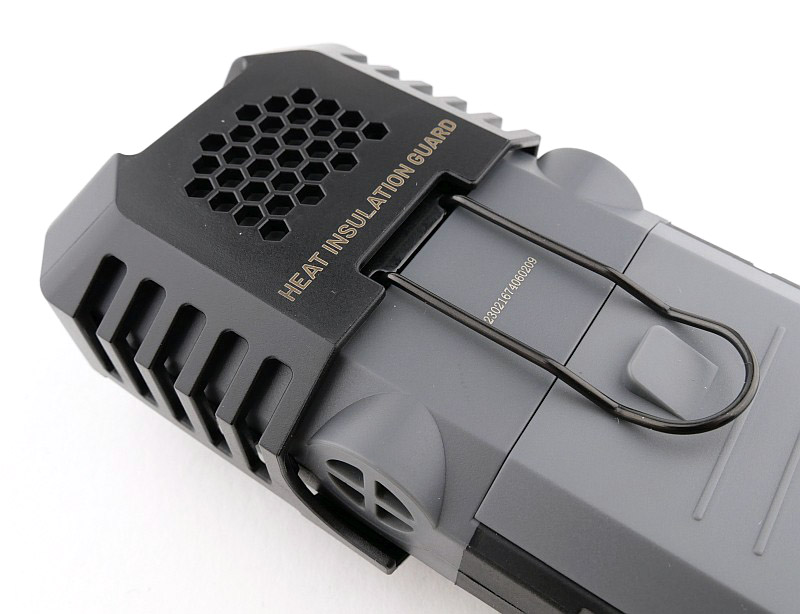
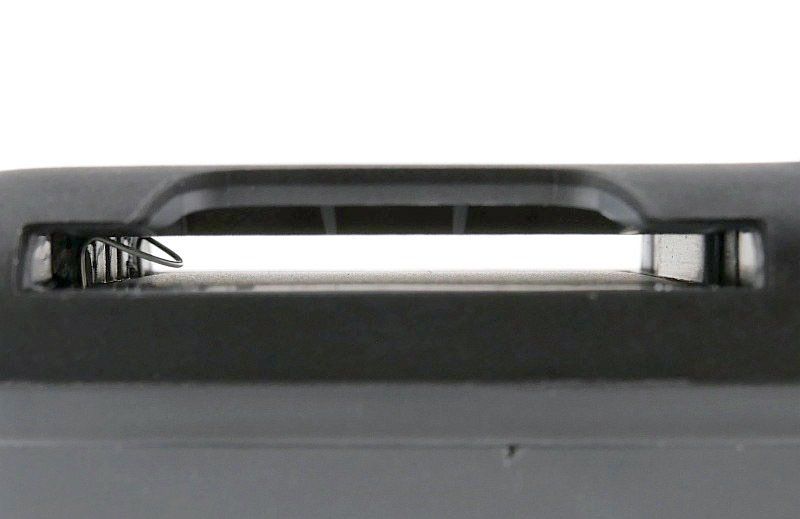
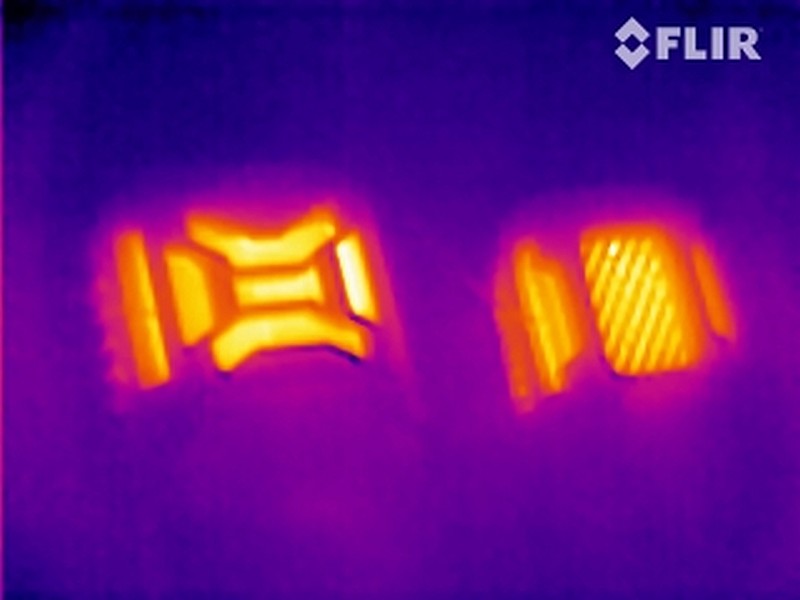
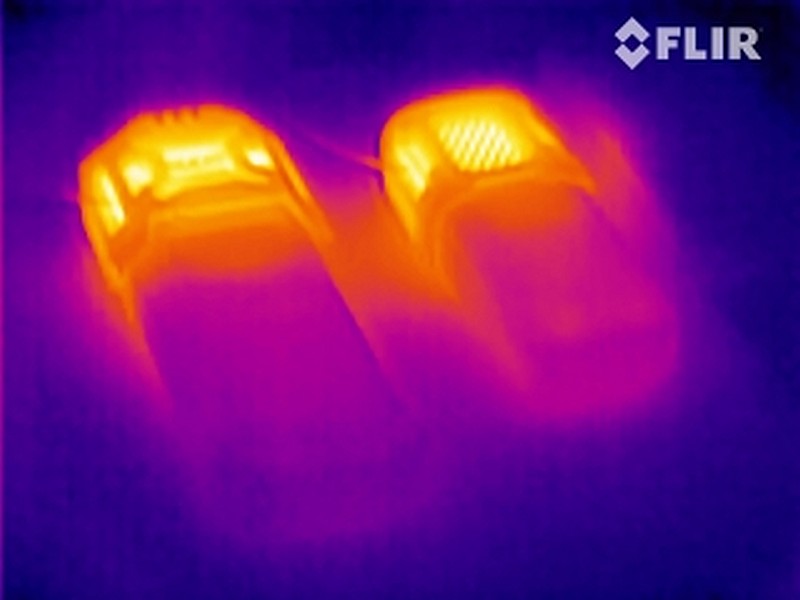
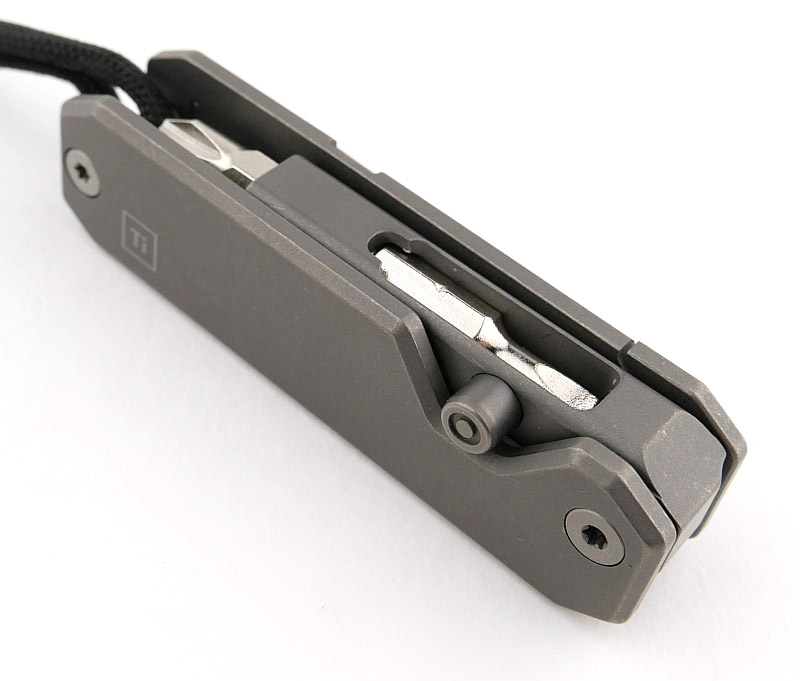
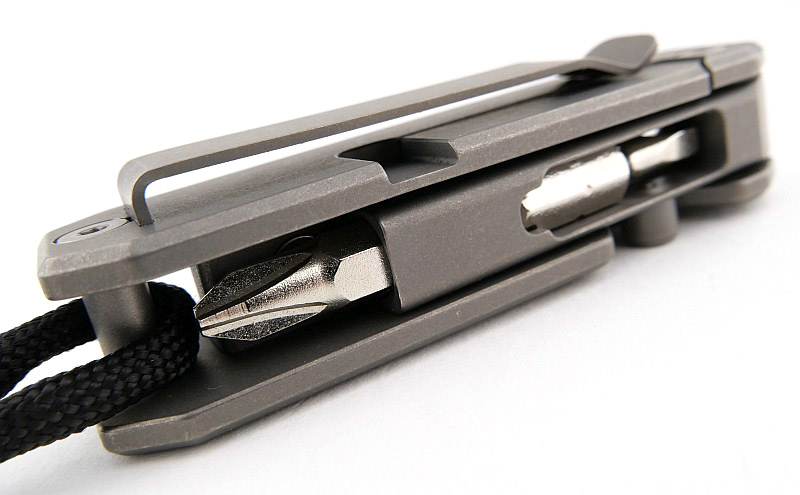
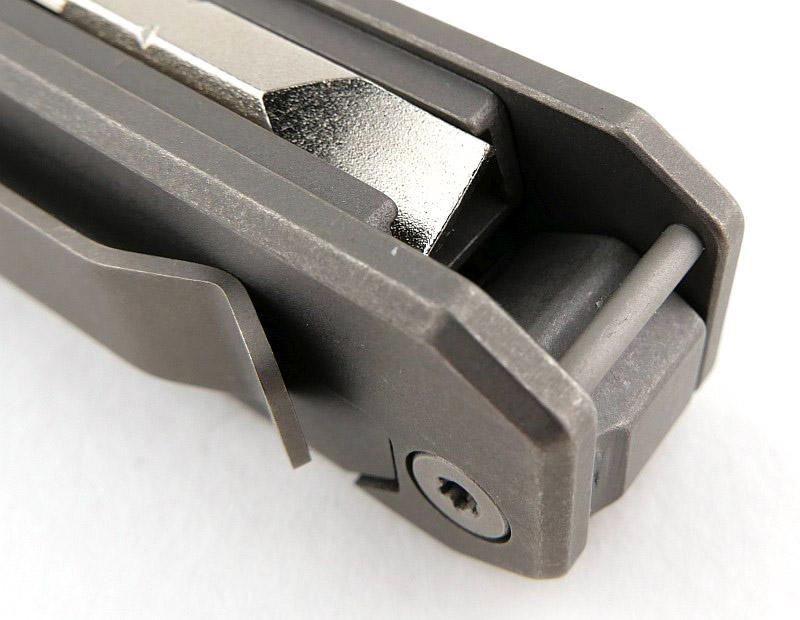
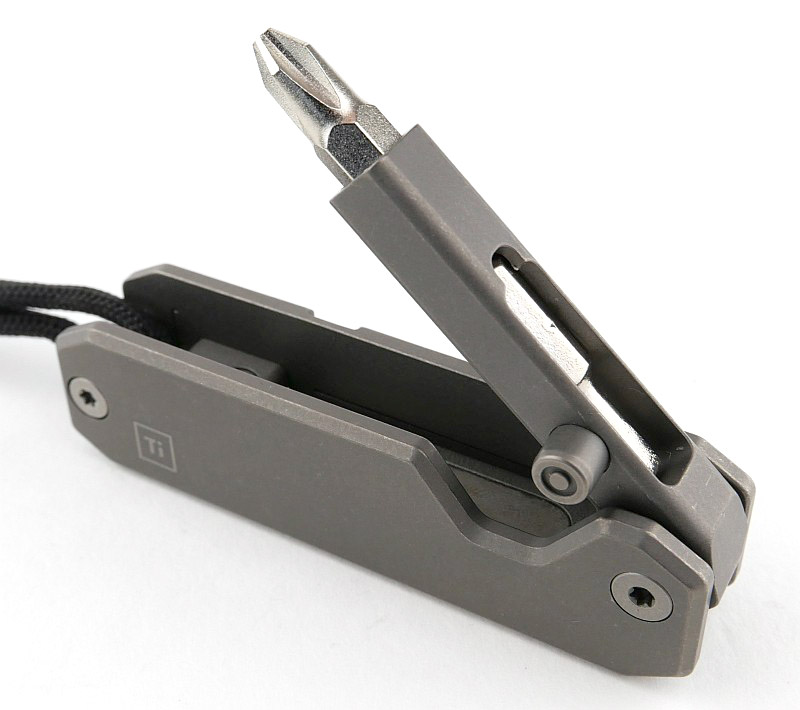
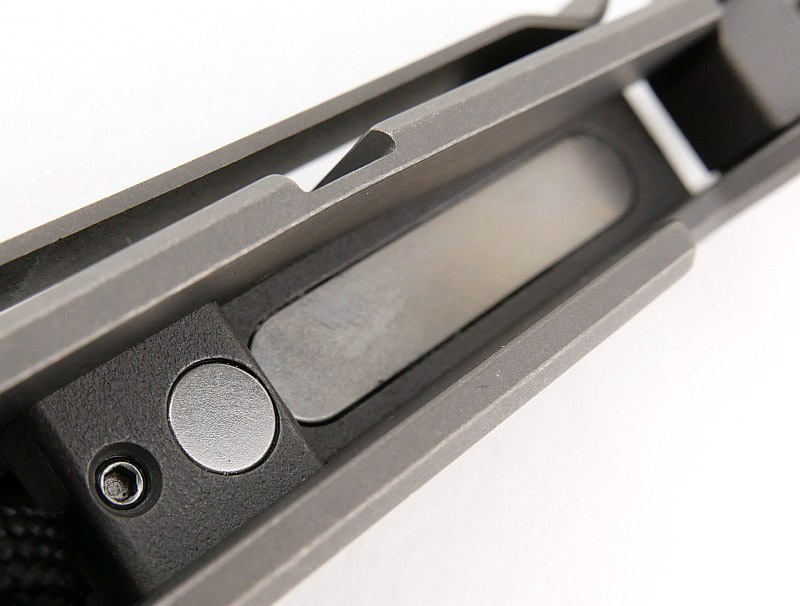
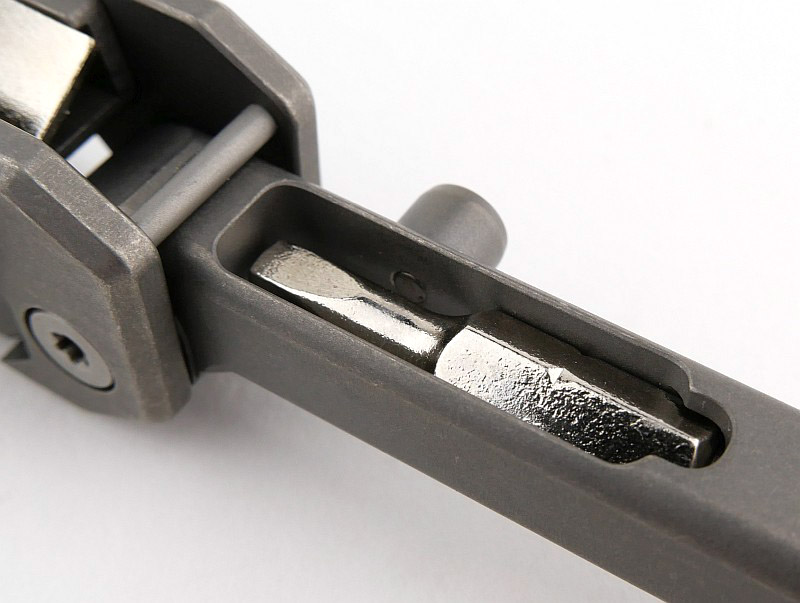
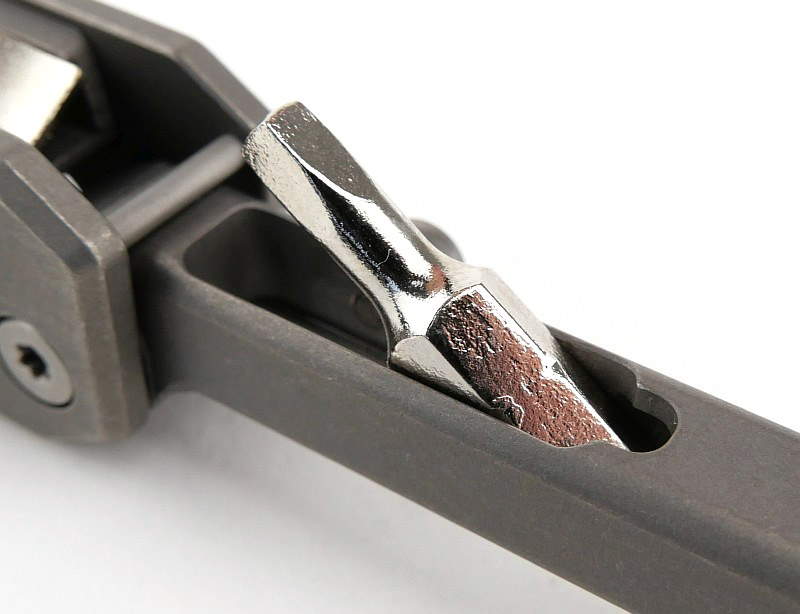
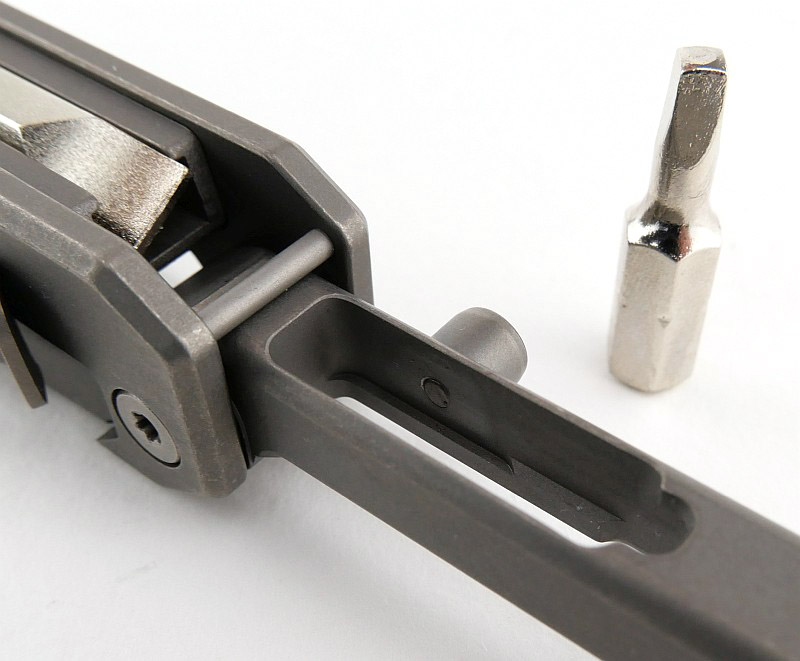
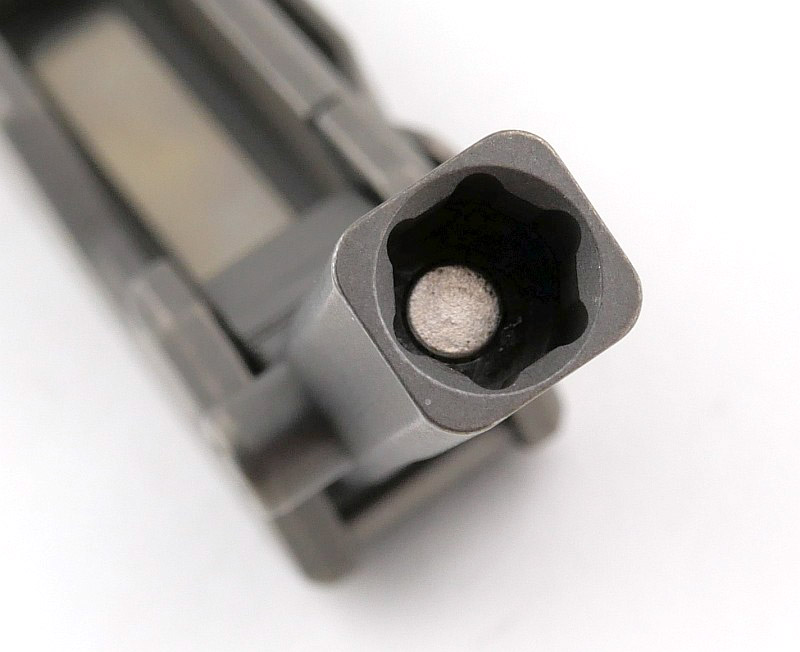
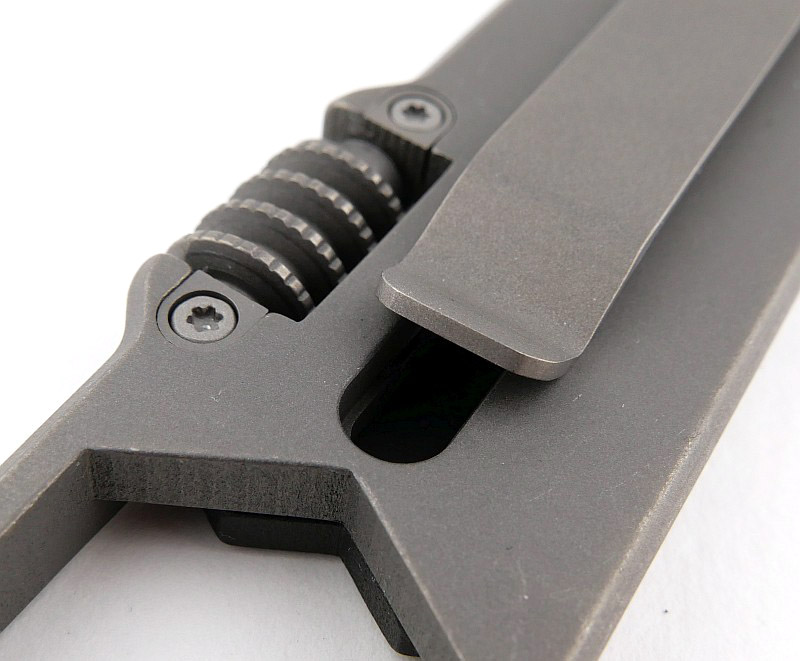
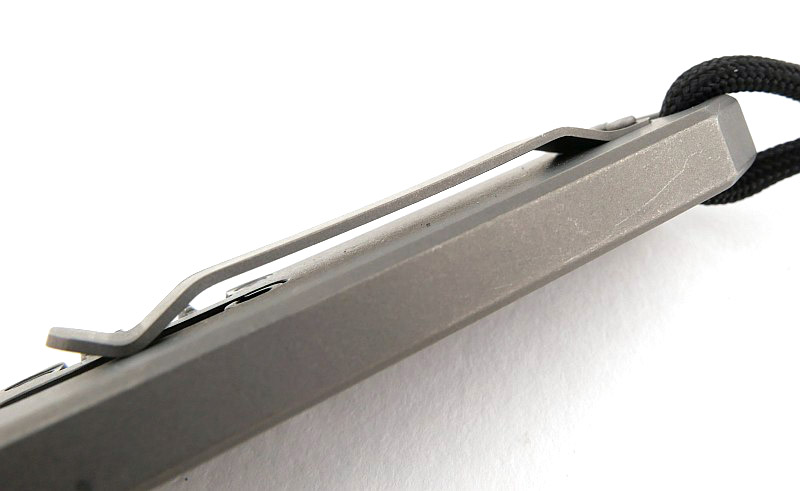
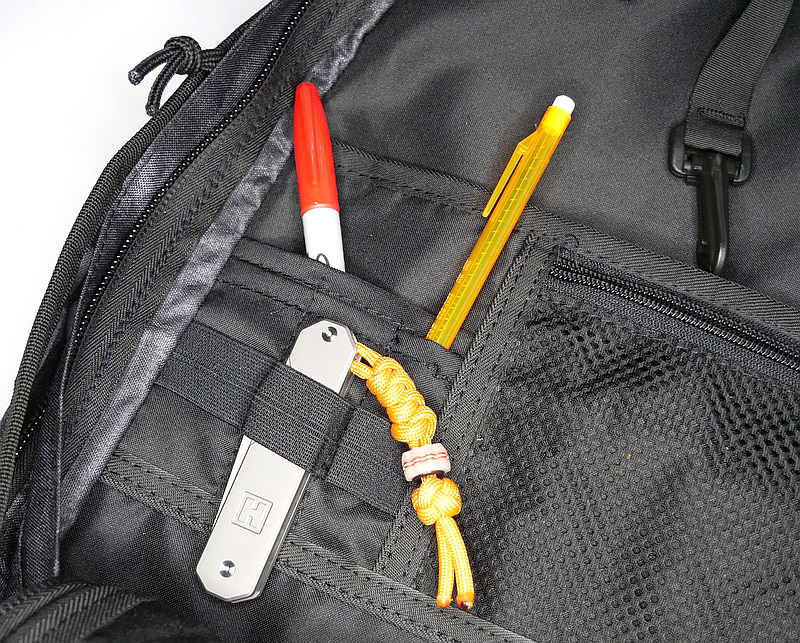
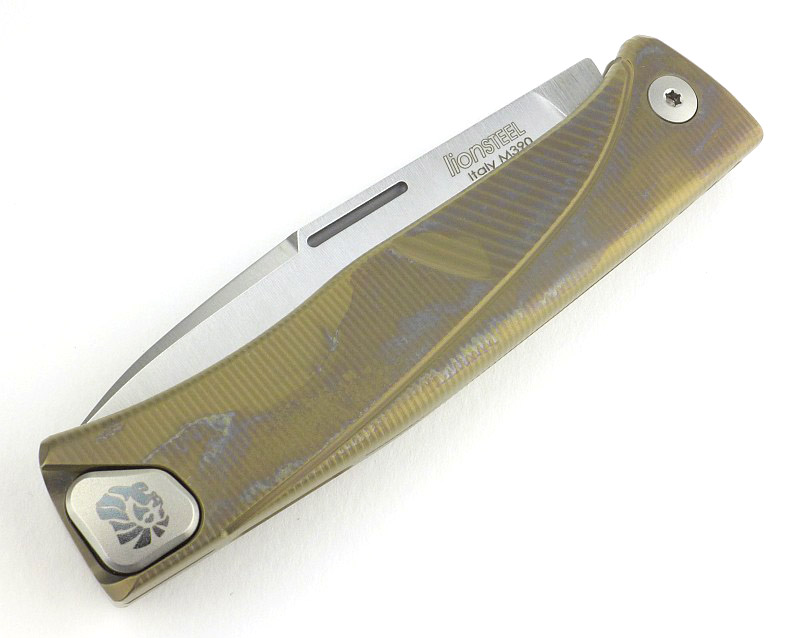
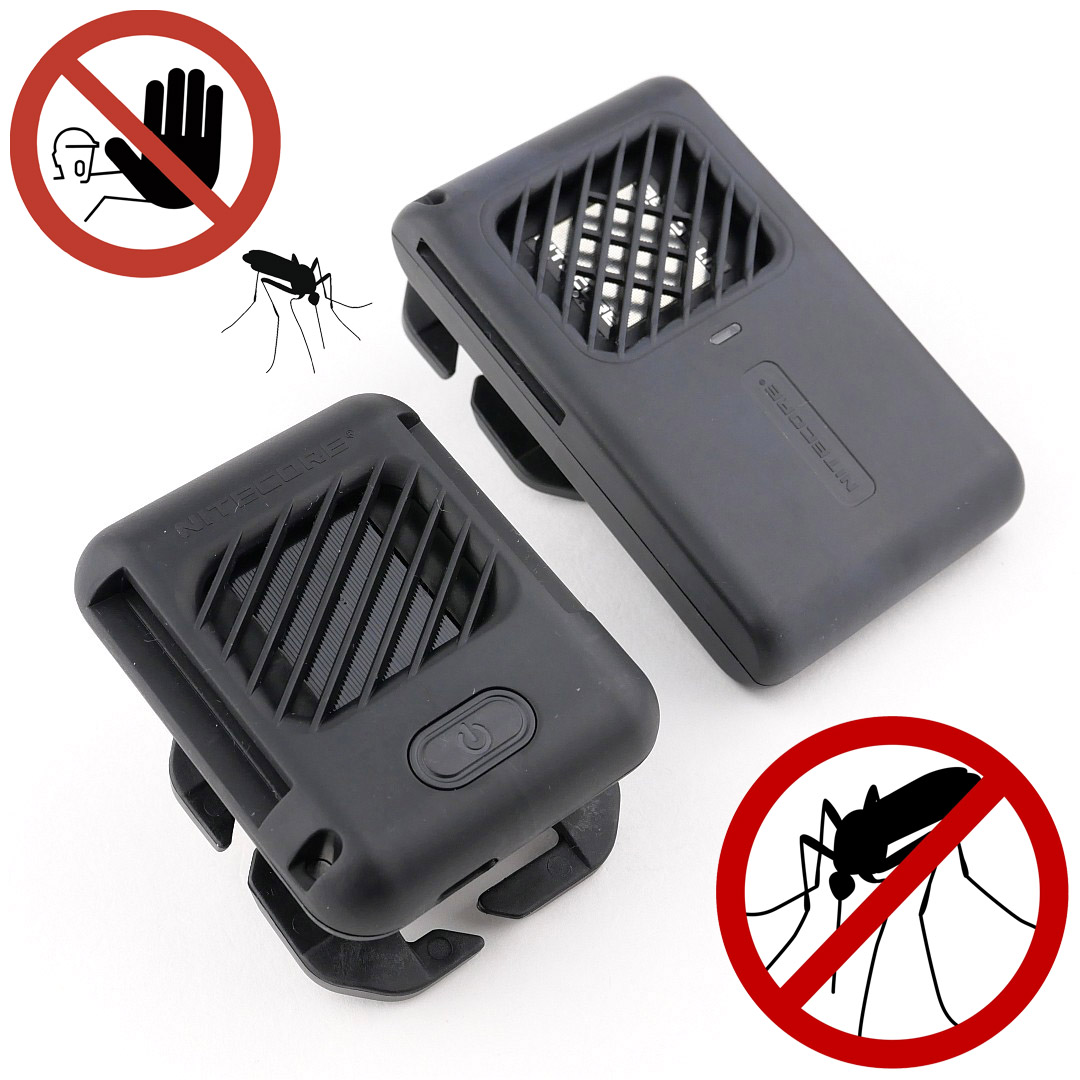
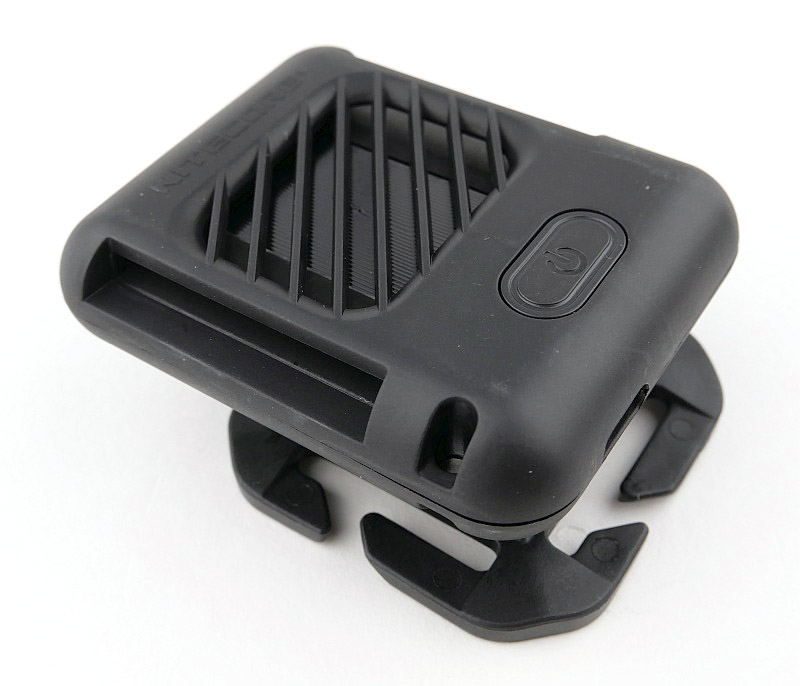
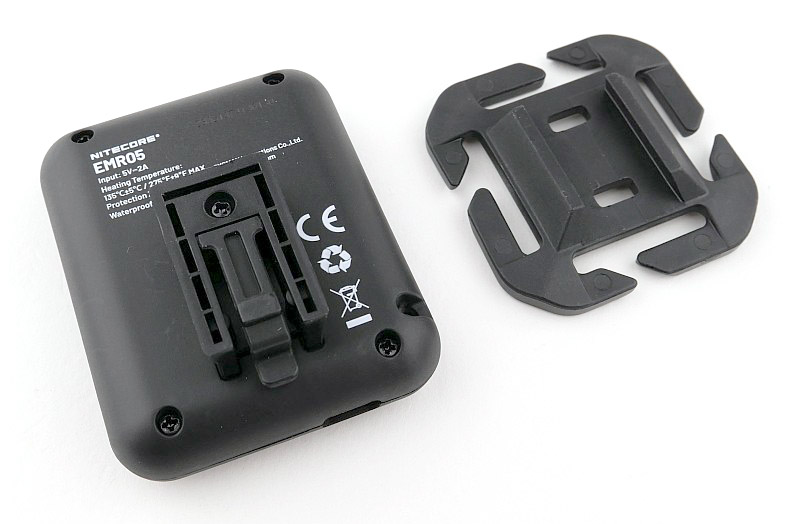
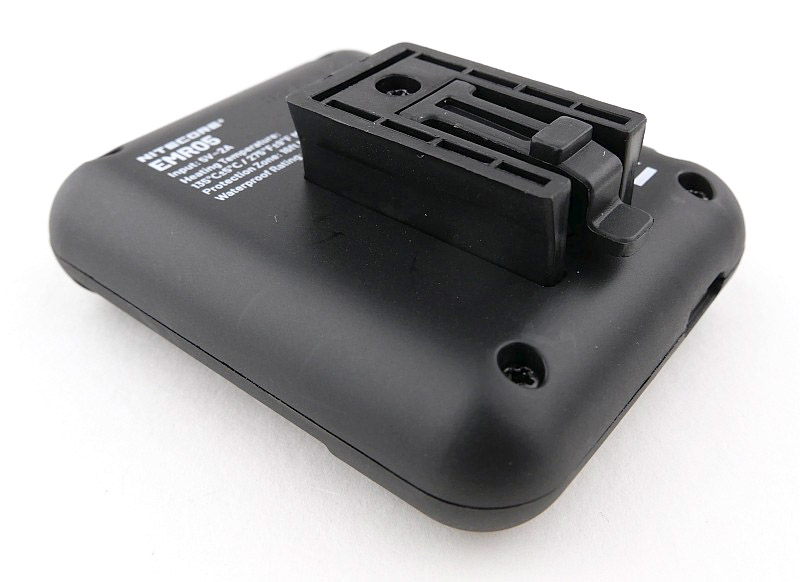
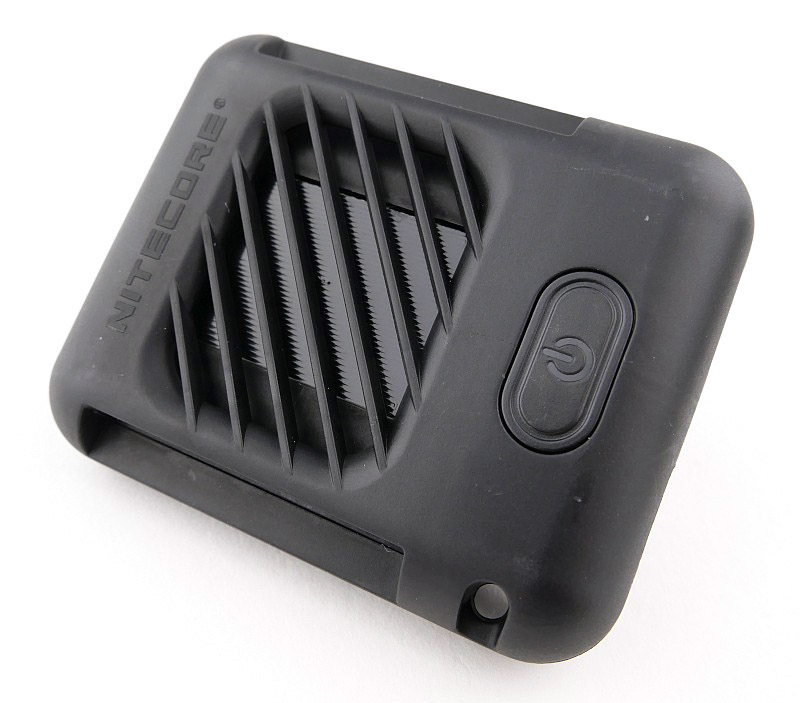
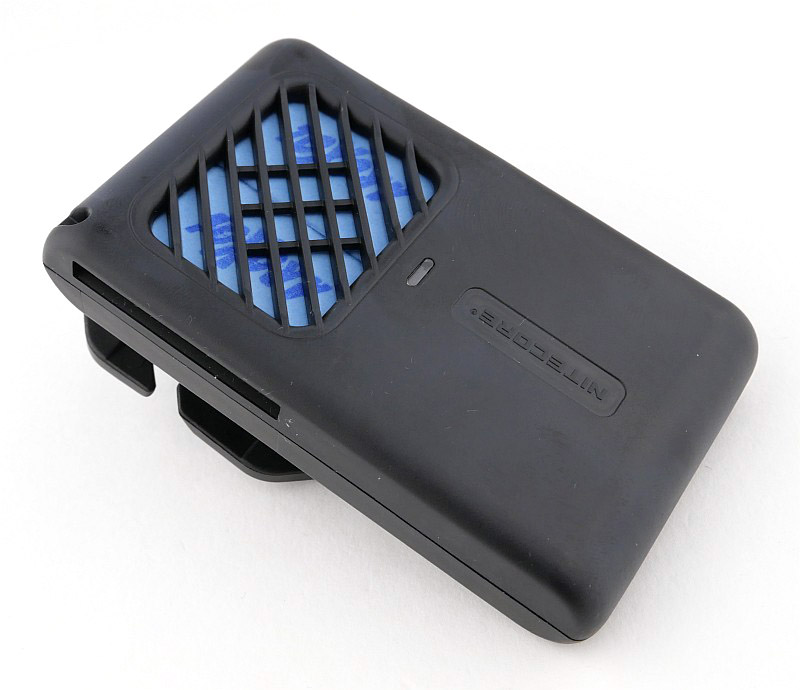
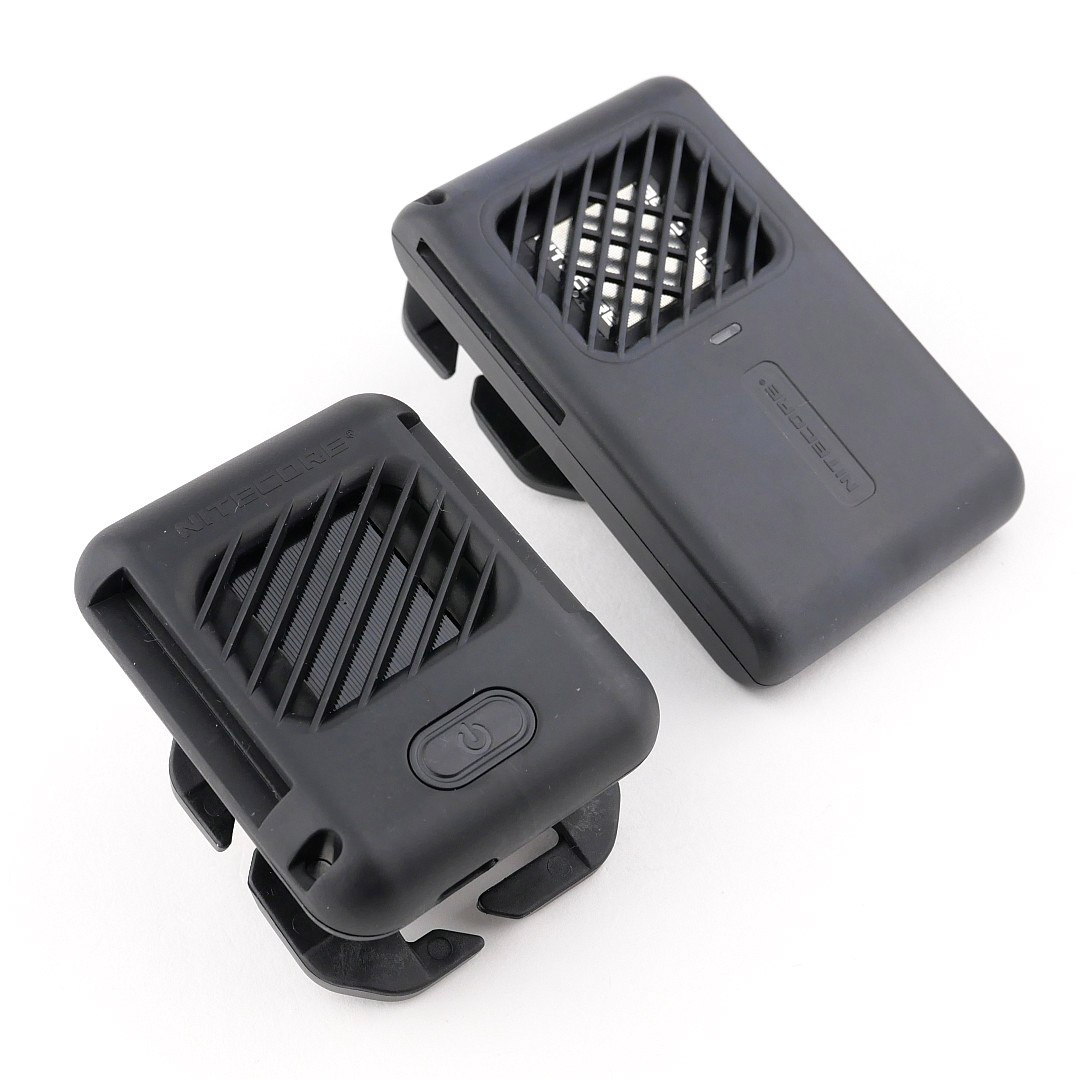
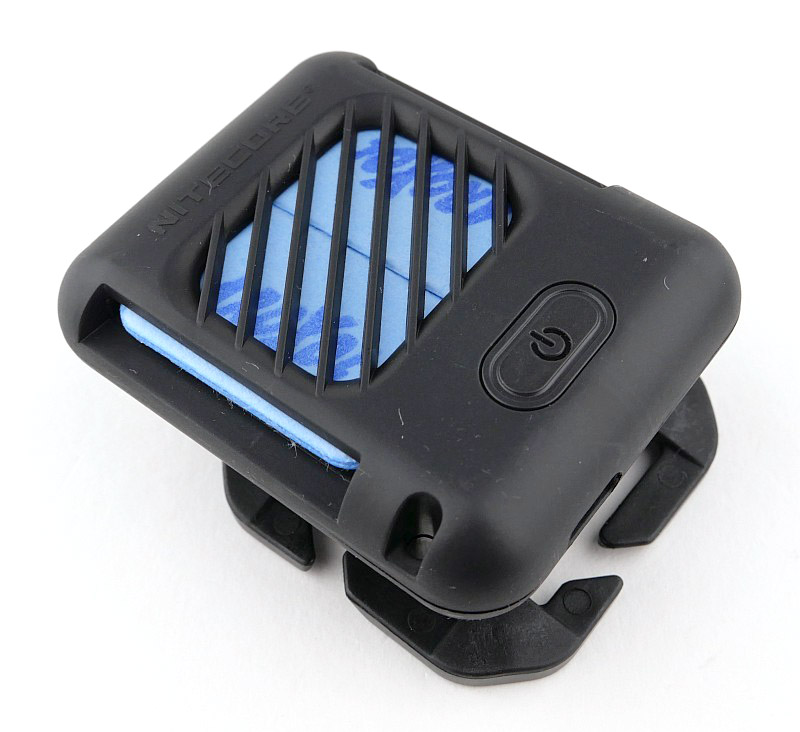
A good look round the EMR05 – Things to look out for here are:
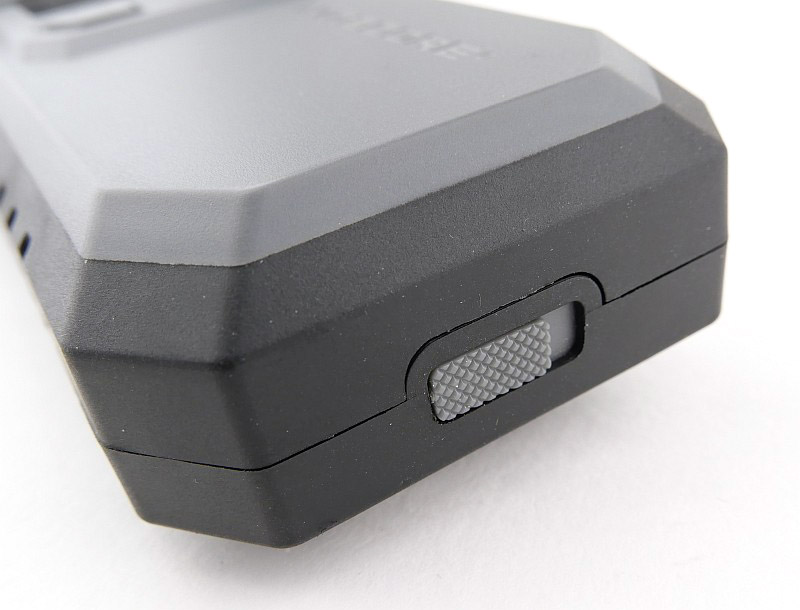
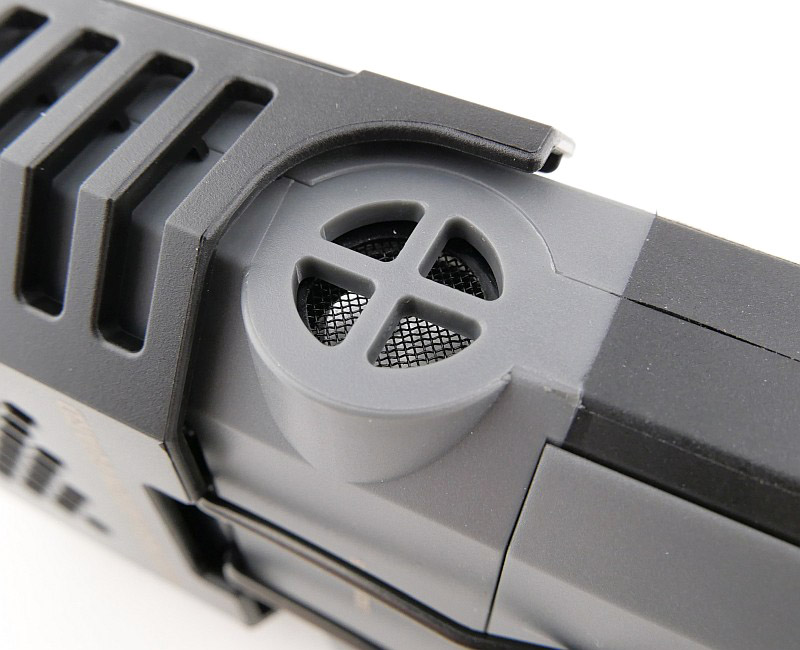
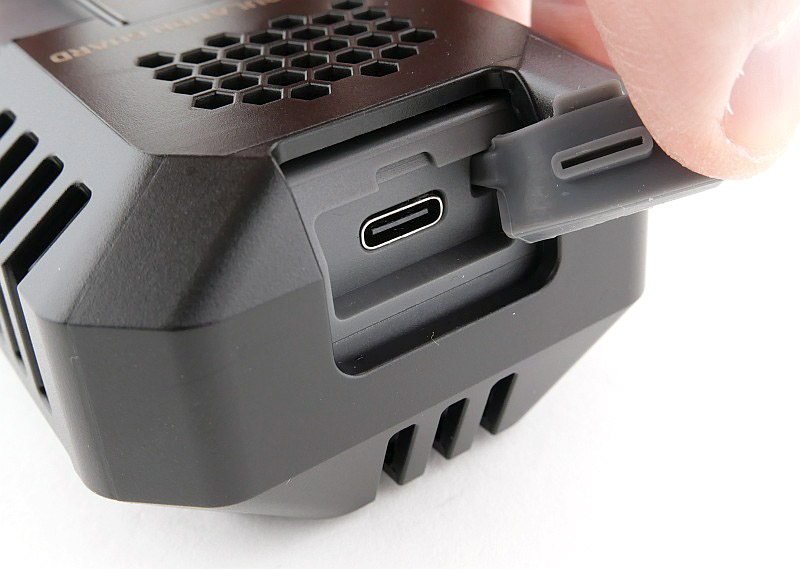
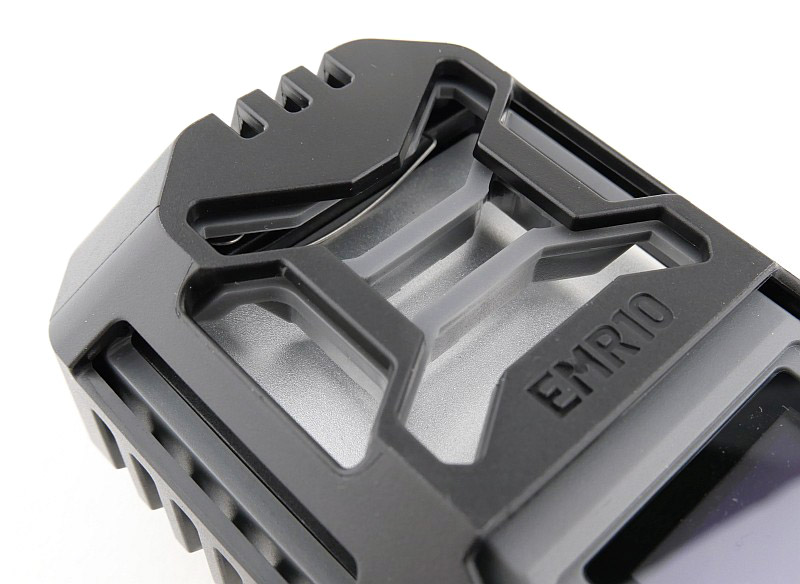
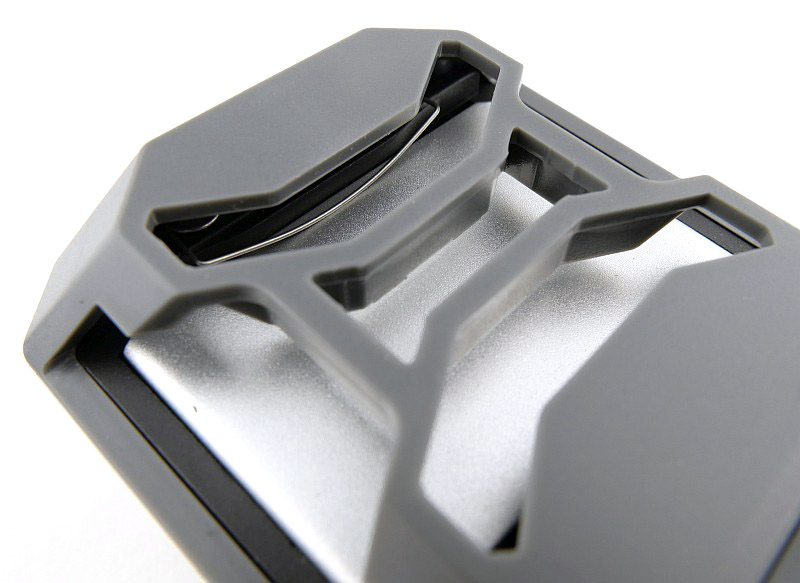
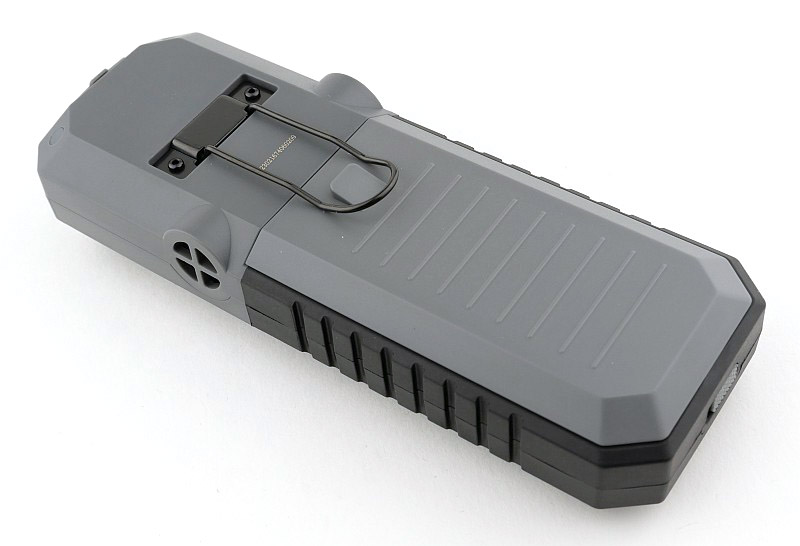
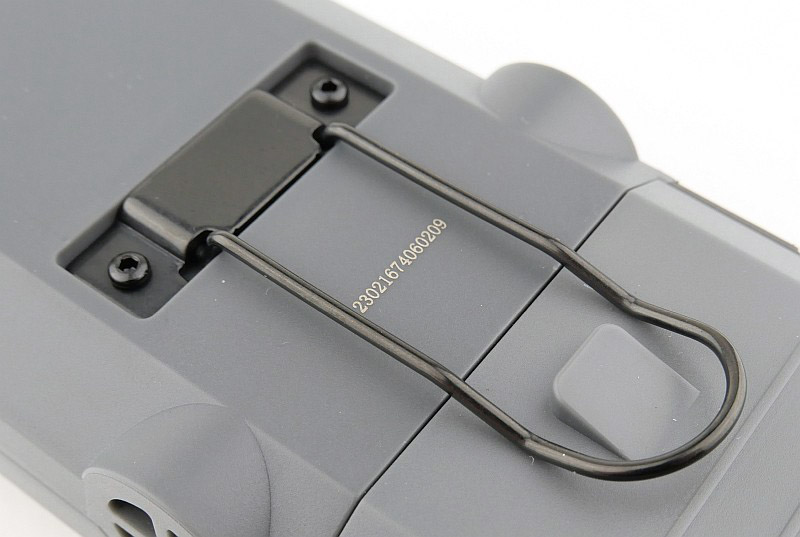
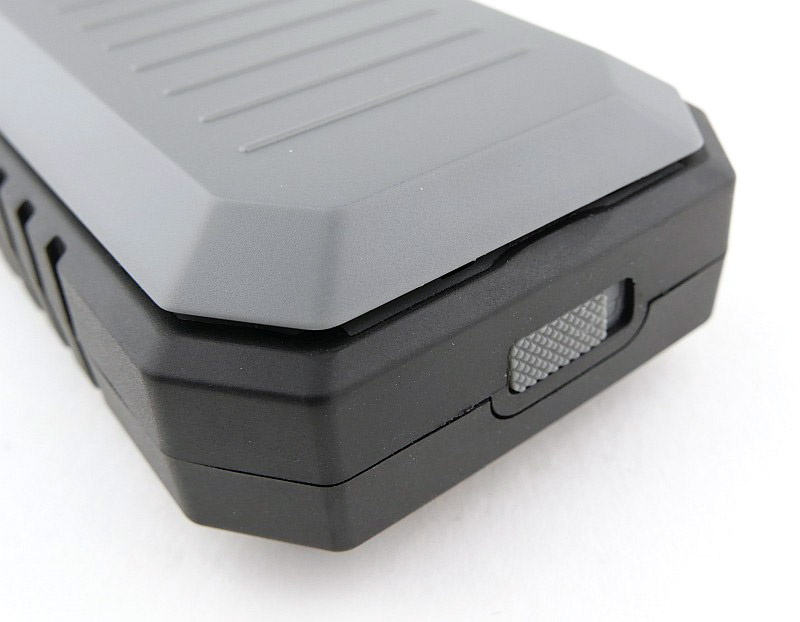
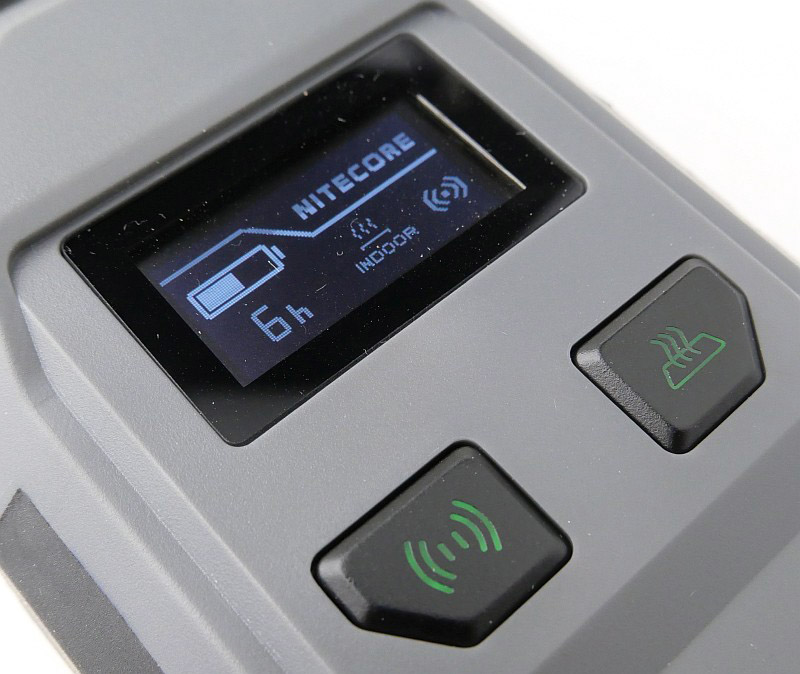
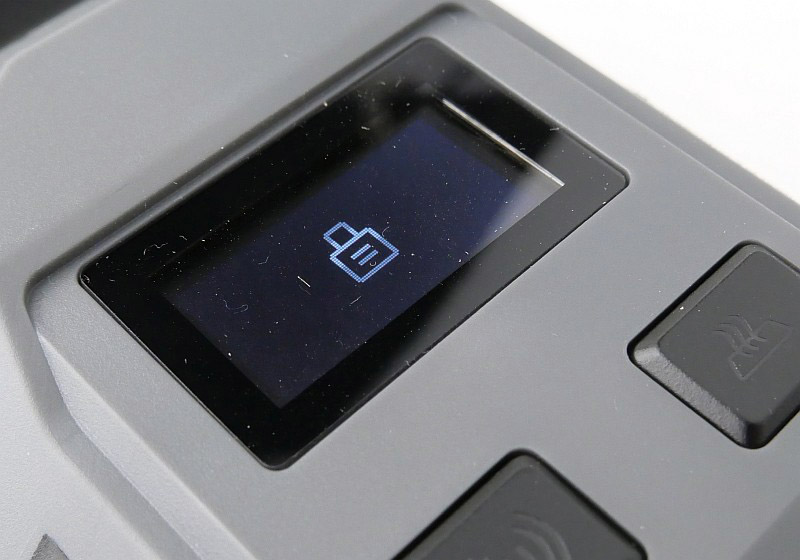
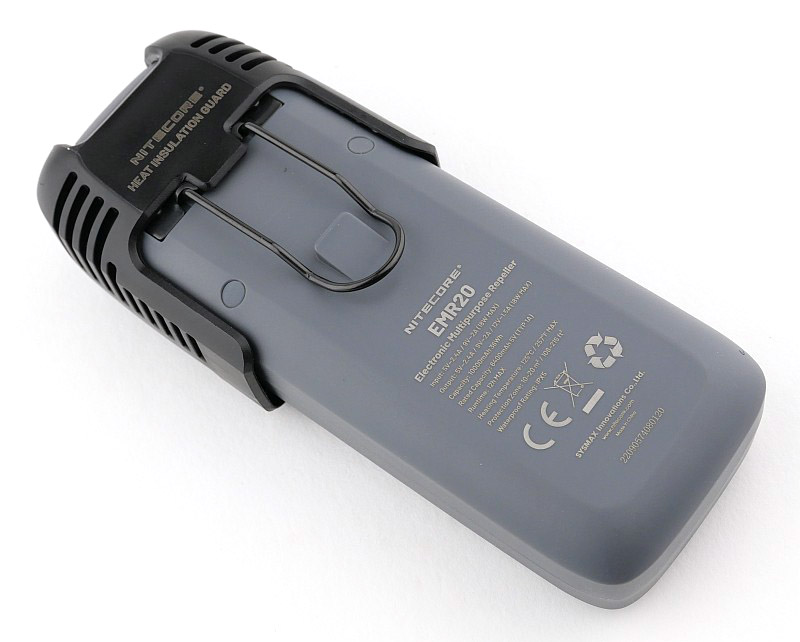
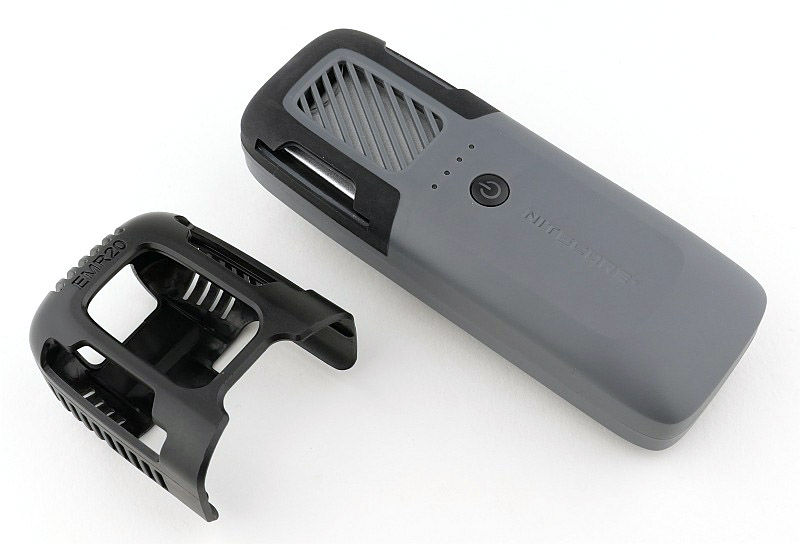
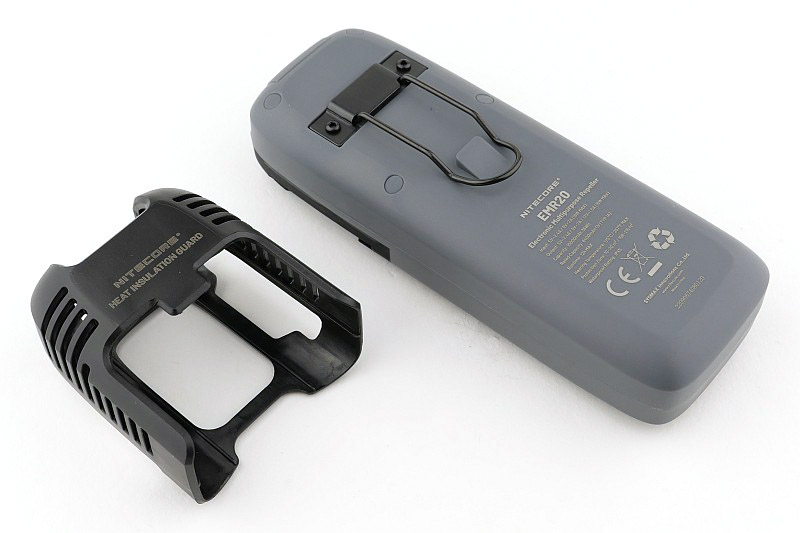
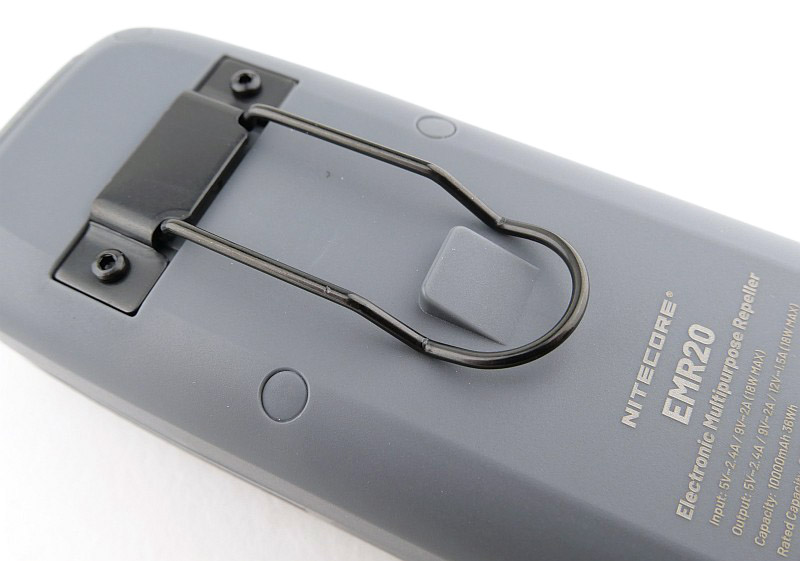
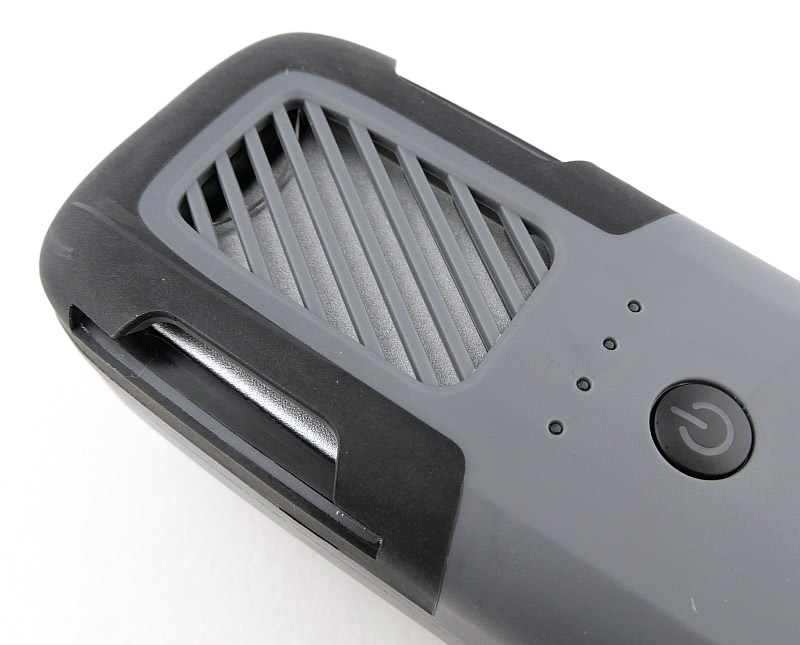
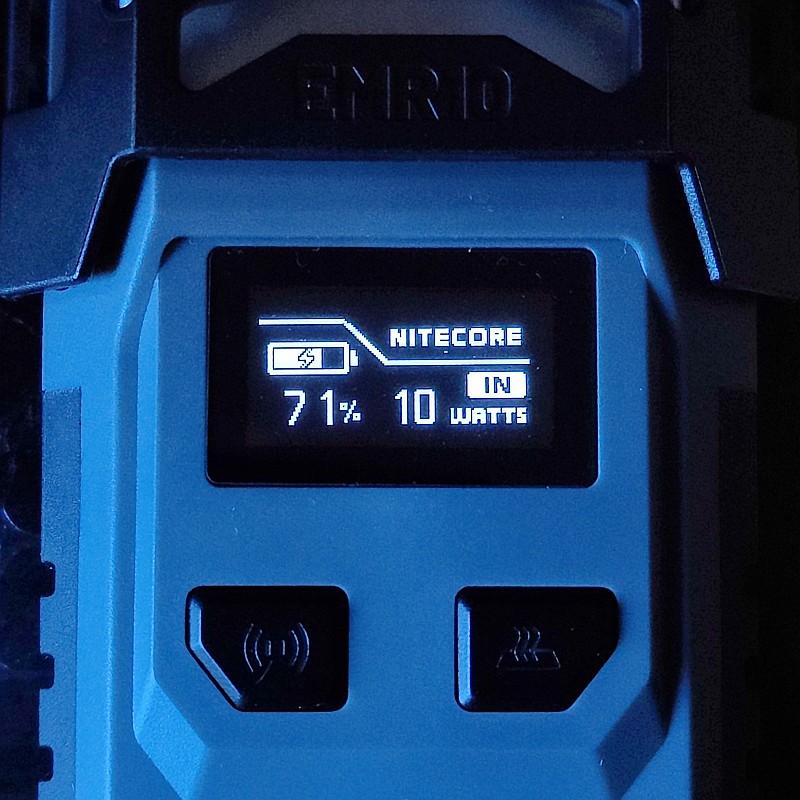
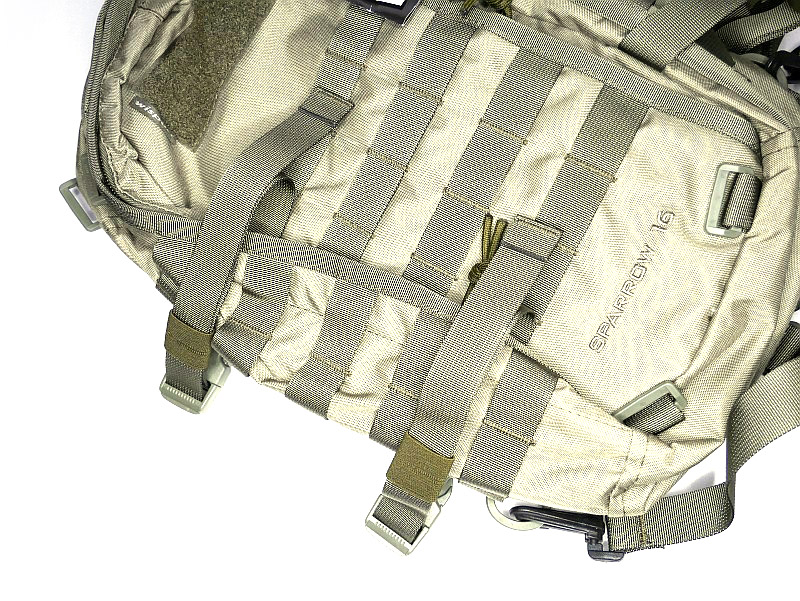
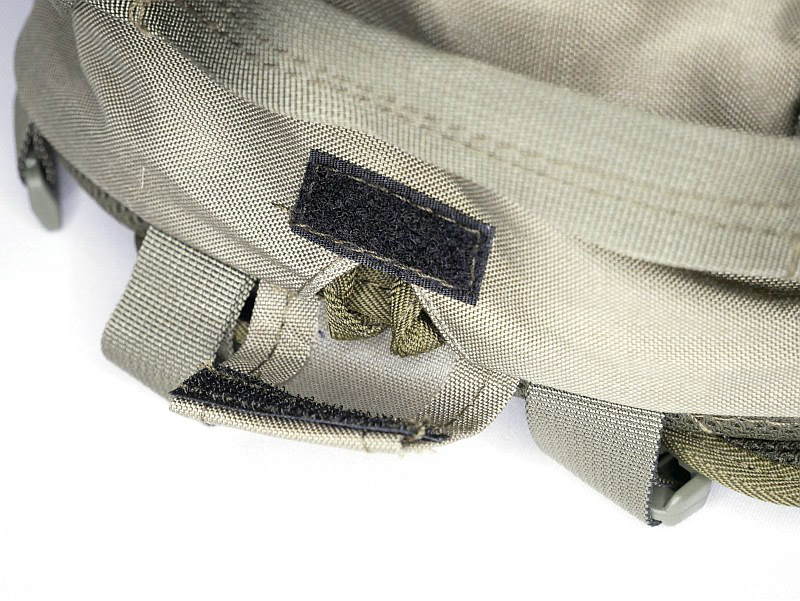
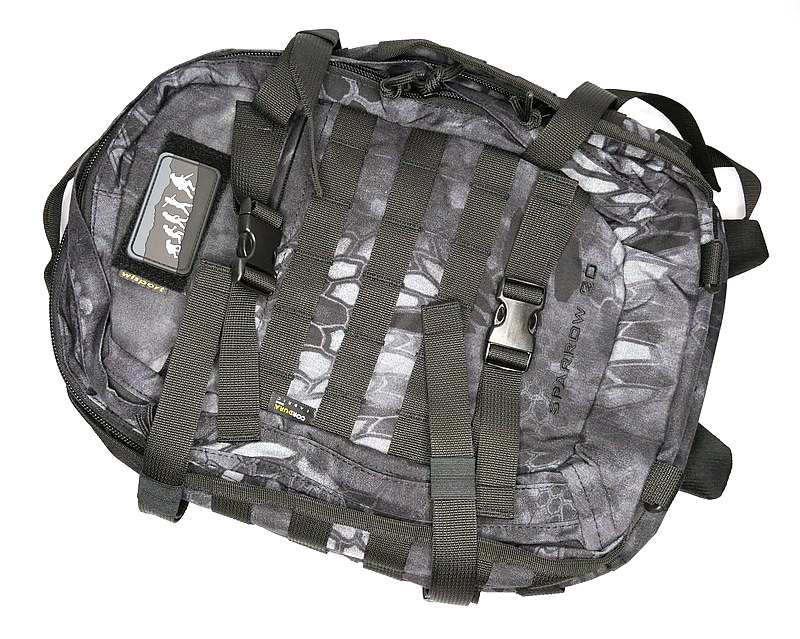
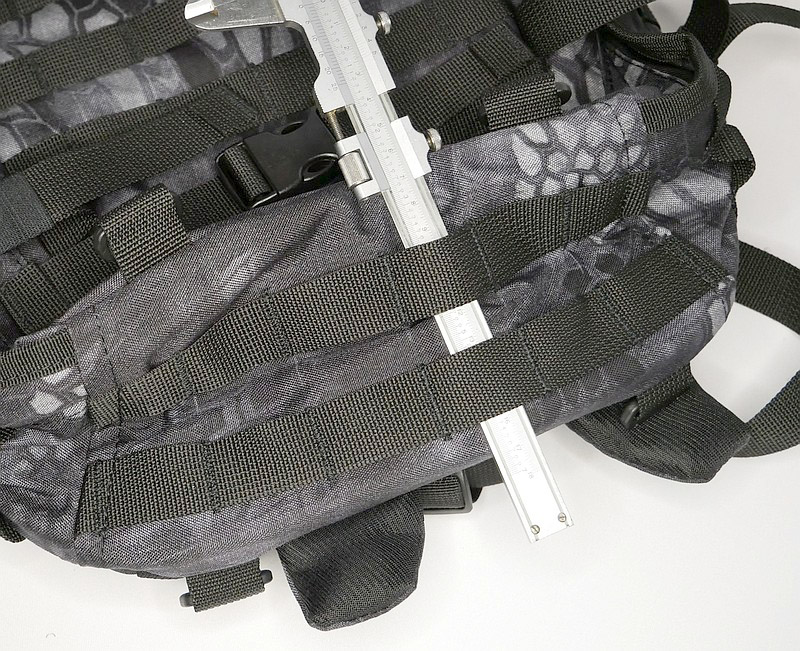
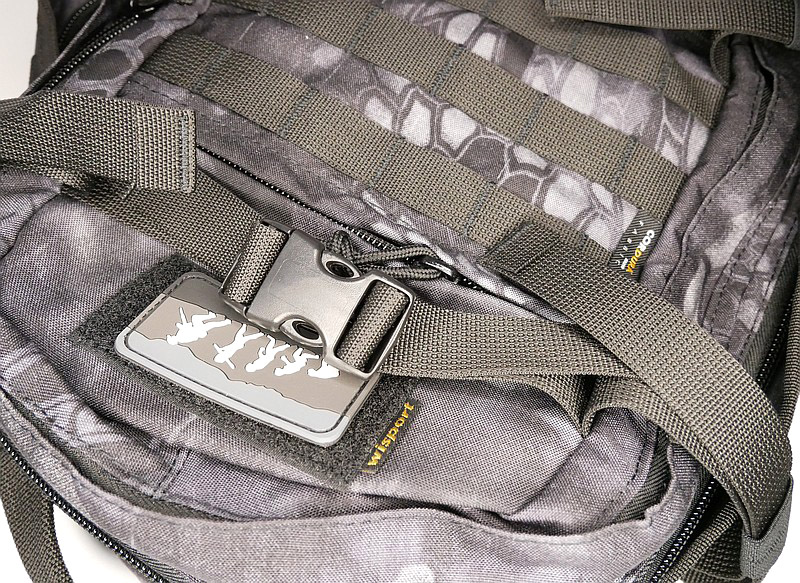
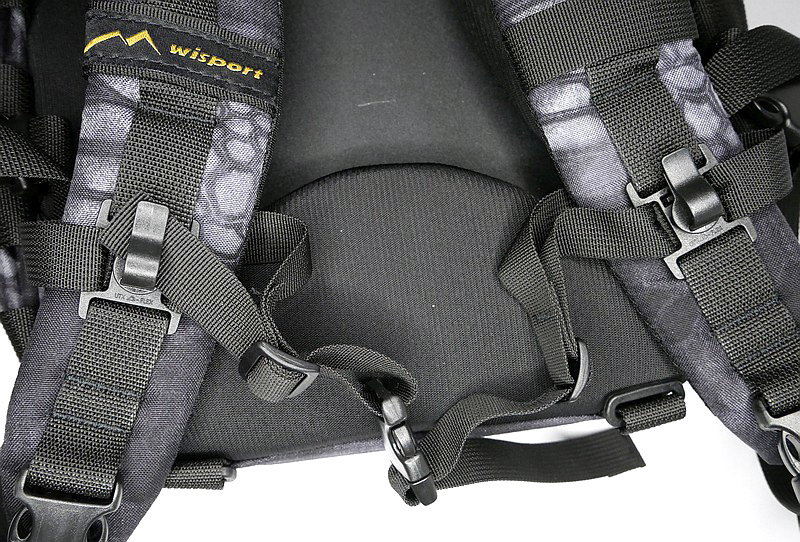
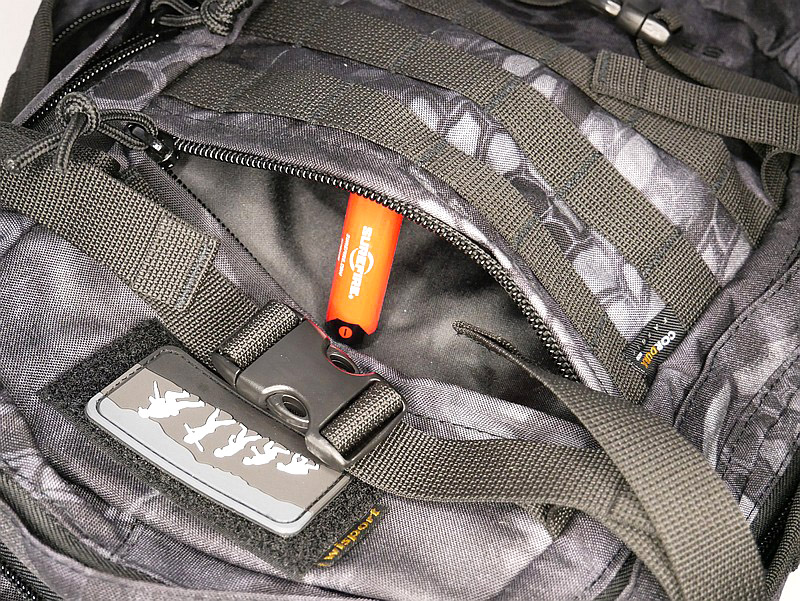
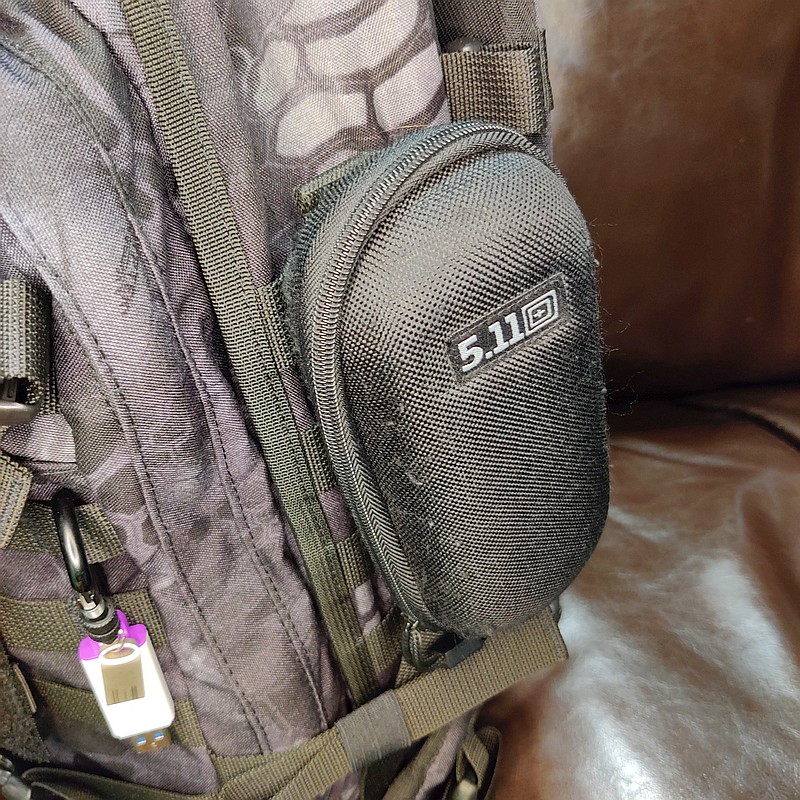
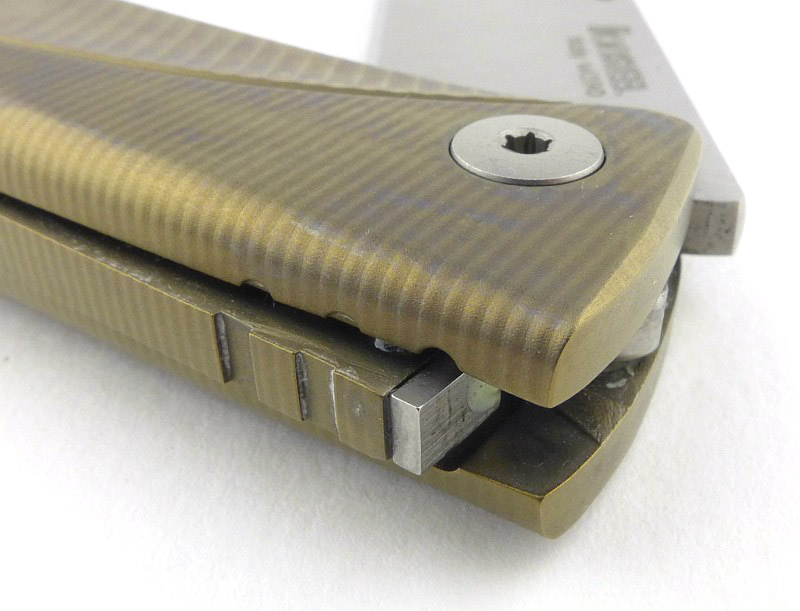
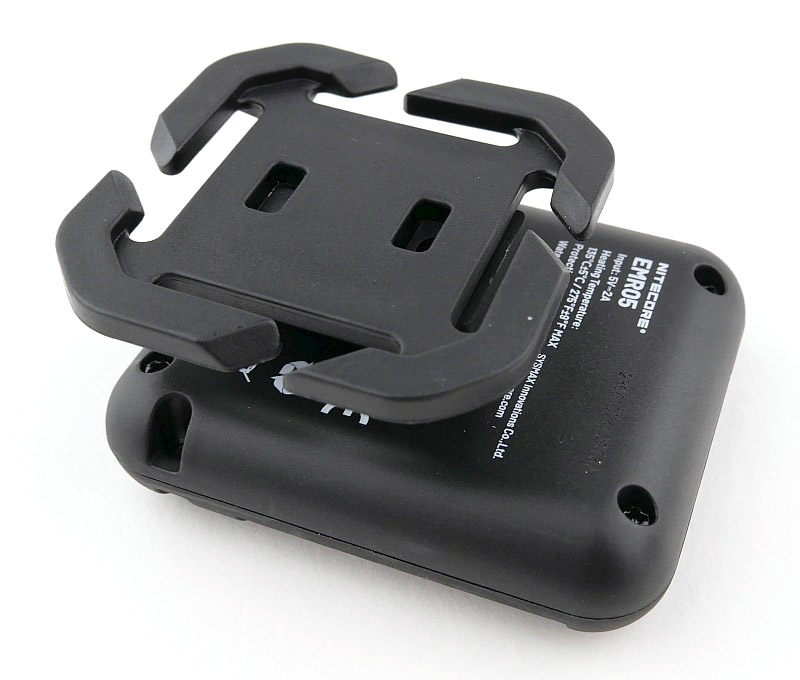
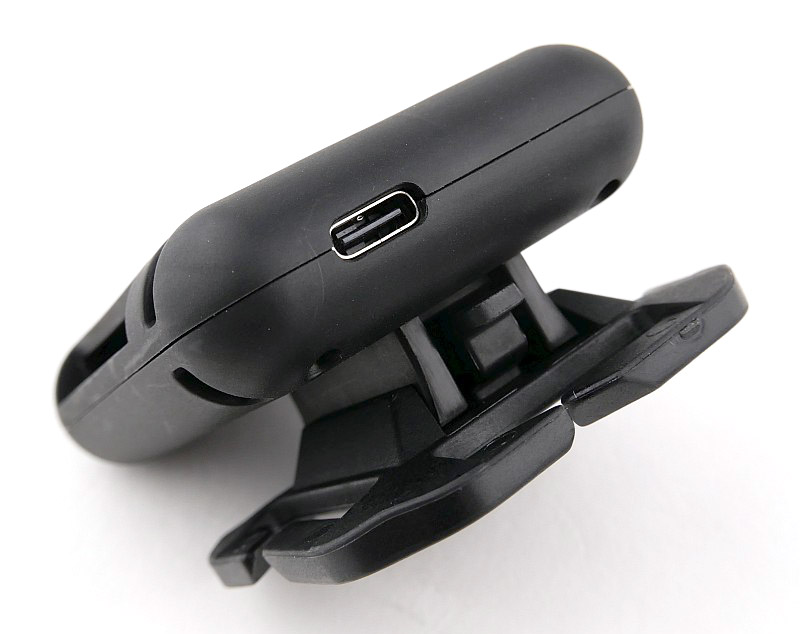
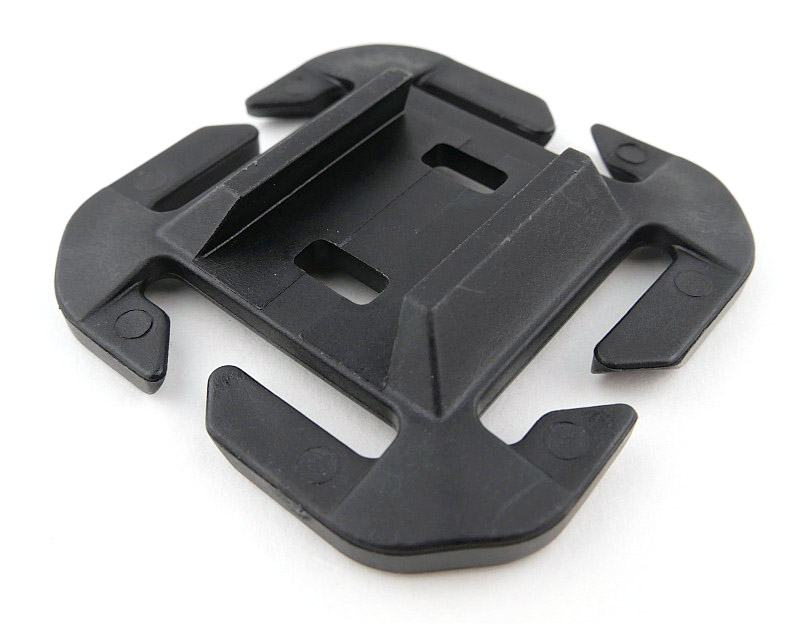
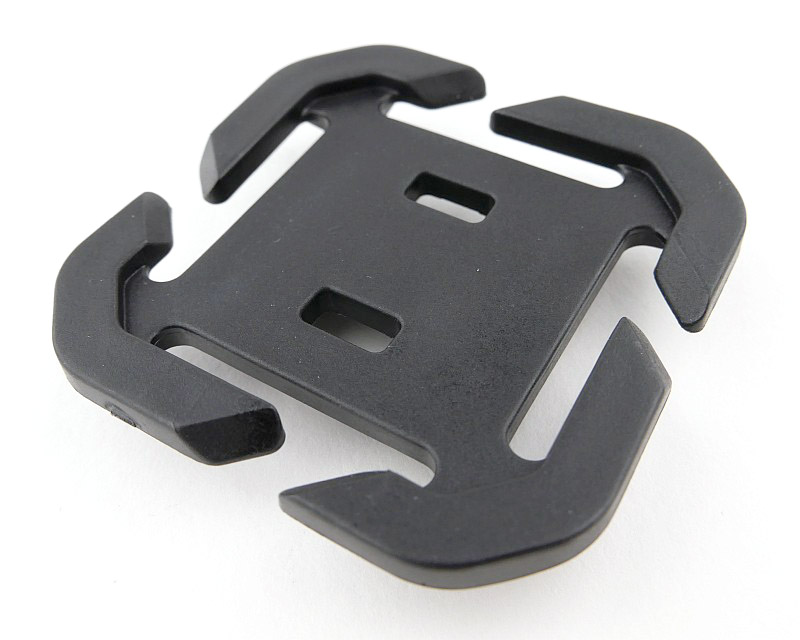
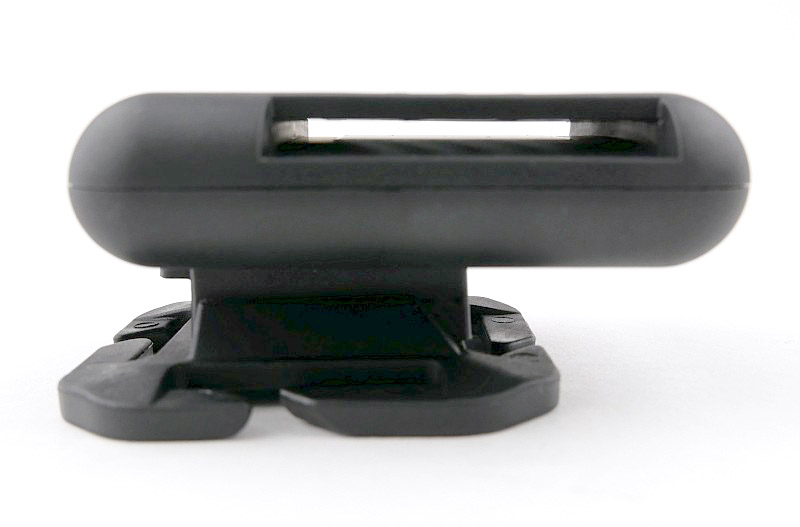
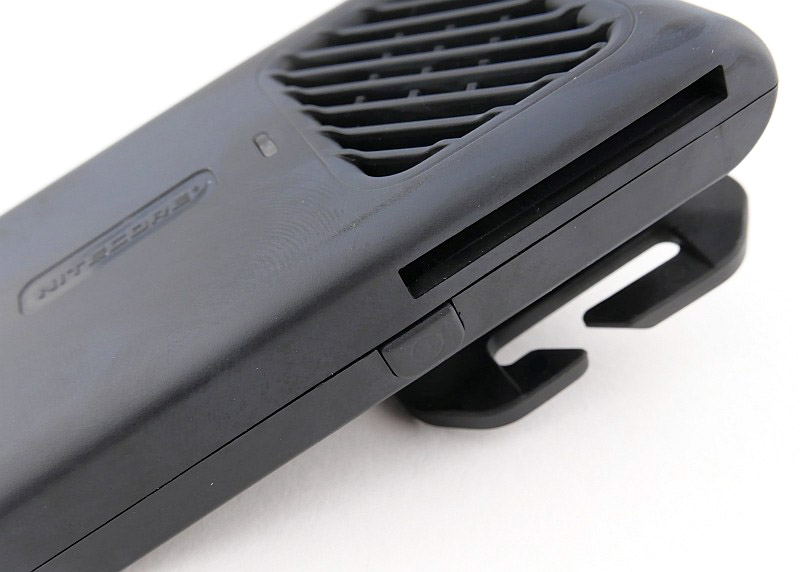
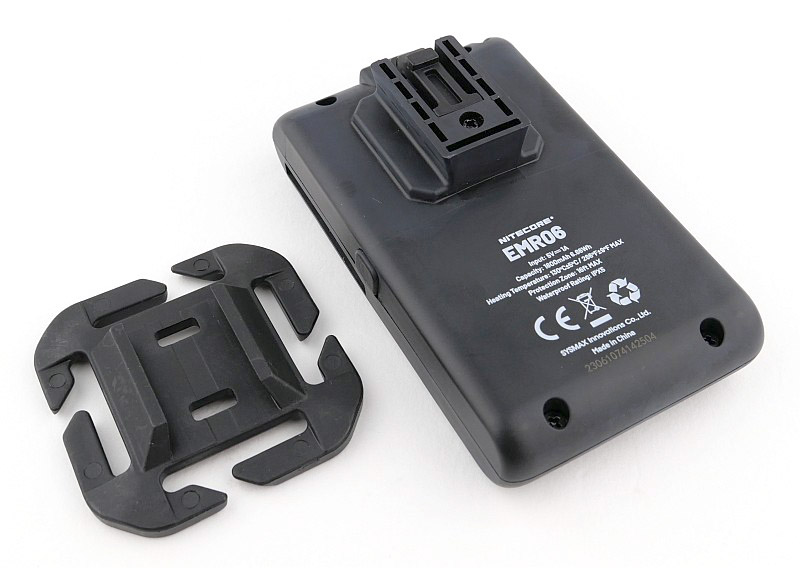
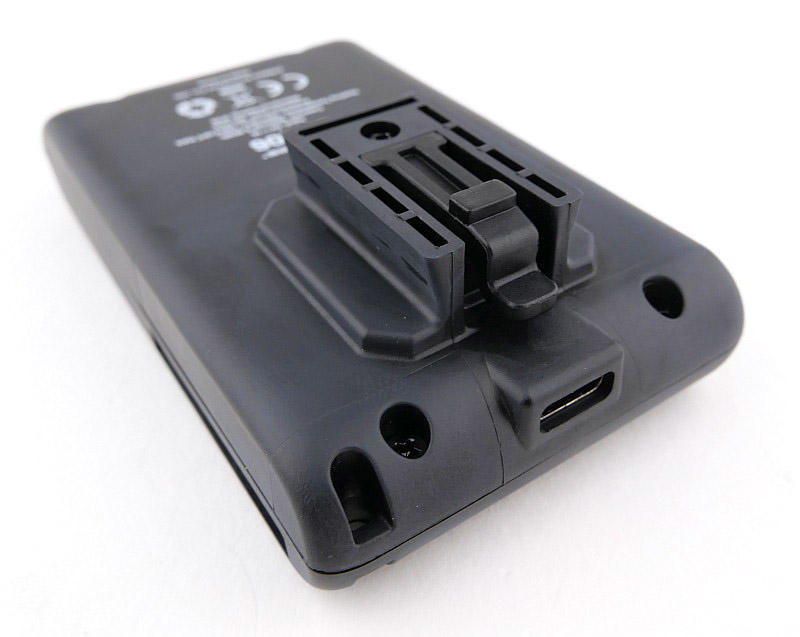
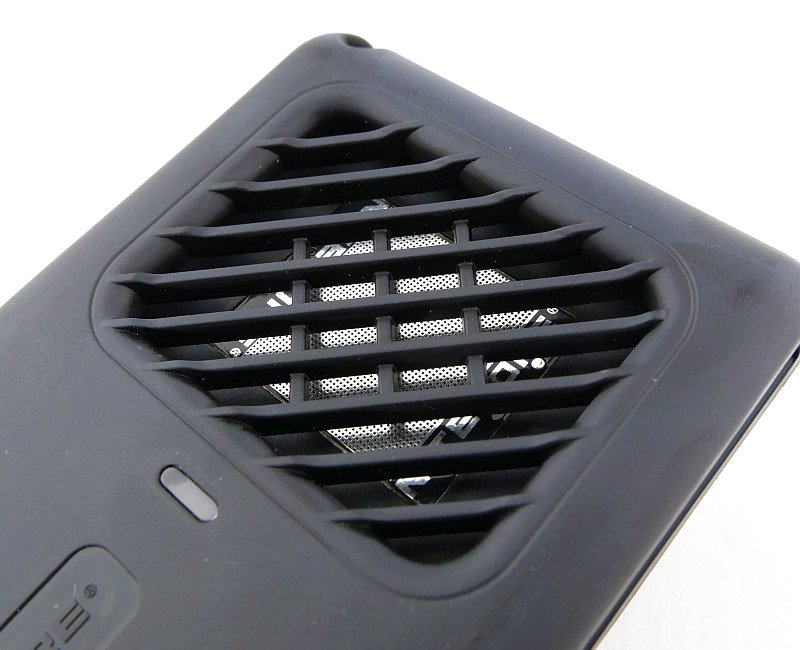
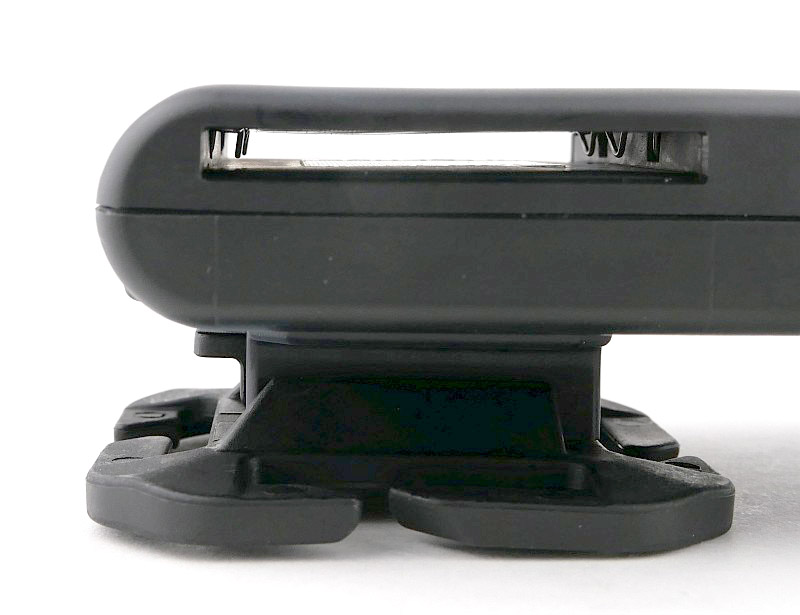
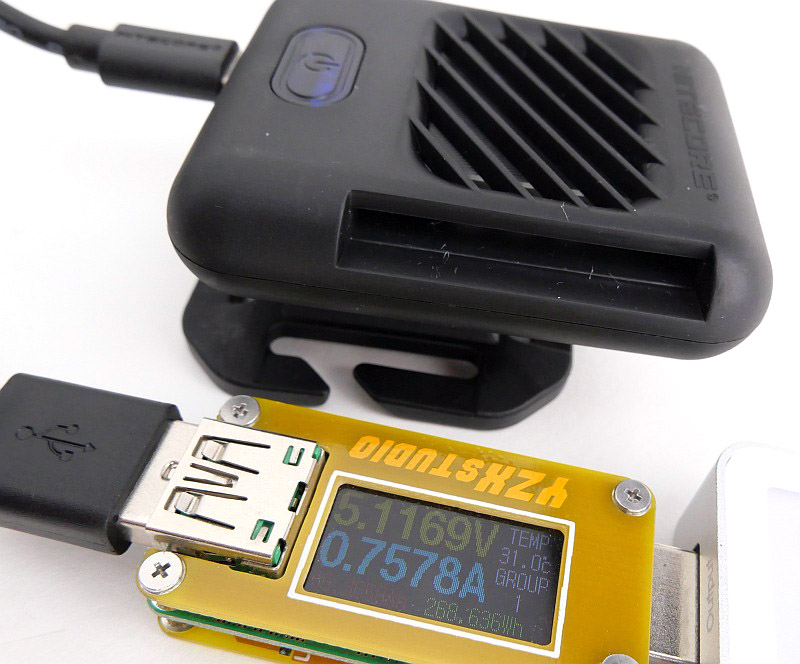
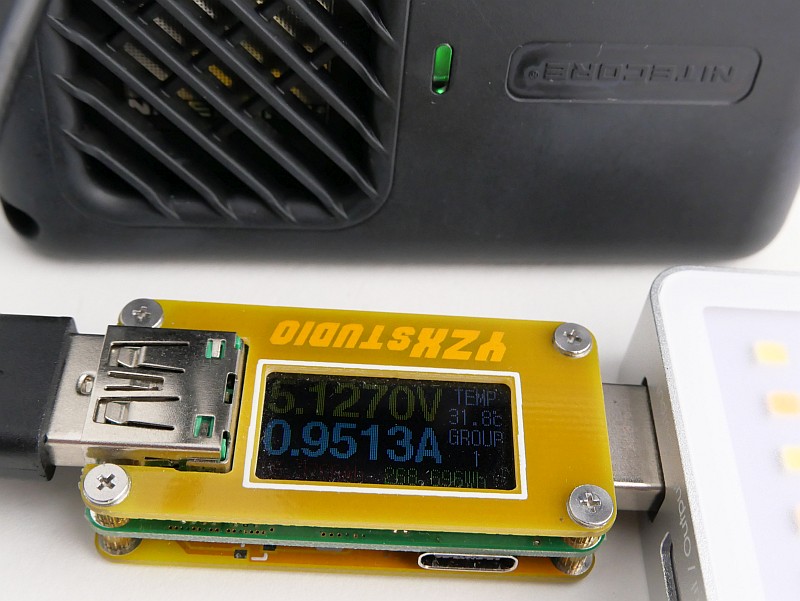
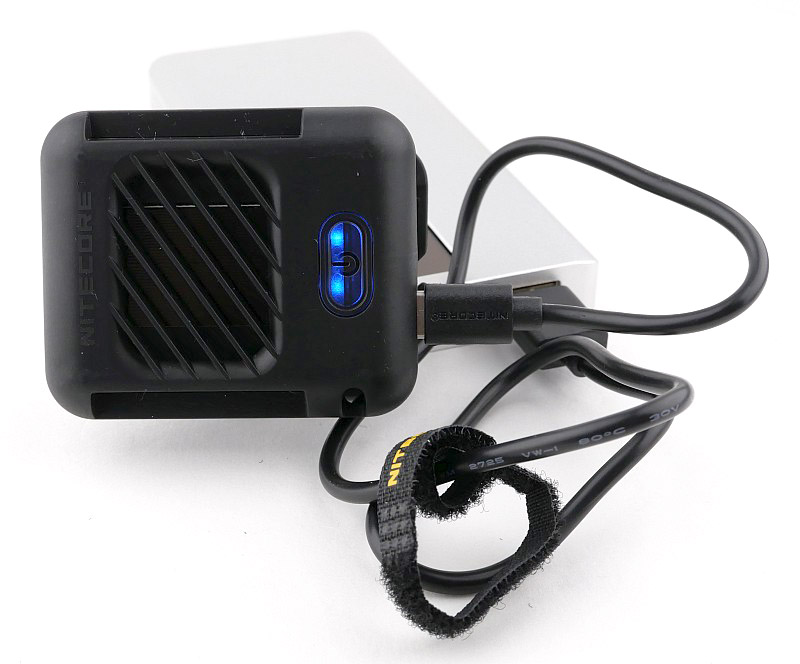
The EMR05 is keeping things to the bare minimum. A power switch with indicator light, the slot for the repellent mat, USB-C port for power and a mounting system. Nitecore’s MOLLE mount system is really neat and effective.

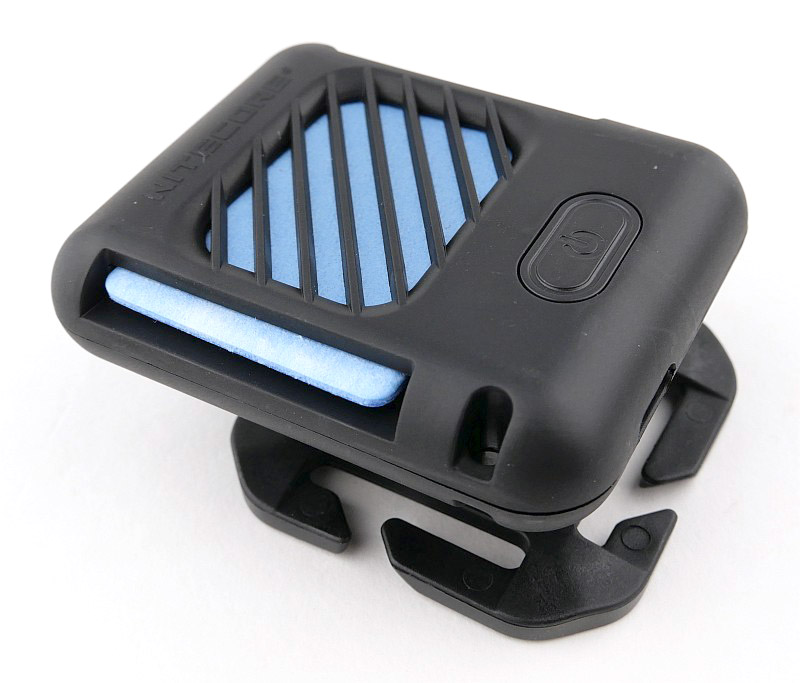
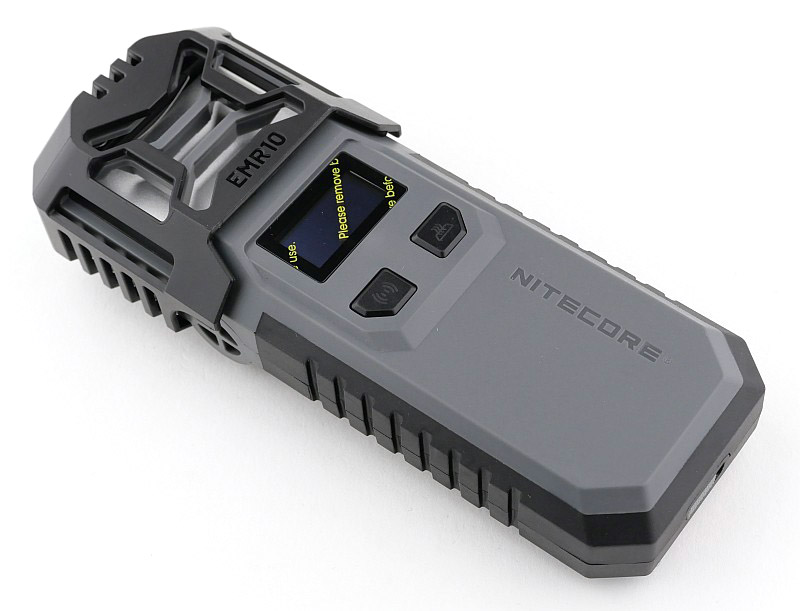
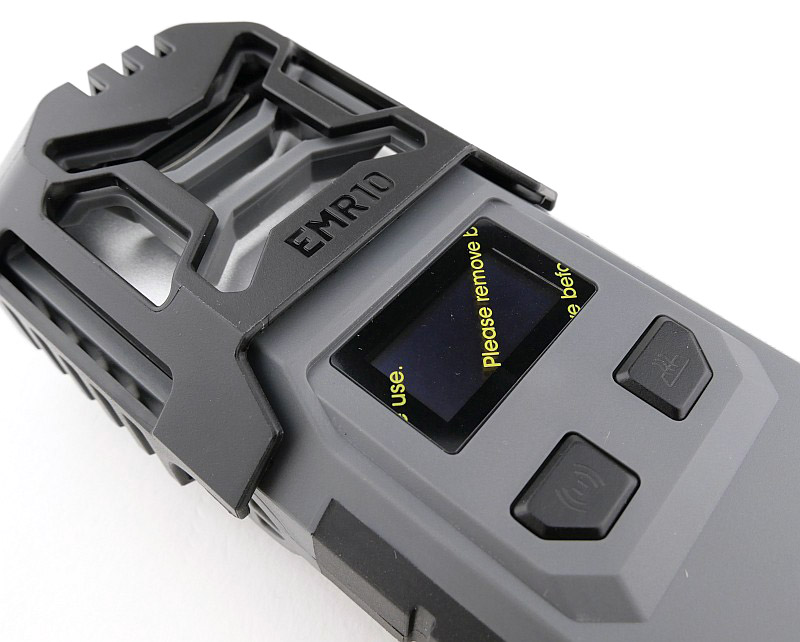
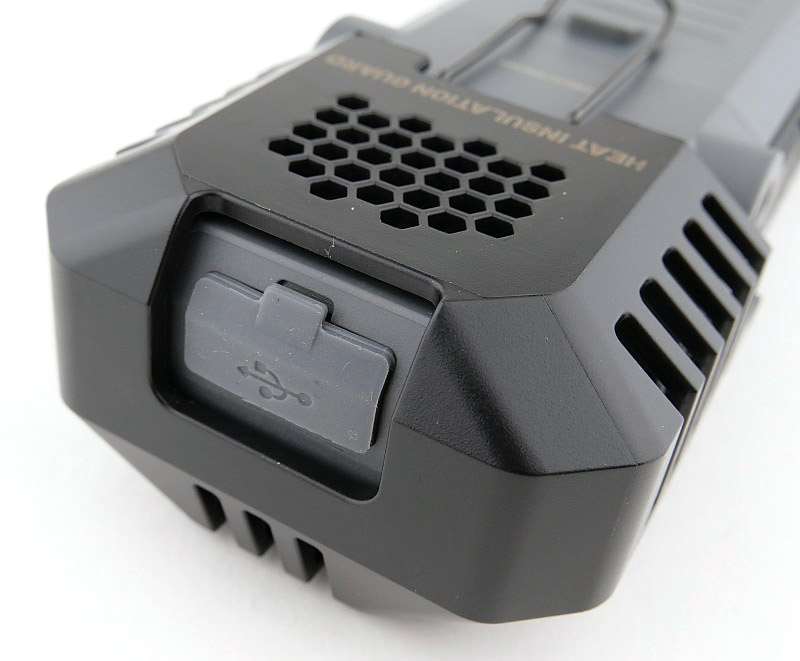
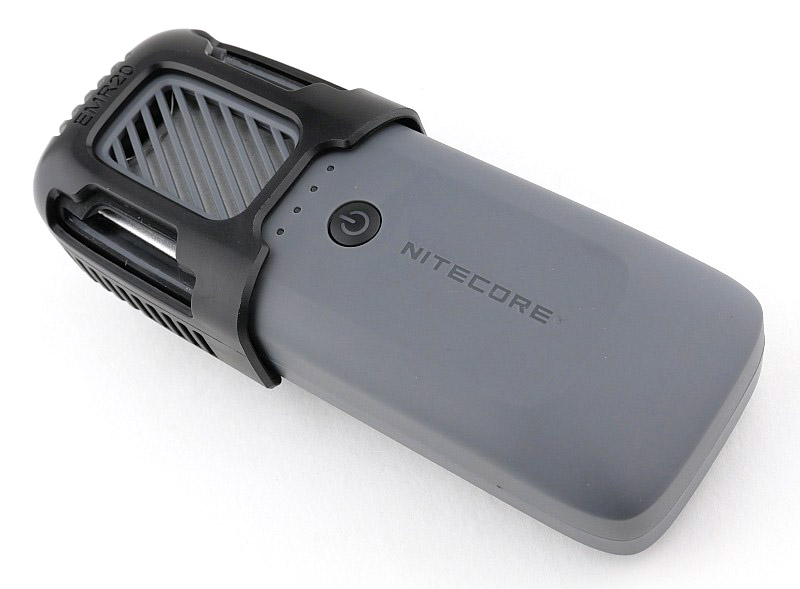
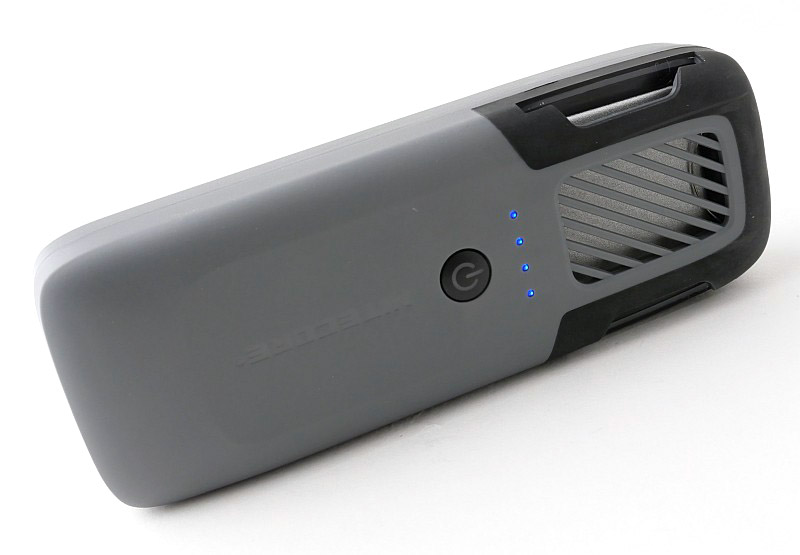
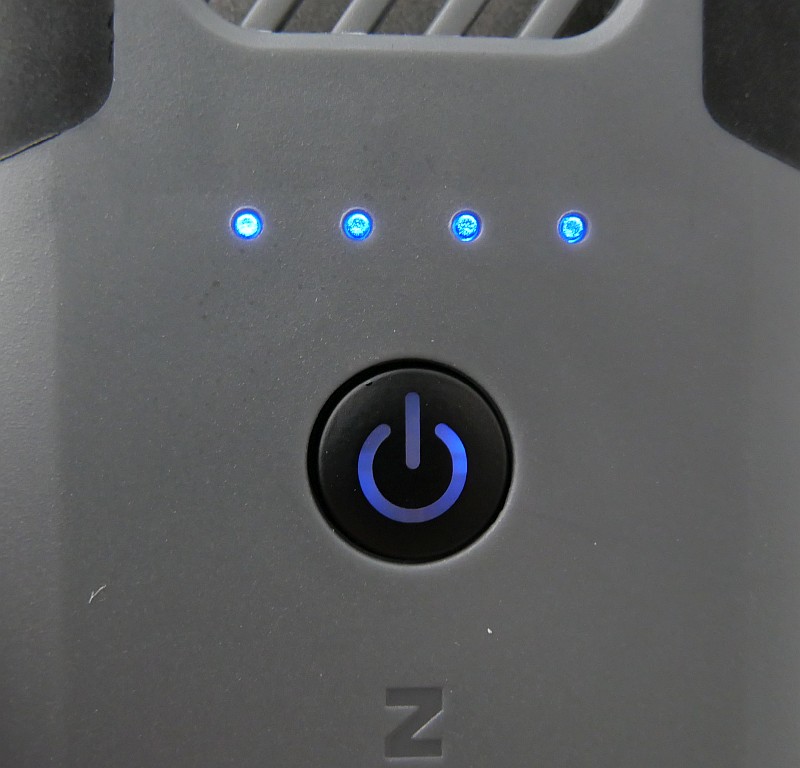
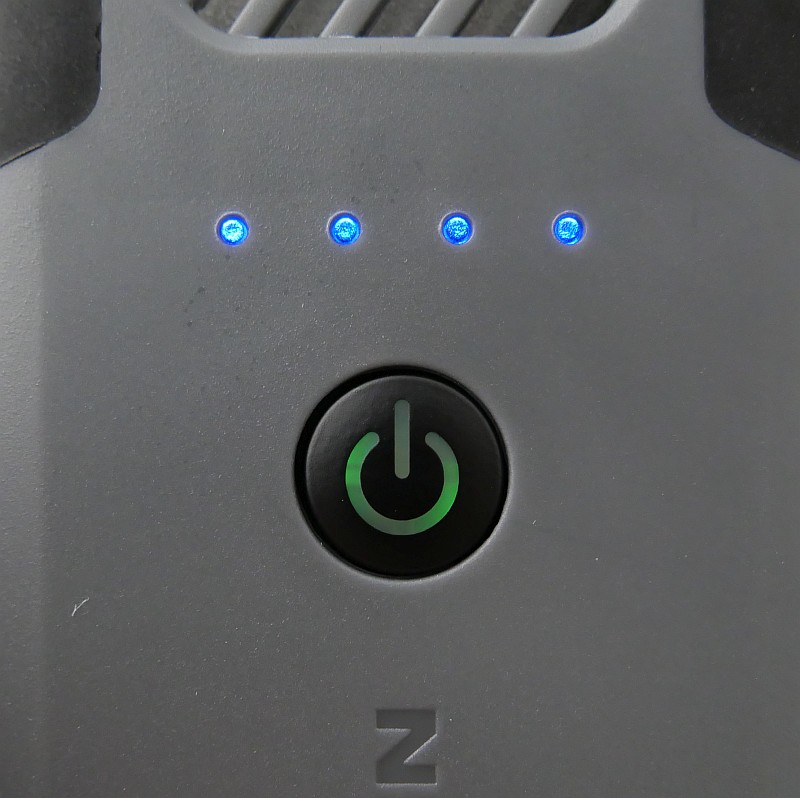
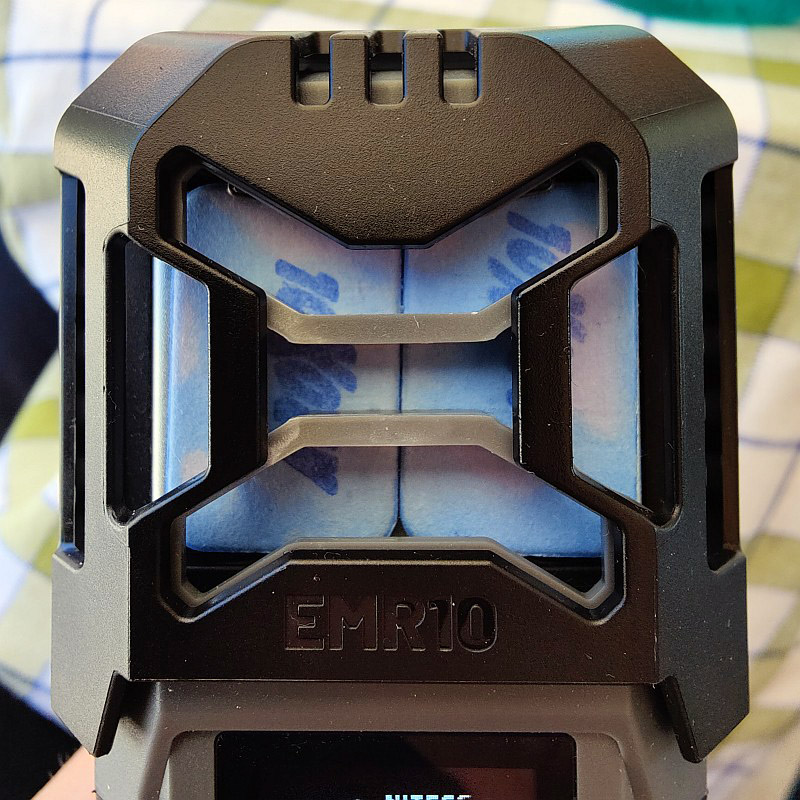
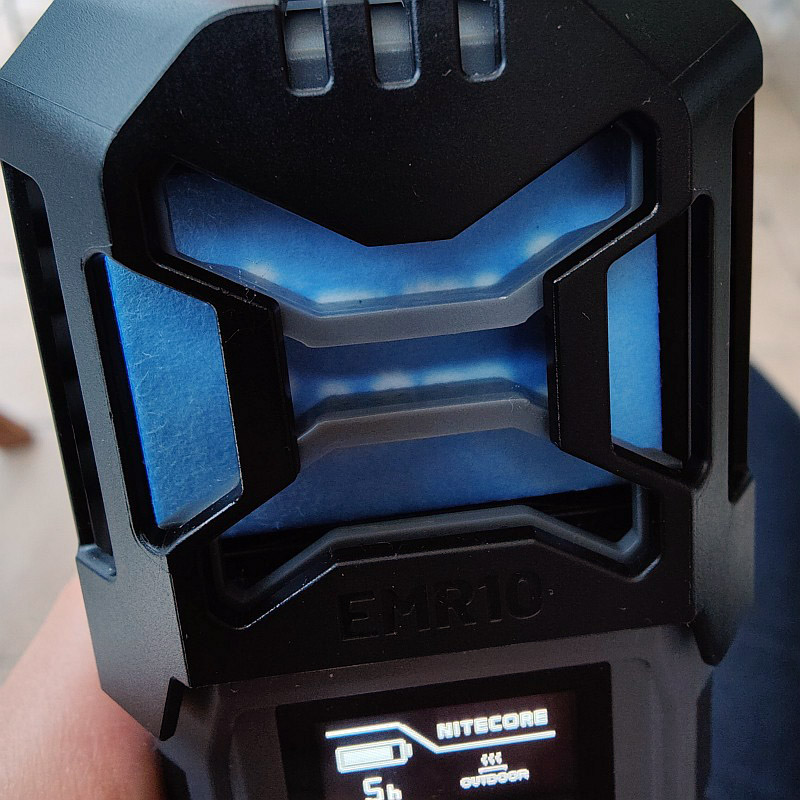
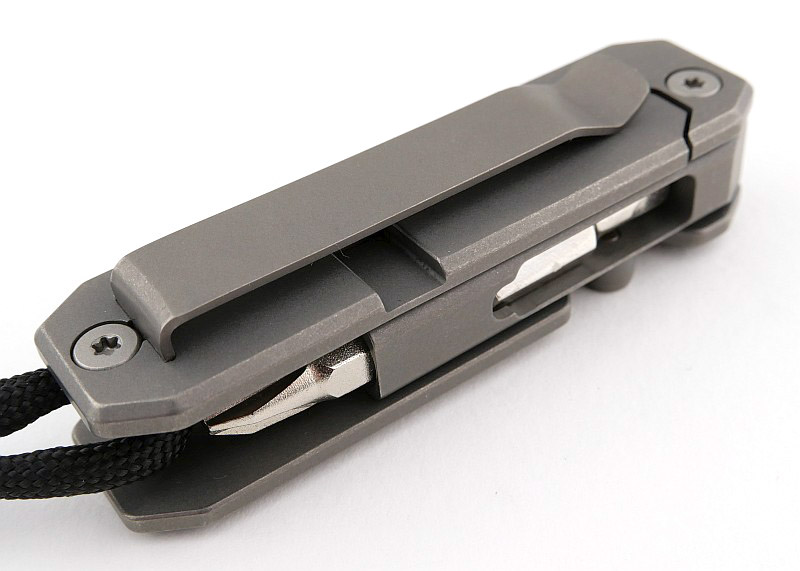
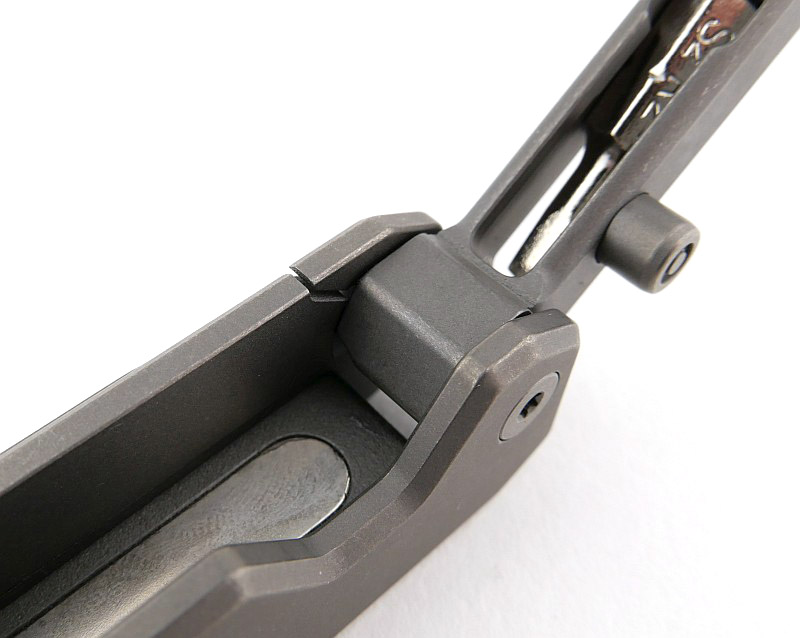
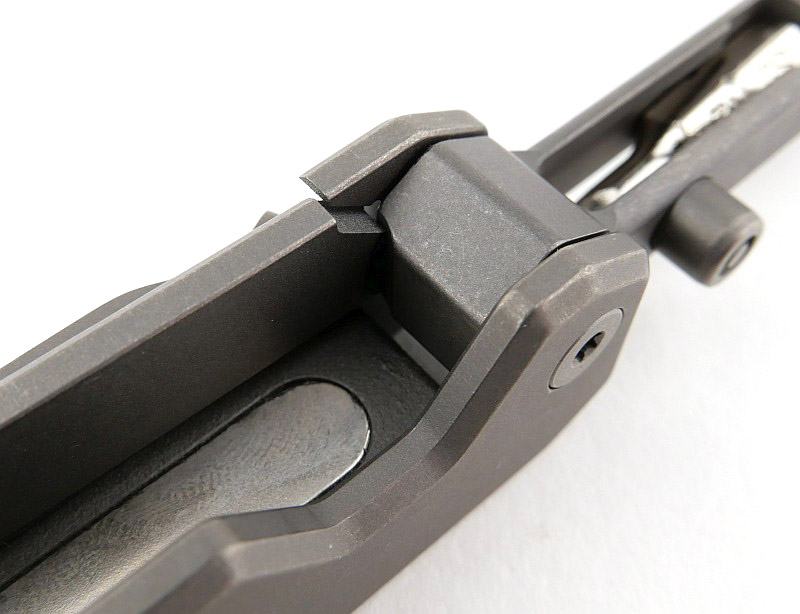
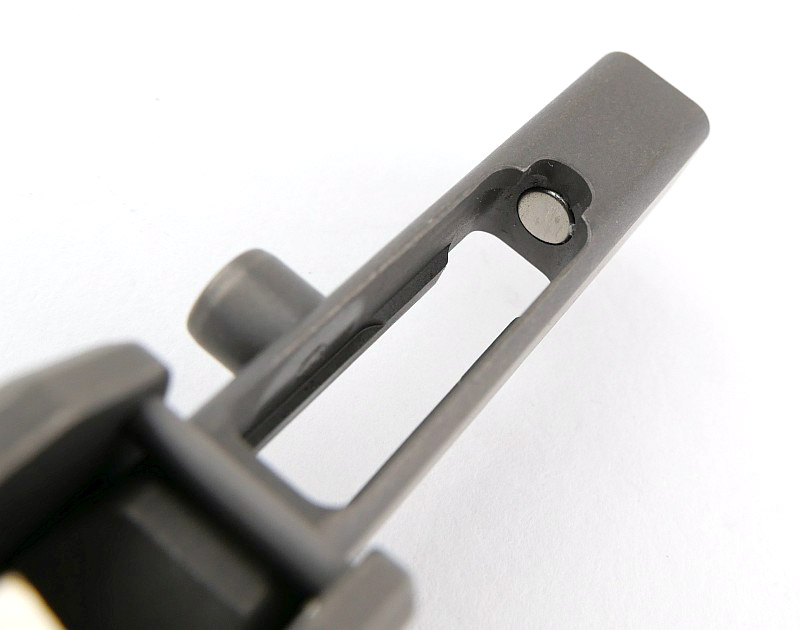
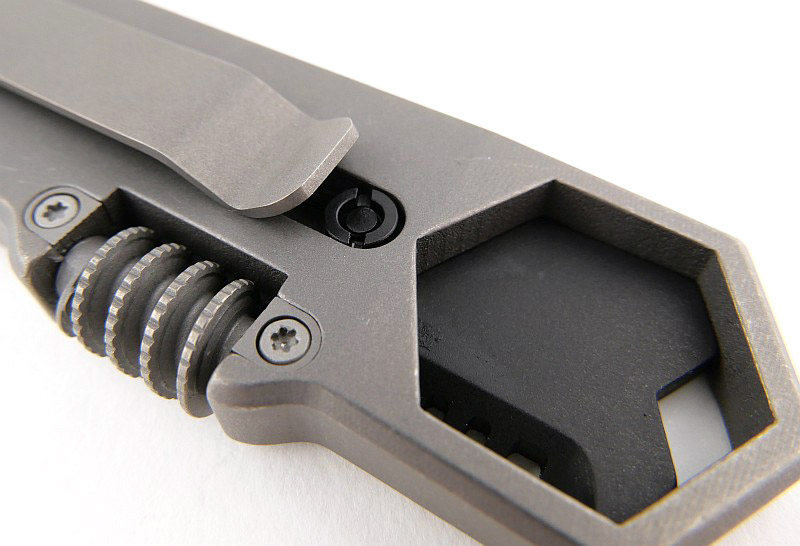
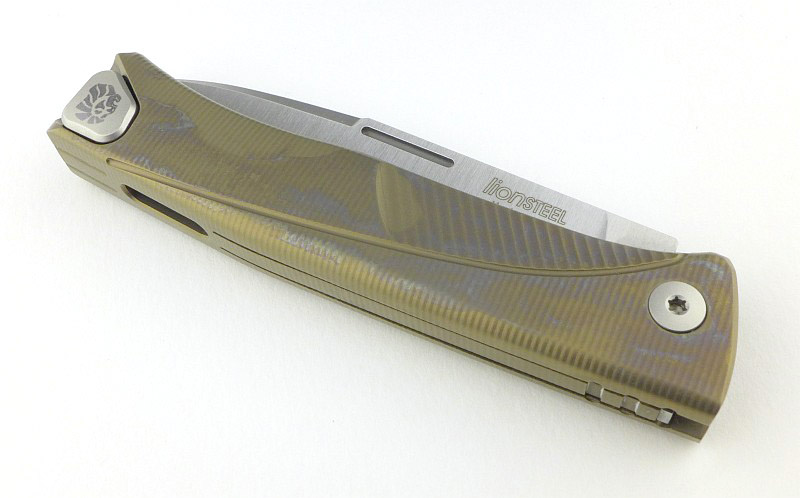
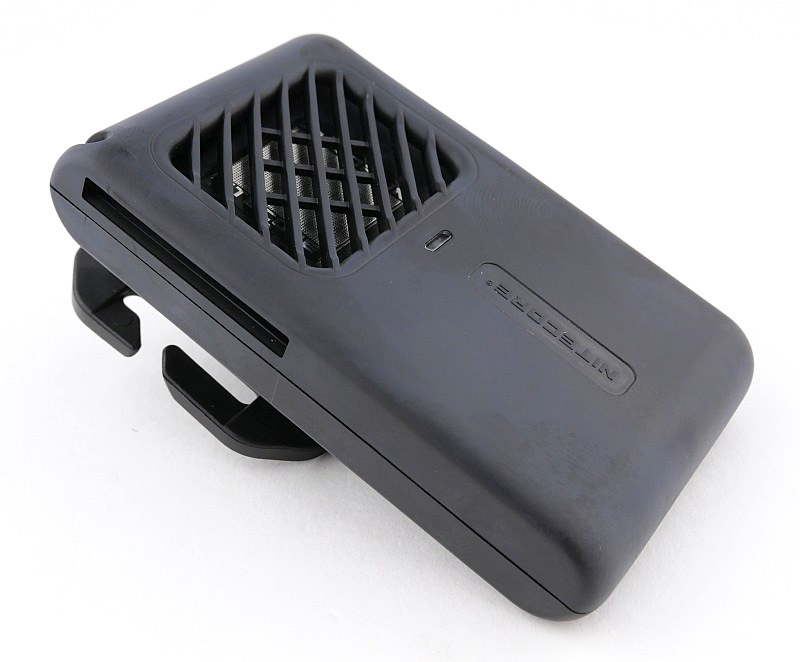
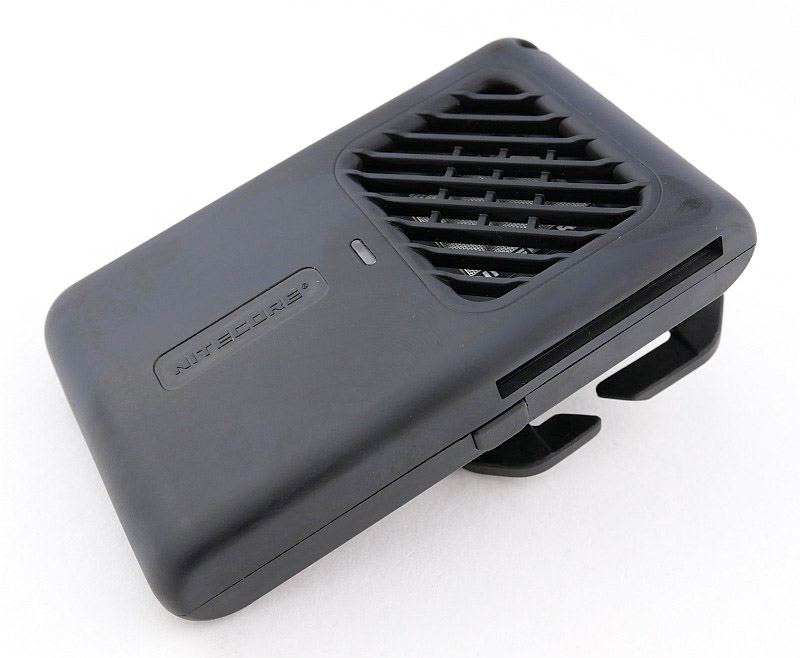
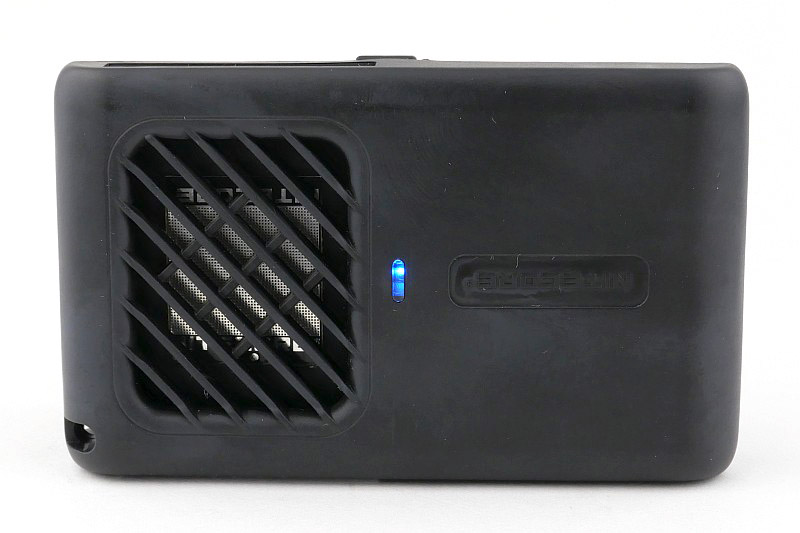
A good look round the EMR06 – Things to look out for here are:
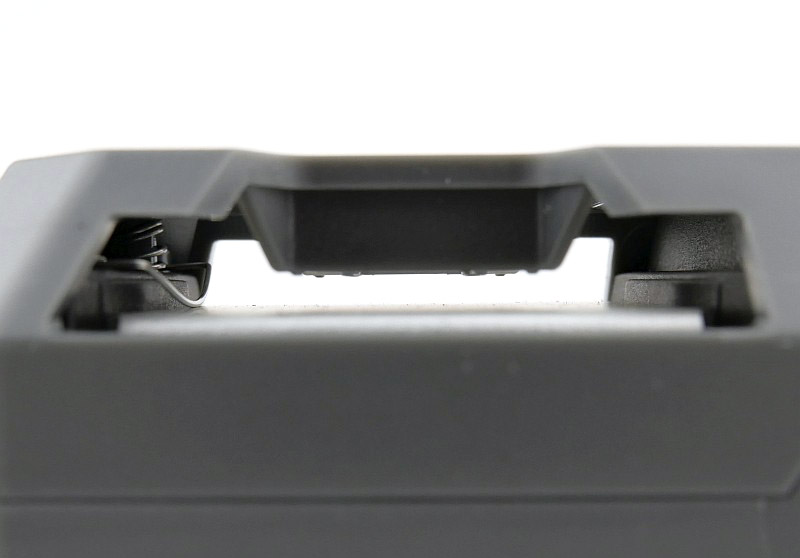
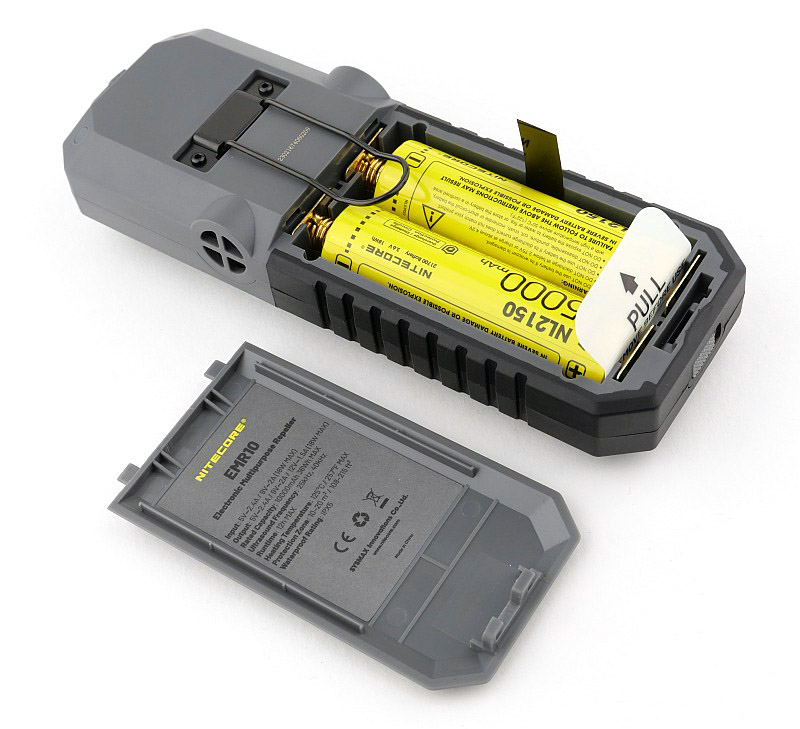
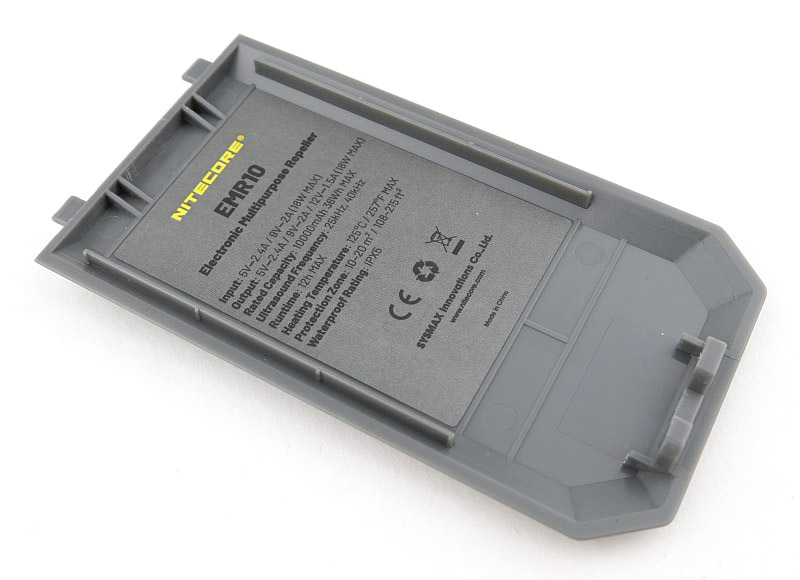
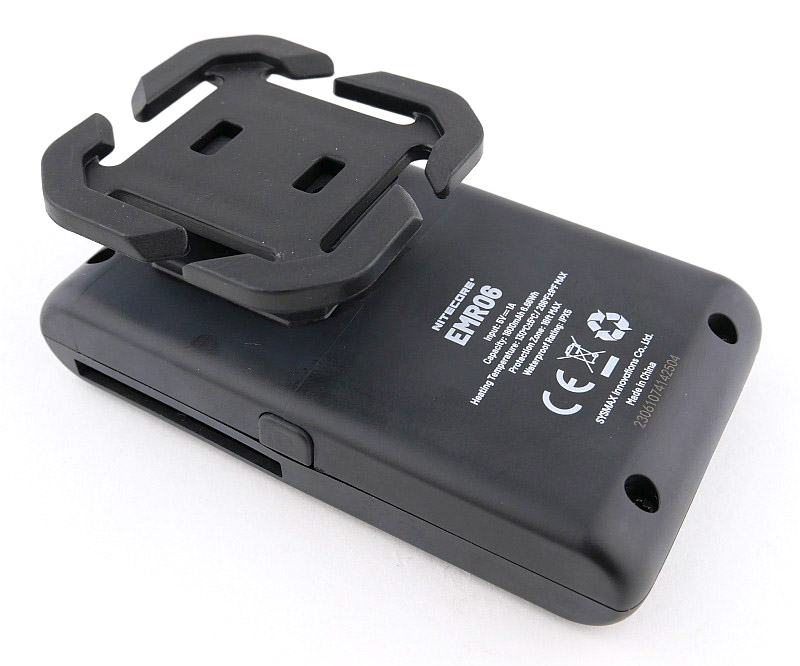
The EMR06 introduces a built-in battery while otherwise similarly keeping things to the bare minimum. A power switch, indicator light, the slot for the repellent mat, USB-C port for charging and a mounting system. Nitecore’s MOLLE mount system is the same here, so you can see the increased size of the EMR06, yet it is still very compact.


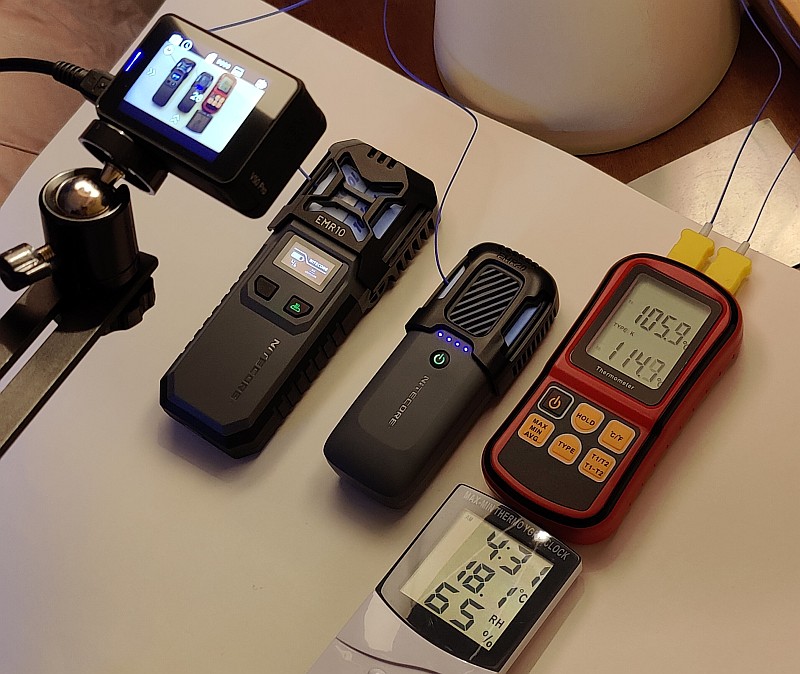
Technical Testing:
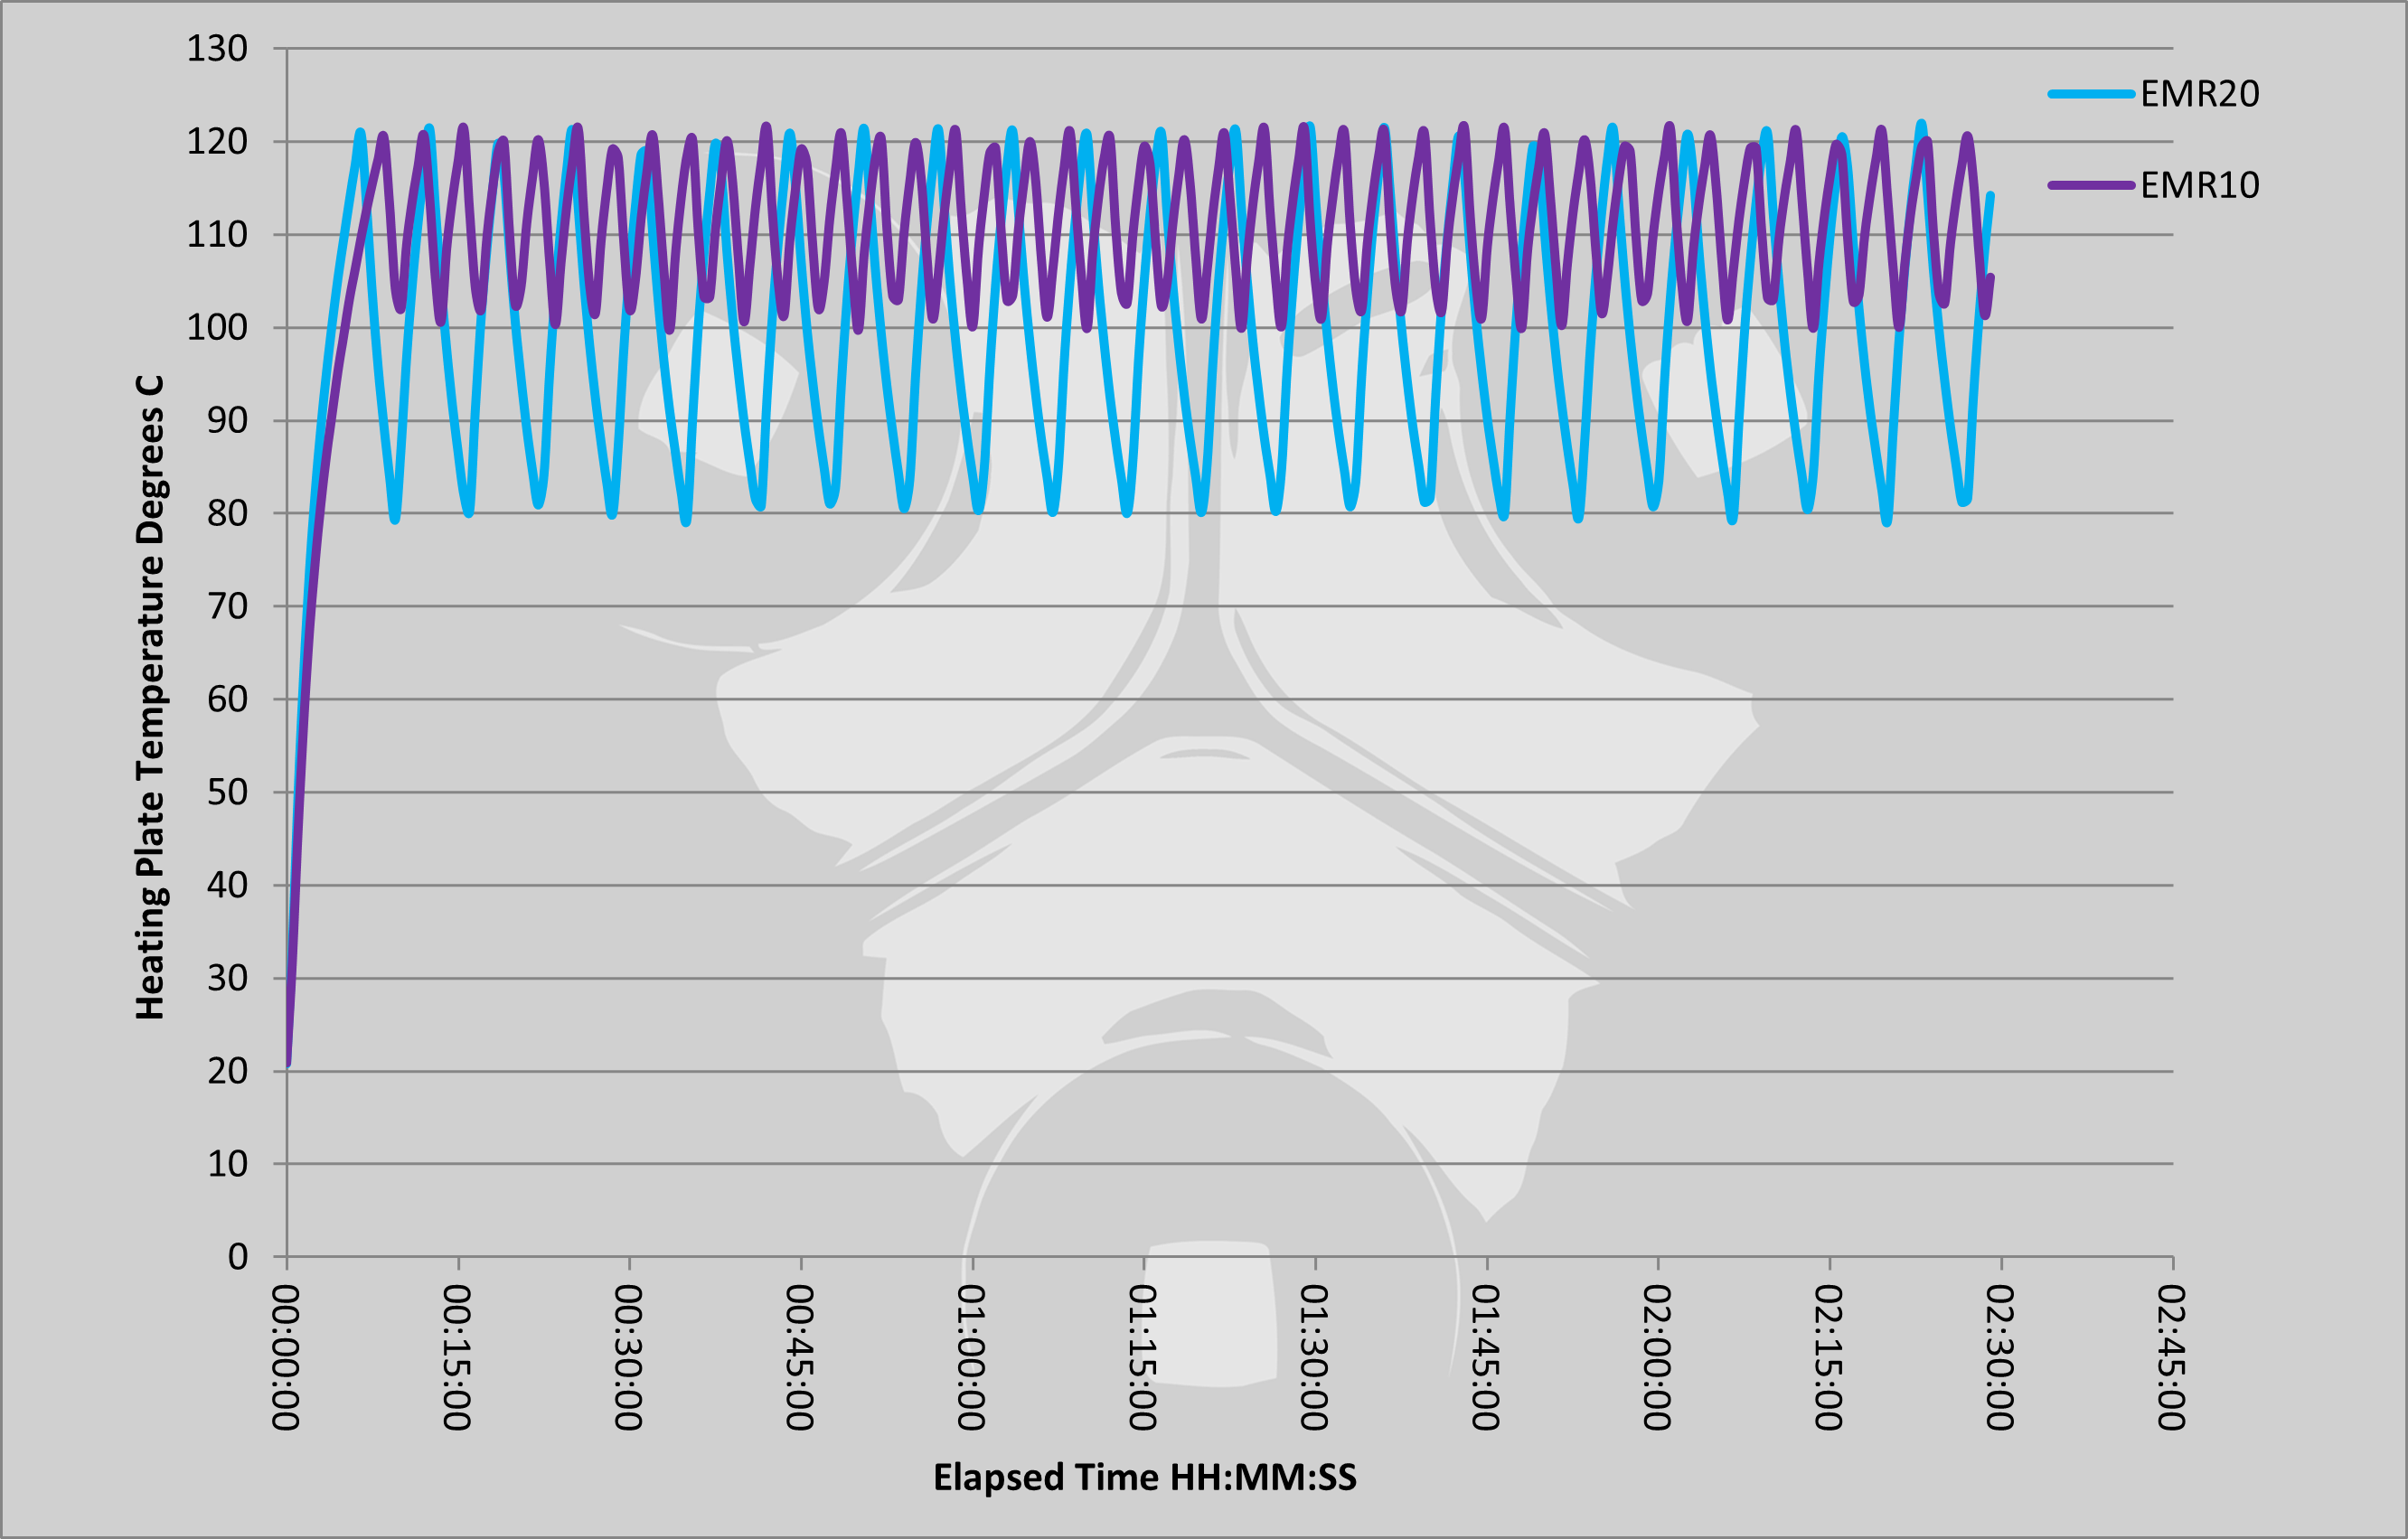
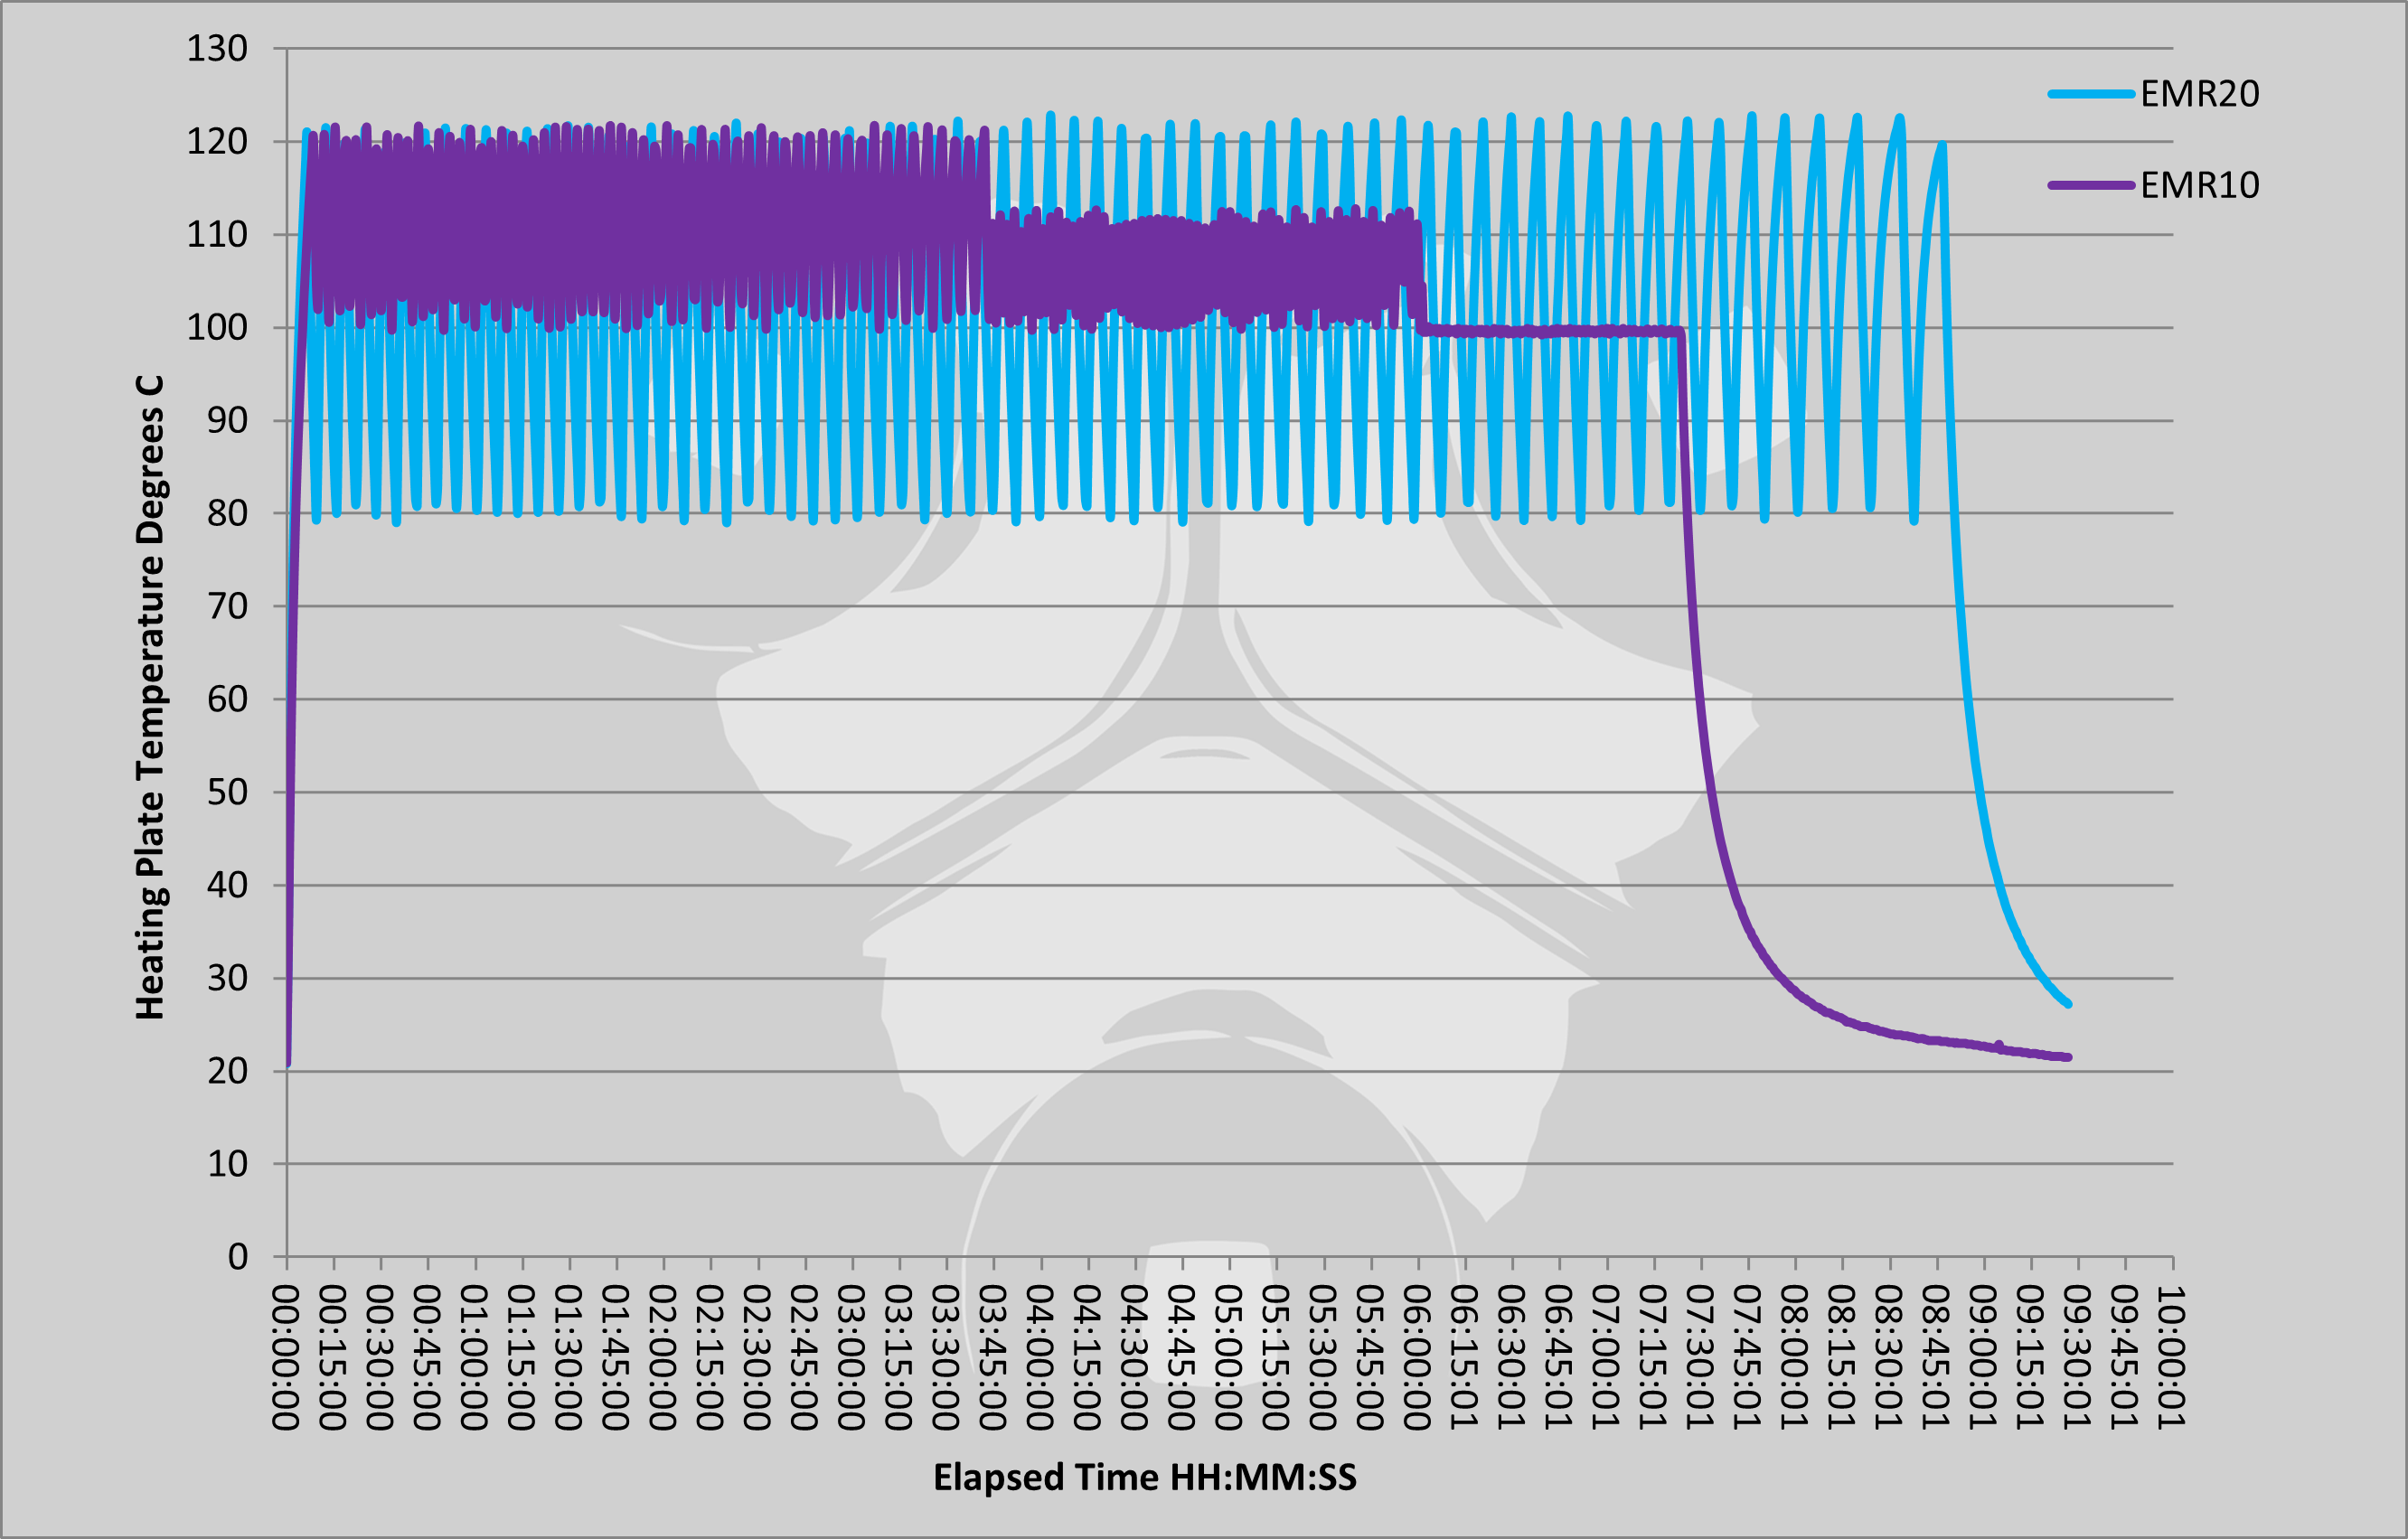
Both EMR units were setup with a modified repellent mat that held a thermocouple probe under it and positioned over the heating plate. This logged the temperature during the run.
Some notes on the graphs:
The EMR06 was logged first, then the EMR05. About halfway through the EMR06 measurement, my thermocouple data logger started to include a lot of noise from the optical USB PC link. When no logging was taking place the readings were consistent, but as soon as the logging was turned on the readings showed noise. So the second half of the EMR06 trace has noise, but if you ignore the noise on the trace you can see the underlying trend of temperature variation during the run. The behaviour of the EMR06 did change throughout the run.
For the EMR05, the noise is present for the entire run, but you can still clearly see a different temperature control profile to the EMR06.
Remember that the EMR05’s runtime depends on the input power source, so here is just stopped as there was enough run to see its behaviour.
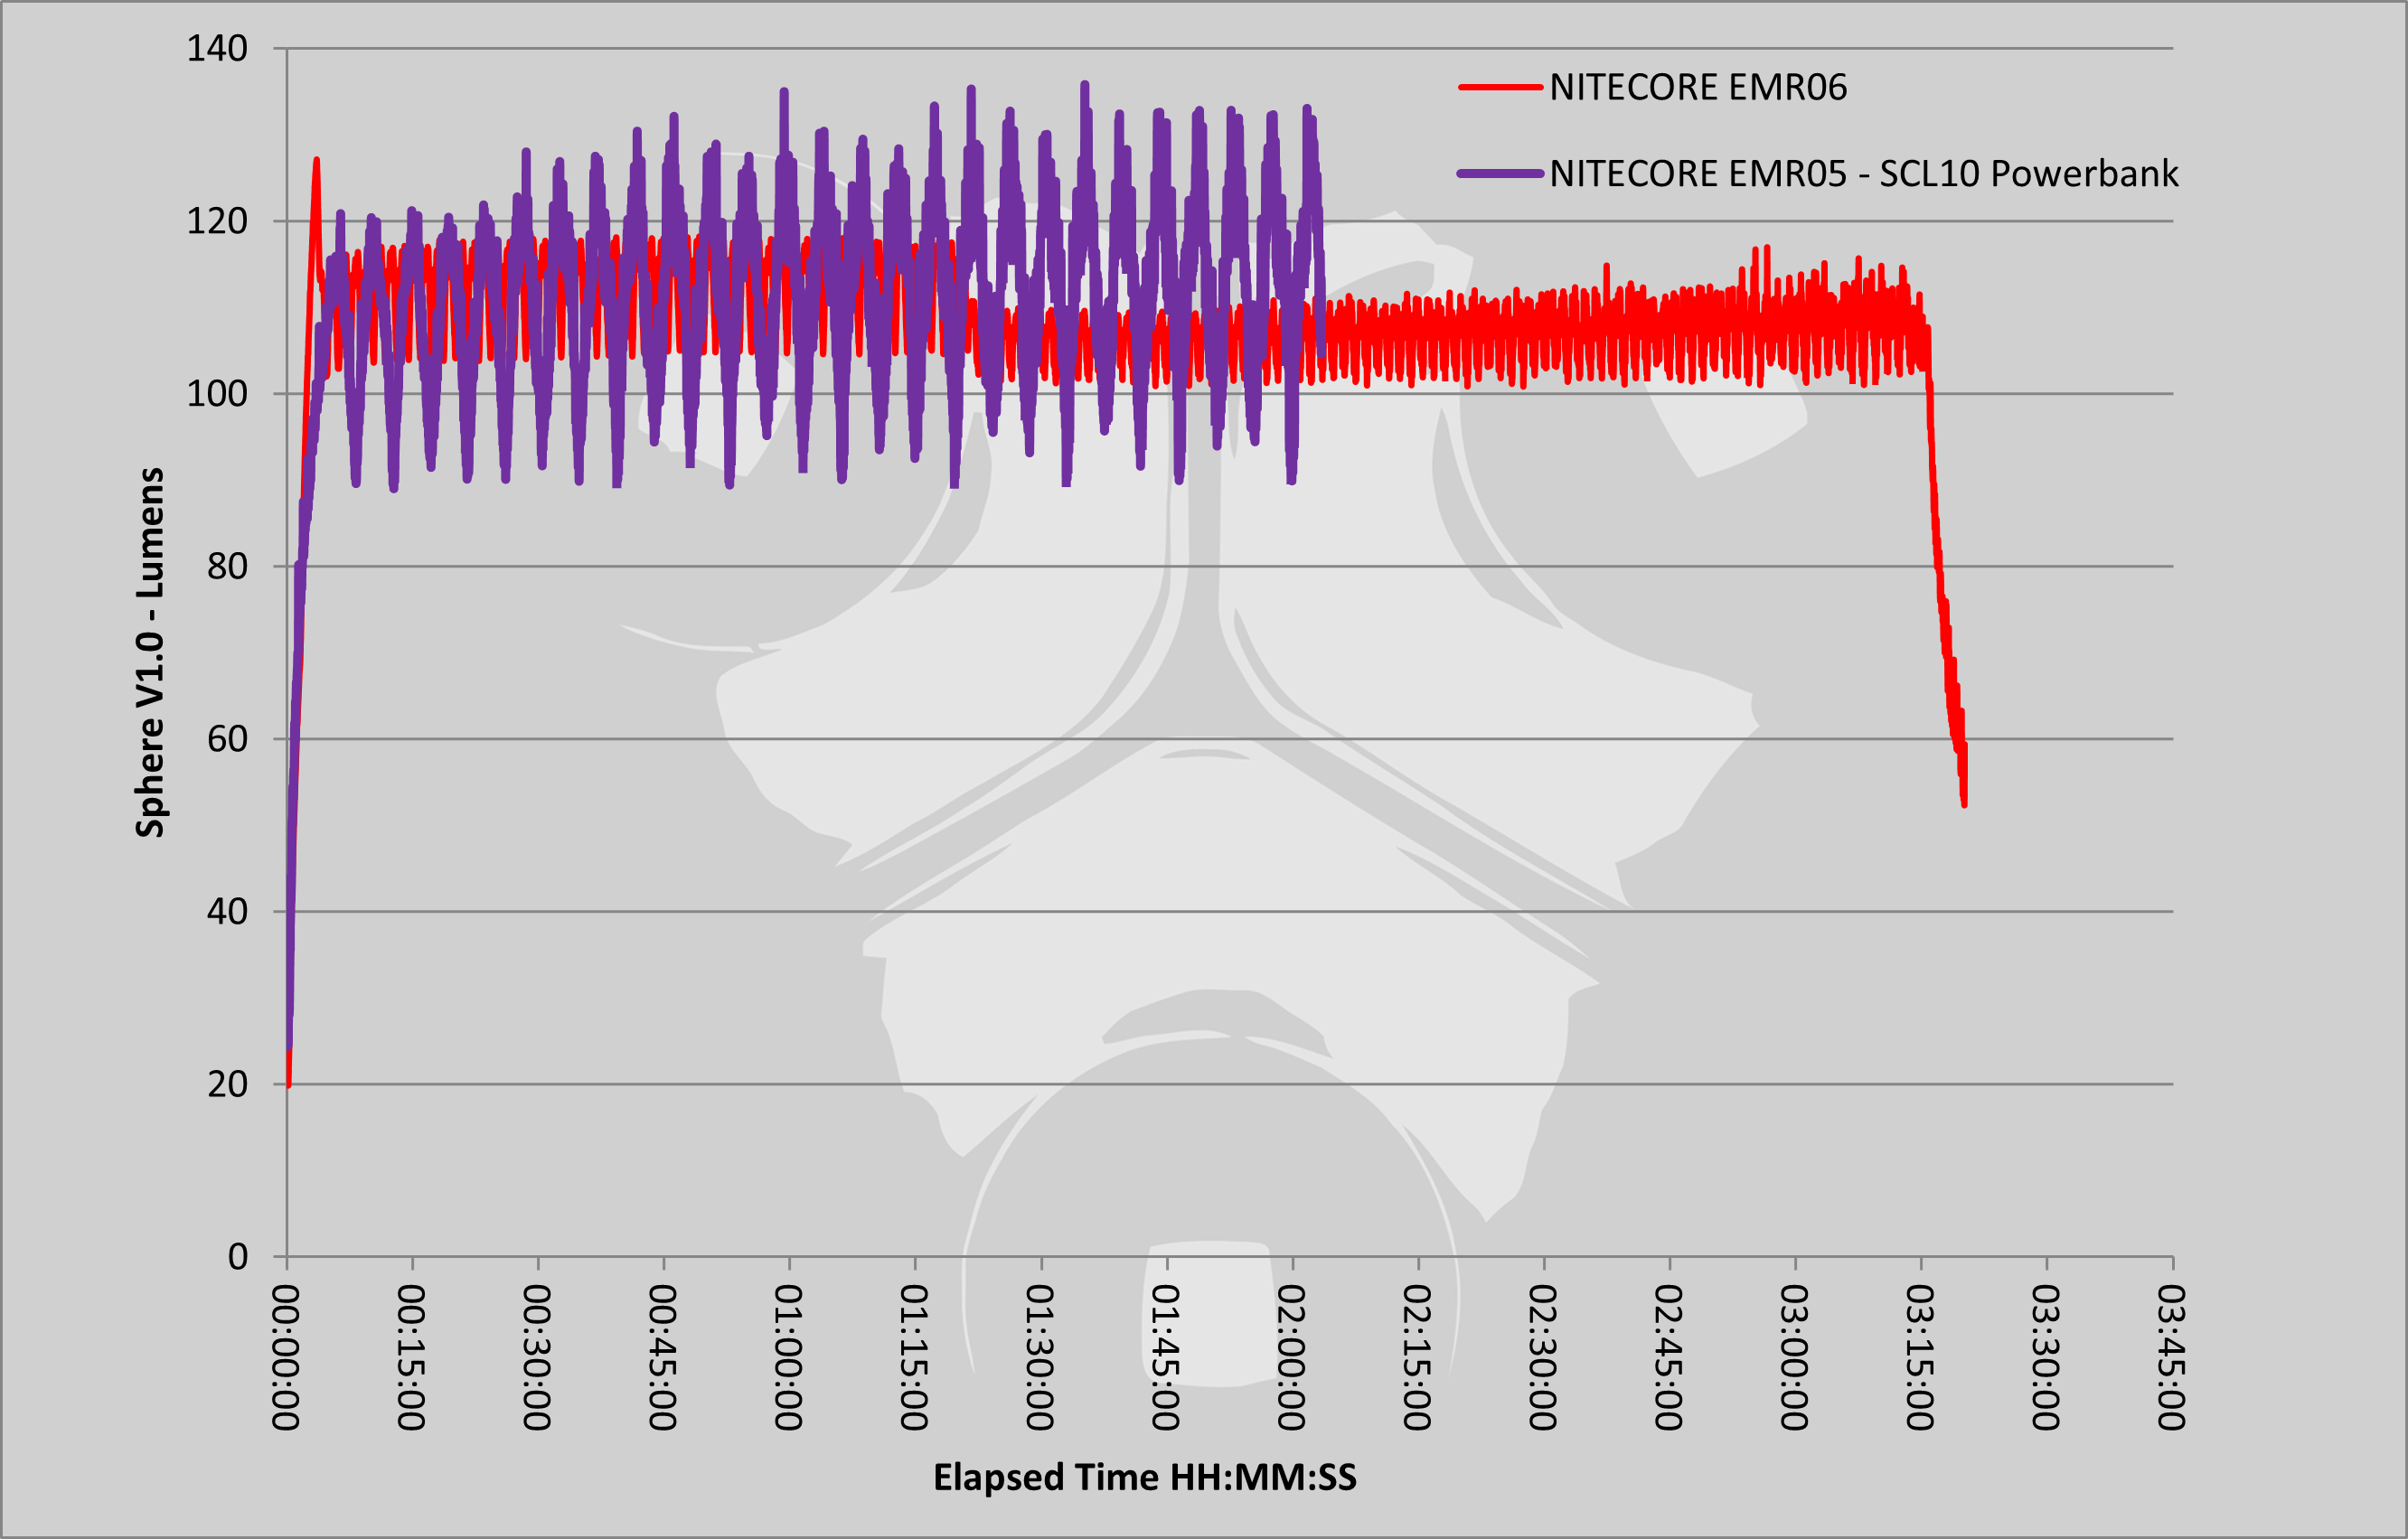
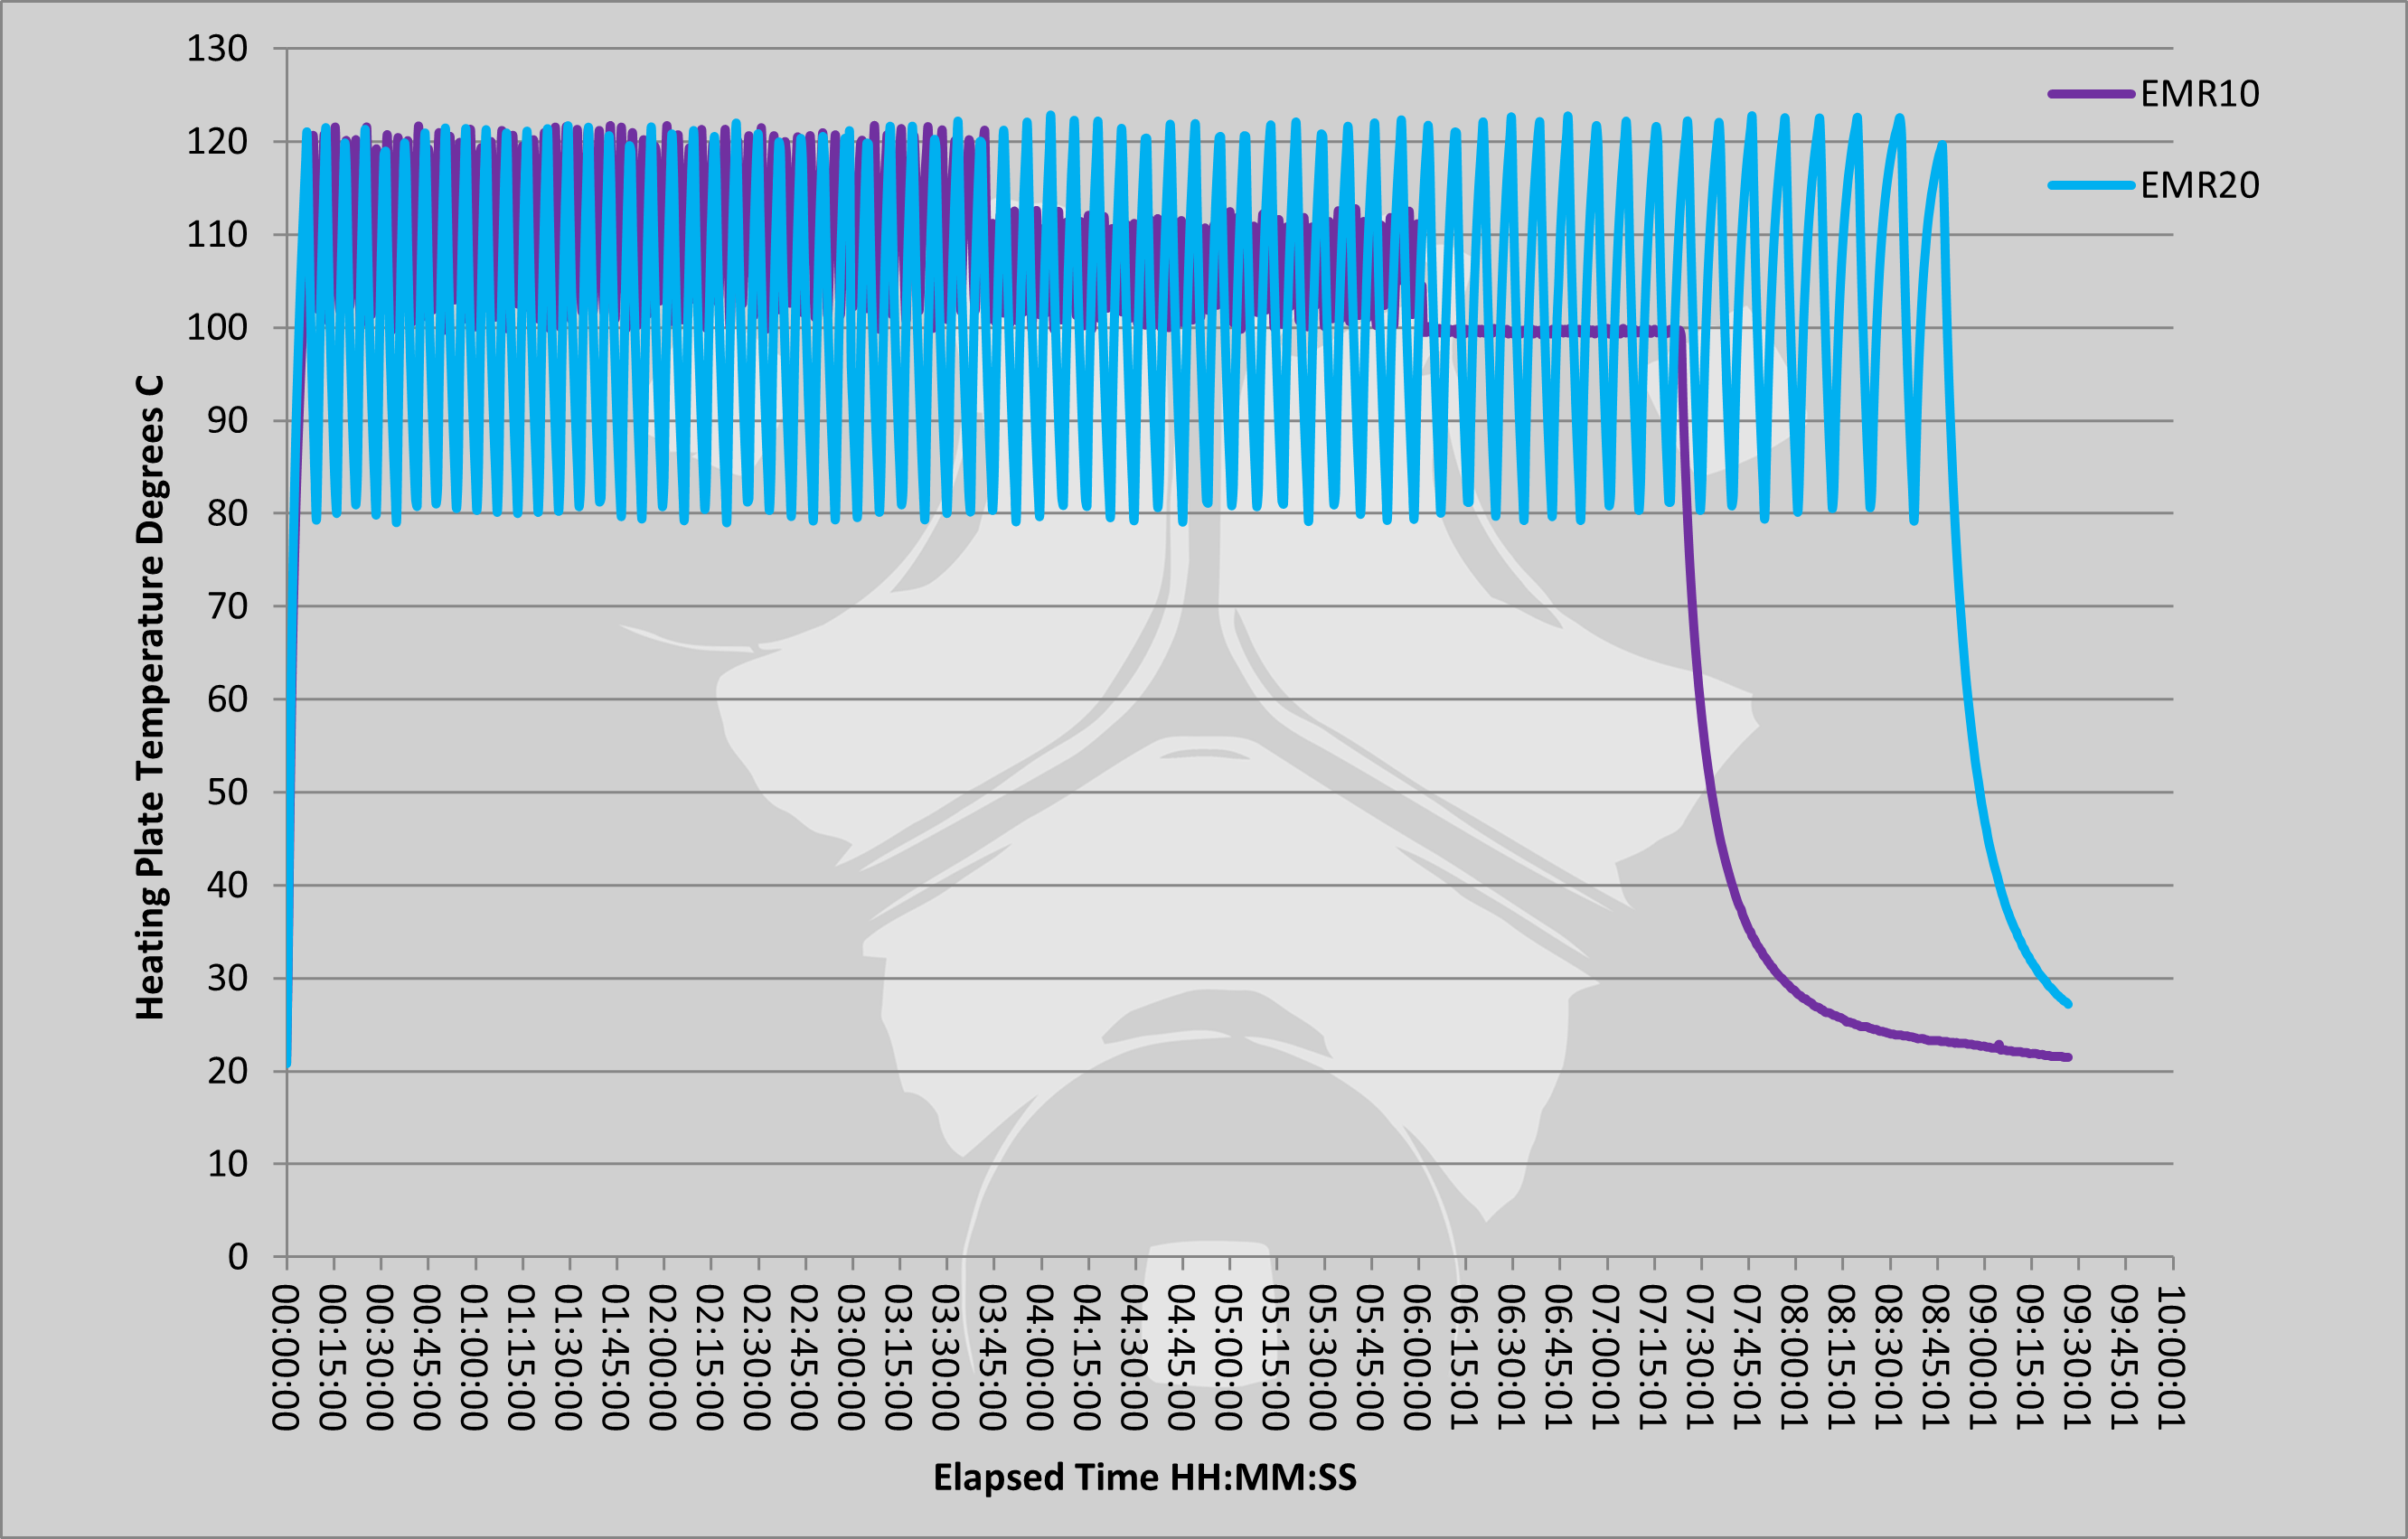
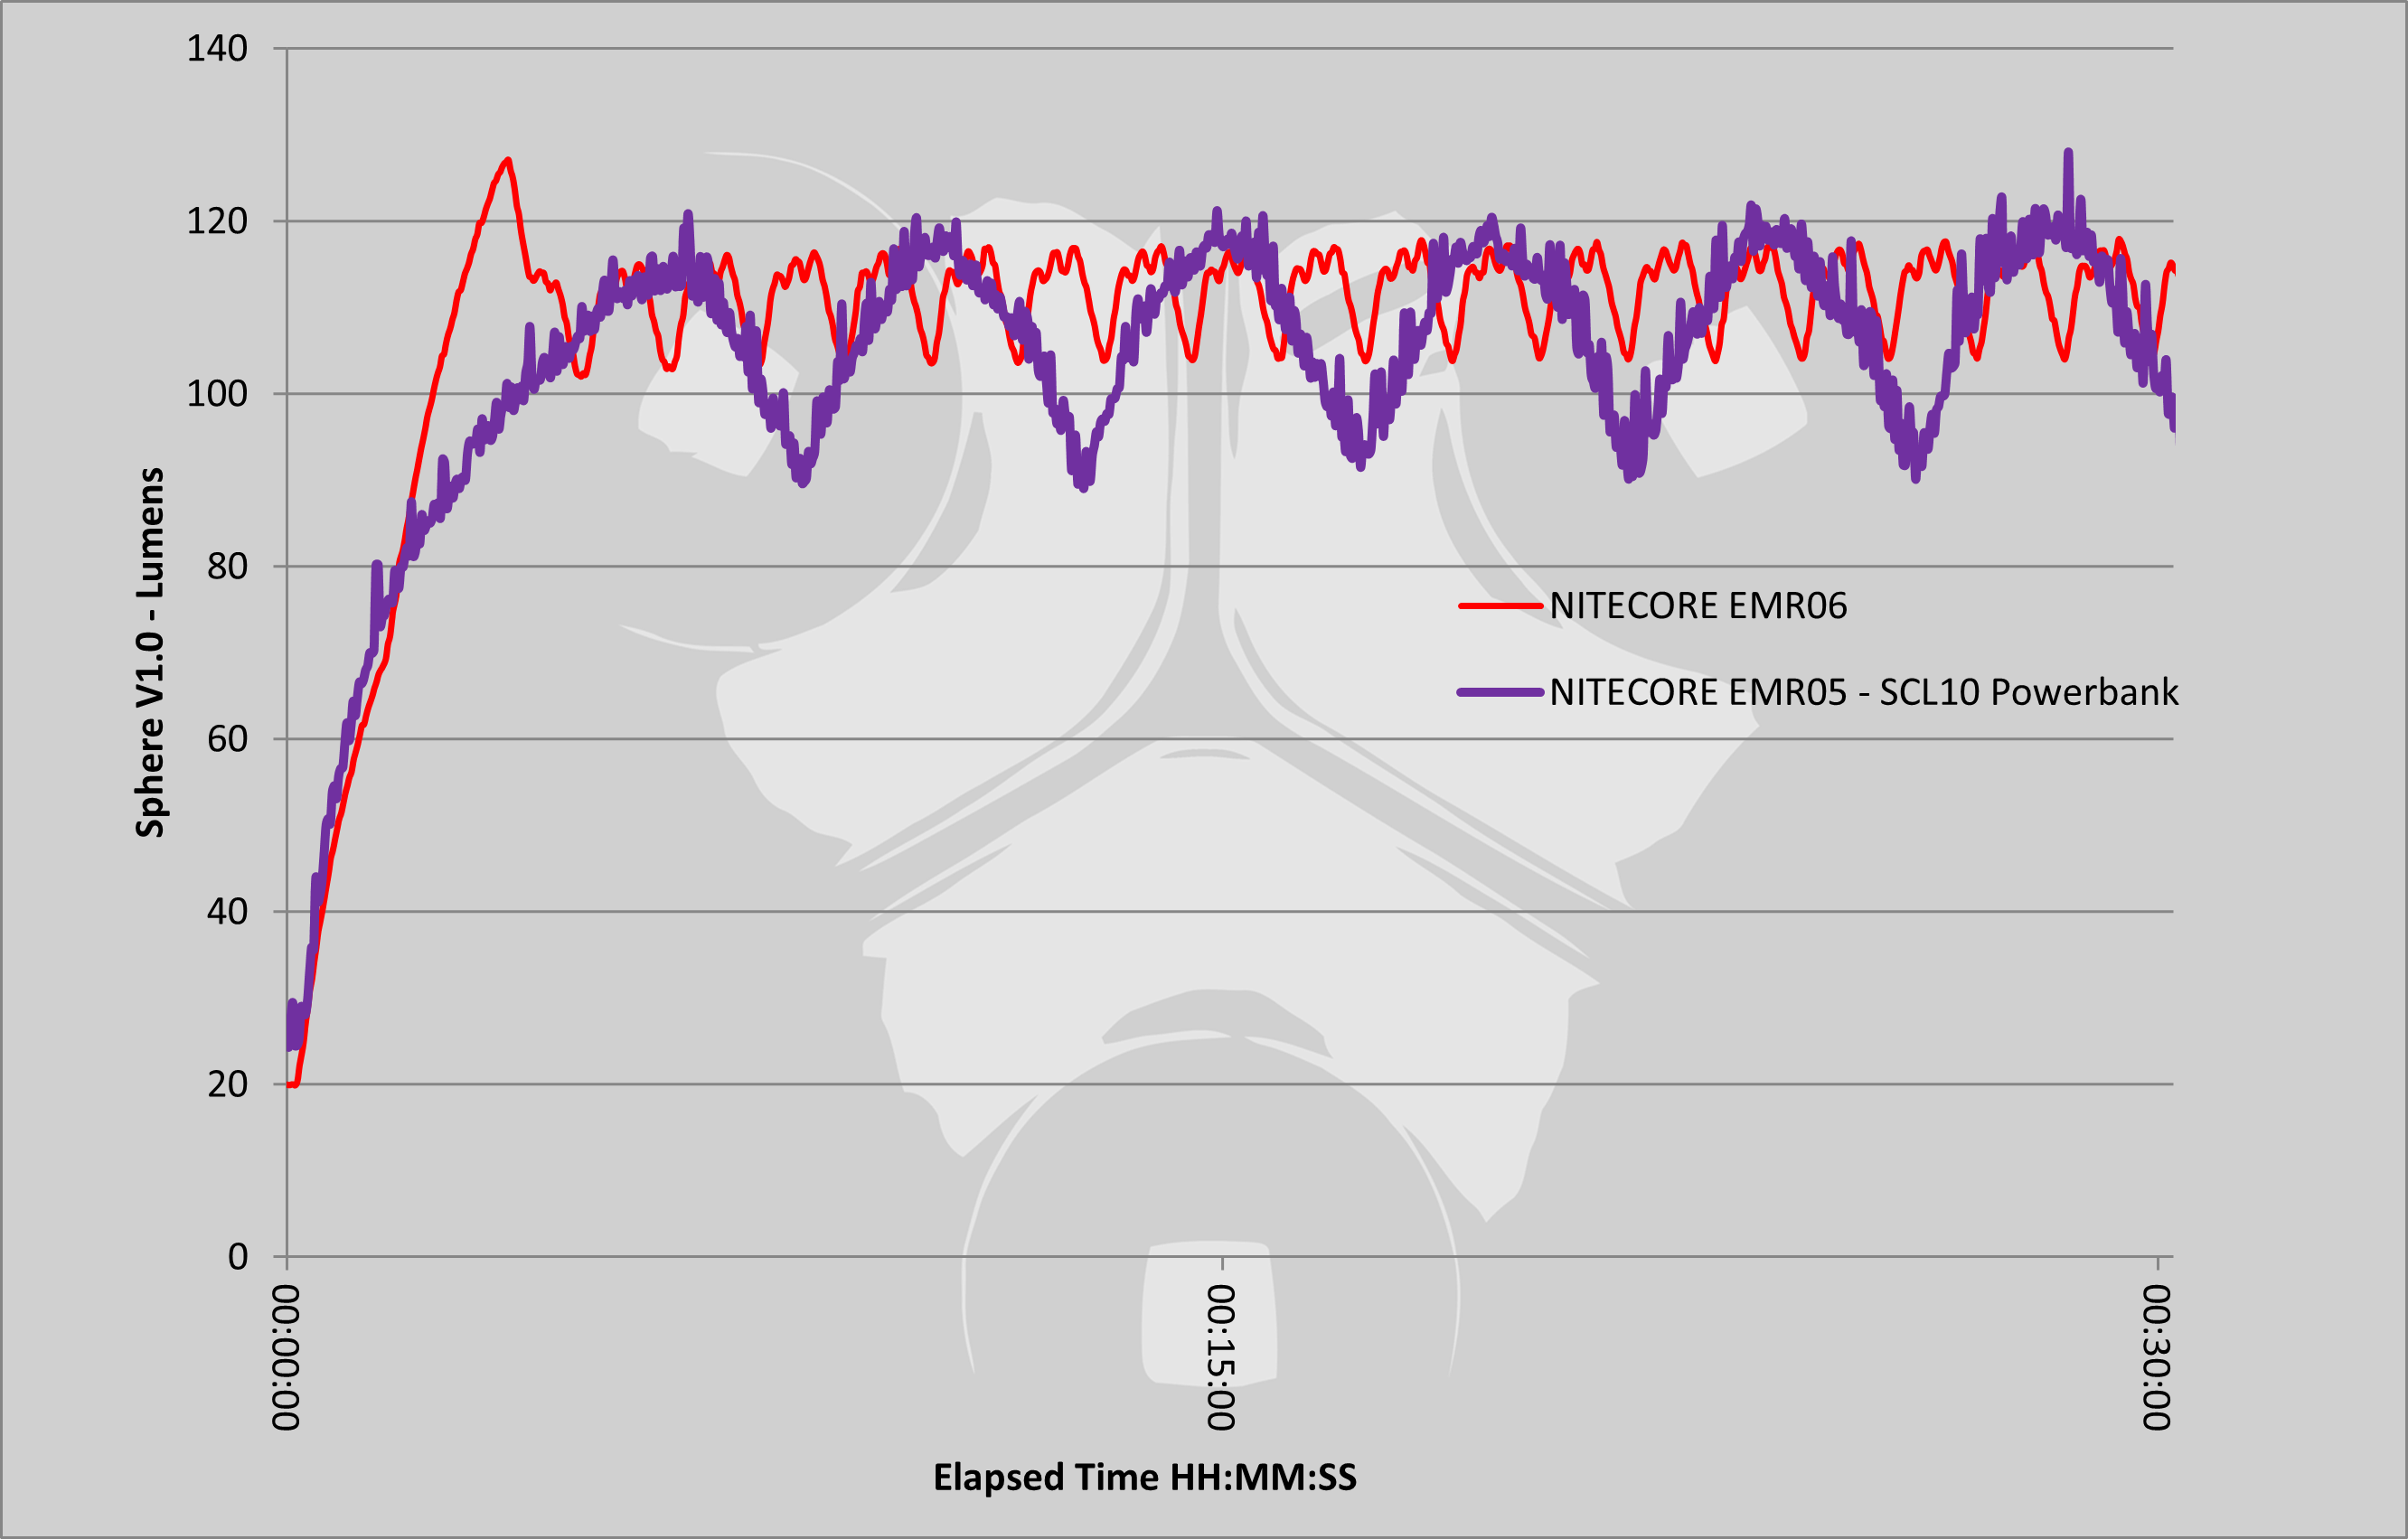
In the second graph the view is zoomed in for the first 30 minutes of the run to show the temperature control profile of each unit better.
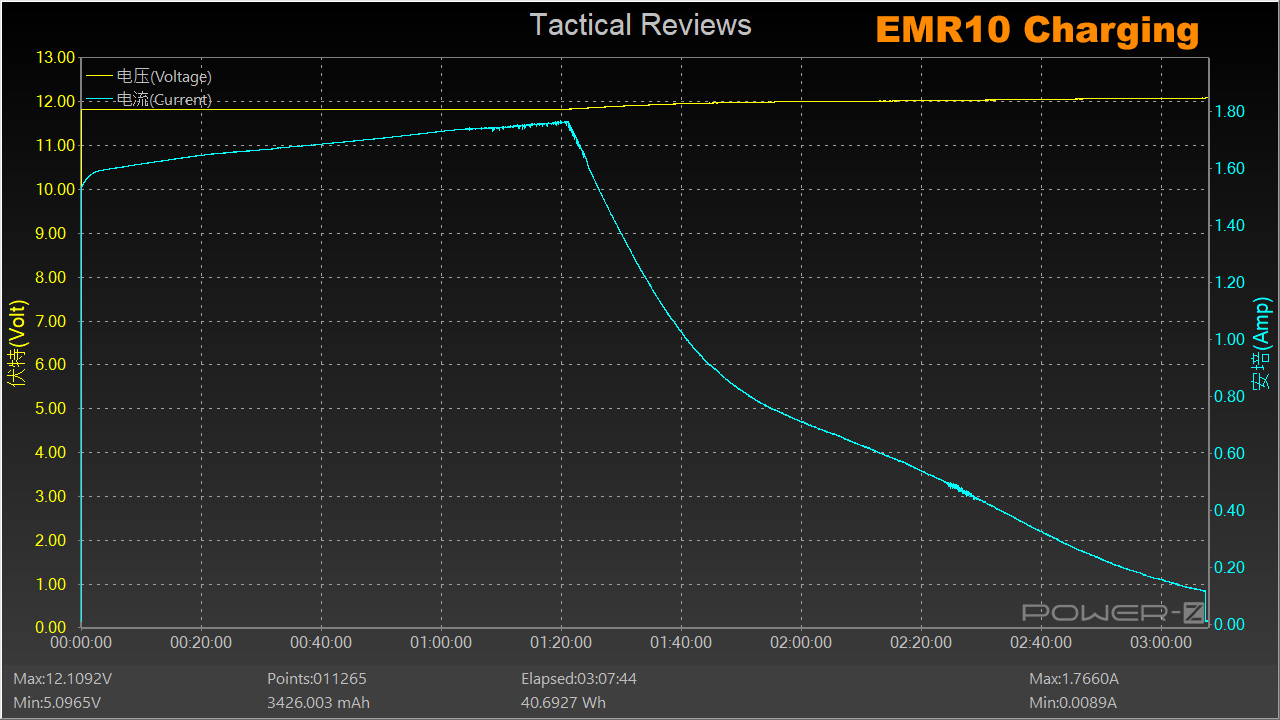
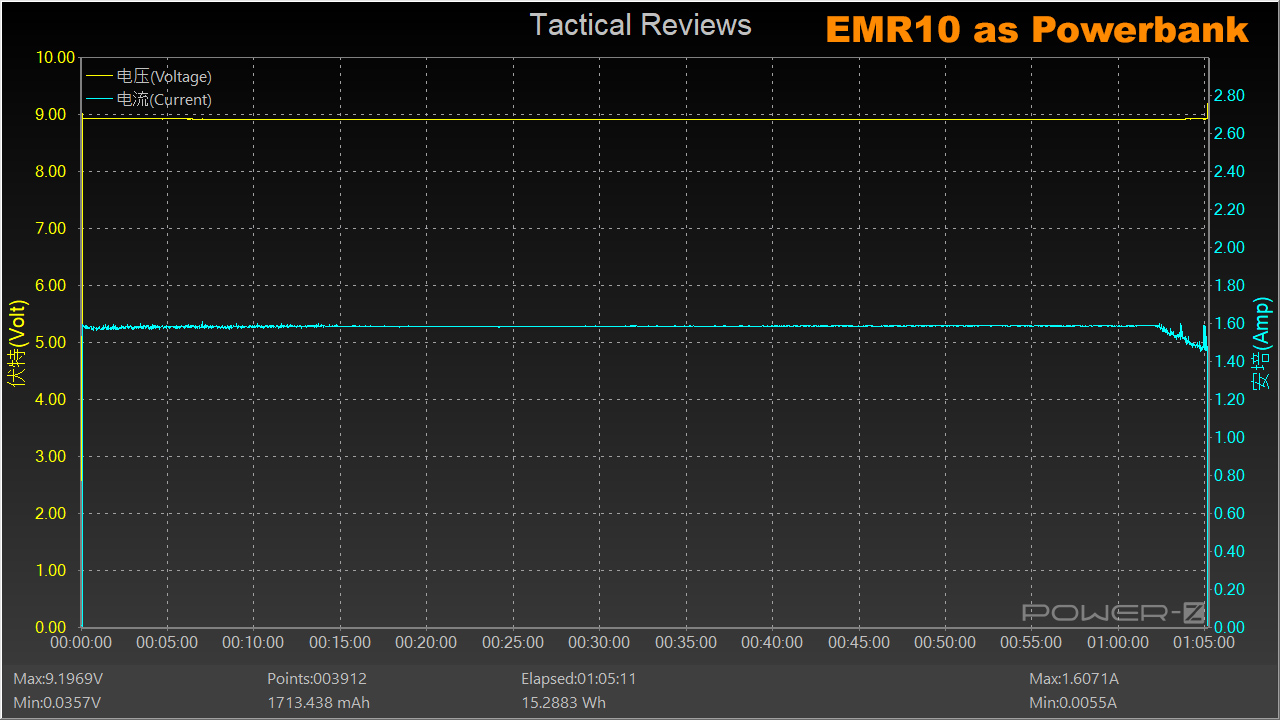
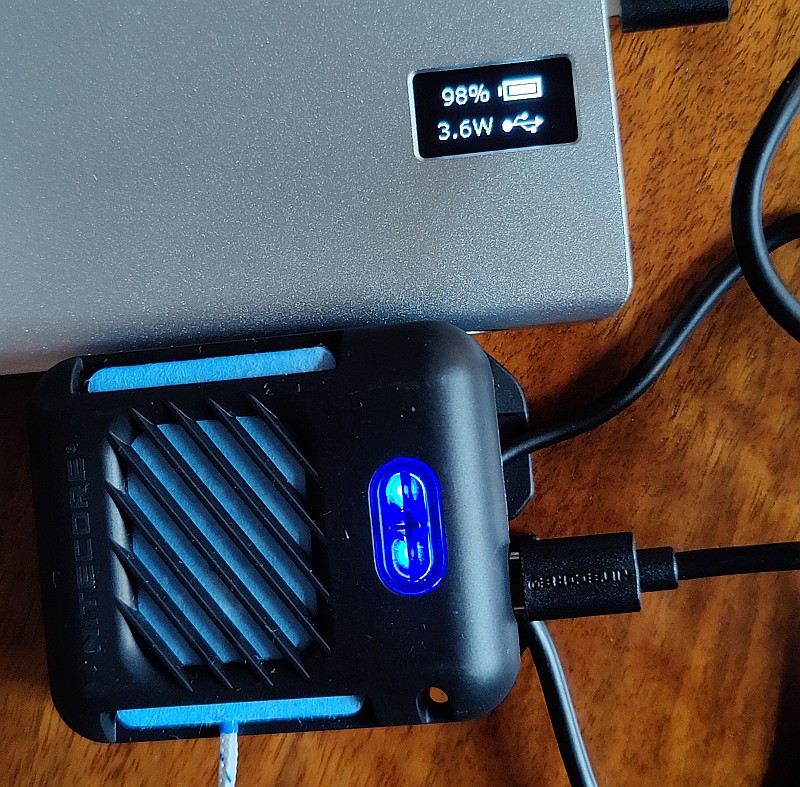
Also included in the section are the measurements of the operating current for the EMR05, and the charging current for the EMR06. The EMR05 is shown during the temperature logging measurements while drawing power from a Nitecore power bank, and with the thermocouple in place.
What it is like to use?
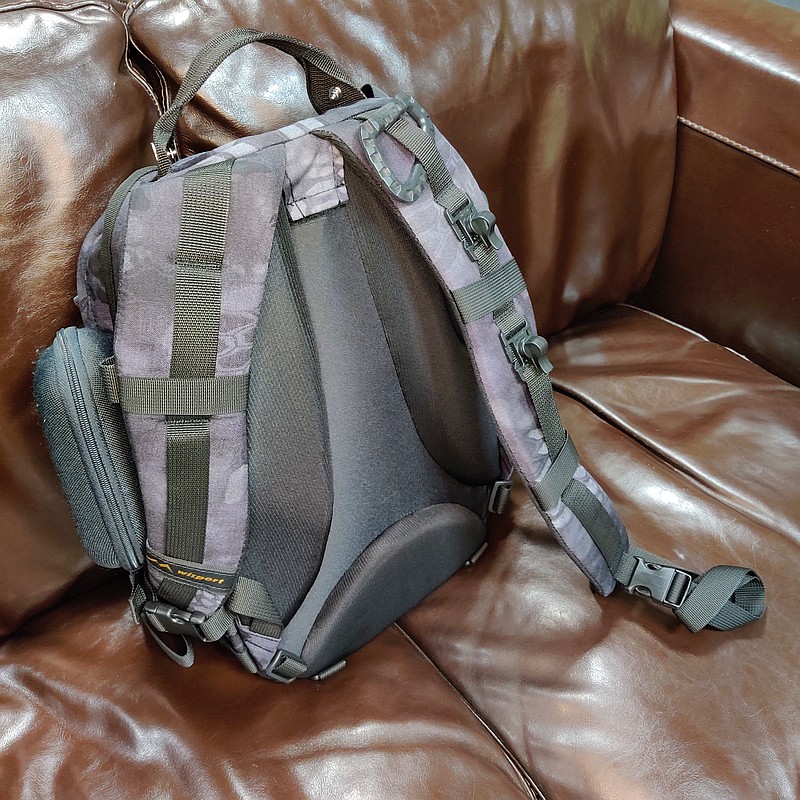
Compared to the previously reviewed EMR10 and EMR20, these two units are so small and light, why wouldn’t you carry them? Clipped to your bag, you don’t even notice you are carrying them.
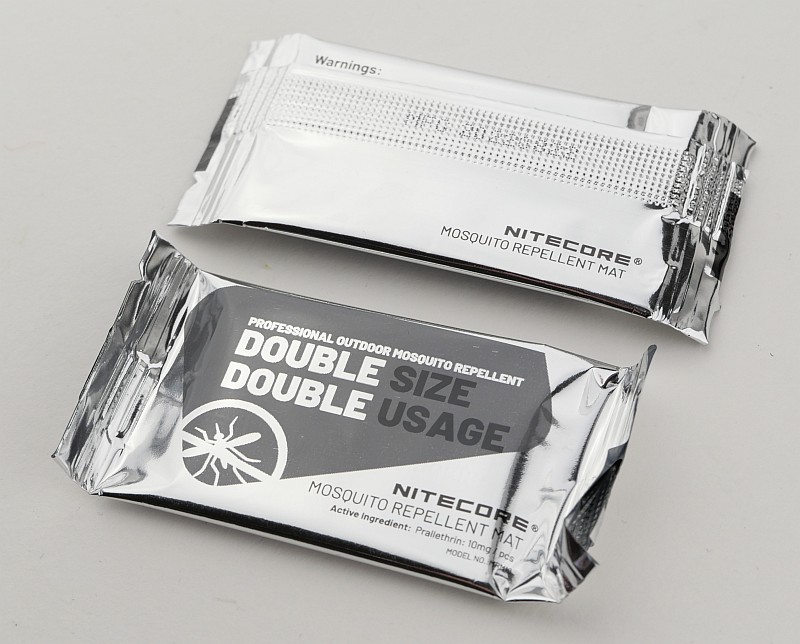
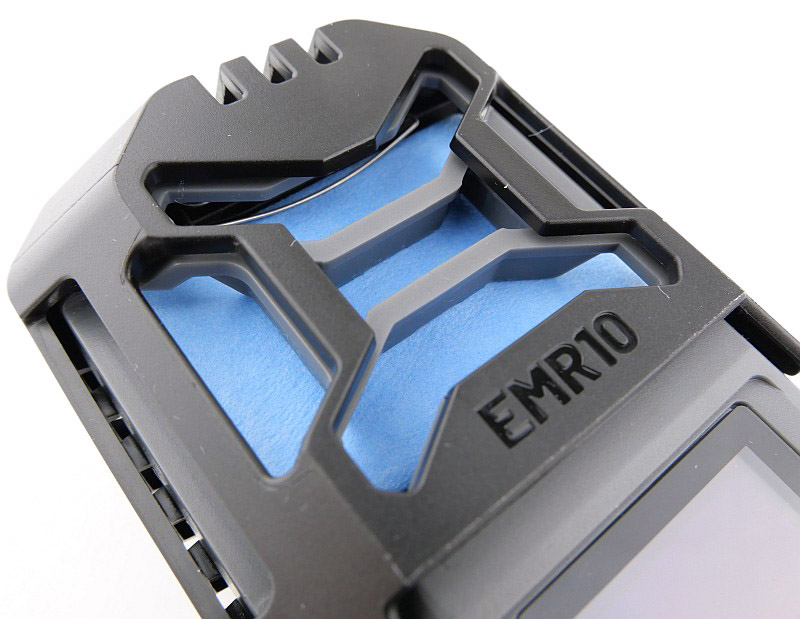
Nitecore make and supply double size repellent mats. This is clearly the easiest way to load up the EMR05 and EMR06. It is possible to use two standard size mats instead giving you more flexibility.
The EMR05 needs a power bank to run from. It is highly likely you would be carrying you power bank of choice anyway, for charging various items, so with the EMR05, you can just run this from any power bank you happen to have, or a plug-in charger if you are in a hotel. I’m carrying the Nitecore SCL10 power bank as it is (amazingly) also a superb video light.
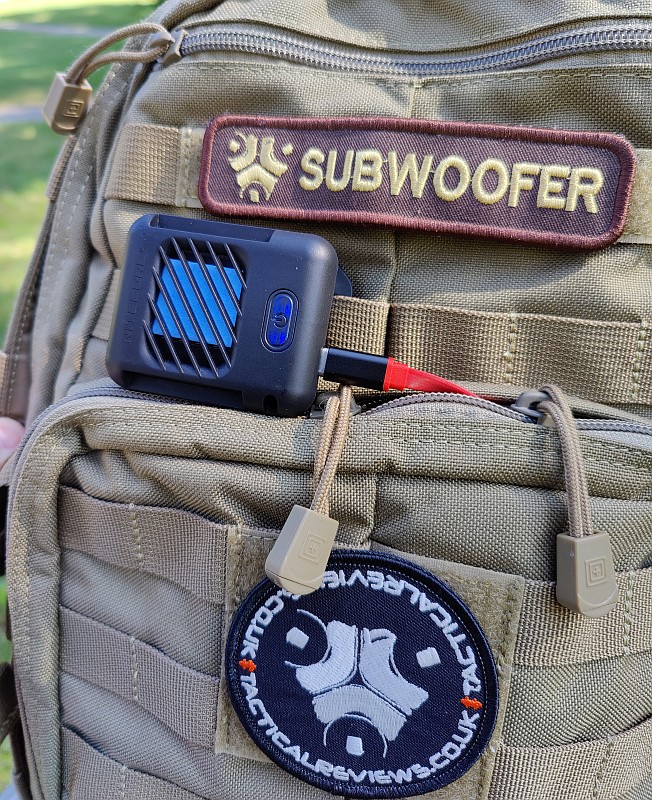
I’ve been using both the EMR05 and EMR06 in a variety of indoor and outdoor locations carried separately or clipped onto a bag.
So how did they do?
Firstly, with me being apparently the finest of dining for mosquitos, if they are determined enough, you will still get bitten; I did. I’ve been bitten when covered in deet, so using repellent mats outdoors might deter some, but is not absolute protection.
It is not at all possible to properly measure the effectiveness of these repellers as the number of bites will also depend on the time, temperature, and hatching of the insects, so this can be impressions only.
Assuming the mats themselves are effective, I have been aware of the aroma coming from the mats. Considering this is outdoors, that is reassuring. Effectiveness is so subject to wind direction and strength, so you might not actually have any cover of the repellent and insects might reach you undeterred.
NOTES on the repellent mats:
There are a few different active ingredients used in repellent mats, and these are also frequently in combination with Piperonyl butoxide. Prallethrin, Transfluthrin and D-Allethrin are the most common with Nitecore’s MRM10 Mosquito Repellent Mats using Prallethrin.
Piperonyl butoxide (PBO) is a man-made pesticide synergist. By itself, PBO is not designed to harm insects. Instead, it works with bug killers to increase their effectiveness. PBO is often combined with natural pyrethrins or man-made pyrethroids. It has been used in pesticide products since the 1950s, when it was first registered in the United States.
A repellent mat needs to be changed when it turns white. You can use Repellent Mats for a shorter period of time than the manufacture specifies and they will still be just as effective. However, if there is going to be several days between usages, you might want to keep the mats in their foil packaging or in a sealed plastic bag between uses.
Just like I wanted with the larger EMR10 and EMR20, the one feature I wish they both had was an auto-off timer. Once you turn on either one of them, they will run until the battery (or power bank) is flat or you turn it off. I found that treating at critical times was more important than all night and I would have preferred to be able to fall sleep with the repeller turning itself off after an hour or two and leaving power to run on another night.
While using the EMR05 and EMR06 I have been bitten. I am convinced I would have been bitten more without them. The most difficult aspect of their use is the protection zone they can provide. If you are walking, then the repellent vapour is trailing after you and not surrounding you. If there is wind, the repellent is blown away. In instances where you are not moving and there is wind, you need to put the device a few meters away from you and up-wind.
Some of the better results are for smaller or enclosed areas. Treating a tent, or a hammock net are idea uses. While on holiday, using it in a hotel or guest room works well.
Review Summary
The views expressed in this summary table are from the point of view of the reviewer’s personal use. I am not a member of the armed forces and cannot comment on its use beyond that covered in the review.
Something that might be a ‘pro’ for one user can be a ‘con’ for another, so the comments are categorised based on my requirements. You should consider all points and if they could be beneficial to you.
I’m trying something slightly different and starting with what doesn’t work so well, so I can finish on a more positive note.
_______________________________________________
What doesn’t work so well for me
_______________________________________________
No auto-off timer.
_______________________________________________
Things I like
_______________________________________________
Ultra-Portable compact outdoor insect repellent devices!
Double size repellent mats (and able to take two standard mats).
Versatile MOLLE mount system.
USB-C ports on both.
EMR05 can run from any power bank.
EMR06 can run/charge from any power bank.
EMR06 has a small built-in battery allowing 3 hours independent use.
Discussing the Review:
Something new – will it work? A Tactical Reviews Subreddit.
TacticalReviewsChat on Reddit
Please visit there and start/join the conversation.